Kitchen Cabinet Sizes & Dimensions: A Sacramento Remodeler’s Complete Guide

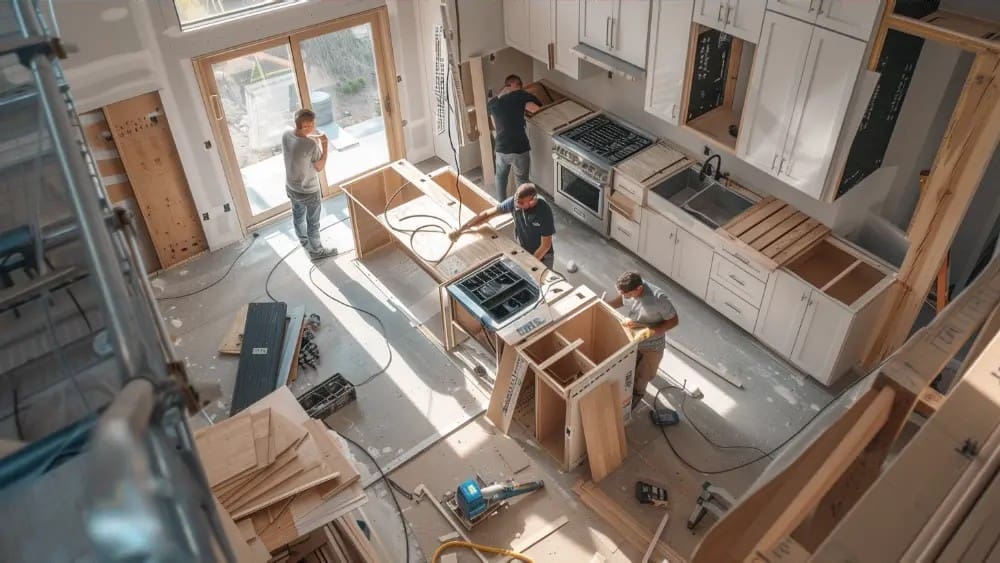
After 25 years of remodeling kitchens across the Sacramento area — from older homes in Land Park to new builds in Folsom and Roseville — I’ve learned that almost every successful kitchen starts with one unglamorous thing: getting the cabinet dimensions right. Cabinets eat up the biggest chunk of your budget and define how the whole room functions, so understanding the standard sizes before you start planning puts you in control of the project instead of at the mercy of it.
This guide walks through every standard kitchen cabinet dimension — base, wall, and tall — in plain inches, plus how cabinets are measured and how to fit them into your actual space. I’m Eugene Chernioglo, and my in-house team has installed thousands of these in real Sacramento kitchens, so everything here comes from the field, not a catalog.
Why Cabinet Dimensions Matter More Than You Think
Cabinets aren’t just storage — they set the height of your countertops, the position of your backsplash, the clearance for your appliances, and the reach to your upper shelves. Get a dimension wrong and the ripple effect hits your plumbing, your electrical outlets, and your counter fabrication all at once. That’s why we measure obsessively before a single cabinet is ordered. The good news is that the industry has settled on a set of standard sizes, and once you know them, the whole kitchen becomes a predictable puzzle.
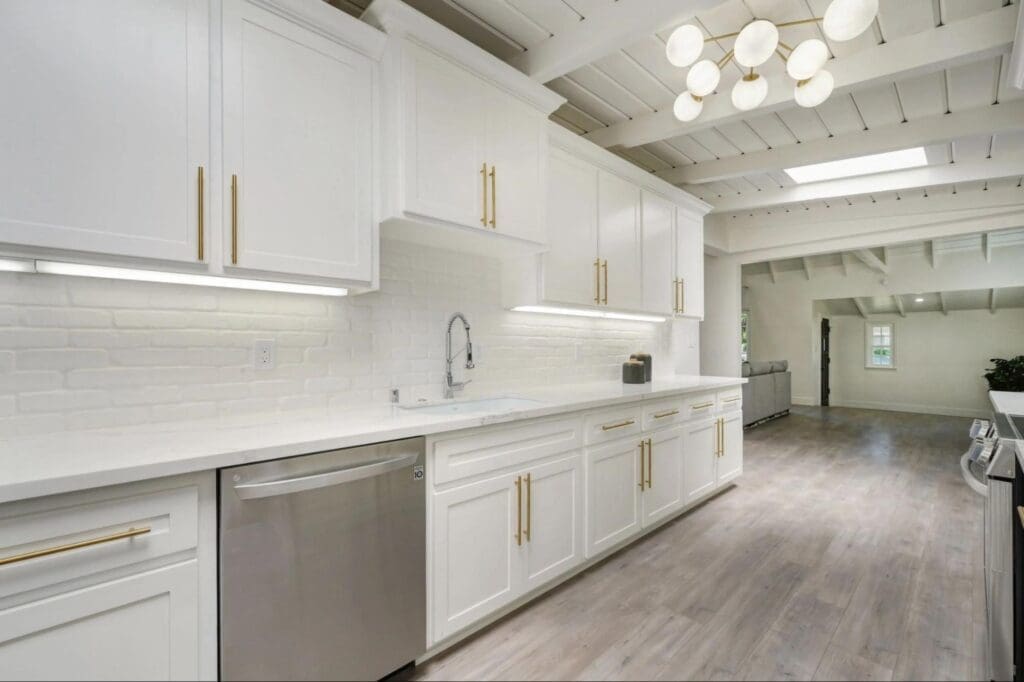
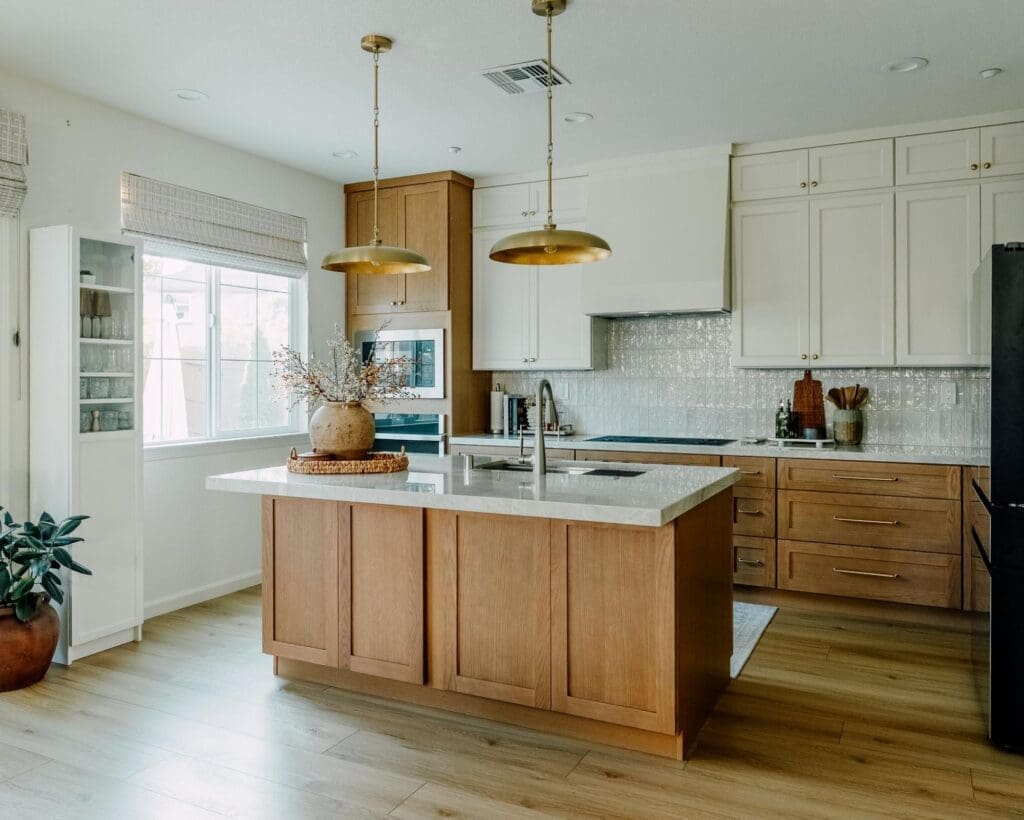
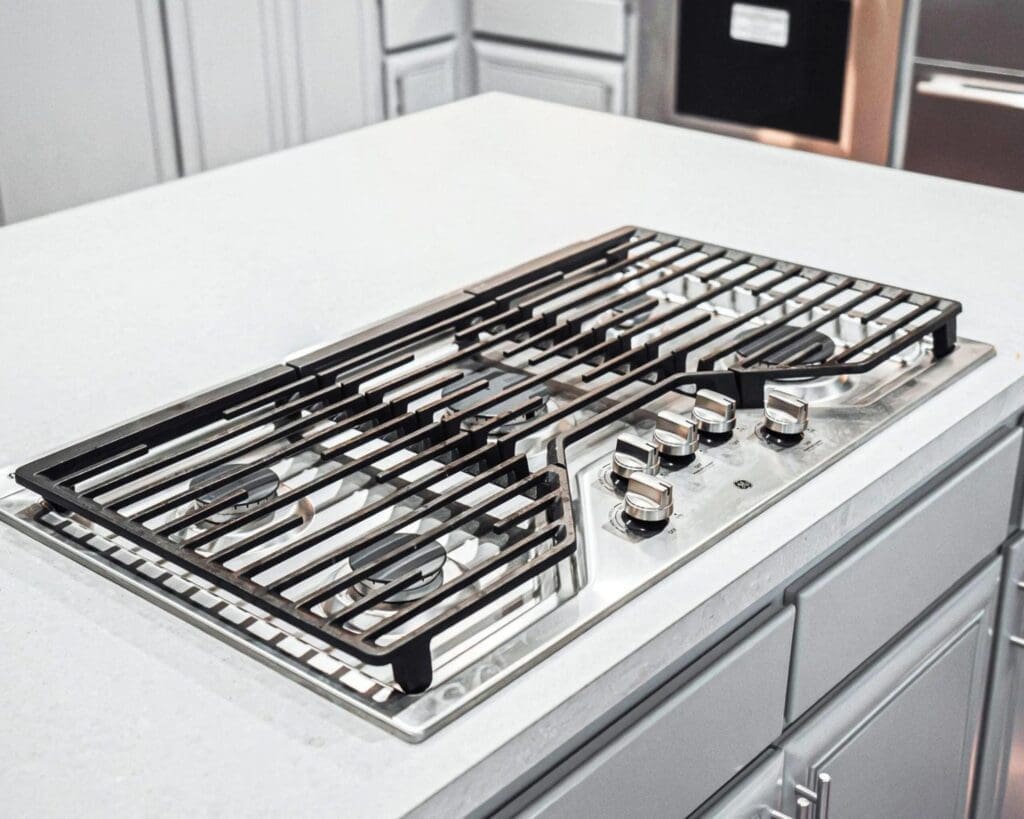
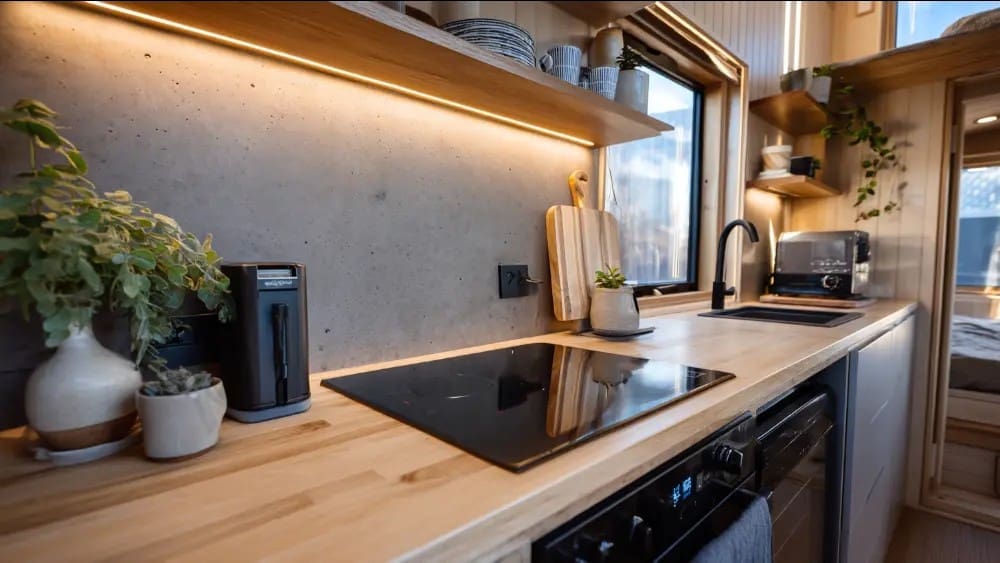
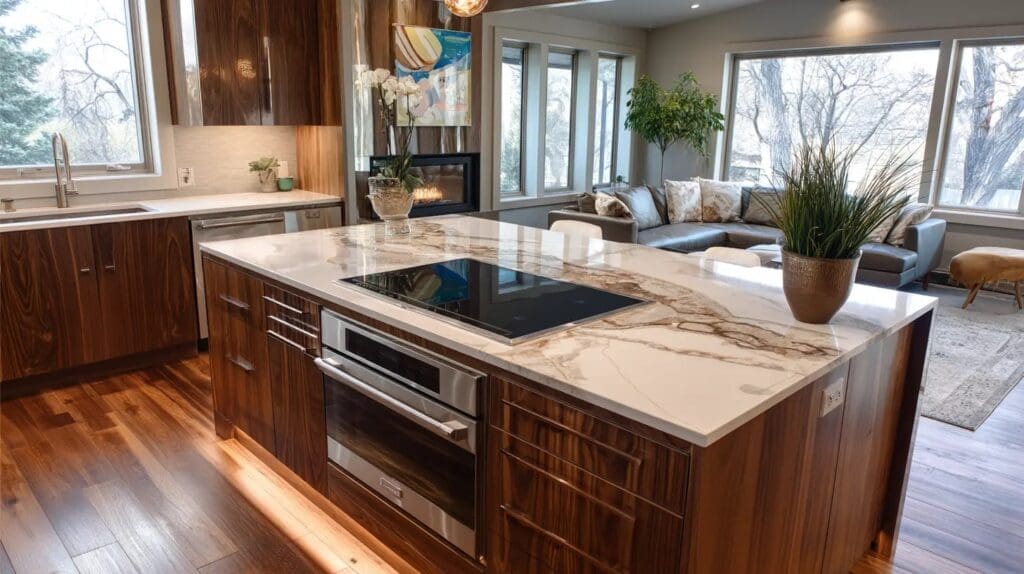
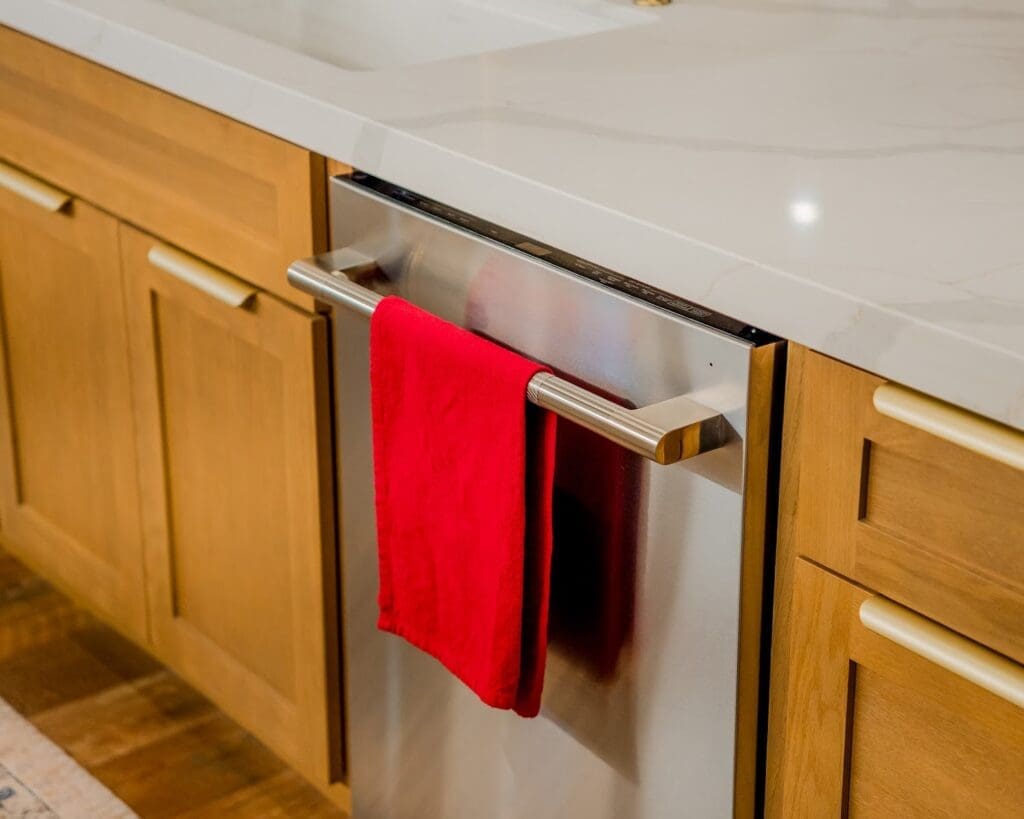
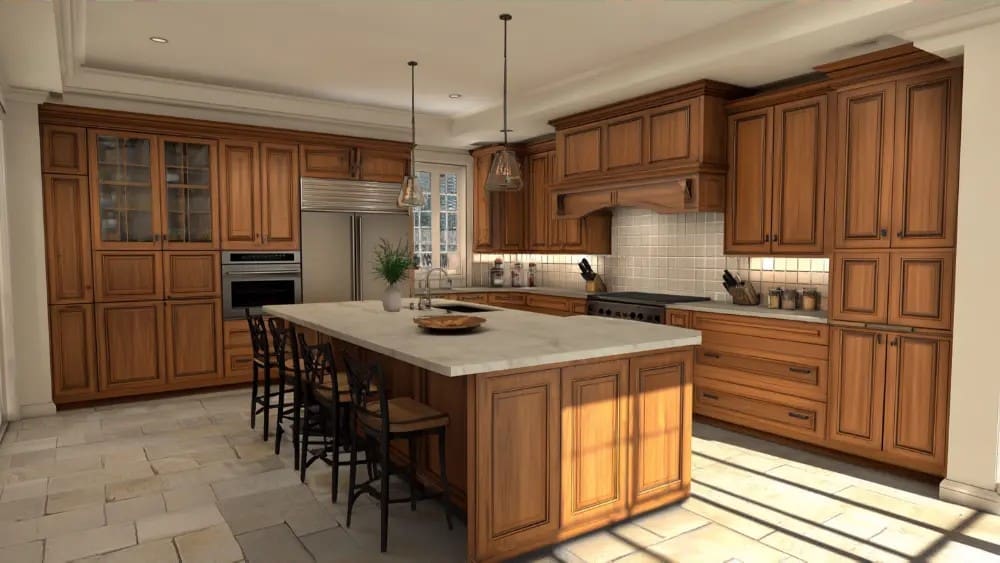
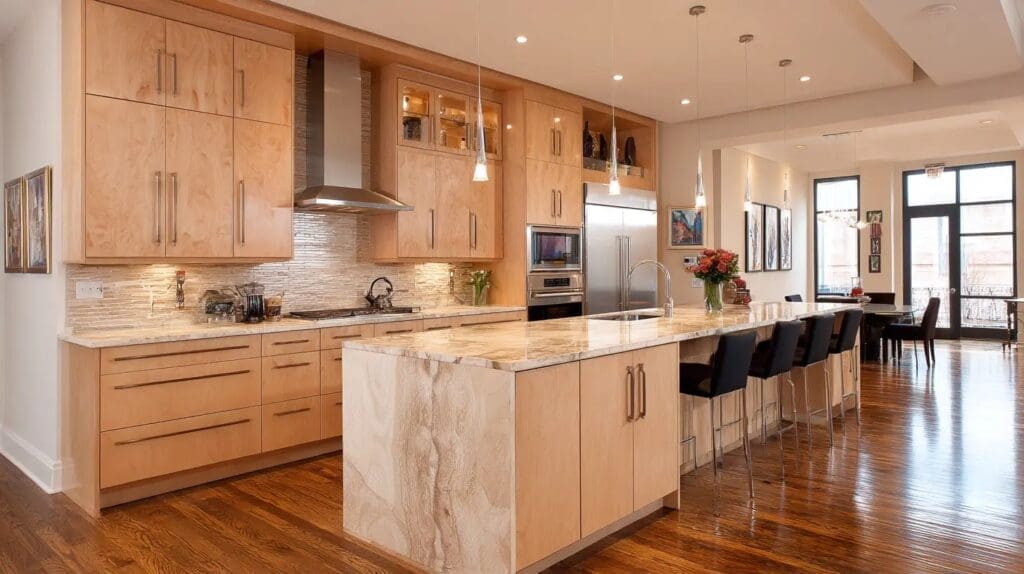
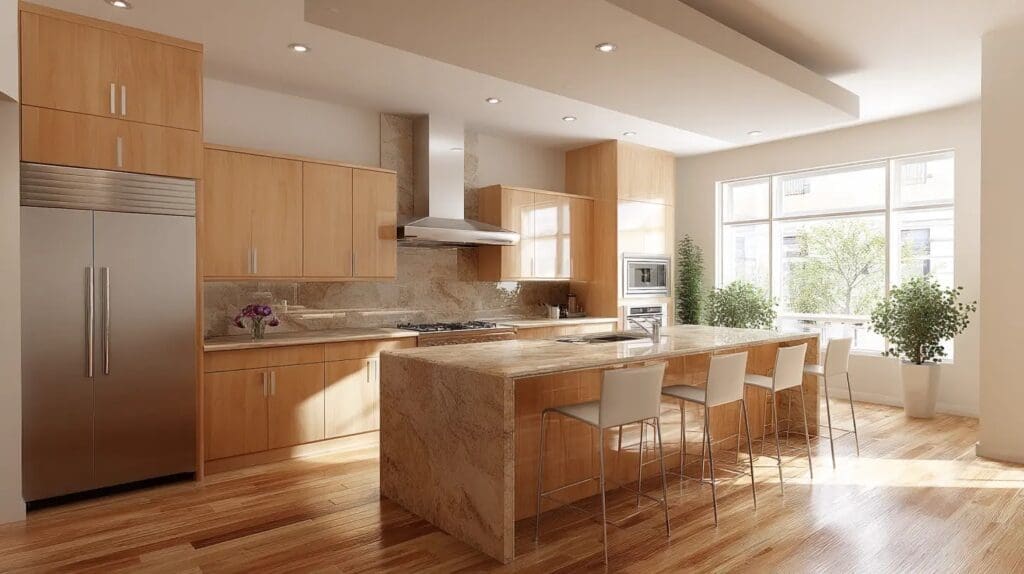
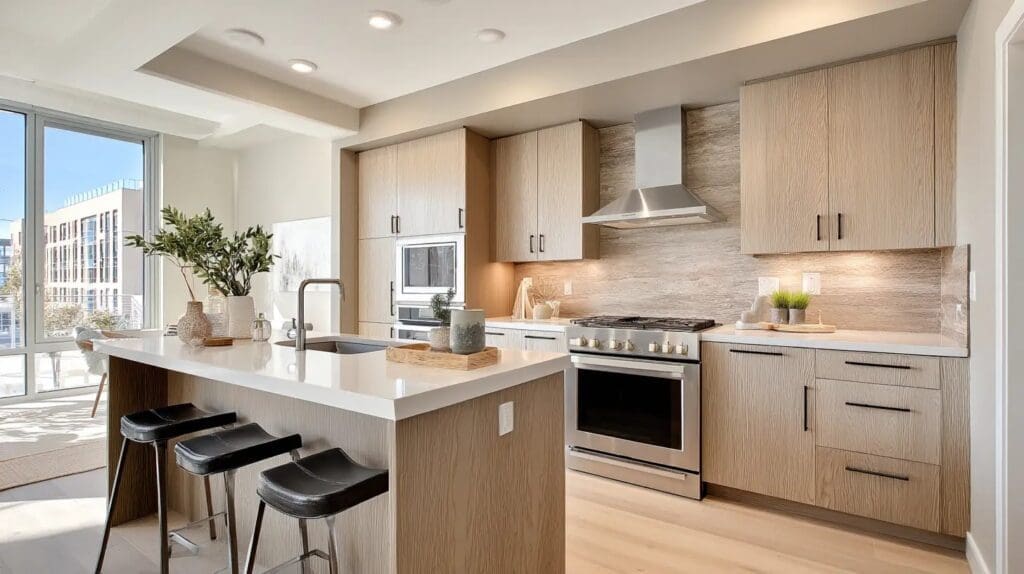
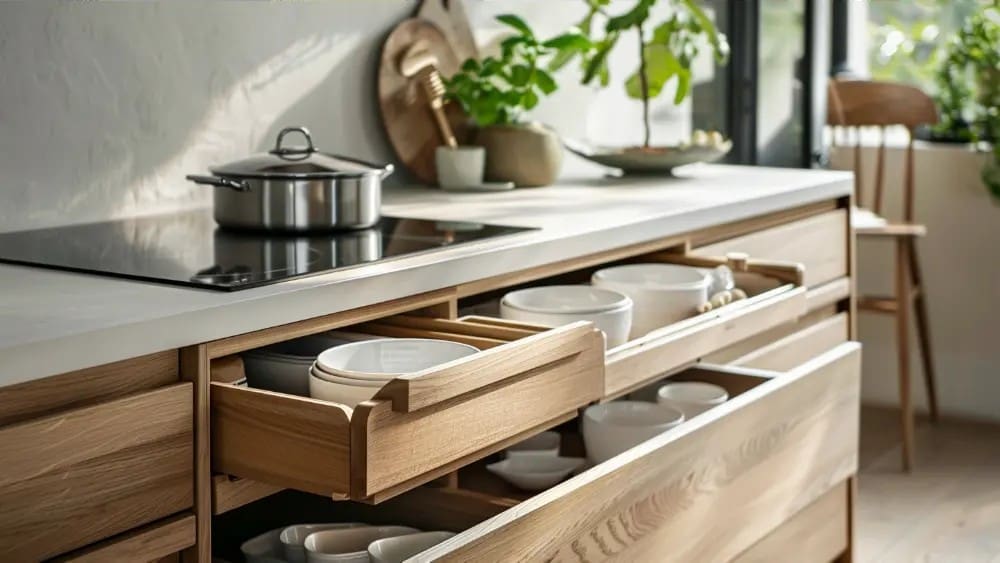
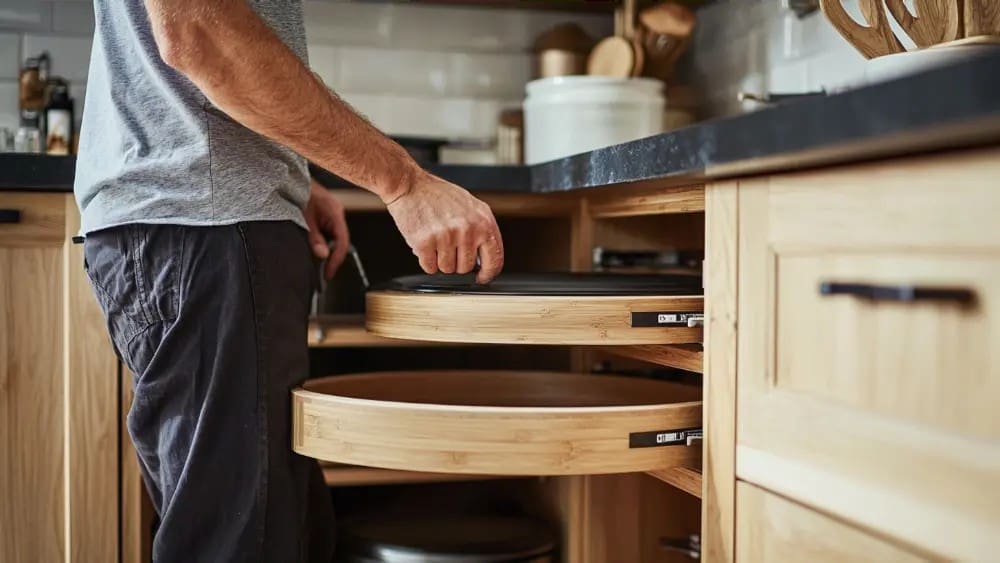
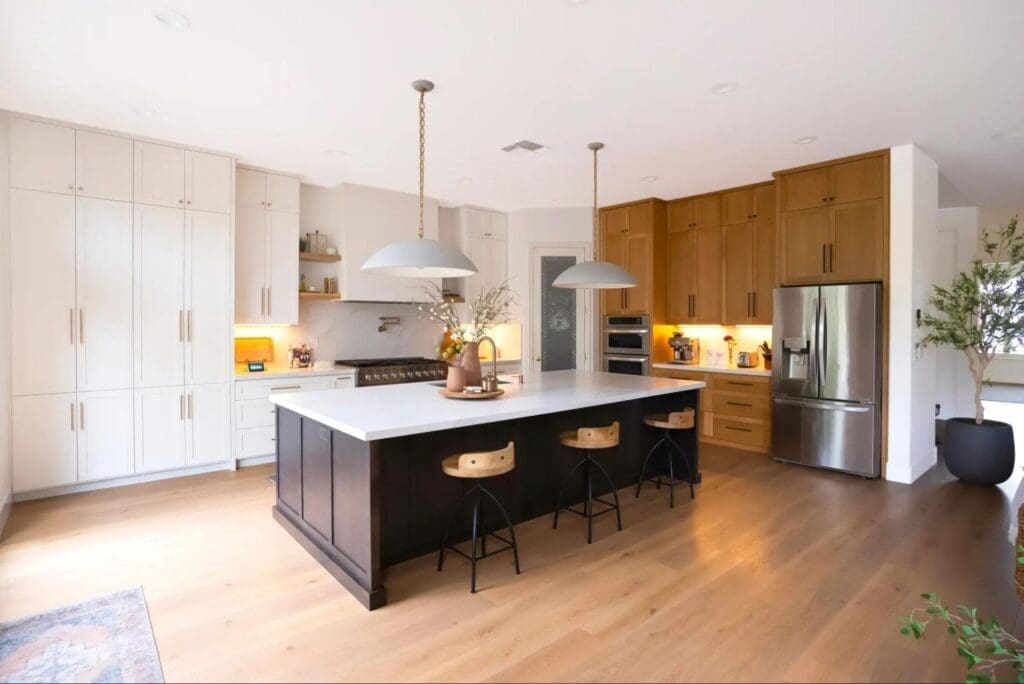
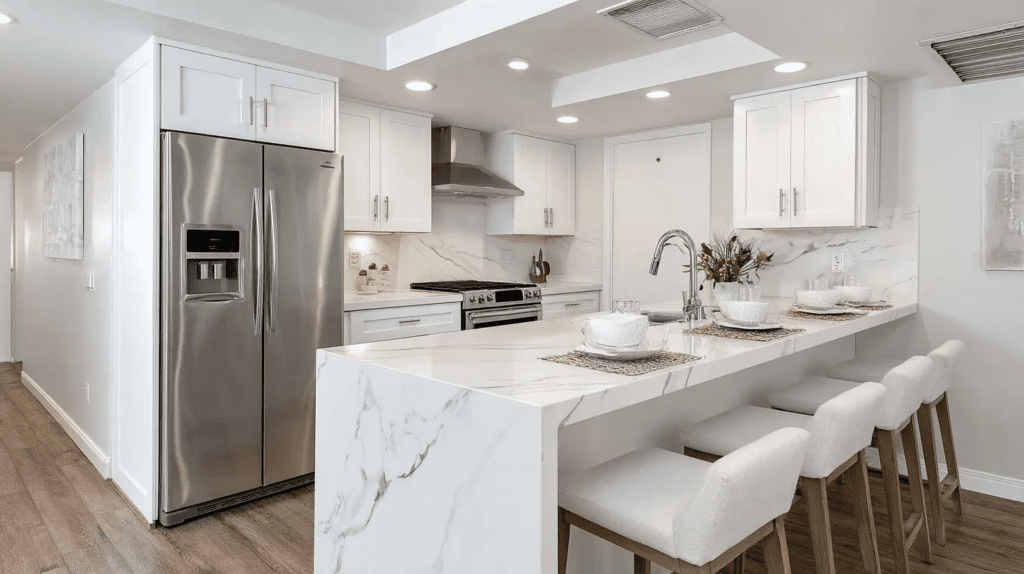
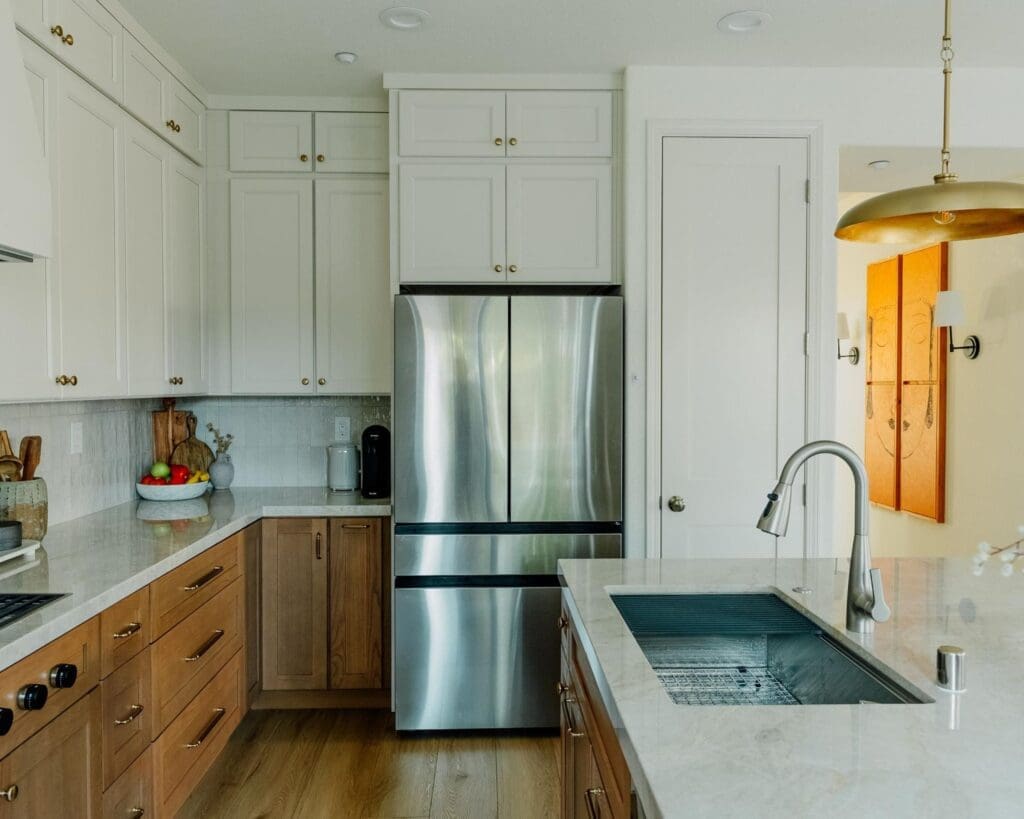
Standard Base Cabinet Dimensions
Base cabinets are the workhorses that sit on the floor and carry your countertop. The standards almost never change:
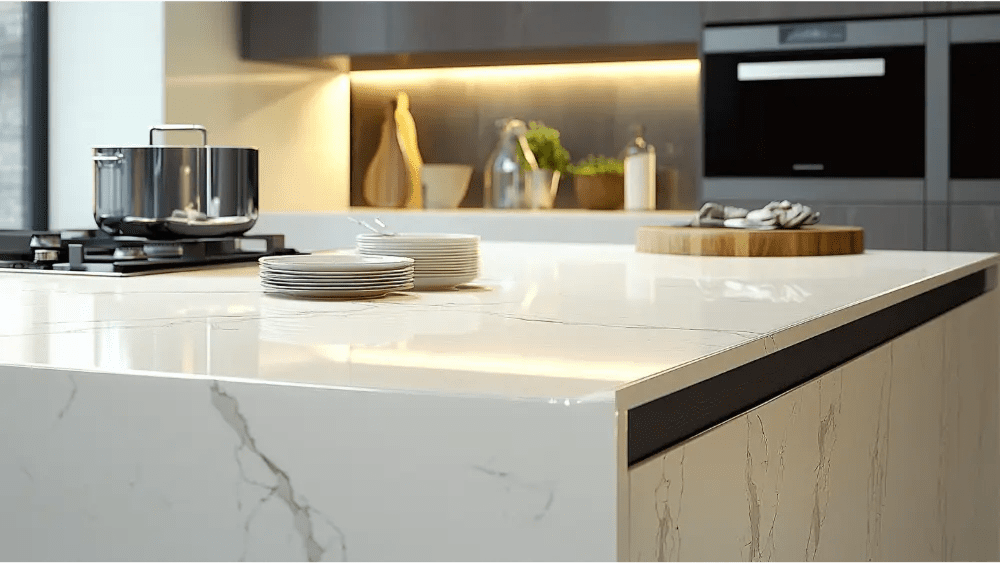
- Depth: 24 inches without the countertop. With the overhang, finished depth is usually about 25–26 inches.
- Height: 34.5 inches on their own, reaching 36 inches once the countertop is installed — the comfortable working height for most people.
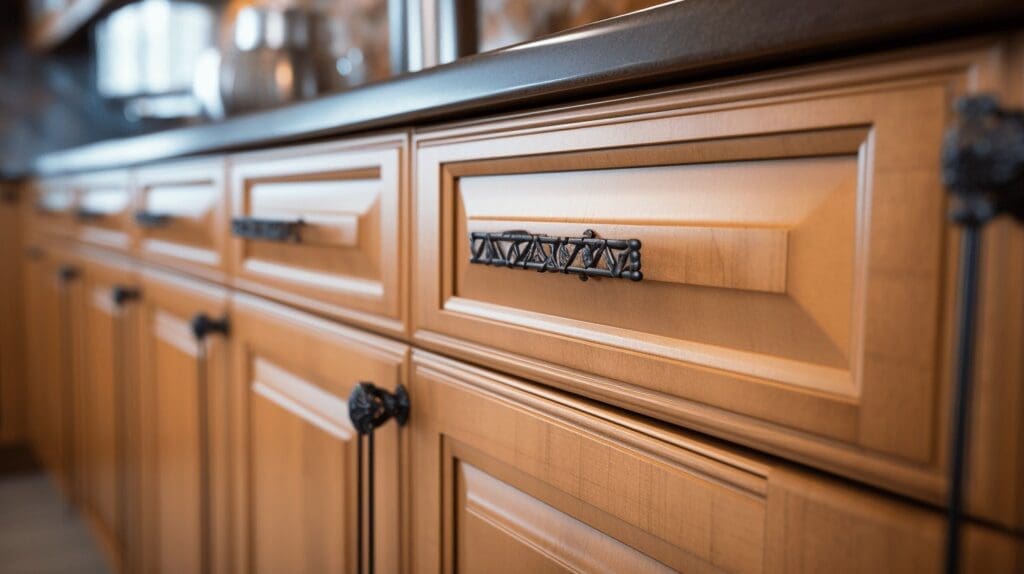
- Width: 9 to 48 inches, in 3-inch increments. Sink bases are typically 30, 33, or 36 inches wide.
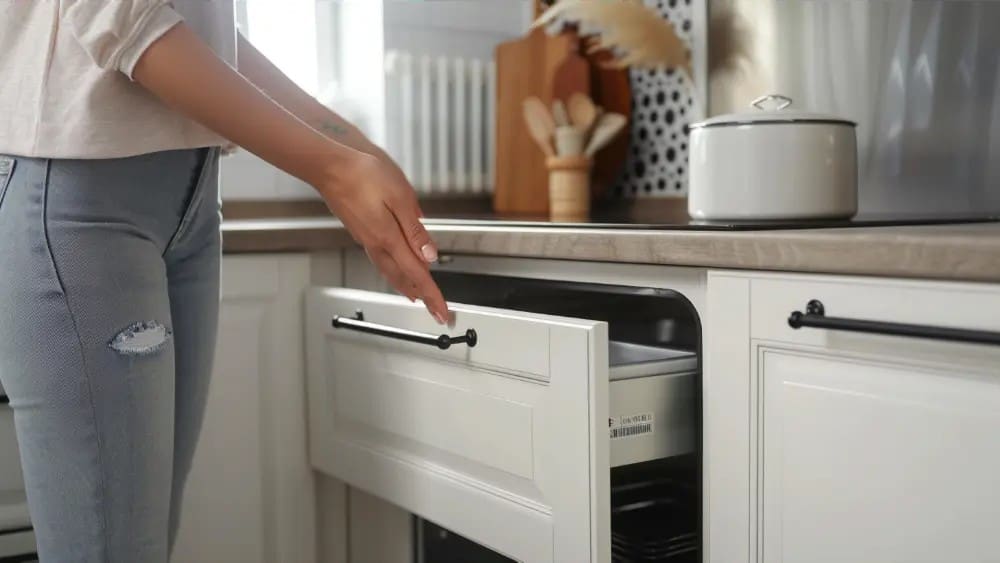
- Toe kick: the recessed notch at the bottom is standard at about 3.5 inches tall and 3 inches deep, so you can stand close to the counter comfortably.
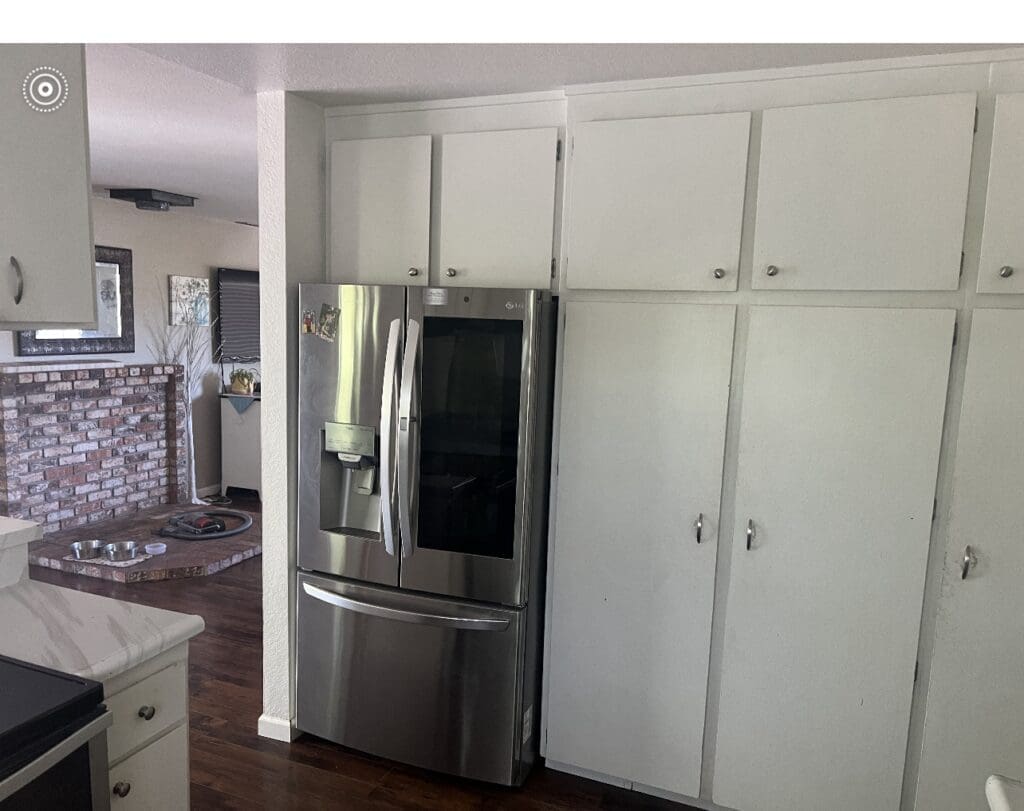
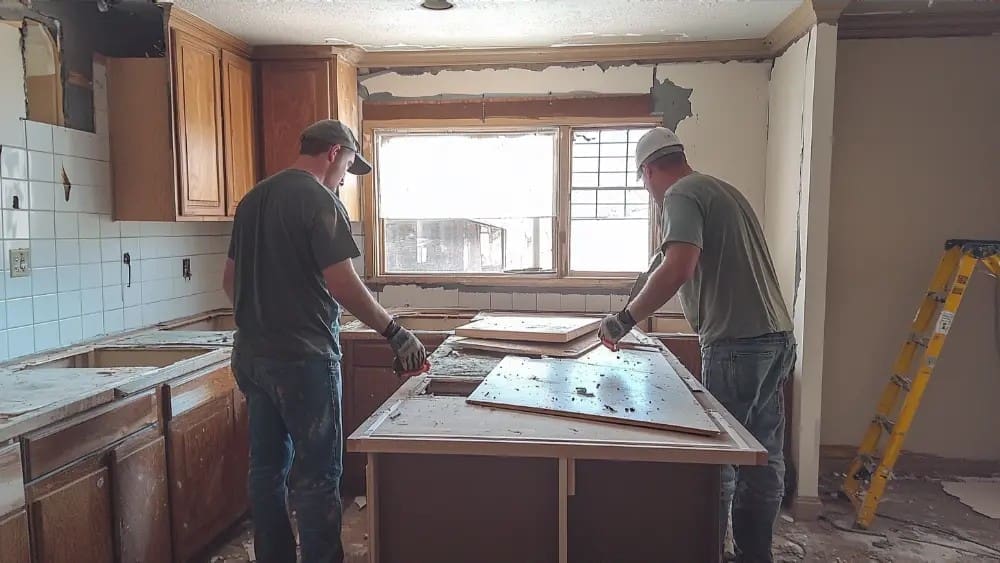
In Sacramento’s older homes, we sometimes find the existing run was built non-standard decades ago, which is one reason a dated kitchen can feel slightly off. Switching to standard base cabinets during a remodel almost always improves both function and resale appeal.
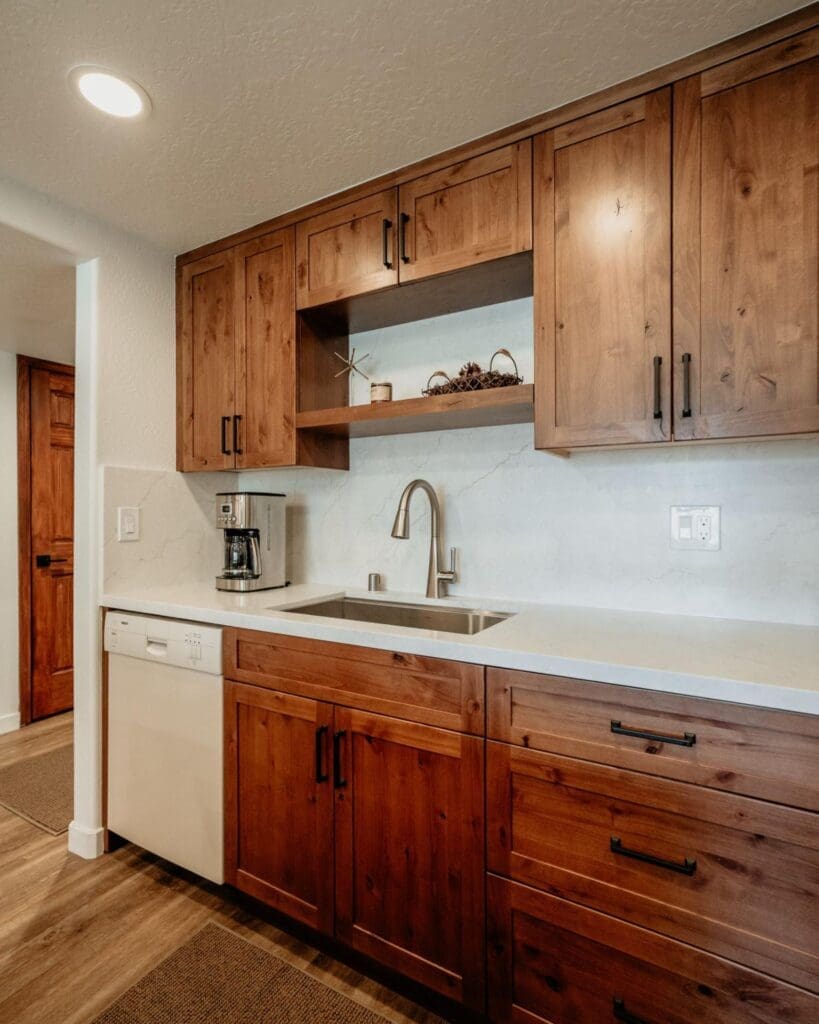
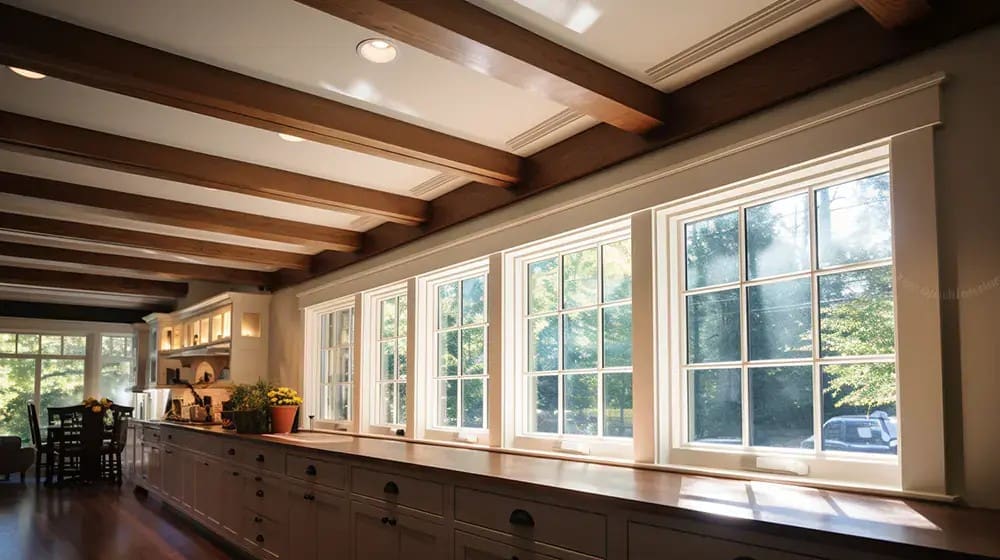
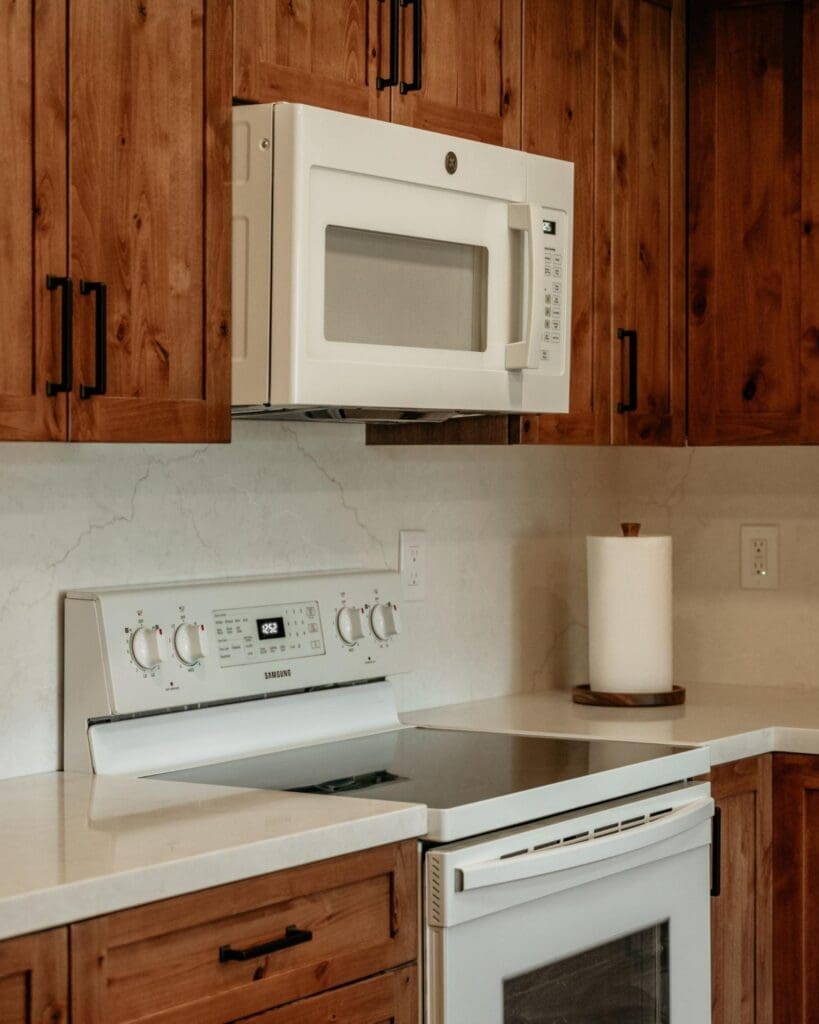
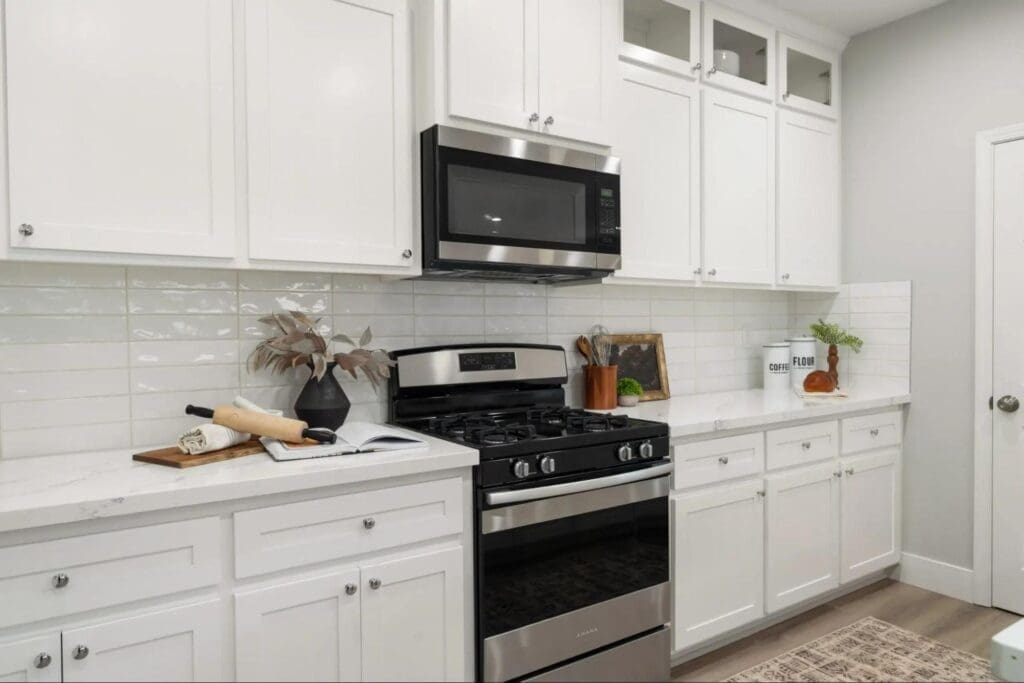
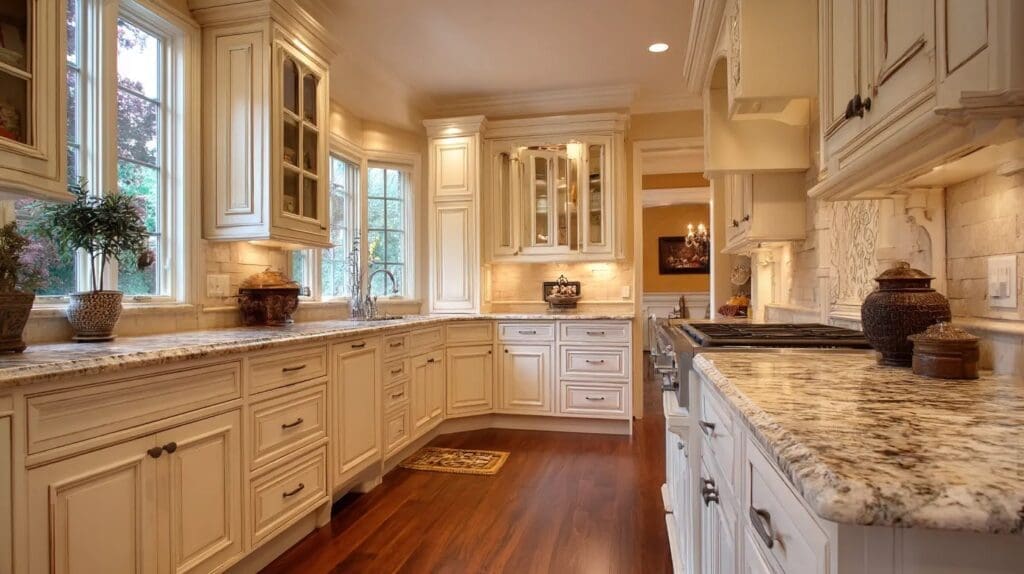
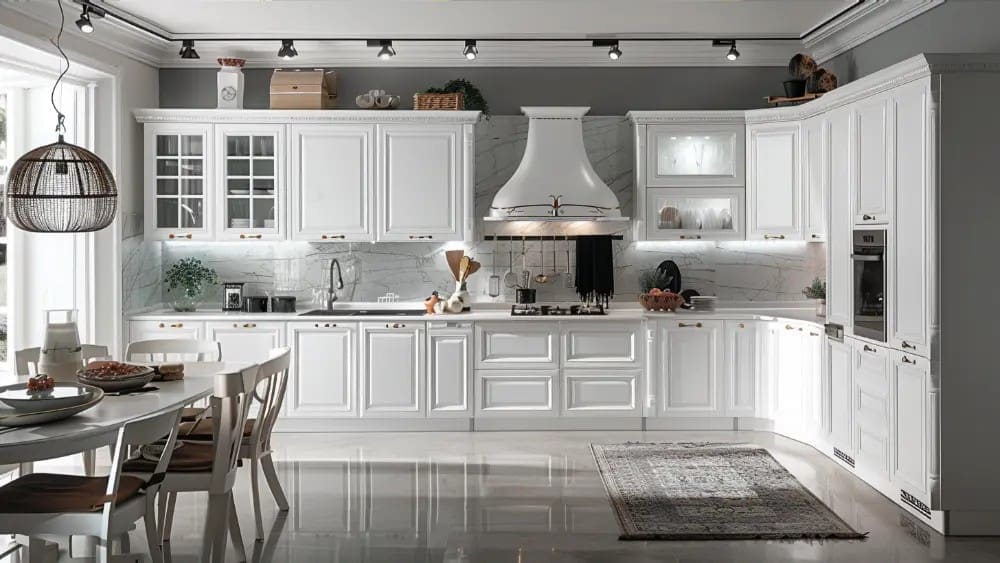
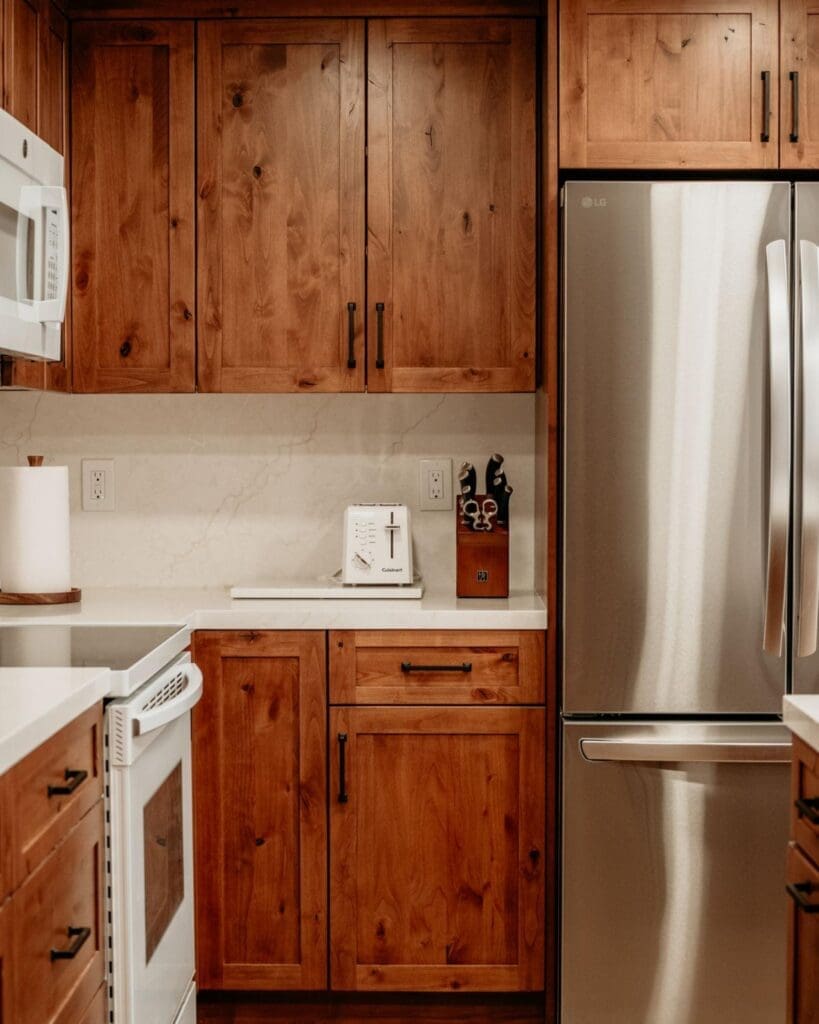
Standard Wall Cabinet Dimensions
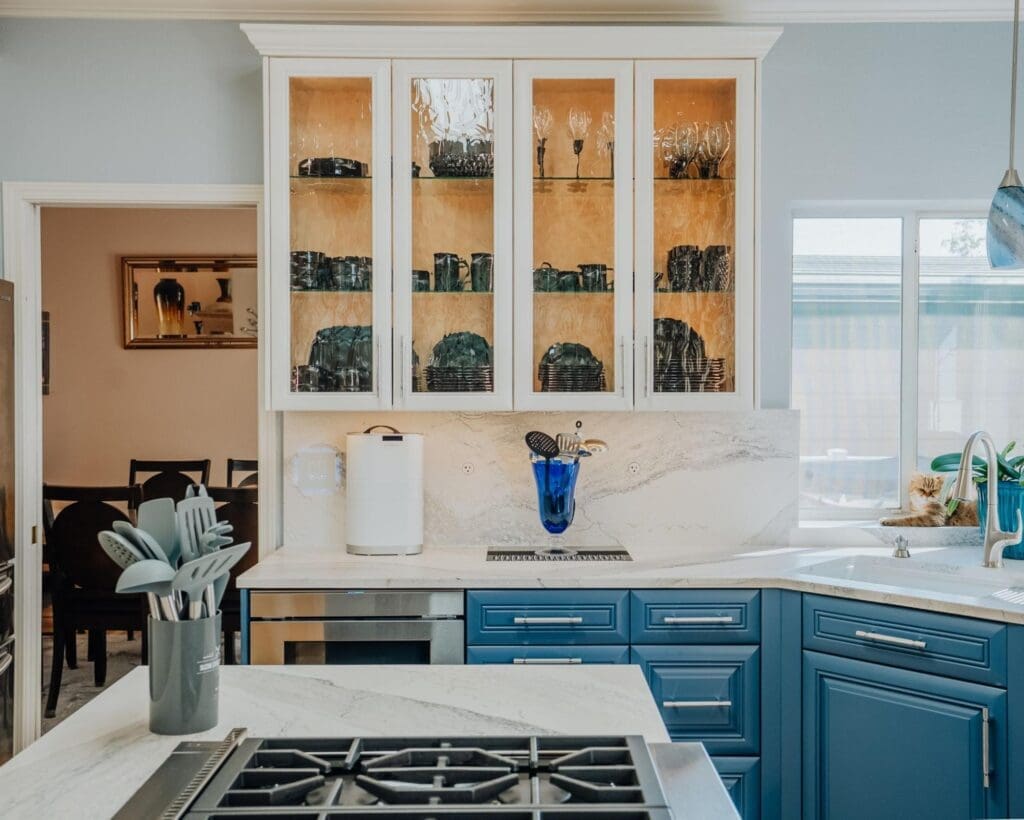
Wall cabinets (also called upper cabinets) mount above the counter and hold everyday dishes and glassware:
- Depth: 12 inches is standard, though 15-, 18-, and 24-inch depths exist for cabinets above a refrigerator or for a deeper look.
- Height: 12, 30, 36, or 42 inches. A 30-inch cabinet leaves space above for a soffit or open display; a 42-inch cabinet runs closer to an 8-foot ceiling for maximum storage.
- Width: 9 to 48 inches, in the same 3-inch increments as base cabinets, so uppers and lowers line up cleanly.
- Mounting height: wall cabinets are typically installed 18 inches above the countertop — the sweet spot for reach and appliance clearance.
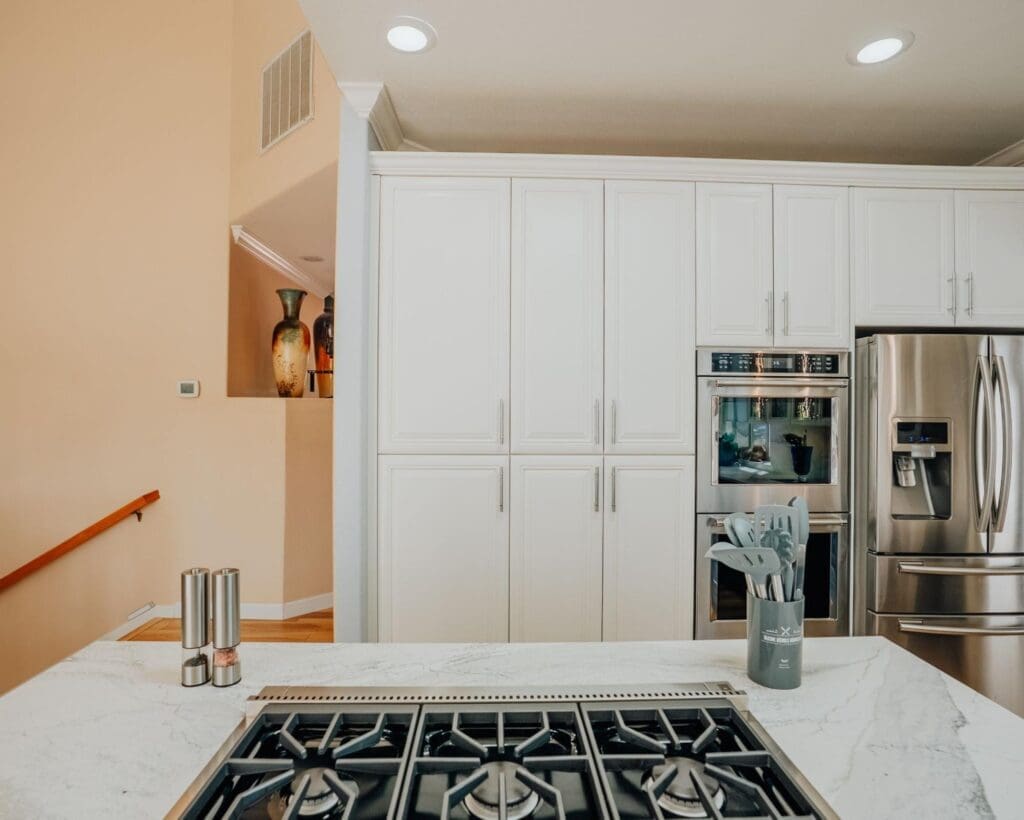
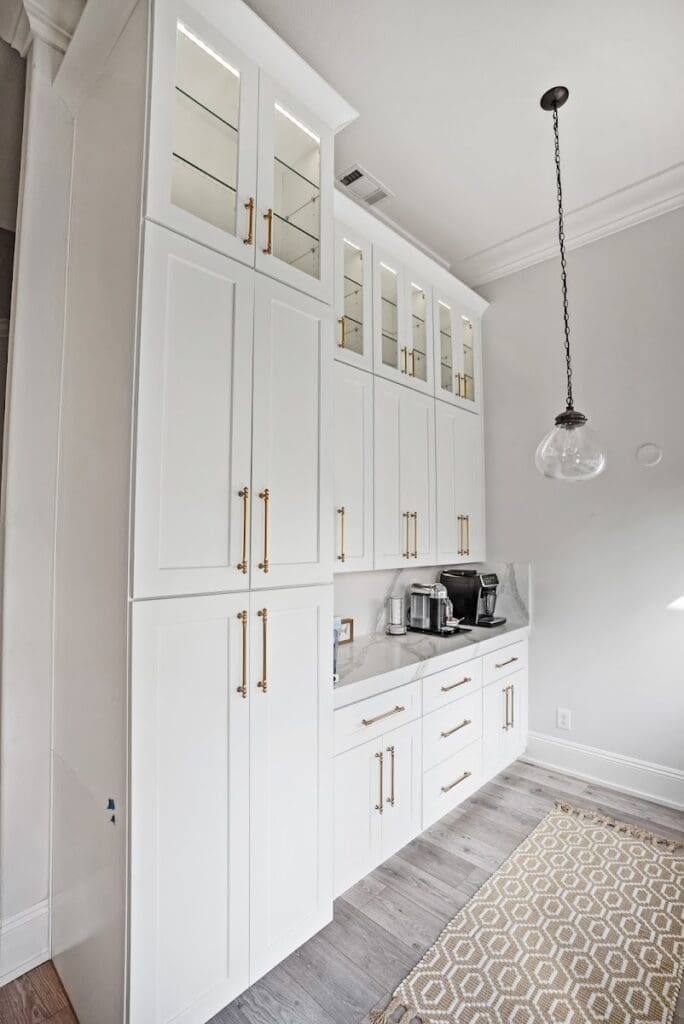
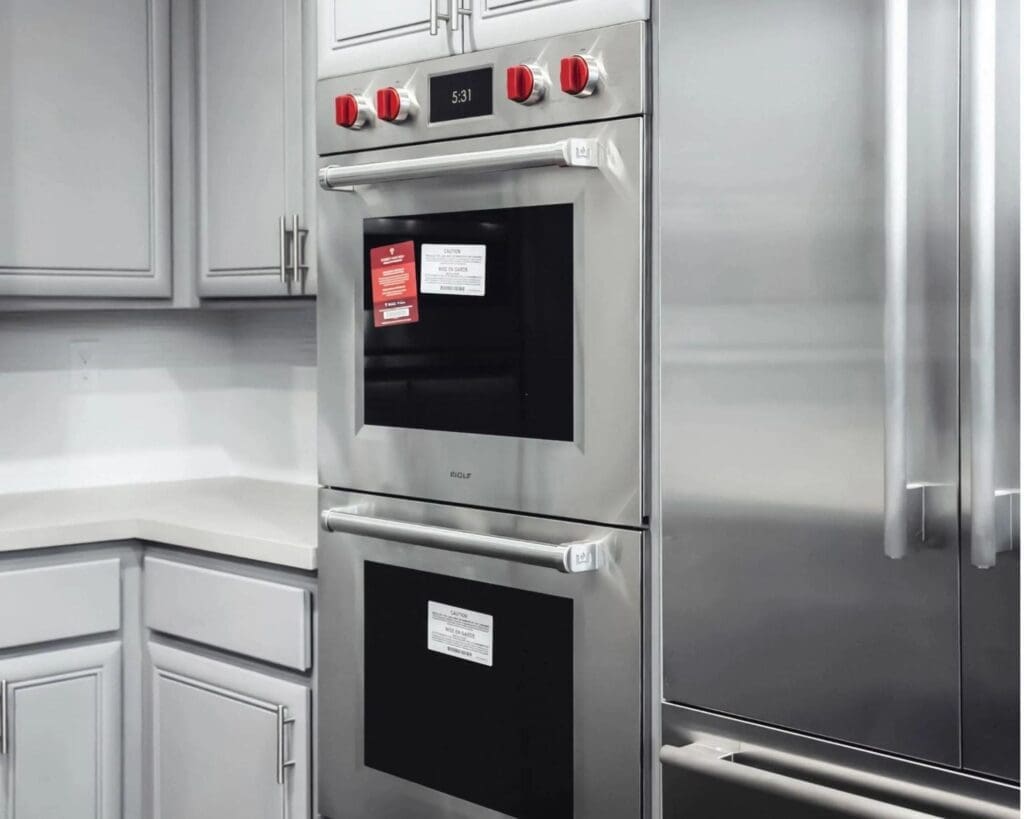
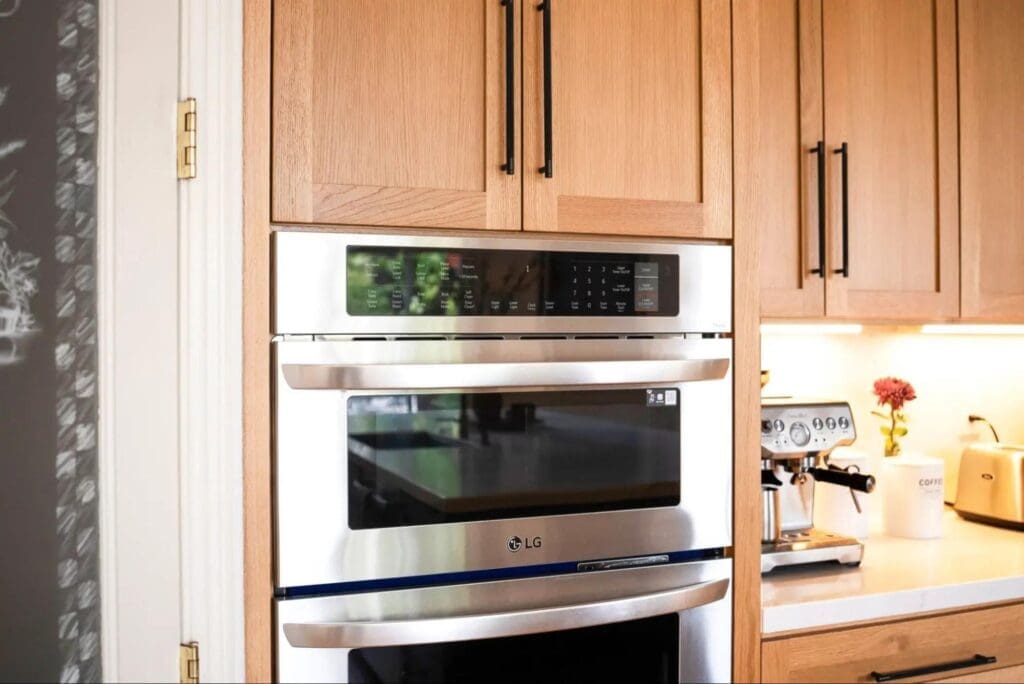
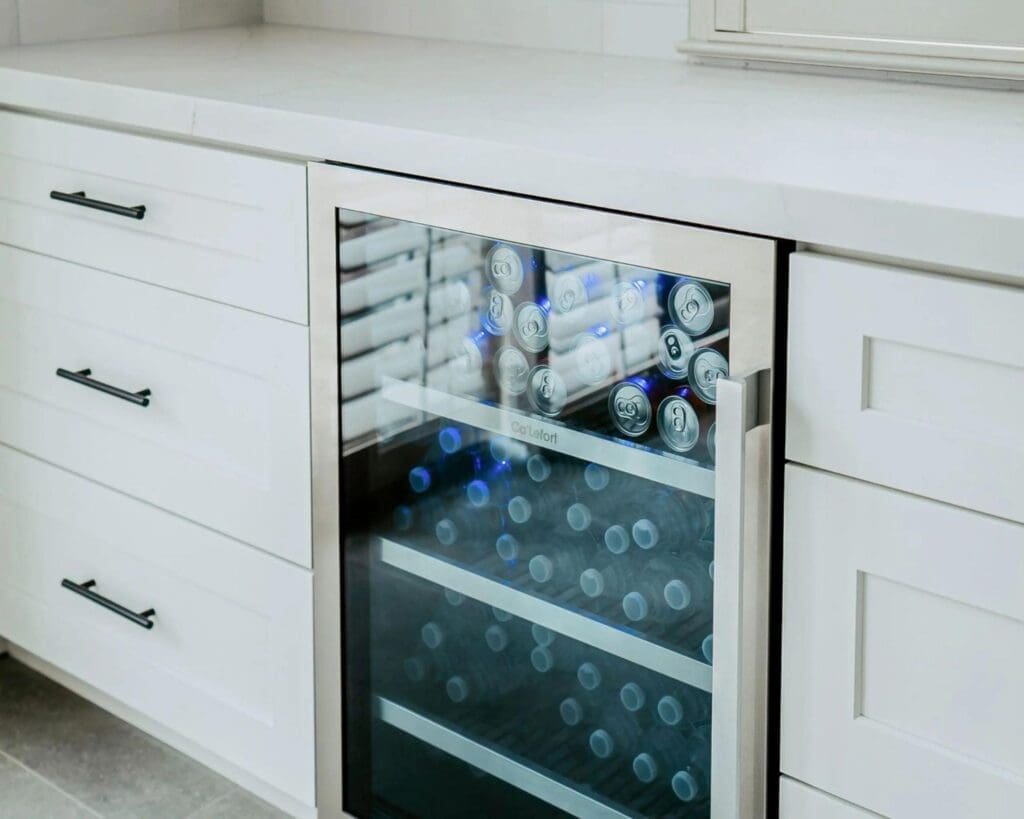
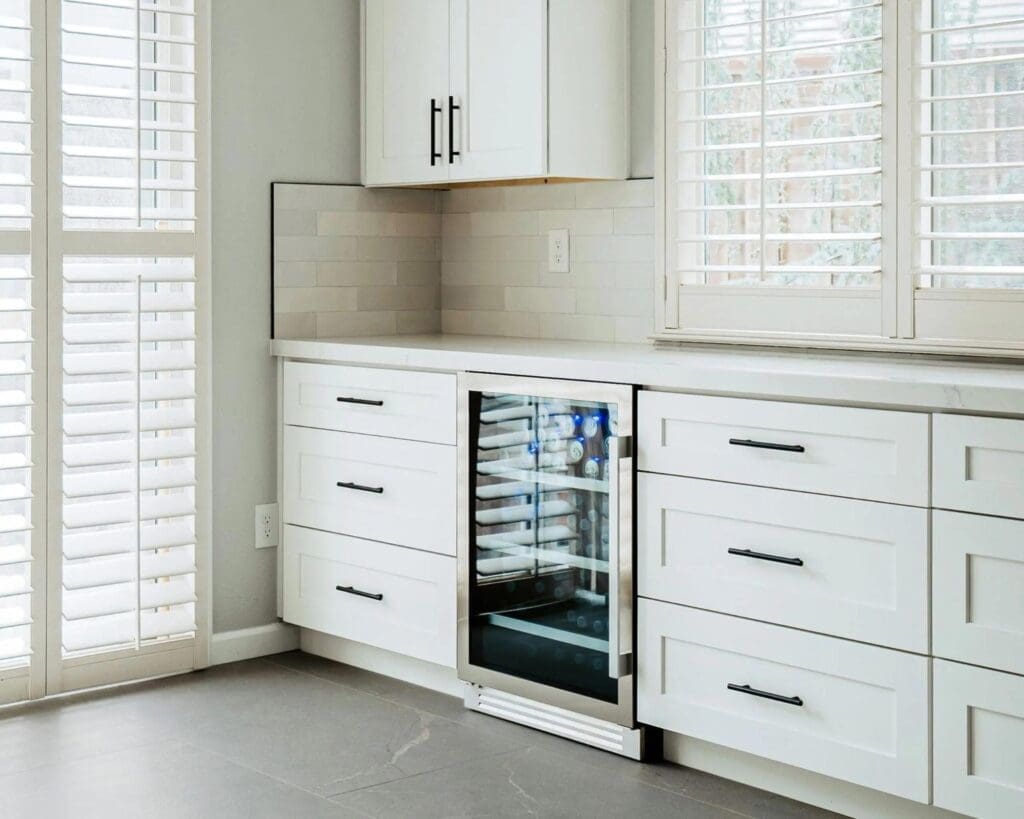
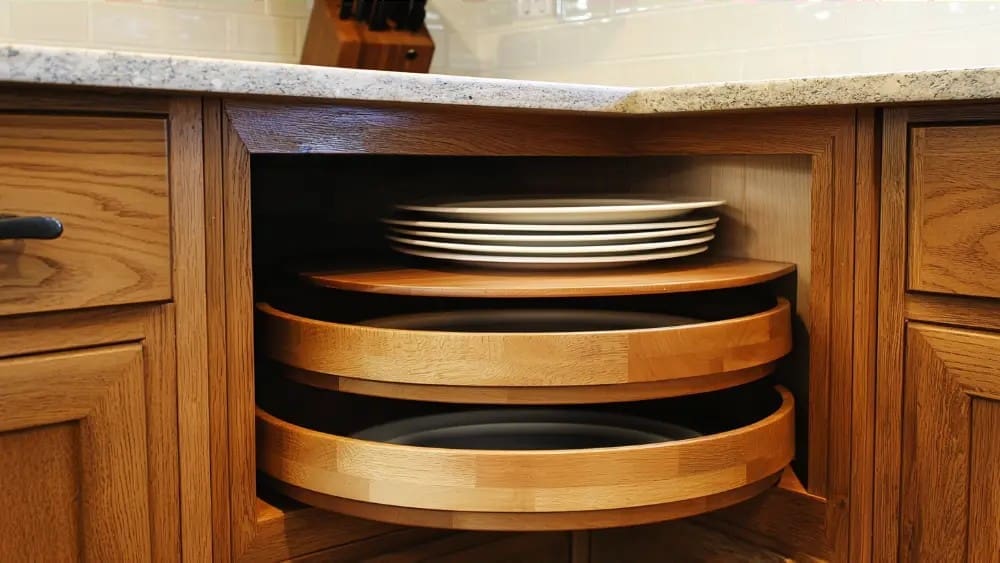
Standard Tall Cabinet Dimensions
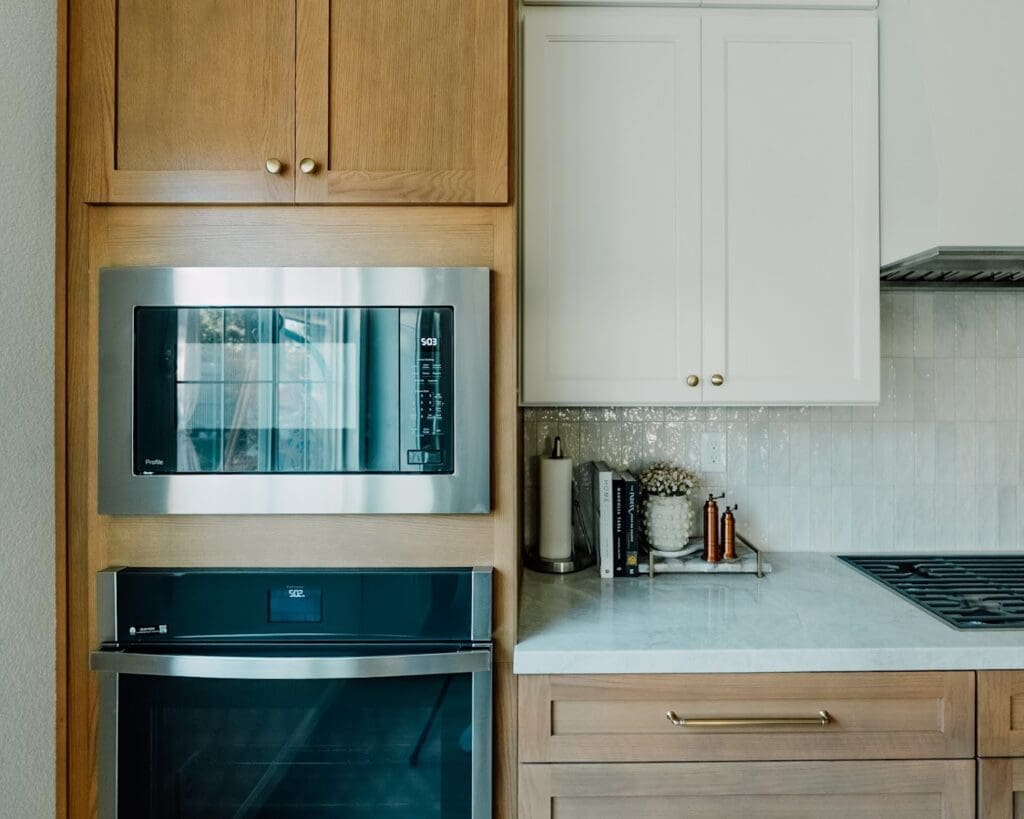
Tall cabinets — pantries, utility cabinets, and oven cabinets — run from the floor up:
- Height: 84, 90, or 96 inches, chosen to match your ceiling and your wall cabinet height.
- Depth: either 12 inches (to align with wall cabinets) or 24 inches (to align with base cabinets), depending on the use.
- Width: commonly 18, 24, or 36 inches for pantries and oven cabinets.
How Cabinets Are Measured and Labeled
Cabinet sizes are always written as width × height × depth, in inches. Manufacturers use shorthand codes — a “B24” is a 24-inch-wide base cabinet, a “W3030” is a 30-inch-wide, 30-inch-tall wall cabinet. When you understand that depth and height are usually fixed and width is the variable you’re choosing, reading a cabinet order or a kitchen plan suddenly makes sense. When my team measures your kitchen, we record wall lengths, ceiling height, and the exact location of every window, door, outlet, and plumbing rough-in, because those fixed points determine which standard widths fit where.
Planning Cabinet Sizes for Your Space

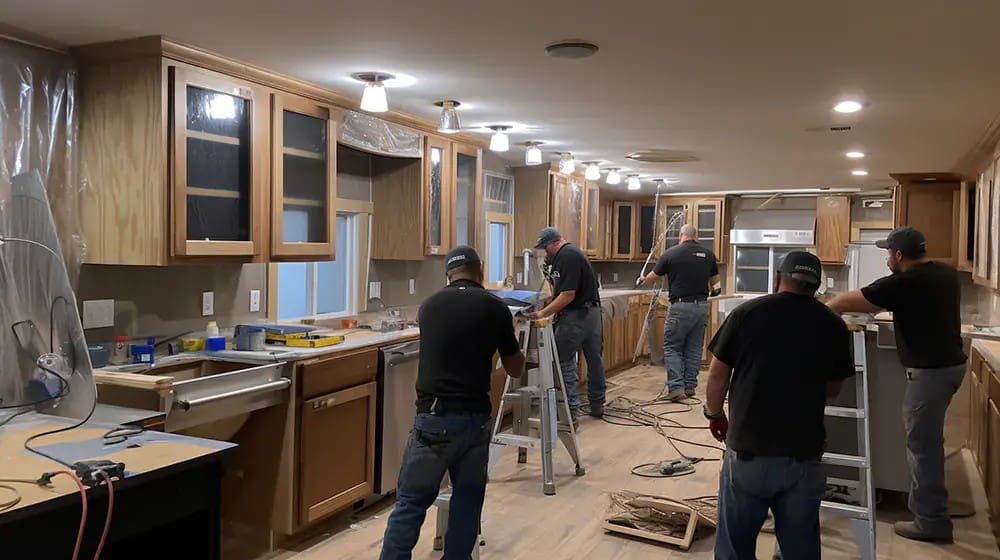
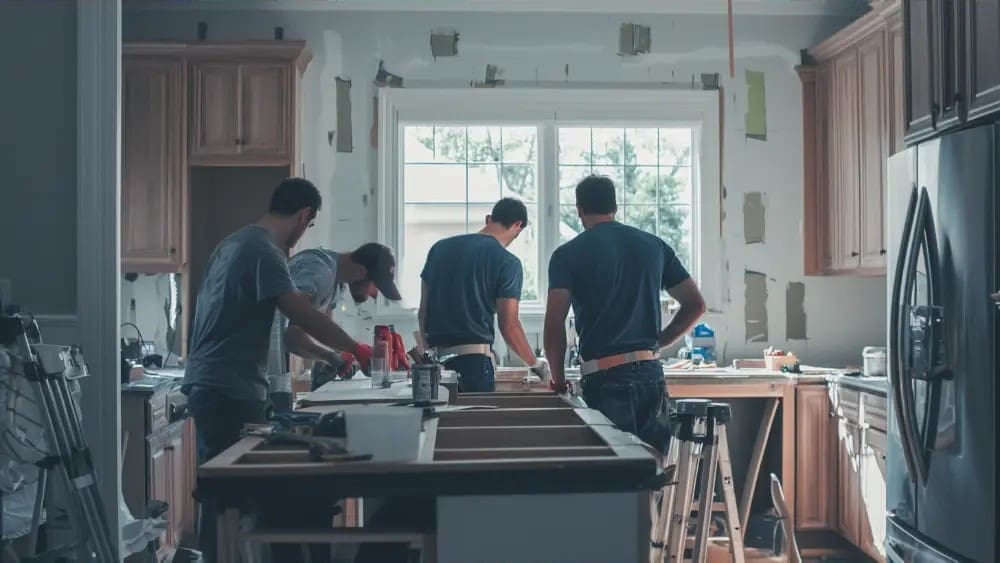
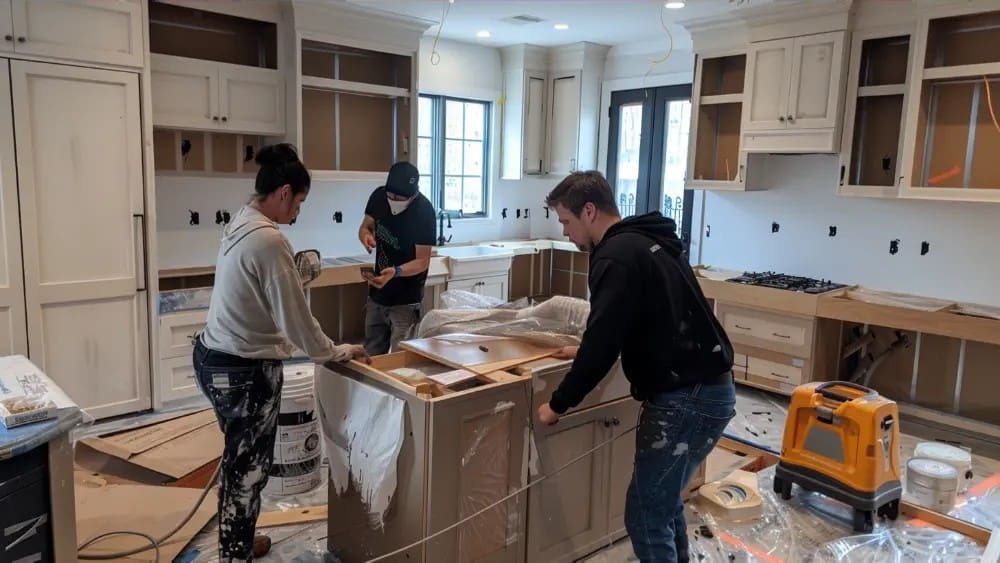
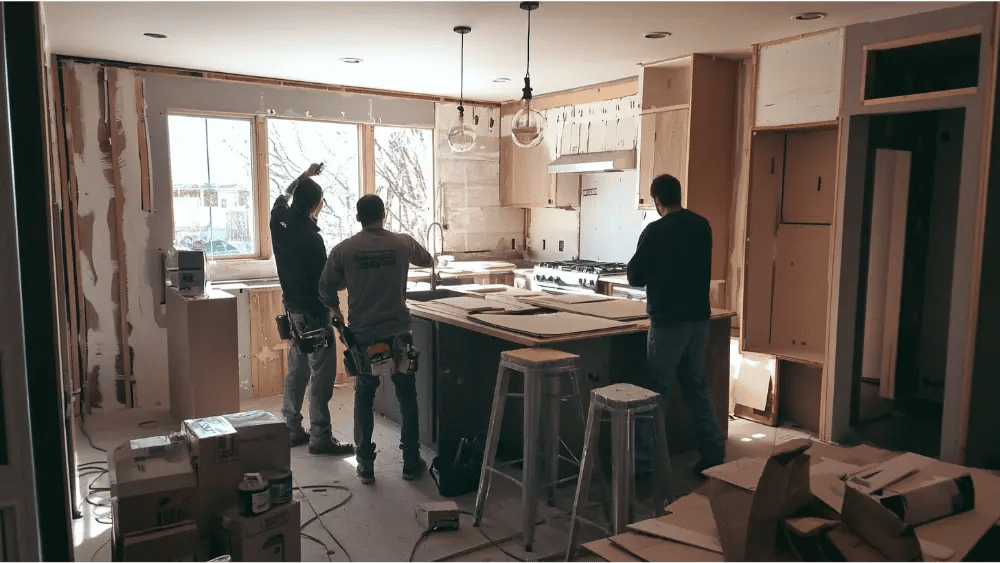
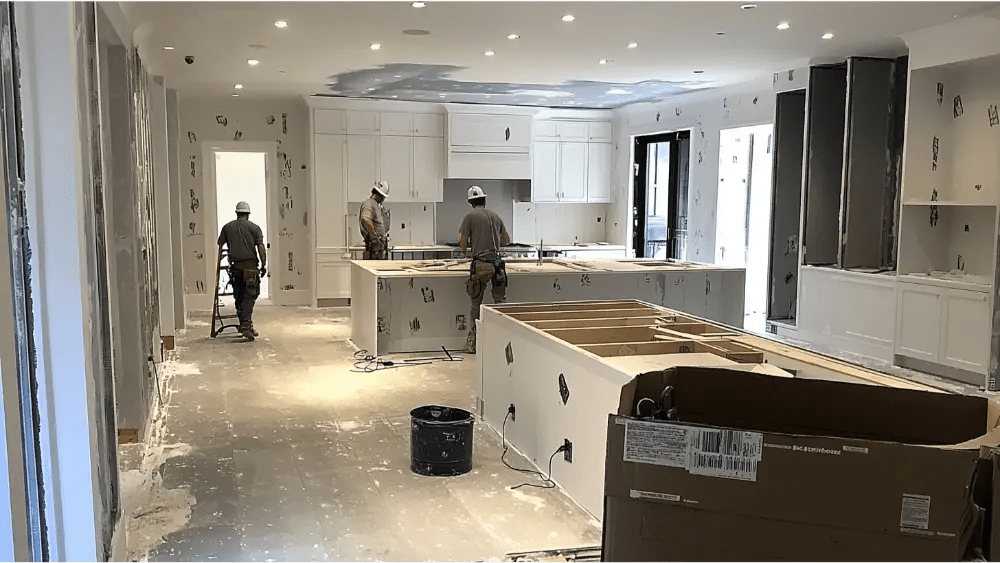
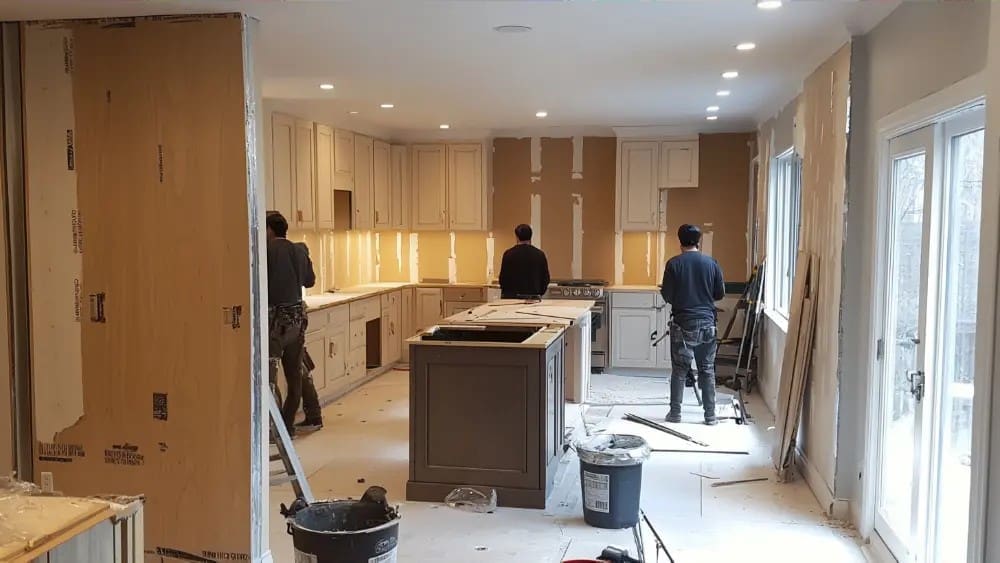
Here’s how we approach a real Sacramento kitchen. We start by mapping the immovable elements — the sink location, the range, the refrigerator opening, and the windows. Base cabinets fill the floor run first, using standard widths and a filler strip to close any leftover gap of an inch or two. Wall cabinets then stack above, aligned to the bases. Tall cabinets anchor the ends or frame the refrigerator. Because every choice here affects how your new kitchen cabinets meet the counter, the plumbing, and the electrical, this is exactly the stage where working with an experienced in-house team prevents the costly “we have to reorder” moment that plagues so many remodels.

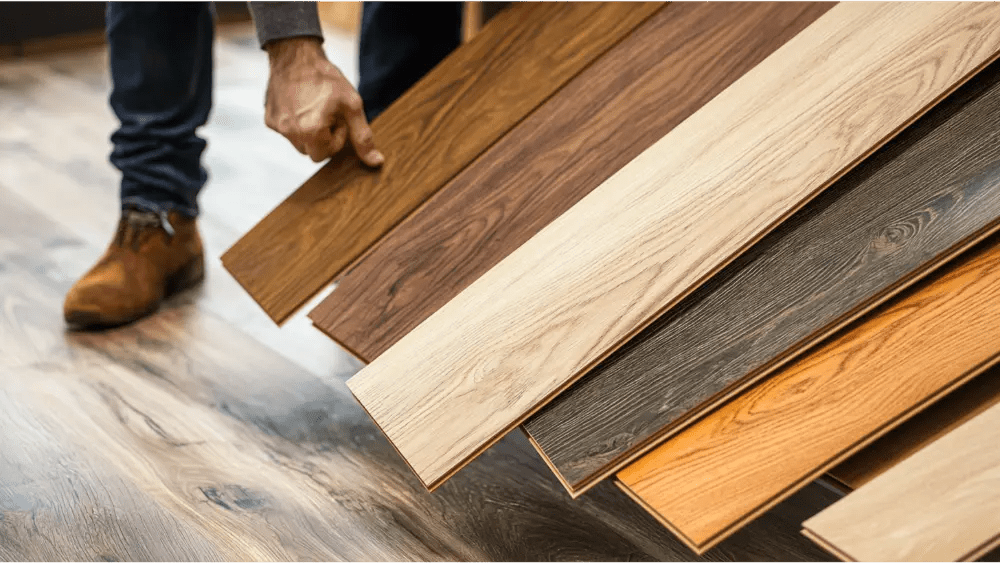
If you’re weighing custom versus stock cabinets, the dimensions above apply to both — the difference is that custom cabinetry can fill odd dimensions exactly, while stock relies on standard widths plus fillers. For most Sacramento kitchens, a thoughtful mix delivers the best value, and our team helps you decide where custom is worth it and where it isn’t.
Bringing It All Together

Standard cabinet dimensions are the foundation every great kitchen is built on — 24-inch-deep bases at 36 inches finished height, 12-inch-deep wall cabinets at 30 to 42 inches, and tall cabinets from 84 to 96 inches. Once you know the numbers, you can plan with confidence and have a far more productive conversation with your remodeler. If you’re ready to turn those measurements into a real, functional kitchen, my team at America’s Advantage Remodeling has been doing exactly that for Sacramento-area families since 2001. We bring the samples to you, measure everything ourselves, and handle the entire project in-house — design, cabinets, counters, and installation — with no subcontractors. Reach out for a free in-home consultation and we’ll help you get every dimension right the first time.
FAQ Section (PAA-sourced, answer-first for AEO)
These FAQs were pulled from live Google People Also Ask data, filtered through the 3-test conversion filter, and written answer-first so they qualify for AI Overview and featured snippet citation. Paste into the page’s FAQ section.
Q: What are standard kitchen cabinet sizes?
A: Standard base cabinets are 24 inches deep, 34.5 inches tall (36 inches with countertop), and come in widths from 9 to 48 inches in 3-inch increments. Wall cabinets are 12 to 24 inches deep, with heights of 12, 30, 36, or 42 inches. Tall pantry and utility cabinets run 84, 90, or 96 inches high. These dimensions are consistent across most American cabinet manufacturers, which makes planning a remodel predictable.
Q: What is the standard size of a kitchen wall cabinet?
A: Standard wall cabinets are 12 inches deep and most commonly 30 or 36 inches tall, with 42-inch cabinets used when homeowners want storage closer to the ceiling. Widths range from 9 to 48 inches in 3-inch steps. The right height depends on your ceiling height and whether you want a soffit, open space, or cabinets running all the way up.
Q: What size is a kitchen cabinet in inches?
A: A standard base cabinet is 24 inches deep and 34.5 inches tall before the countertop, reaching 36 inches once the counter is installed. Wall cabinets are 12 inches deep, and widths for both run from 9 to 48 inches. Cabinet depth almost never changes, but width and height options give you flexibility to fit any kitchen layout.
Q: How is cabinet size measured?
A: Cabinet sizes are listed as width × height × depth, always in that order and always in inches. For example, a “B24” base cabinet is 24 inches wide, with the standard 34.5-inch height and 24-inch depth assumed. When measuring your space, record wall length, ceiling height, and the location of windows, doors, and plumbing so the layout accounts for every obstacle.
Q: How do I choose the right cabinet size?
A: Start with your wall measurements and the fixed points in the room — windows, appliances, plumbing, and doorways — then fill the space with standard cabinet widths in 3-inch increments. Base cabinets anchor the layout, wall cabinets follow above, and filler strips close any small gaps. Because cabinet choices affect plumbing, electrical, and counter fit at once, this is the stage where an experienced remodeler prevents expensive mistakes.
Q: How many cabinets fit in a 10×10 kitchen?
A: A standard 10×10 kitchen typically holds about 10 to 12 cabinets — a mix of base and wall units — which is why “10×10” became the industry’s baseline for comparing cabinet pricing. The exact count depends on your layout, appliance placement, and whether you include a pantry or island. The 10×10 figure is a useful starting reference, but every real kitchen varies once windows and doors are factored in.
Q: What is the 1/3 rule for cabinets?
A: The 1/3 rule suggests dividing kitchen storage so roughly one-third serves each main zone — prep, cooking, and cleanup — so cabinets and drawers sit where you use their contents. It’s a planning guideline, not a building code, and a good designer applies it alongside your cooking habits. The goal is storage that matches how your family really moves through the kitchen.