Kitchen Toe Kick: What It Is, Standard Dimensions, and Why It Matters
The toe kick is one of those kitchen details nobody notices — until it’s wrong. It’s the small recessed space at the bottom of your base cabinets, and while it seems trivial, it’s the reason you can stand comfortably at your counter without stubbing your toes all day. After 25 years building kitchens across Sacramento, Roseville, and Folsom, I’ve seen how a properly sized and finished toe kick contributes to both comfort and that clean, built-in look. I’m Eugene Chernioglo, and here’s everything worth knowing about the humble kitchen toe kick.
What Is a Toe Kick?

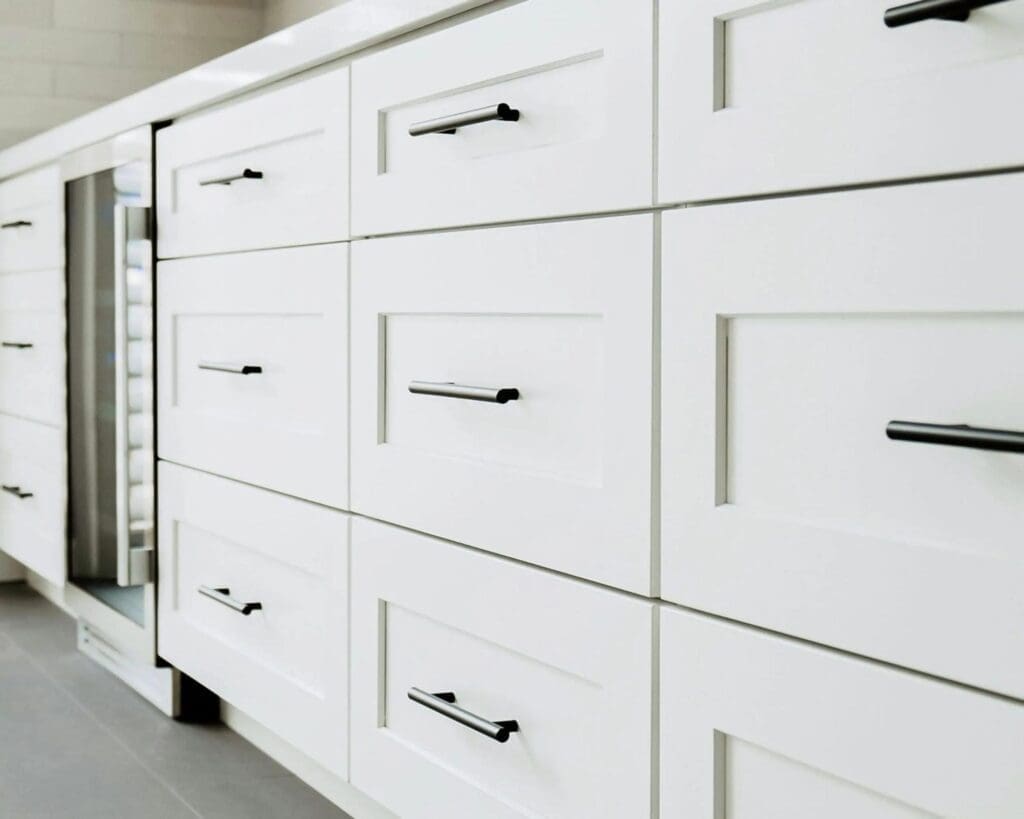
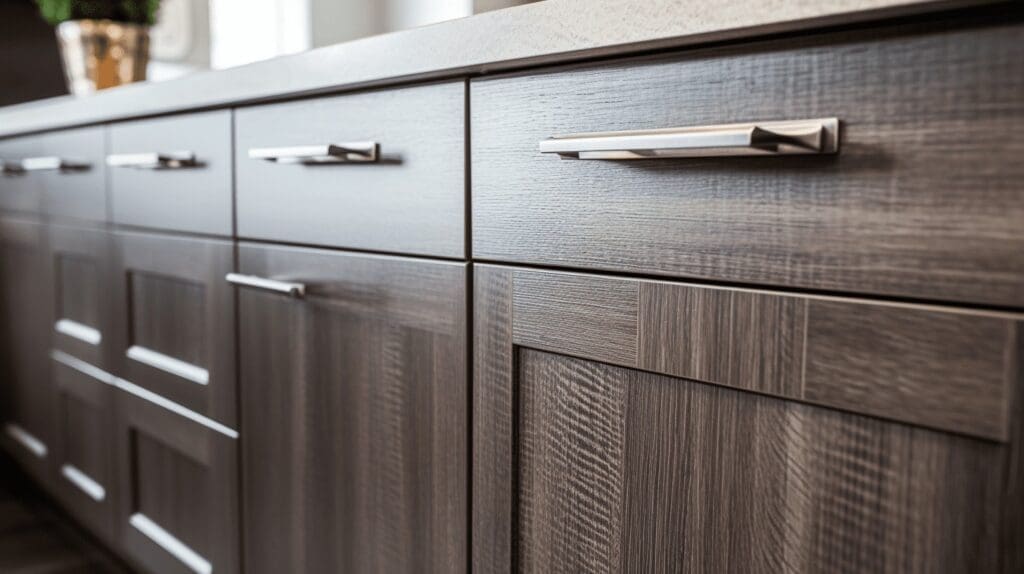
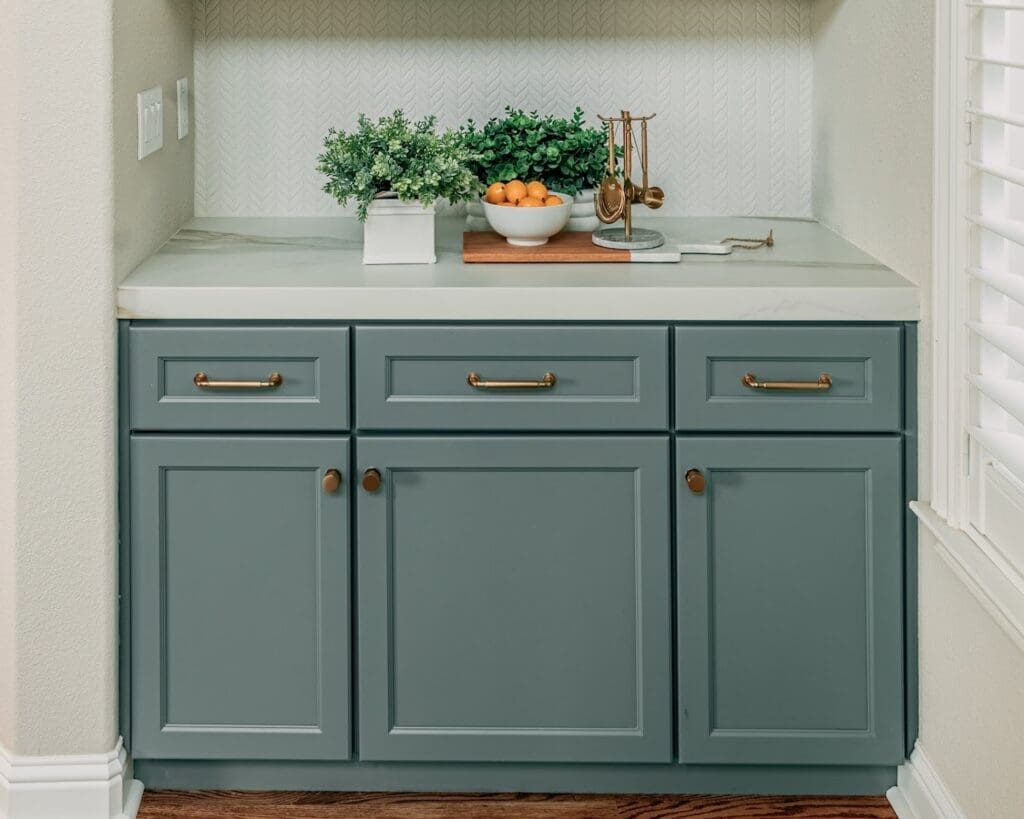
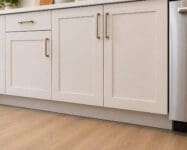
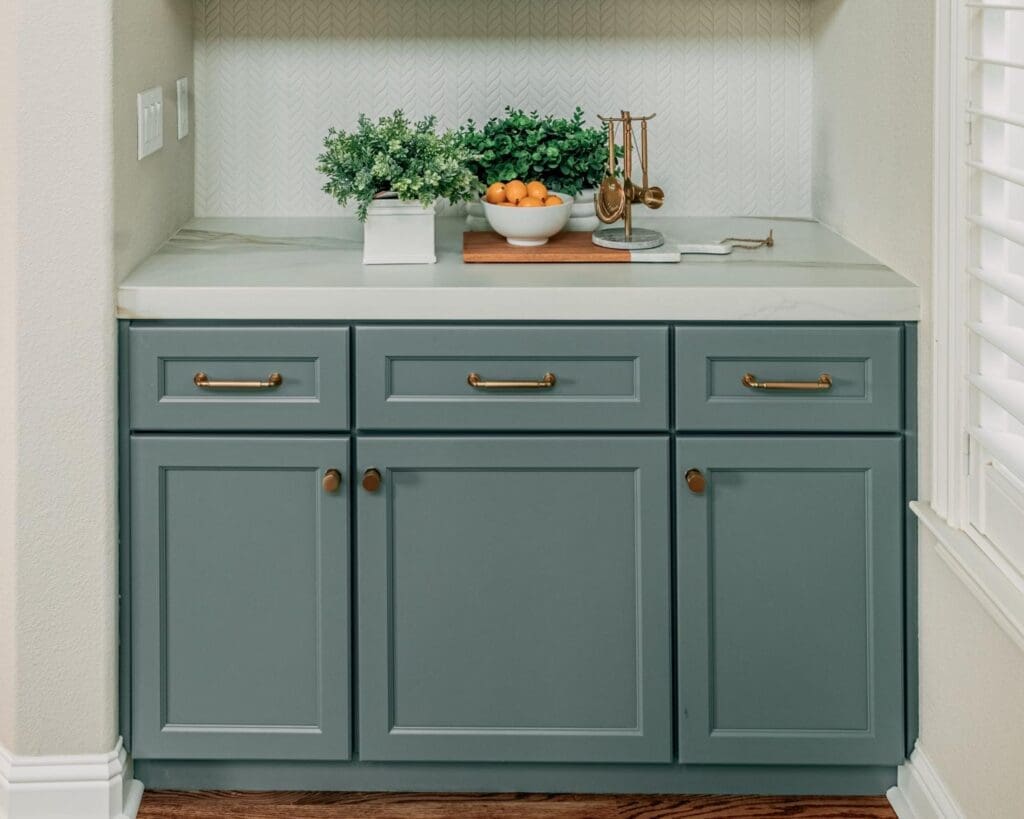
A toe kick is the recessed notch at the bottom front of your base cabinets, where the cabinet face is set back from the floor. That little setback gives your toes somewhere to go when you step up close to the counter or sink, so you can lean in to work without your feet hitting the cabinet. Nearly every base cabinet has one, and it’s covered by a finished panel — sometimes called a toe-kick panel or, in British usage, a kickboard — that hides the gap and the cabinet legs underneath for a clean look.
Standard Toe Kick Dimensions

The toe kick has become standardized across the cabinet industry, which keeps your counter at a comfortable working height:
- Height: about 3.5 inches — enough clearance for your foot without raising the counter awkwardly.
- Depth: about 3 inches — enough setback to tuck your toes comfortably as you stand at the counter.
That 3.5-inch toe-kick height is part of the overall base cabinet height: a standard base cabinet is 34.5 inches tall, and with the countertop on top the work surface lands at the standard 36 inches. So the toe kick isn’t separate from your counter height — it’s built into it. In custom kitchens we occasionally adjust the toe-kick height slightly for a very tall household, but the 3.5-inch standard works for most people.
Why Is It Called a “Toe Kick”?

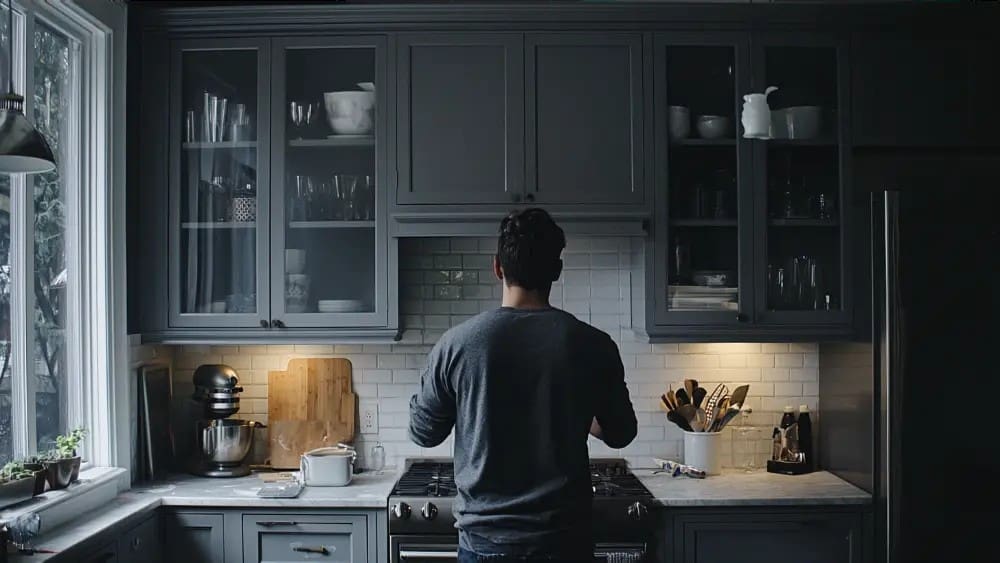
The name is about as literal as it gets: it’s the space where your toes go. When you stand at the counter to chop vegetables or at the sink to wash dishes, the recess lets your feet tuck under the cabinet so you can stand up straight and close to your work. Without it, you’d be standing several inches back and leaning forward all day — hard on your back. You’ll also hear it called a toe space, toe board, plinth, or kickboard, but they all describe the same thing.
Do All Cabinets Need a Toe Kick?

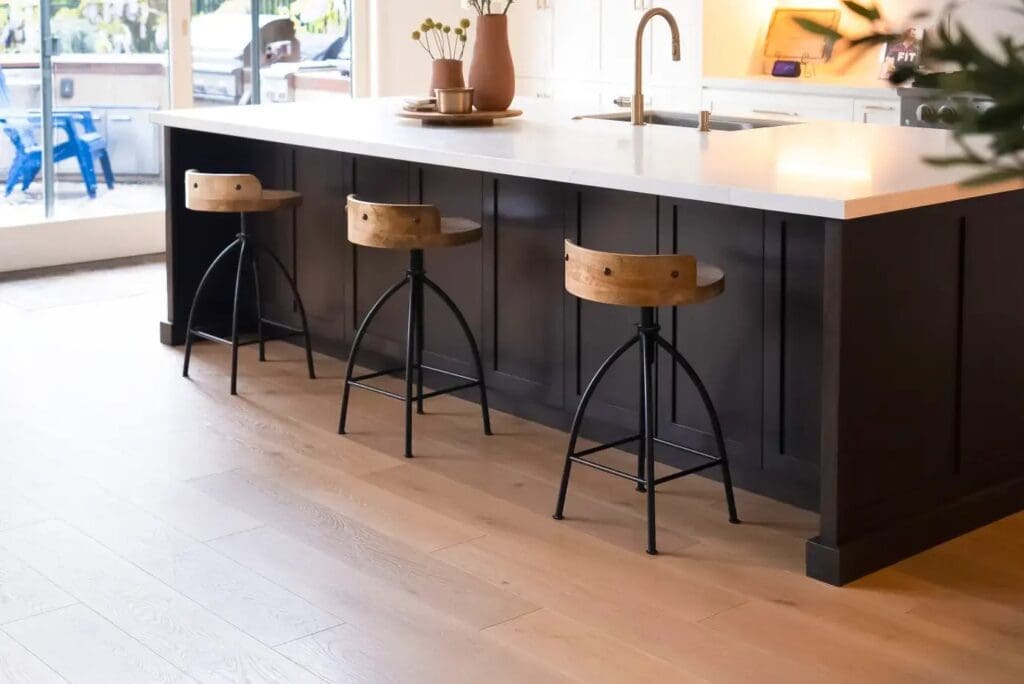
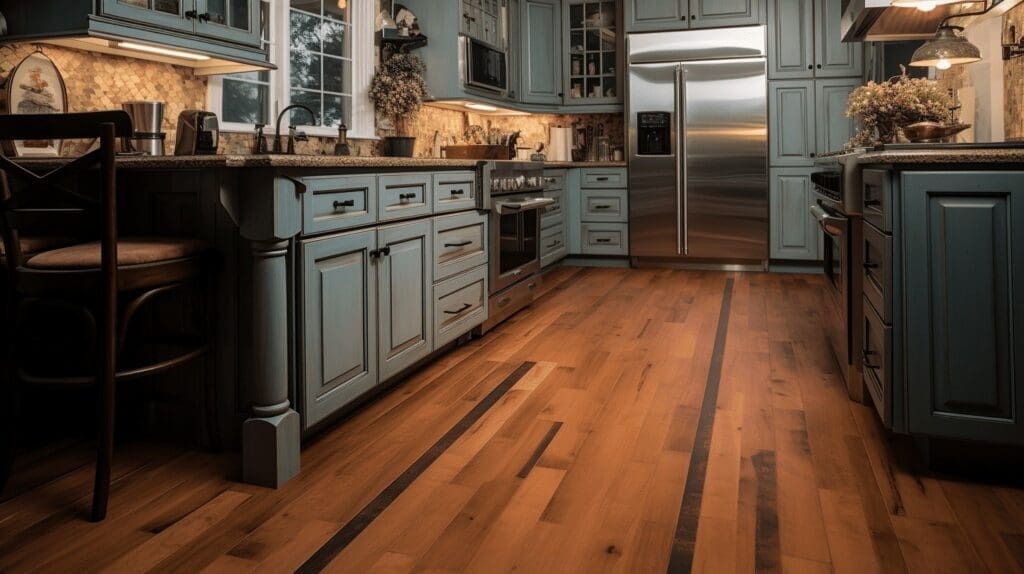
Base cabinets where you stand and work — the main run, the sink base, the prep areas — should have a toe kick for comfort. Wall cabinets don’t need one, since you don’t stand at them the same way. The interesting exceptions are design choices: furniture-style islands and some custom pieces are sometimes built without a toe kick, sitting on visible legs or a solid base to look like freestanding furniture. That’s a deliberate aesthetic decision. But for standard working base cabinets, a toe kick is the norm and I recommend it — the comfort difference over years of daily cooking is real.
Can You Add a Toe Kick to Existing Cabinets?
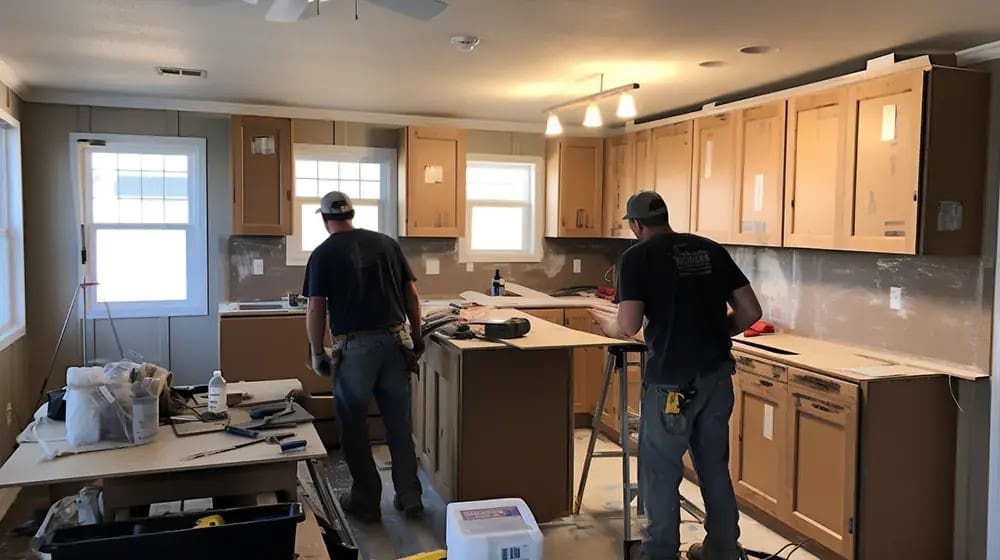
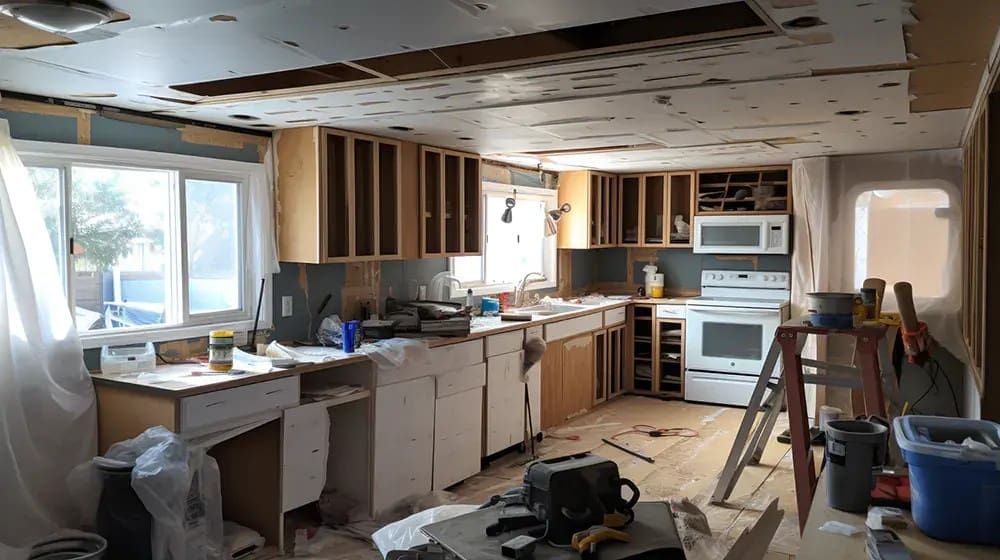
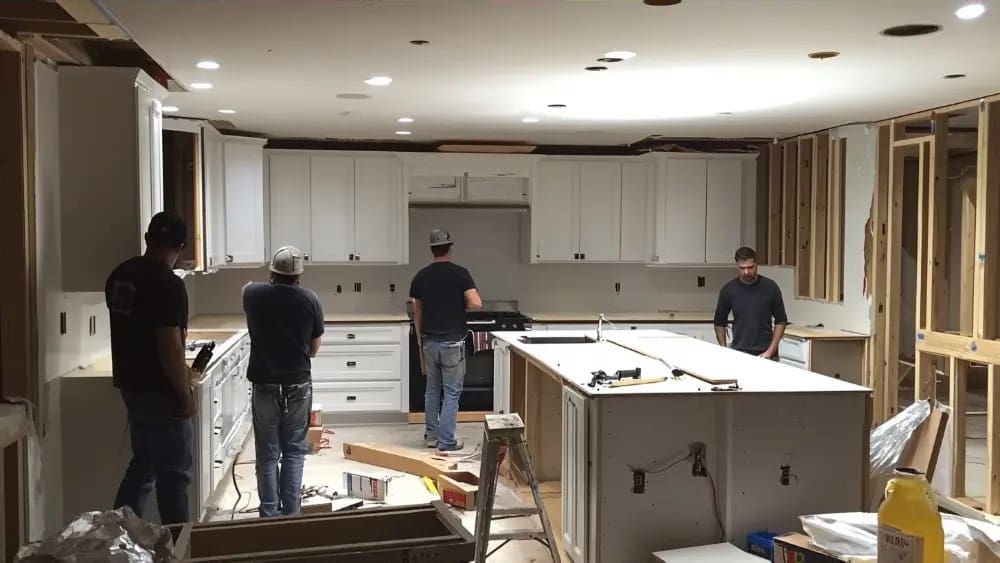
Sometimes, yes — but it depends on how your existing cabinets were constructed, because the recess has to be cut into or built around the cabinet base. It’s much more straightforward to handle during a remodel or a cabinet replacement than as a one-off modification. If your current cabinets are uncomfortable to stand at, or the toe-kick panel is damaged or missing, that’s worth raising when you’re planning any kitchen work. My team can assess whether your cabinets allow a toe kick to be added or adjusted, and handle the finish so it matches cleanly.
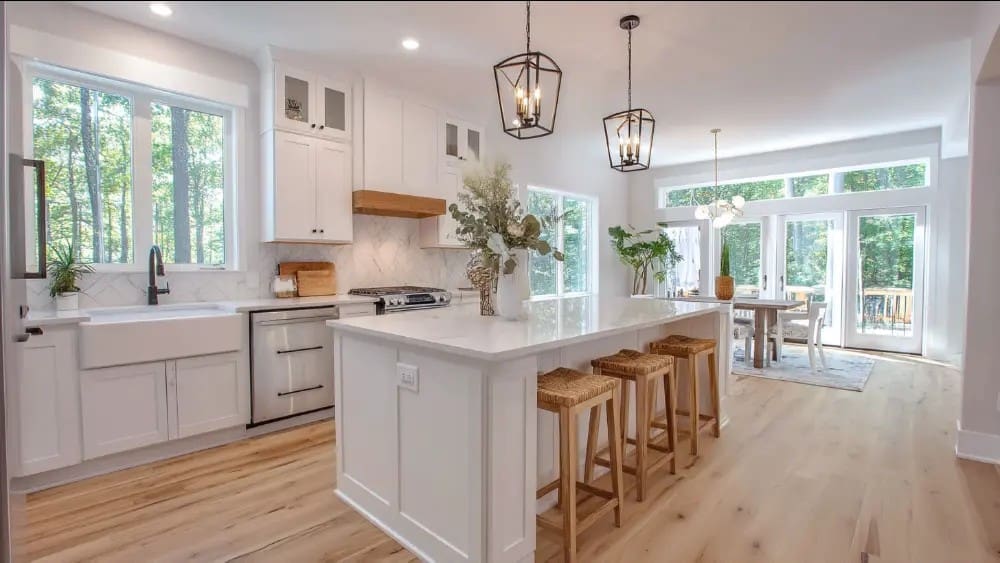
A Small Detail, Done Right

The toe kick proves a point I make on every project: in a kitchen, the small details are what separate a comfortable, well-built space from one that just looks fine in photos. Standard dimensions — 3.5 inches tall, 3 inches deep — exist because they work, and a properly finished toe-kick panel ties the base of your cabinets together. If you’re planning a kitchen remodel and want every detail handled with this kind of care, my team at America’s Advantage Remodeling has been building Sacramento-area kitchens since 2001, entirely in-house. Reach out for a free in-home consultation and we’ll make sure your kitchen is comfortable down to the last three inches.
FAQ Section (PAA-sourced, answer-first for AEO)
Pulled from live Google PAA, filtered through the 3-test conversion filter, written answer-first for AI Overview and featured snippet citation.
Q: What is a kitchen toe kick?
A: A kitchen toe kick is the recessed notch at the bottom of base cabinets, where the cabinet face is set back from the floor to make room for your toes. It lets you stand comfortably close to the counter without stubbing your feet against the cabinet base. The toe kick is a standard feature on virtually all base cabinets and is both functional and, when finished properly, part of a clean built-in look.
Q: What is the standard toe kick for kitchen cabinets?
A: The standard kitchen toe kick is about 3.5 inches tall and 3 inches deep, a size that has become the industry norm because it comfortably accommodates the average foot while keeping the counter at the standard 36-inch height. Some custom kitchens vary this slightly for taller users or for a different look. The 3.5-inch height is included in the overall base cabinet height of 34.5 inches.
Q: Why is it called a toe kick?
A: It’s called a toe kick because the recessed space is where your toes go when you stand close to the counter — the notch gives your feet somewhere to tuck so you can lean in to work at the counter or sink without kicking the cabinet. The name simply describes its function. You may also hear it called a toe space, toe board, or, in British usage, a kickboard or plinth.
Q: Do all kitchen cabinets need a toe kick?
A: Base cabinets need a toe kick for comfortable standing at the counter, but wall cabinets and some specialty pieces like furniture-style islands do not. The toe kick is specifically a base-cabinet feature tied to standing and working at counter height. Some designs intentionally omit it on islands or furniture-look cabinets to create a different aesthetic, but for standard run-of-the-mill base cabinets where you stand and work, a toe kick is standard and recommended.
Q: Can you add a toe kick to existing cabinets?
A: Yes, a toe kick can sometimes be added or modified on existing cabinets, but it depends on how they were built, since the recess has to be cut into or built around the existing cabinet base. It’s more straightforward to address during a remodel or cabinet replacement than as a standalone change. A remodeler can assess whether your existing cabinets allow a toe kick to be added or adjusted.
Q: What is a kickboard in a kitchen?
A: A kickboard is the British term for the removable panel that covers the toe-kick recess at the bottom of kitchen base cabinets, hiding the cabinet legs and the gap beneath. In American kitchens this same piece is usually called the toe kick or toe-kick panel. It gives the base of the cabinets a finished look and can be removed for access to the floor space underneath.