What Appliances Should Be Upgraded During a Kitchen Remodel?
What Appliances Should Be Upgraded During a Kitchen Remodel?
A Complete Homeowner’s Guide
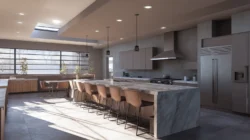
A kitchen remodel is one of the most valuable upgrades a homeowner can make, but the real success of a project depends heavily on the appliances selected. Many homeowners focus on cabinets, countertops, and layout, but the truth is that kitchen appliances determine how the space actually performs in daily life. Understanding what appliances should be upgraded during a kitchen remodel helps ensure better efficiency, improved cooking performance, and long-term value for the home.
The answer to what appliances should be upgraded during a kitchen remodel becomes clearer when you evaluate how each appliance supports cooking, storage, energy use, and daily lifestyle needs. From refrigerators and dishwashers to ranges, ovens, and ventilation systems, every decision impacts performance, design, and long-term satisfaction.
Why Appliance Upgrades Matter in a Kitchen Remodel
A kitchen remodel is the ideal time to evaluate appliances because everything in the space is being redesigned. Cabinets, counters, electrical systems, and layout are already open for modification, making appliance upgrades more efficient and cost effective, but these changes may also trigger permit requirements for a kitchen remodel depending on your local building codes and project scope.
Functionality and Daily Cooking Performance
Modern appliances significantly improve cooking performance and simplify daily life. Whether preparing quick meals like instant oatmeal or full family dinners, updated kitchen appliances provide better heat control, faster cooking, and more consistent results. Cooking habits play a major role in determining which appliances will deliver the most value in a kitchen remodel.
Energy Efficiency and Lower Utility Costs
One of the biggest benefits of appliance upgrades during a kitchen remodel is improved energy efficiency. Older kitchen appliances often consume more electricity and gas, increasing energy bills over time. Newer energy efficient appliances and ENERGY STAR rated appliances reduce waste, lower utility bills, and improve overall performance, especially in high-use appliances like refrigerators, dishwashers, ovens, and ranges; understanding how much appliances cost per month can help you prioritize which units to replace first.
Home Value and Resale Appeal
Updated kitchen appliances are a major factor in increasing home value. Buyers today expect modern kitchens with matching appliances, improved energy efficiency, and updated design features. A kitchen remodel that includes upgraded appliances can significantly improve resale value and overall home appeal.
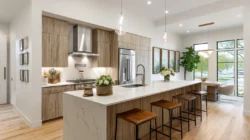
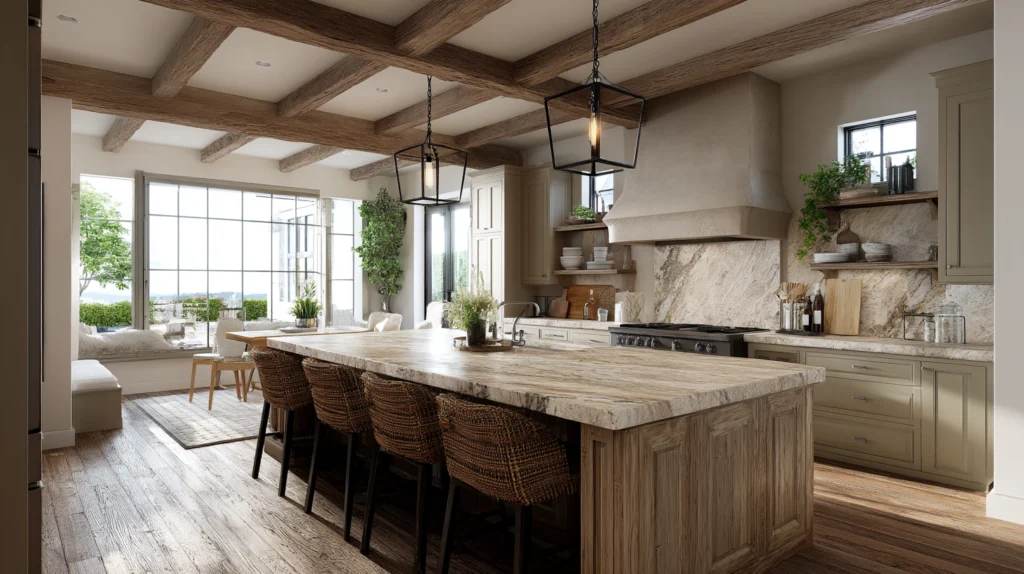
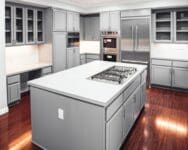
The Most Important Kitchen Appliances to Upgrade
Not every appliance needs to be replaced during a kitchen remodel, but certain kitchen appliances deliver more impact than others. These major appliances define performance, style, and efficiency in the kitchen, and pairing them with must-have kitchen appliances and tools creates a more functional and enjoyable cooking space.
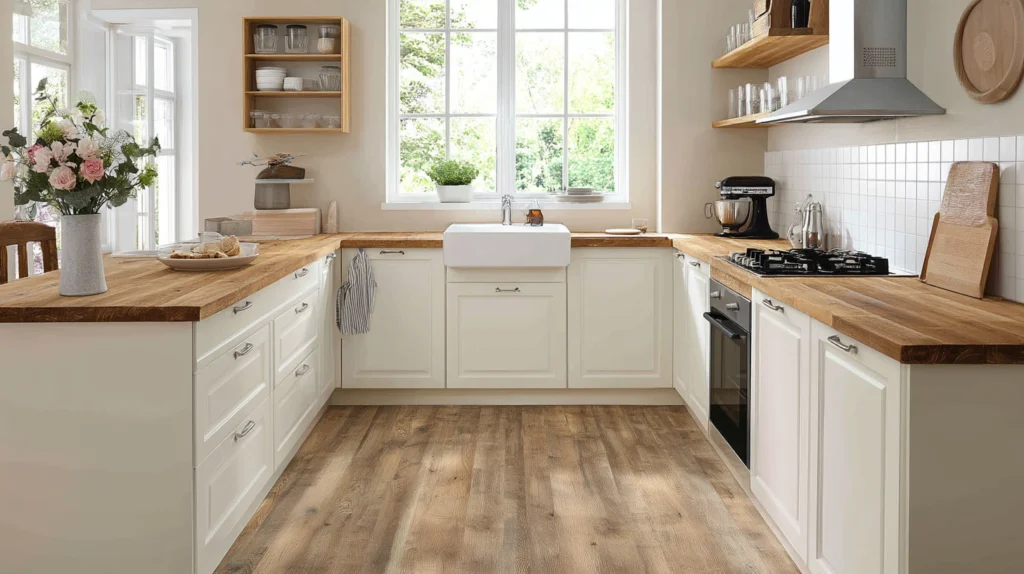
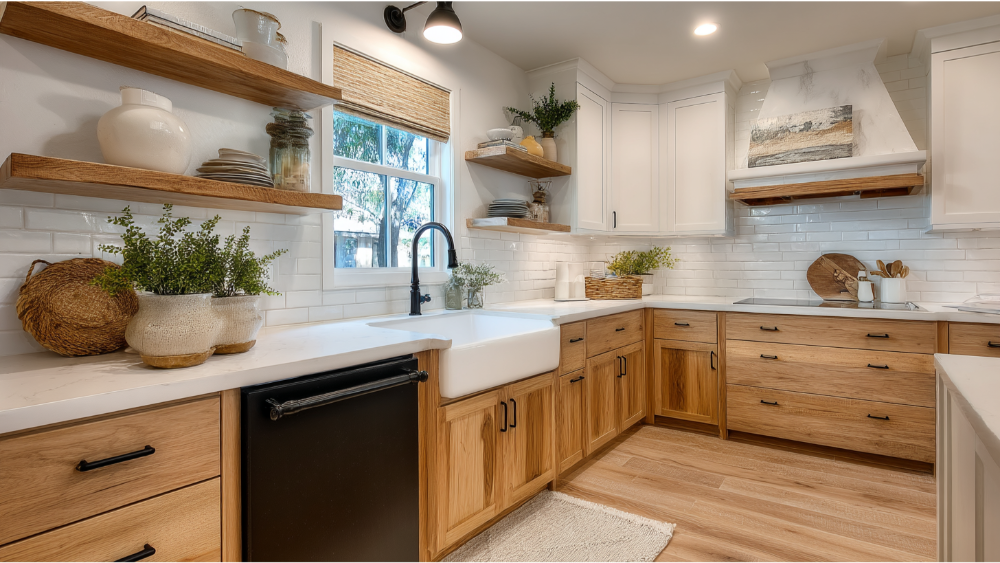
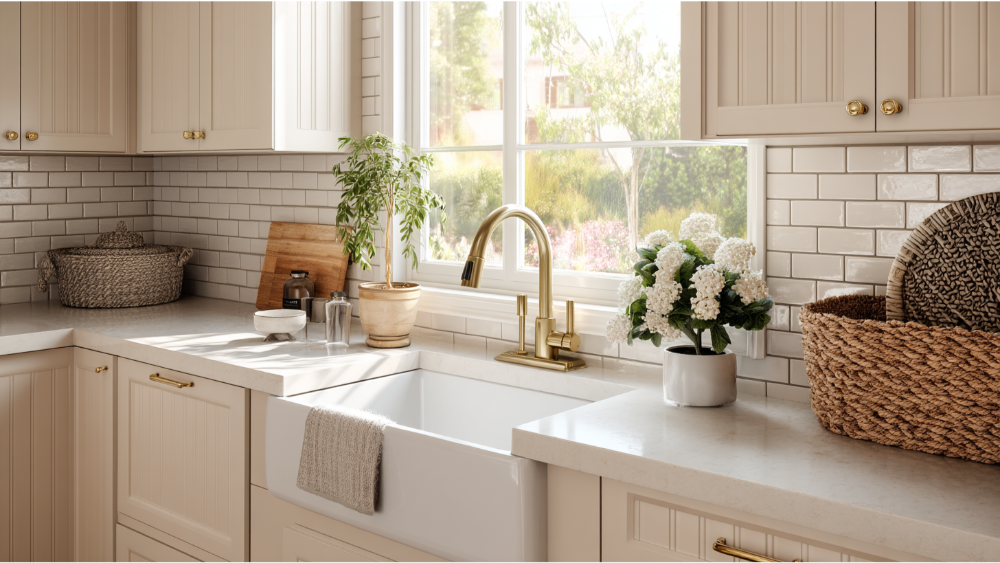
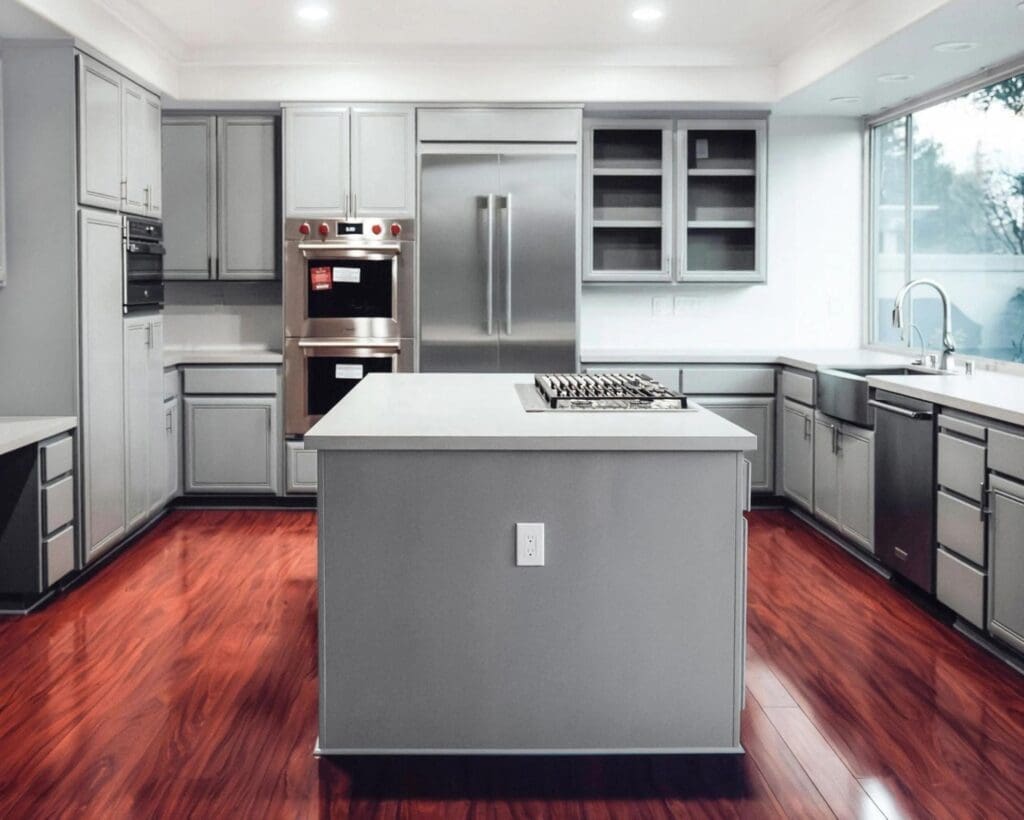
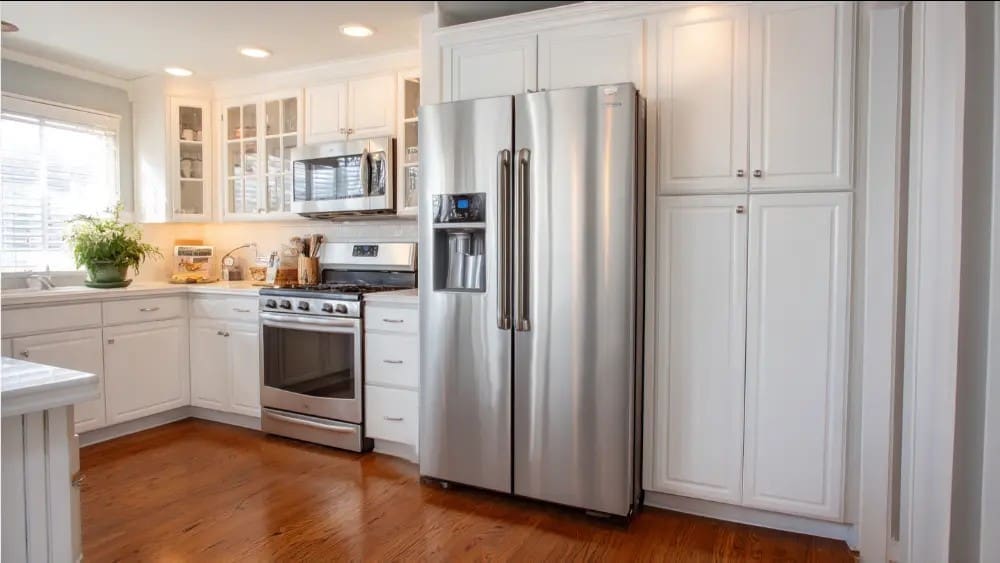
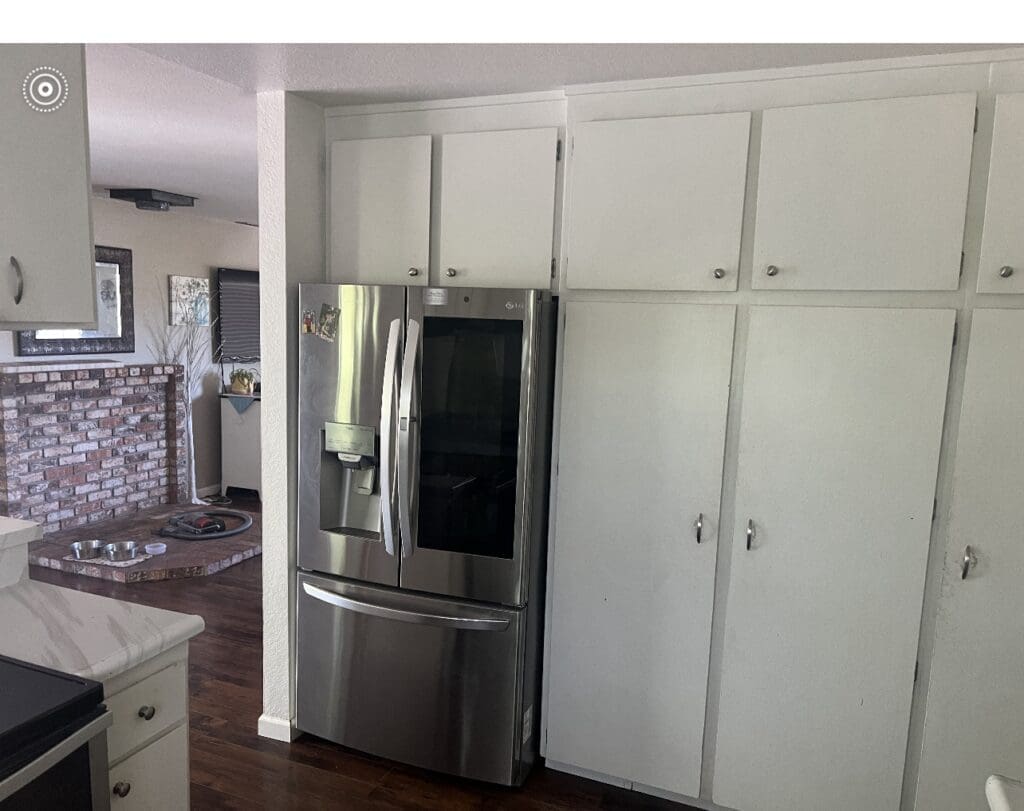
Refrigerator: The Centerpiece Appliance
The refrigerator is one of the most important kitchen appliances to upgrade during a kitchen remodel. It is used constantly and plays a major role in food storage and organization.
Modern refrigerator options include panel ready refrigerators, smart features, and improved energy efficiency. These newer models help improve kitchen layout flow, reduce energy consumption, and create more space efficiency within cabinetry and surrounding design elements.
A new refrigerator can also reduce energy bills over time while improving food storage quality and accessibility.
When to Replace a Refrigerator
Most refrigerators older than 10 to 15 years are less energy efficient and more prone to performance issues. Upgrading during a kitchen remodel ensures proper fit within cabinetry, better integration with kitchen layout, and improved long-term efficiency.
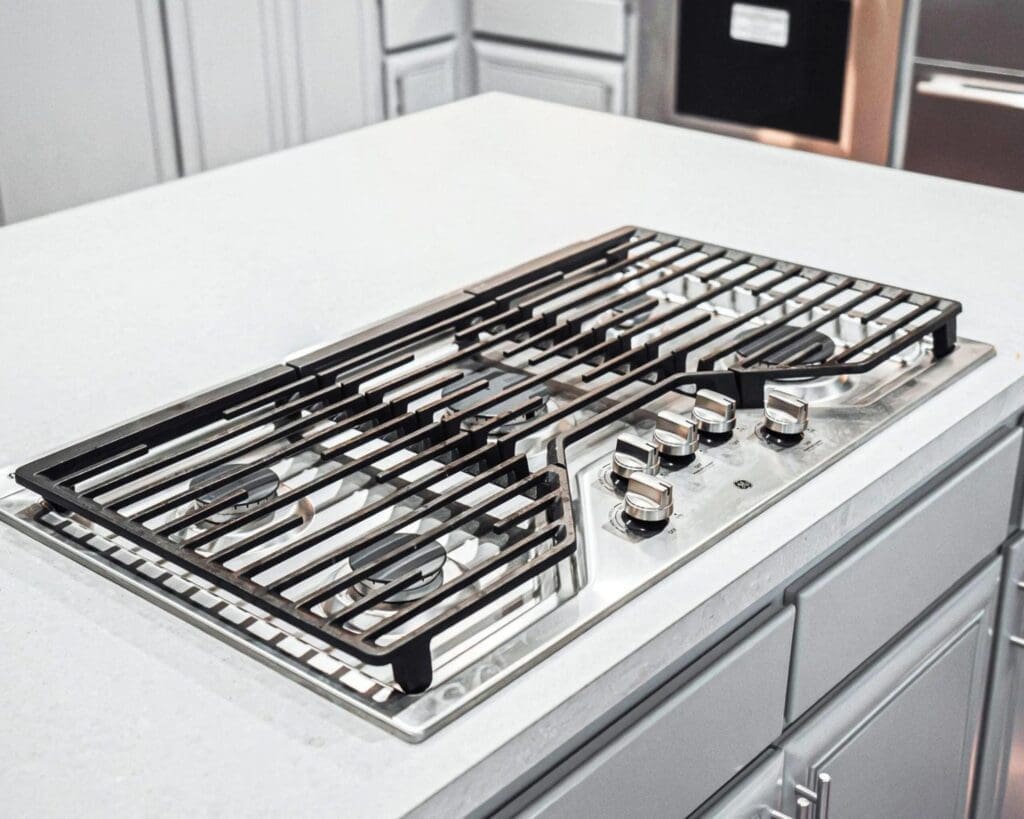
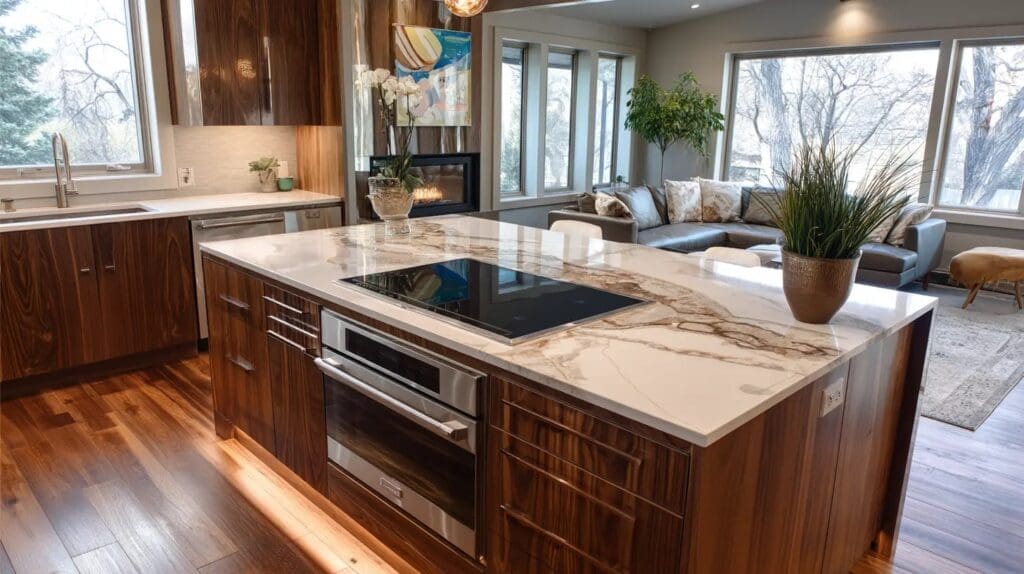
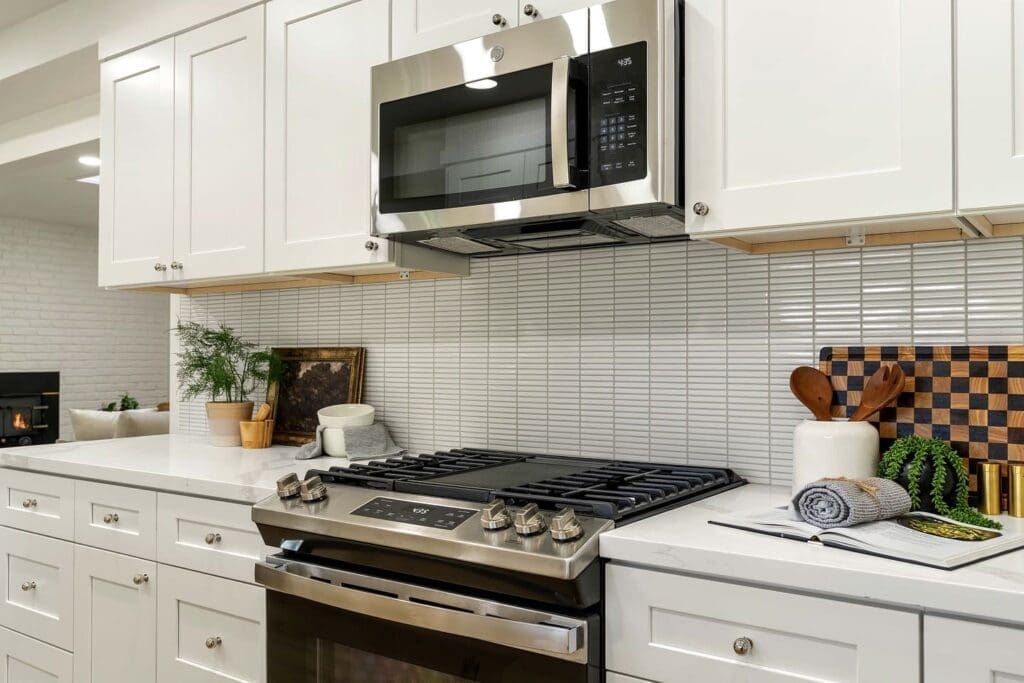
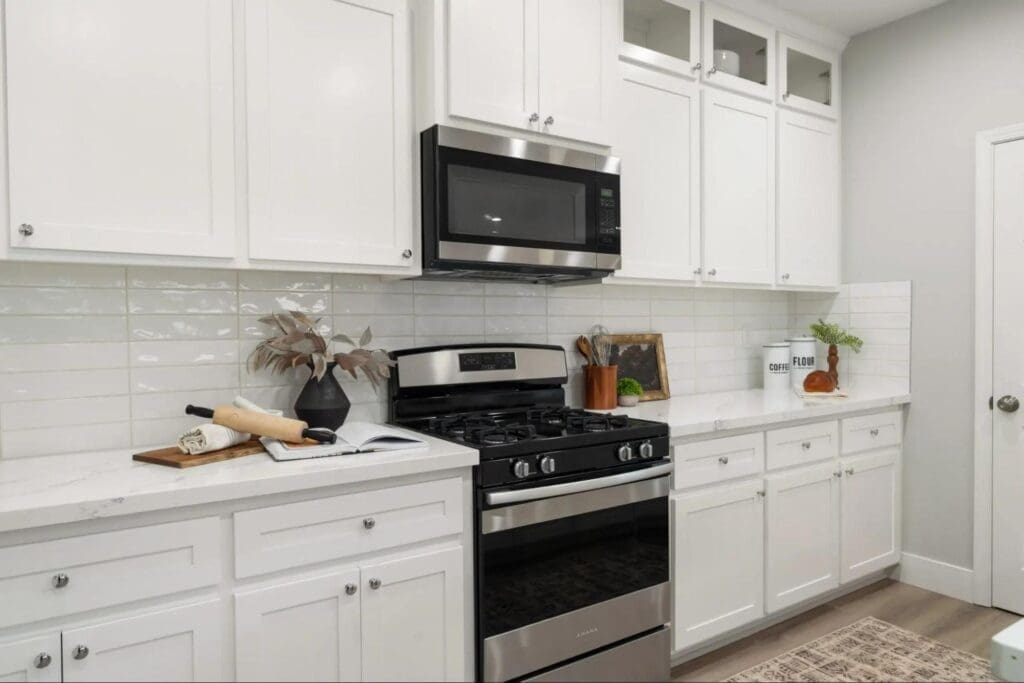
Range, Cooktop, and Stove Upgrades
The range and stove are central to cooking performance in any kitchen remodel. Homeowners often choose between gas cooktops, electric models, or induction cooktops depending on cooking habits and lifestyle preferences.
Induction cooking has become increasingly popular due to efficiency, speed, and safety. Induction cooktops use electromagnetic fields to heat cookware directly, reducing wasted energy and improving temperature control. Induction cooktops also remain a top choice in modern kitchens due to their precision and safety benefits, especially when combined with other kitchen remodel must haves for 2025 like appliance garages, multipurpose islands, and advanced storage.
Dual fuel ranges combine gas cooktops with electric ovens, offering flexibility for different cooking styles and preferences.
Induction Cooking Benefits
Induction cooking provides fast heat response, precise control, and improved safety. Induction cooktops also keep surrounding surfaces cooler, making them a strong choice for modern kitchen designs and busy households.
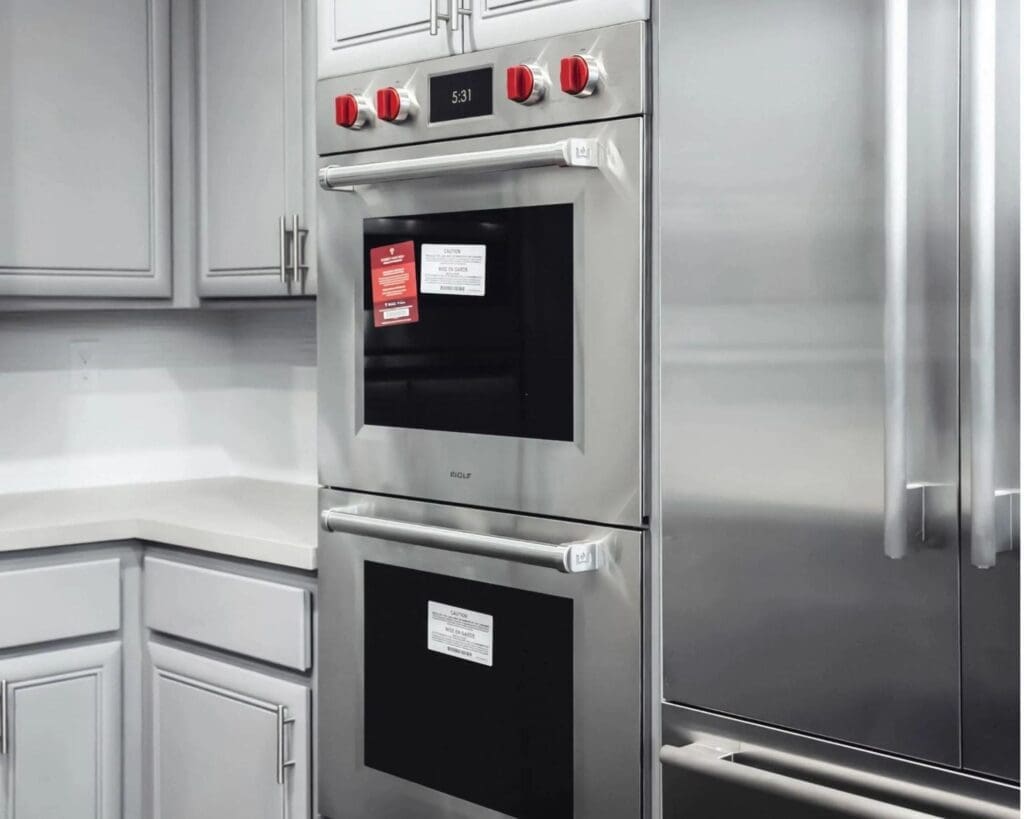
Ovens, Double Ovens, and Steam Ovens
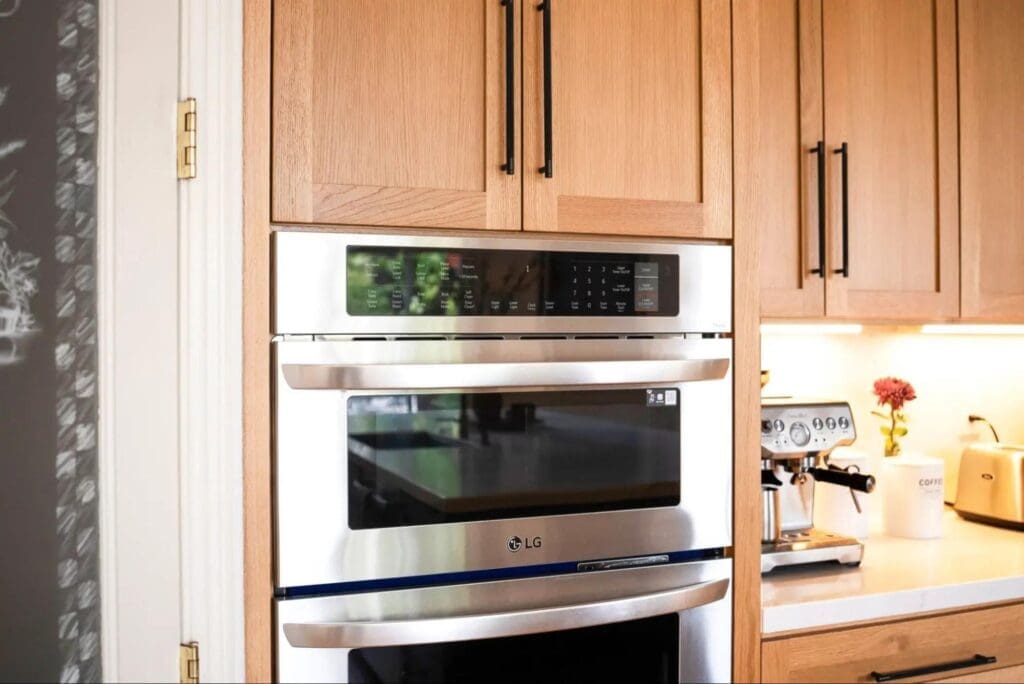
Ovens play a critical role in cooking performance during a kitchen remodel. Many homeowners upgrade to double ovens or convection oven systems for more flexibility and improved cooking efficiency.
Steam ovens are becoming increasingly popular in modern kitchen design. Steam ovens help retain moisture in food while offering healthier cooking methods and improved texture. Many homeowners find steam ovens especially useful for vegetables, proteins, and baked dishes.
Smart ovens and newer models often include smart features like remote monitoring, timers, and cooking presets that simplify cooking and improve consistency. Steam ovens are often paired with convection oven systems for even greater flexibility.
Double ovens allow multiple dishes to cook at different temperatures, improving efficiency during meal preparation and entertaining.
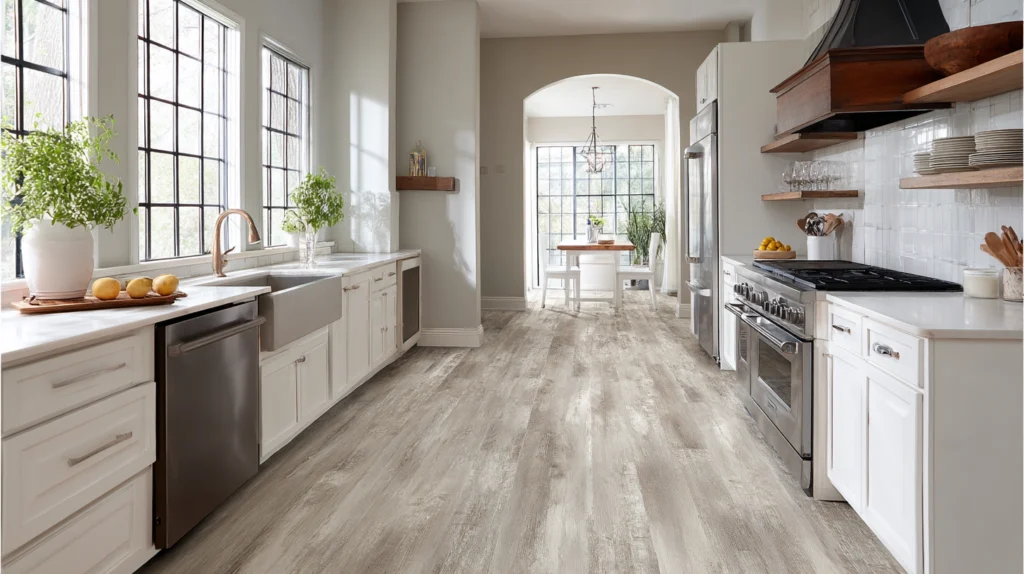
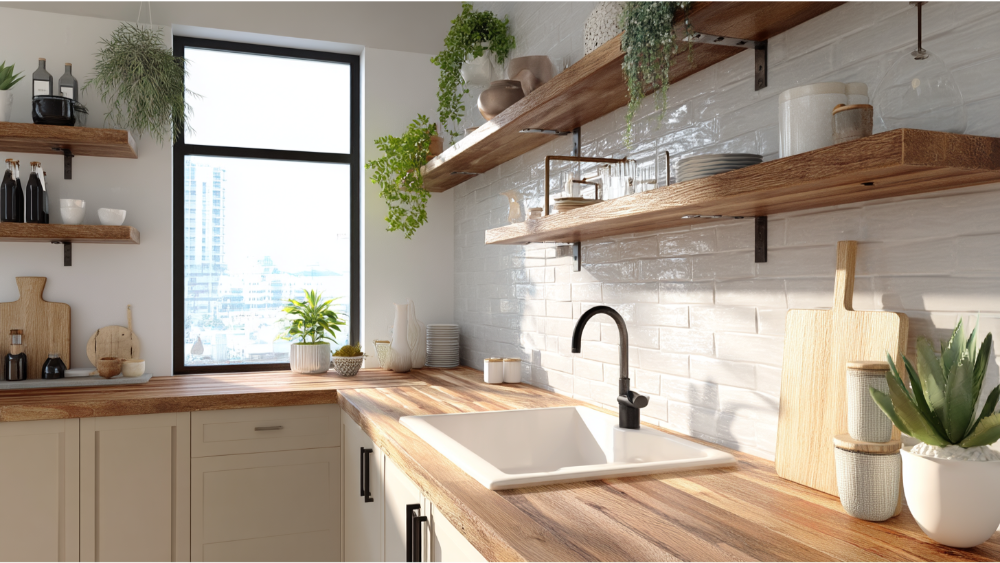
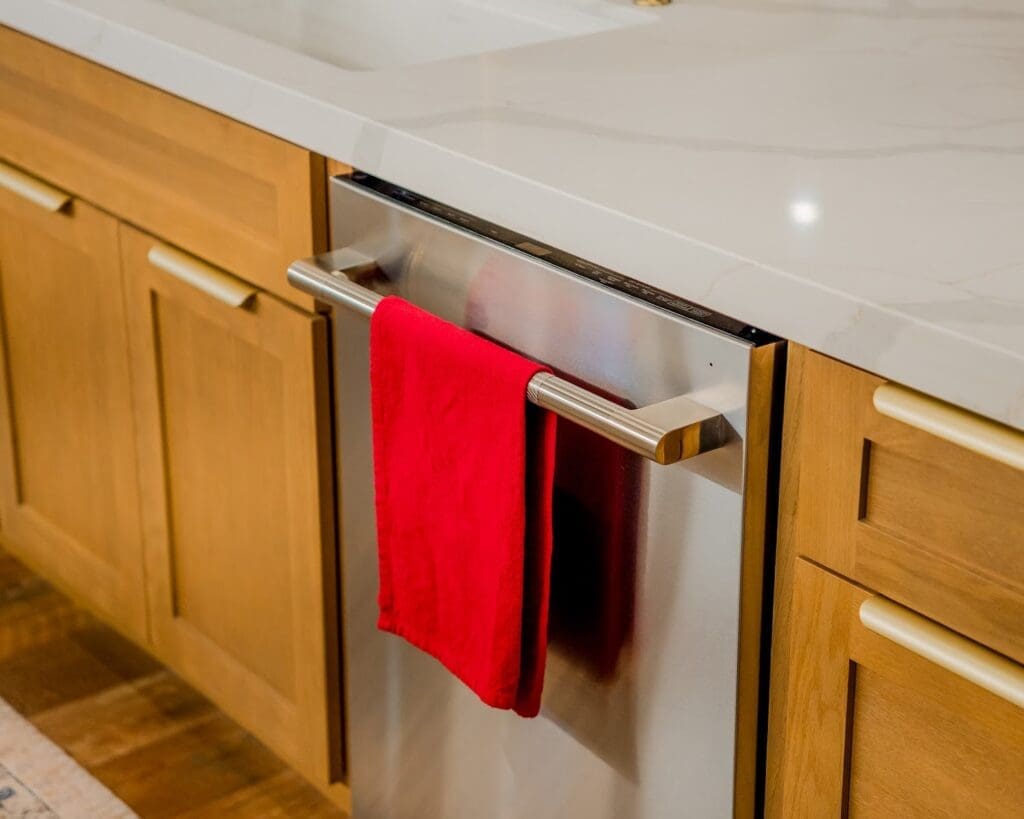
Dishwasher Upgrades
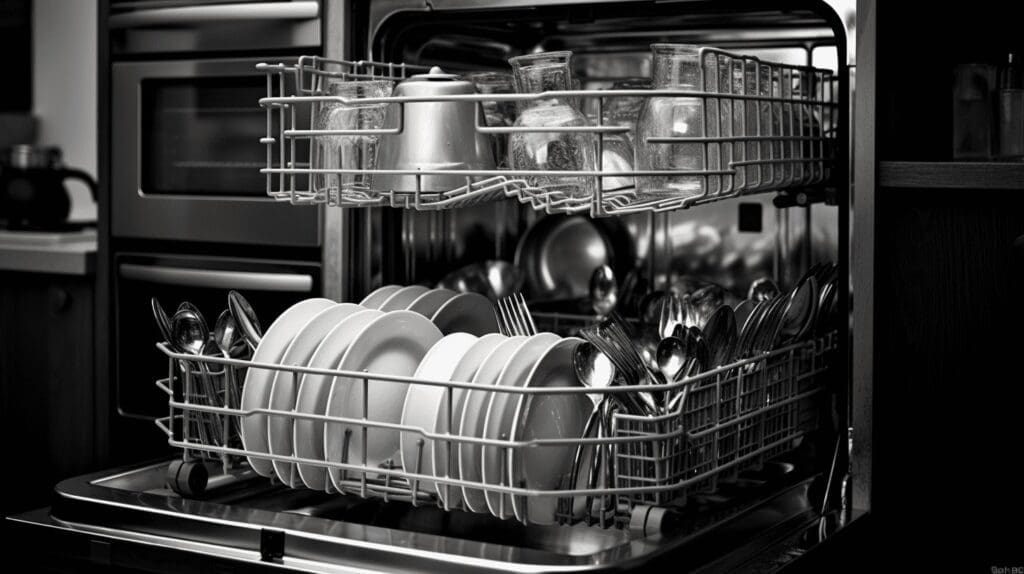
Dishwashers are one of the most frequently used kitchen appliances, making them an essential upgrade during a kitchen remodel. Modern dishwashers are quieter, more efficient, and offer improved cleaning performance compared to older models.
Newer dishwashers include features like third racks, improved drying systems, and optimized water usage. These improvements reduce water consumption, improve cleaning results, and enhance overall kitchen workflow.
A high quality dishwasher also contributes to better daily cooking cleanup and supports a smoother kitchen workflow in open concept homes. Many modern dishwashers are also designed for easy cleaning and improved long-term durability.
Microwave and Drawer Style Options
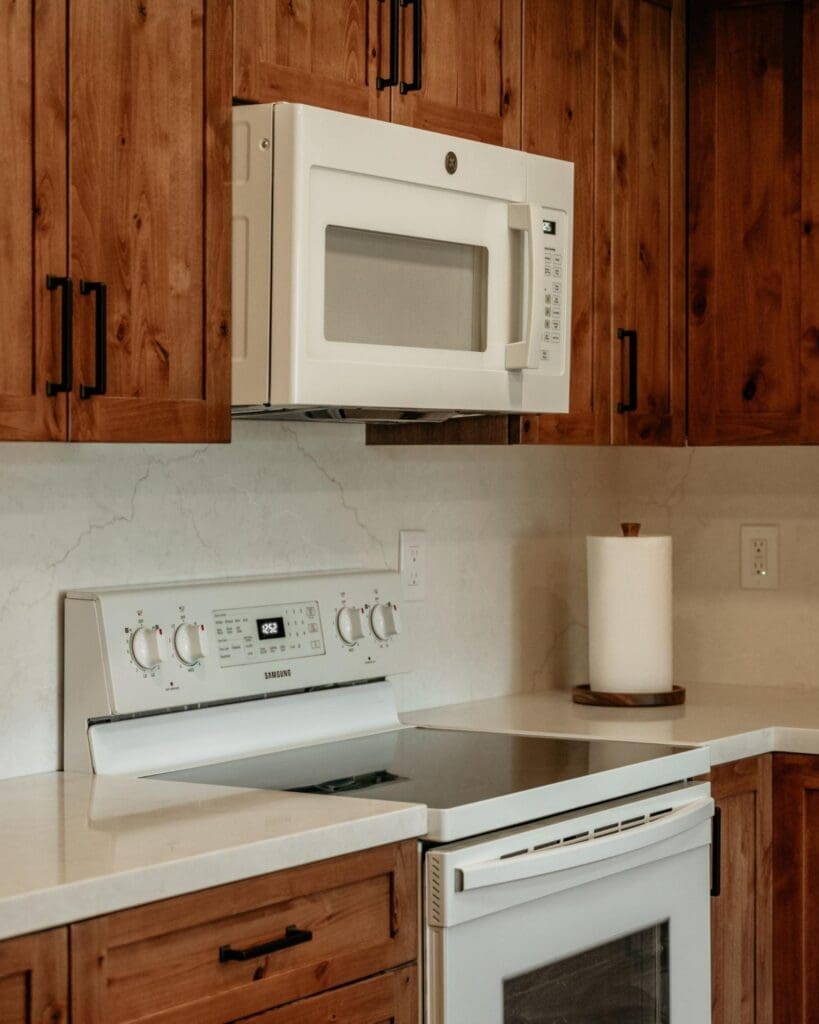
Microwaves are often overlooked, but they play an important role in kitchen convenience. Many homeowners upgrade to drawer style microwaves or built in units during a kitchen remodel to improve space efficiency.
These microwave options free up counter space, improve kitchen layout flow, and integrate better with cabinetry and wall cabinets. Drawer style microwaves are especially useful for maintaining clean counters and maximizing usable kitchen space.
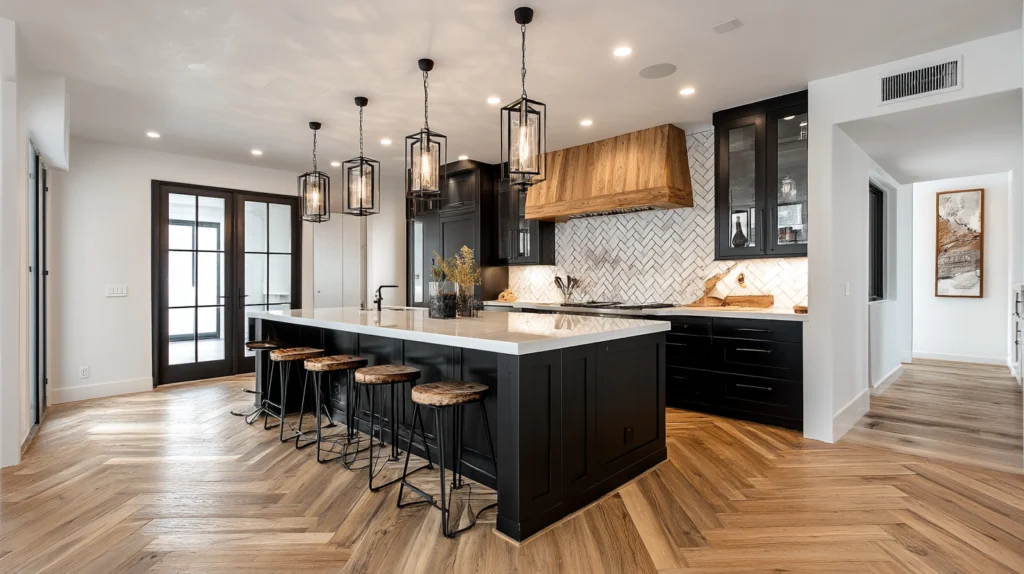
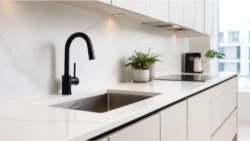
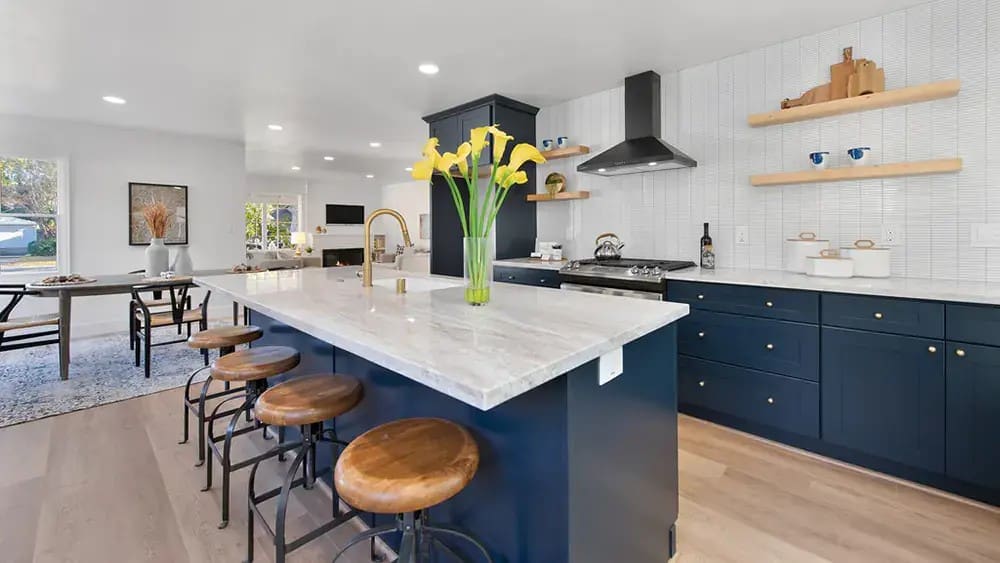
Range Hood and Ventilation Systems
The range hood is one of the most important but often underestimated kitchen appliances. A proper range hood improves air quality, removes heat, and eliminates cooking odors while supporting safe cooking conditions.
During a kitchen remodel, upgrading the range hood ensures proper ventilation for gas cooktops, induction cooktops, and high performance ranges. Without proper ventilation, cooking performance and indoor air quality can suffer significantly.
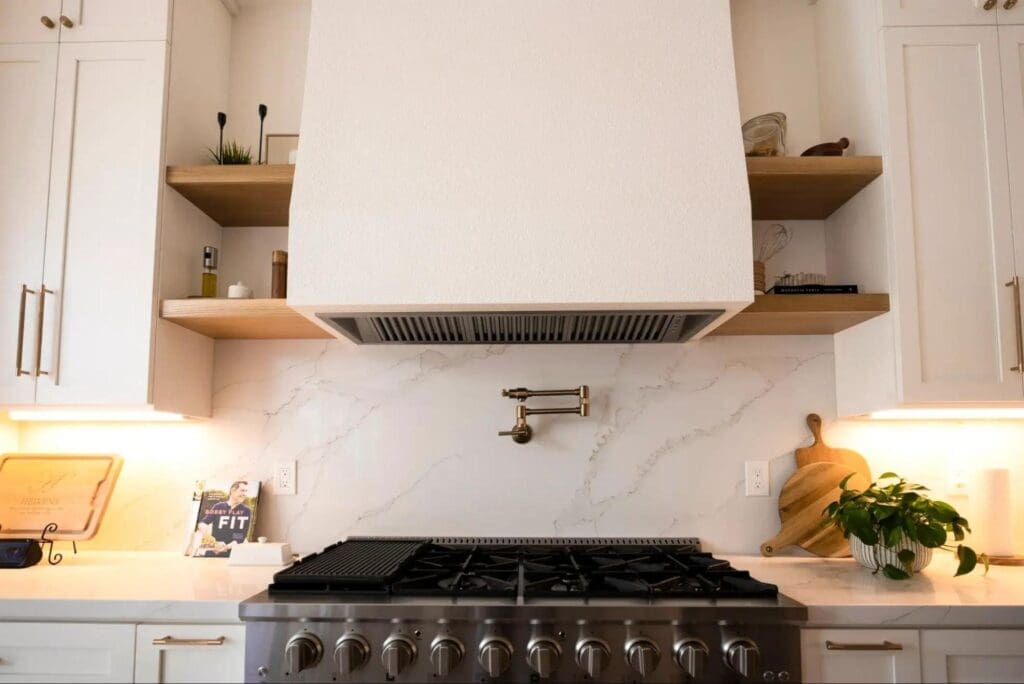
Modern range hood systems also enhance kitchen style and can act as a visual centerpiece in the overall design.
Secondary Appliances That Add Value and Convenience
In addition to major appliances, many homeowners include secondary appliances during a kitchen remodel to improve lifestyle and functionality.
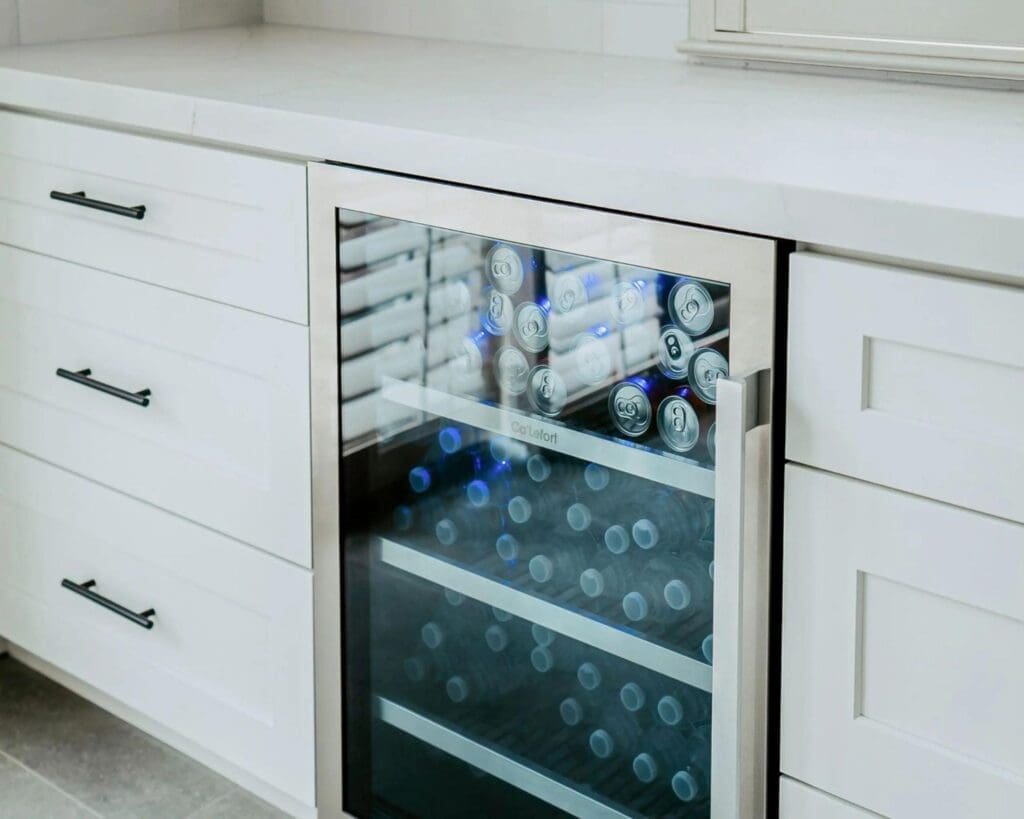
Beverage Centers and Wine Coolers
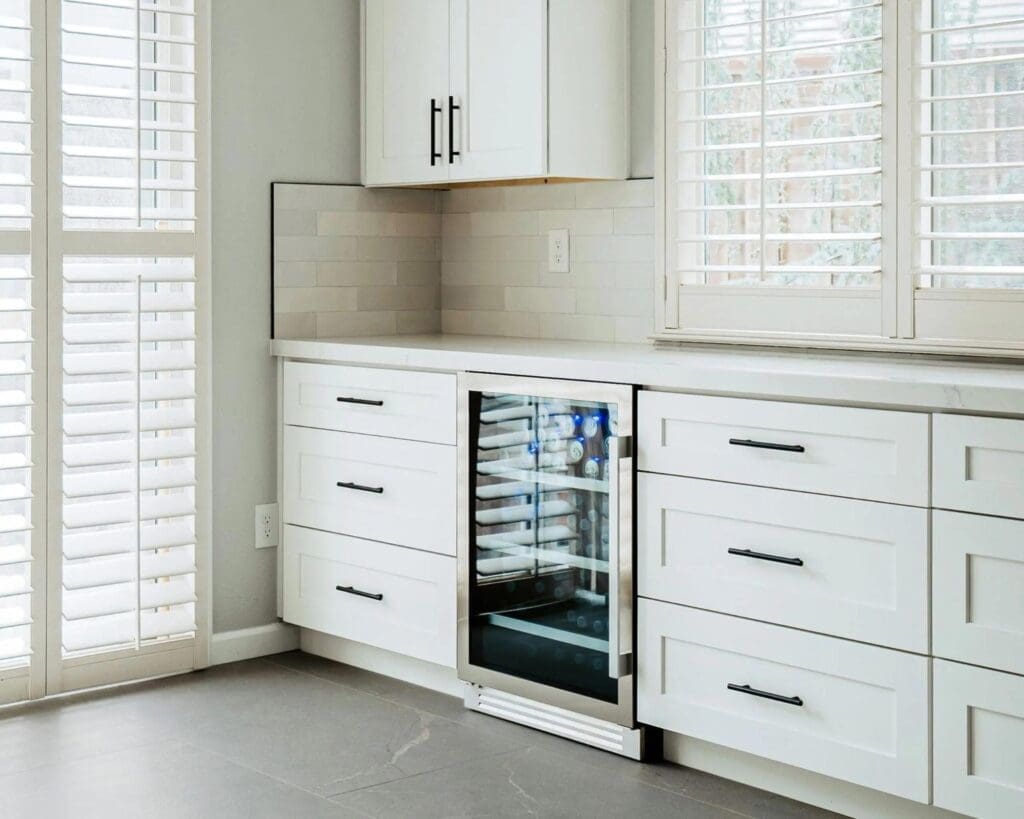
Wine coolers and beverage refrigerators are popular upgrades in modern kitchens. They provide dedicated storage for drinks, freeing up space in the main refrigerator and improving organization. Wine coolers also maintain optimal temperatures for preservation and taste.
Ice Makers and Specialty Appliances
Dedicated ice makers are increasingly popular in kitchen remodel projects. They provide consistent ice production and reduce reliance on freezer space. Many homeowners also integrate small appliances more efficiently to reduce countertop clutter and improve space usage.
Smart Kitchen Technology and Modern Features
Smart kitchen appliances are becoming standard in many kitchen remodel projects. These smart kitchen appliances include refrigerators, ovens, dishwashers, and ranges with built in connectivity and automation features.
Smart features like remote monitoring, automated cooking programs, and energy tracking make cooking easier and more efficient. Many homeowners ask whether smart kitchen appliances are worth the investment, and for most households, the improved convenience and energy efficiency make them a strong consideration.
Smart ovens, smart dishwashers, and connected refrigerators all contribute to a more efficient cooking environment while improving long-term usability.
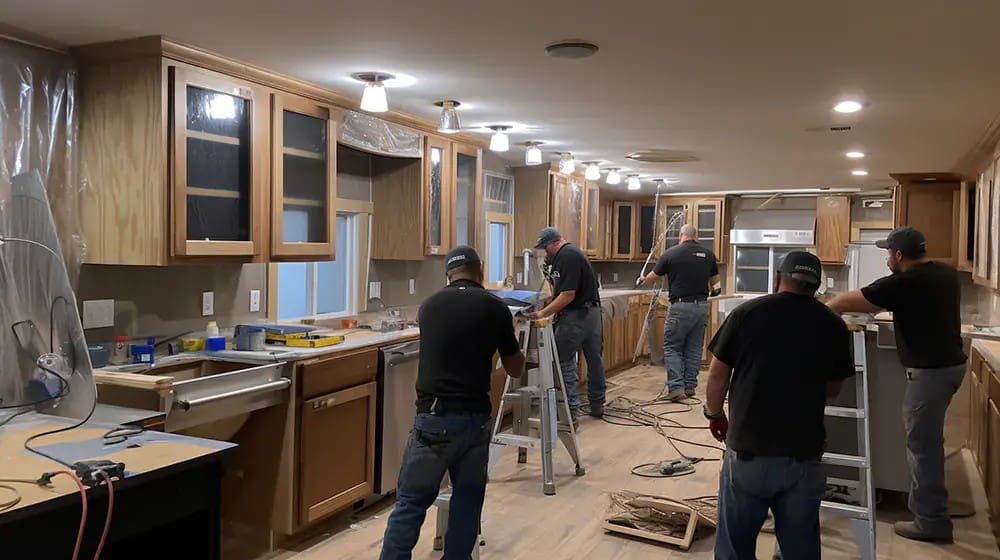
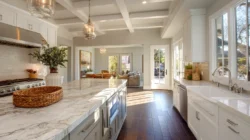
Behind the Scenes Upgrades That Matter
A successful kitchen remodel is not only about visible appliances but also infrastructure upgrades behind walls and cabinetry, as well as planning for big-ticket items like the cost to replace cabinets and countertops.
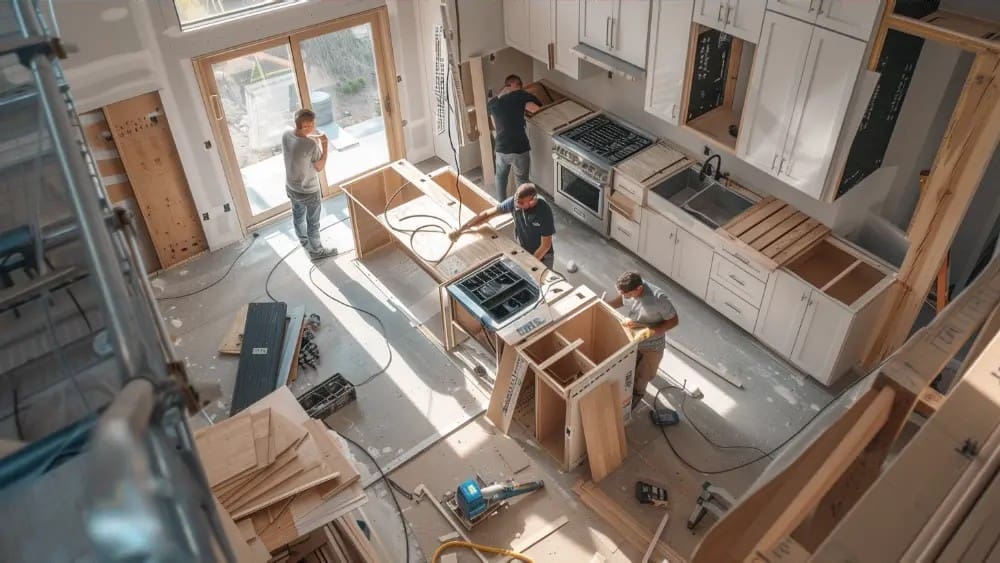
Electrical systems often need updates to support modern appliances. Gas lines may need adjustments for new ranges or conversions to induction cooktops. Proper planning ensures all appliances function safely and efficiently within the kitchen space.
Cabinetry also plays a key role in appliance integration. Wall cabinets and lower cabinets must be designed to accommodate appliance dimensions, airflow, and usability. Proper planning ensures refrigerators, dishwashers, and ovens fit seamlessly into the kitchen layout.
How to Decide Which Appliances to Upgrade

Choosing which kitchen appliances to upgrade depends on cooking habits, budget, and lifestyle needs. Families who cook frequently may prioritize ovens, ranges, and dishwashers, while others may focus on refrigerators and storage solutions, especially when planning within the overall cost of a 10×10 kitchen remodel.
Appliance selection should always align with kitchen layout, design preferences, and long-term energy efficiency goals. New appliance investments should balance performance, style, and cost effectiveness while improving daily cooking experience, and many homeowners explore financing options for a kitchen remodel to make these upgrades more affordable.
Common Mistakes Homeowners Make During a Kitchen Remodel

One common mistake is upgrading appliances without considering electrical capacity or gas line requirements. Another is focusing too heavily on style instead of functionality. Ignoring ventilation or range hood requirements can also reduce appliance performance.
Energy efficiency should always be considered when selecting kitchen appliances, as it impacts long term energy bills, cooking performance, and overall lifestyle satisfaction.
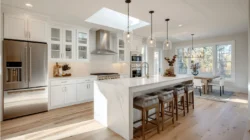
Why Professional Kitchen Remodeling Matters

A kitchen remodel requires coordination between design, cabinetry, electrical systems, and appliance installation. Professional guidance from kitchen remodeling experts in Sacramento ensures all appliances fit properly, function efficiently, and align with the overall kitchen design.
Planning appliance upgrades early in the kitchen remodel process prevents costly adjustments later and ensures a smoother remodeling experience with better long-term results, whether you’re working with kitchen remodeling professionals in Rancho Cordova or planning a mobile home kitchen remodel with its own unique layout and structural considerations.
Frequently Asked Questions
What appliances are the most important to upgrade during a kitchen remodel?
The refrigerator, range or cooktop, and dishwasher are the most critical appliances to upgrade. These are used daily and have the biggest impact on cooking performance, energy efficiency, and home value.
Are smart kitchen appliances worth the investment?
Smart kitchen appliances can make life easier by offering features like remote monitoring, automated cooking, and energy tracking. For many homeowners, these conveniences justify the added cost, especially in busy households.
How can upgrading to Energy Star appliances save money?
Energy Star-rated appliances use significantly less energy and water than older models. For example, a new Energy Star refrigerator can save about $40 annually in energy costs, and efficient dishwashers can save thousands of gallons of water over their lifespan.
When should I replace my refrigerator during a kitchen remodel?
If your refrigerator is over 10 to 15 years old, has uneven cooling, or high energy bills, it’s an excellent choice to replace it during your kitchen remodel to improve efficiency and fit within your new cabinetry.
What are panel-ready appliances, and why are they popular?
Panel-ready appliances have customizable fronts that blend seamlessly with your cabinetry, creating a sleek, integrated look. They are an excellent choice for homeowners seeking a cohesive kitchen design.
How important is ventilation in a kitchen remodel?
Proper ventilation is essential to remove smoke, steam, and odors, protecting your kitchen air quality and cabinetry. Upgrading to a ducted range hood with the correct CFM rating improves cooking conditions and overall comfort.
Conclusion
A successful kitchen remodel depends heavily on selecting the right kitchen appliances. From refrigerators and dishwashers to ovens, ranges, steam ovens, and ventilation systems, each appliance plays a critical role in cooking performance, energy efficiency, and overall lifestyle improvement. Understanding what appliances should be upgraded during a kitchen remodel ensures a better cooking experience, lower energy bills, improved home value, and a kitchen that performs as beautifully as it looks for years to come.