The Best Flooring for Kitchen in 2025: Stylish, Durable, Budget Friendly, and Eco‑Smart
Choosing the best flooring for kitchen isn’t just about aesthetics, it’s about selecting flooring materials that are water resistant, comfortable, durable, stain resistant, and suited to withstand heavy foot traffic in a busy kitchen environment, while harmonizing with your design vision and budget.
At America’s Advantage Remodeling, we guide homeowners in Sacramento and beyond to find the right flooring for a kitchen space that blends timeless appeal, natural beauty, high performance, and low maintenance in 2025.
What to Look for in Flooring for a Kitchen in 2025
Durability, water resistance, low maintenance, comfort underfoot, design flexibility, budget friendly and environmentally friendly options are the essentials. When choosing new flooring for a kitchen, high traffic areas, food spills, and moisture prone areas demand resilient, easy to clean solutions.
Consider whether you want flooring that is soft underfoot like cork flooring, or highly durable like ceramic and porcelain tiles. The flooring should also complement cabinetry, countertops, and lighting while providing long-term satisfaction.
Top 6 Flooring Options for a Kitchen Ranked for 2025
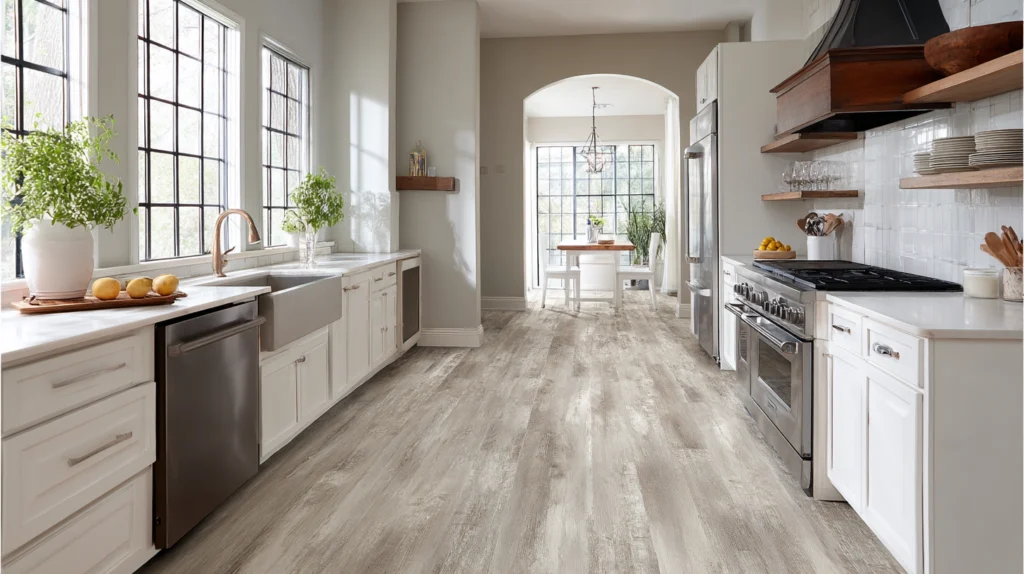
1 | Luxury Vinyl Plank, Luxury Vinyl Tile, and Vinyl Flooring
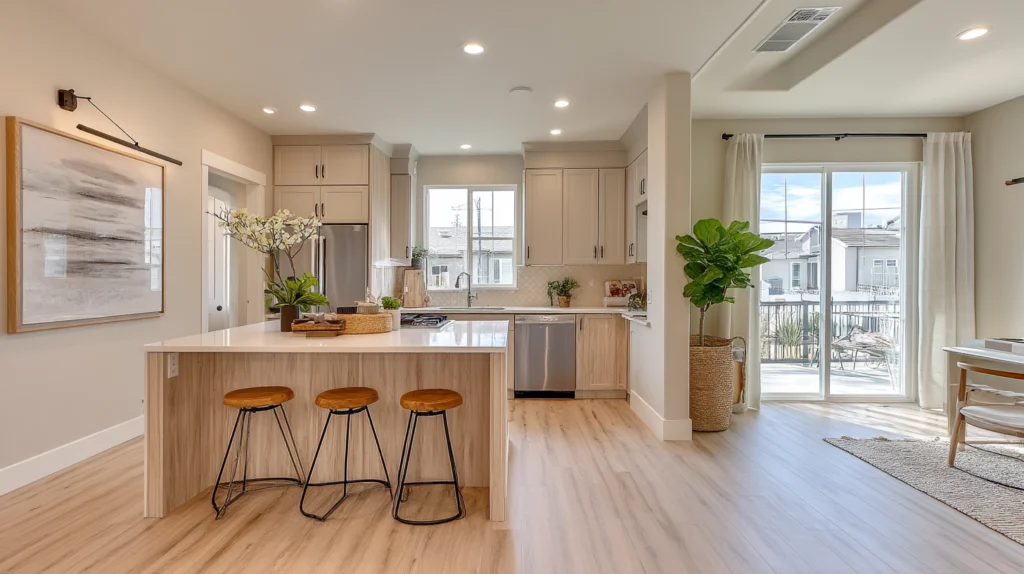
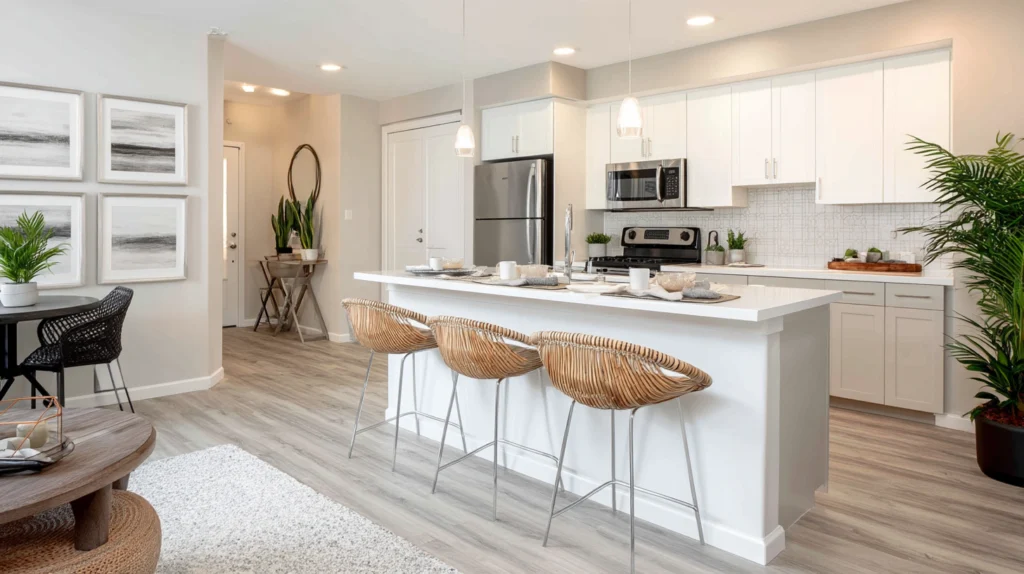
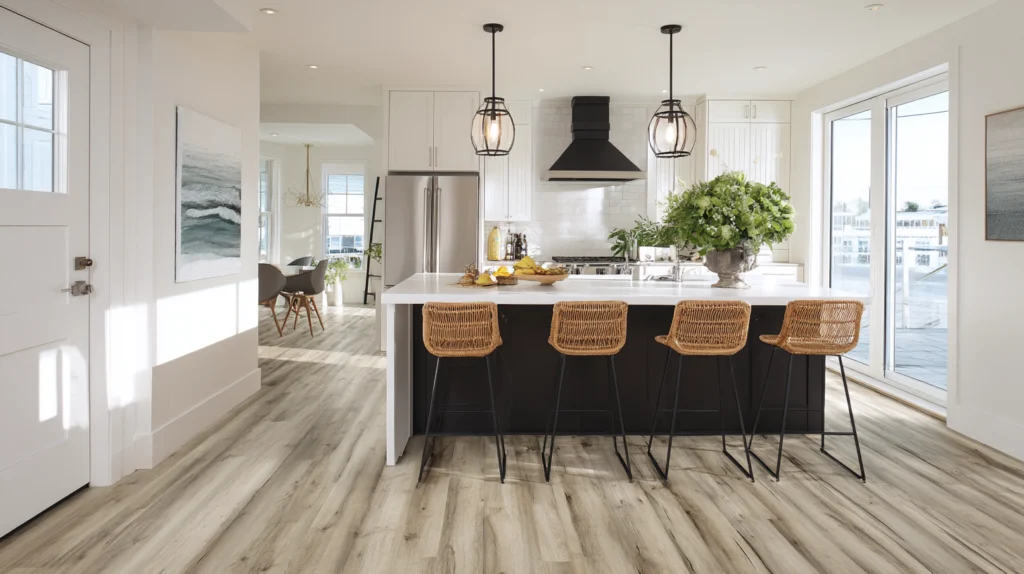
Luxury vinyl flooring options, including luxury vinyl plank (lvp flooring), luxury vinyl tile, vinyl plank, and vinyl tile, continue to lead as the best flooring option for kitchen in 2025. Their water resistance, affordability, low maintenance, and realistic finishes make them ideal for a busy kitchen, capable of handling heavy foot traffic, food spills, and moisture prone areas.
You get the beauty of wood flooring or stone effect with the practicality of waterproof performance, making luxury vinyl plank flooring a smart choice for families and homeowners on a budget.
Why prioritize luxury vinyl plank and luxury vinyl tile:
- Completely water resistant and stain resistant
- Budget friendly with designer looks
- Soft underfoot, comfortable for prolonged standing
- Quick to install, low maintenance, easy to clean with a damp mop
2 | Porcelain and Ceramic Tiles
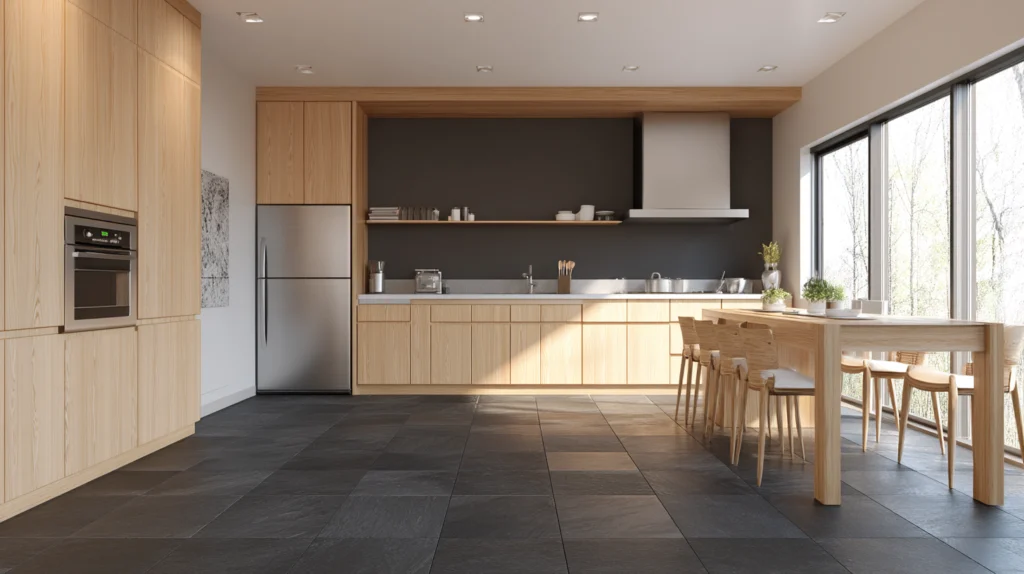
Porcelain and ceramic tiles remain go-to tile flooring options for a kitchen. These options are incredibly durable, water resistant, great for heat resistance, and ideal for high traffic areas.
Porcelain offers more wear resistance than ceramic, while both come in a wide range of styles including natural stone tiles, white tiles, and large-format tiles that reduce grout lines for a cleaner, more seamless look.
Why these are top choices:
- Highly durable and water resistant, ideal for kitchens
- Heat resistance suits radiant heating systems
- Tons of design flexibility with colors, patterns, natural textures
- Works well in hard-wearing, busy kitchens when installed properly
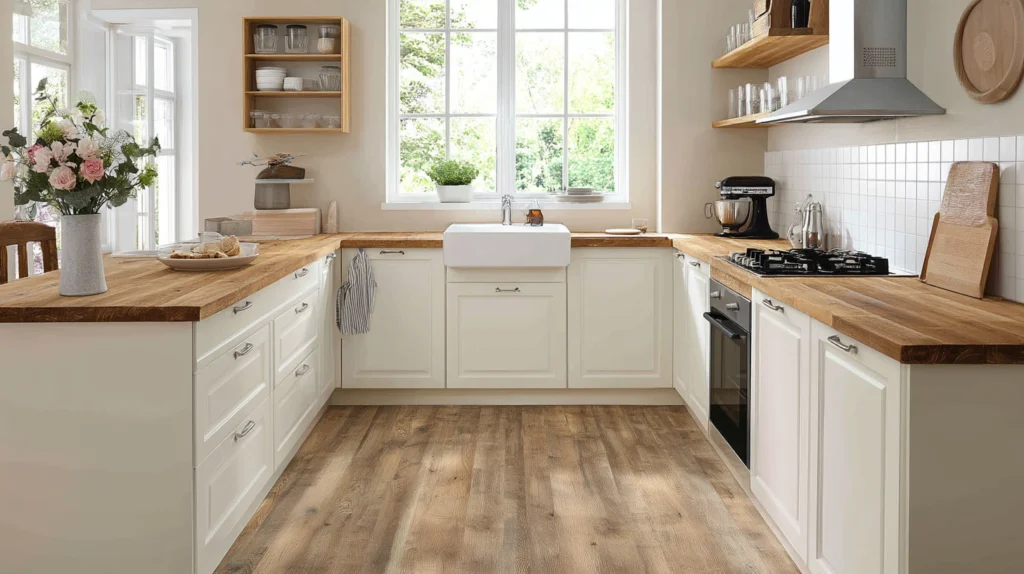
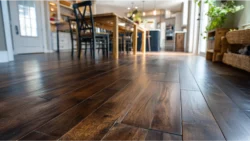
3 | Engineered Hardwood Flooring
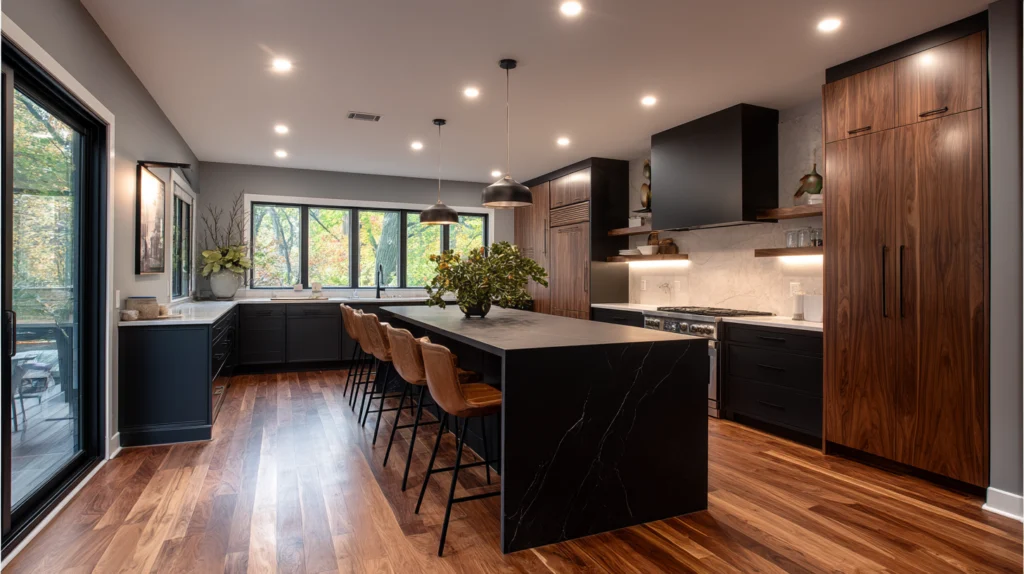
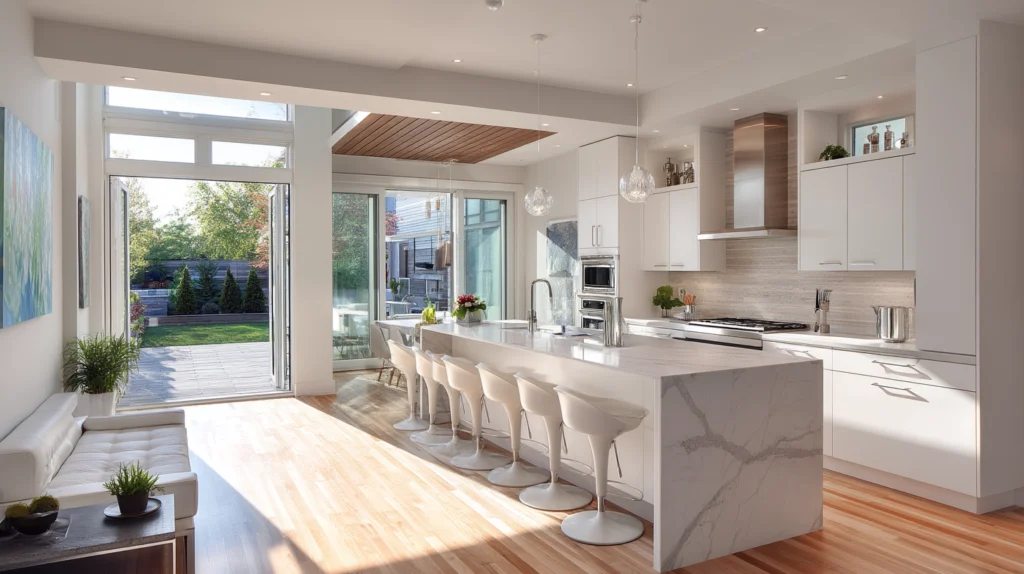
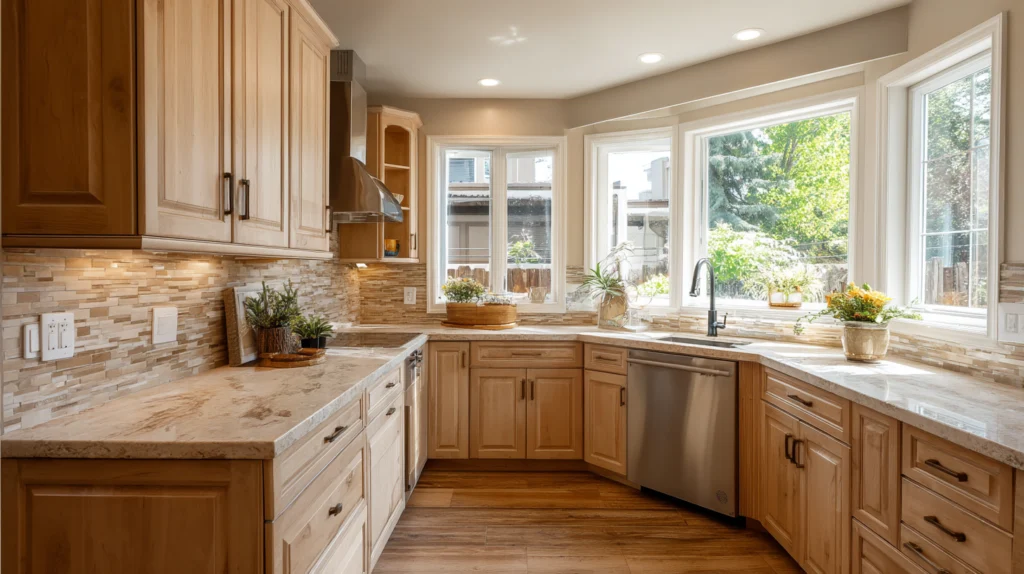
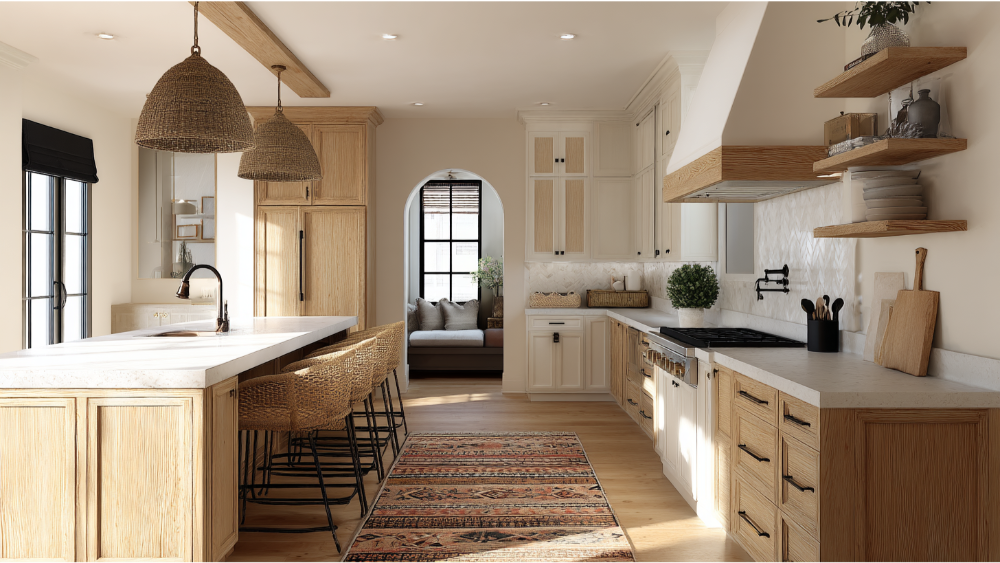
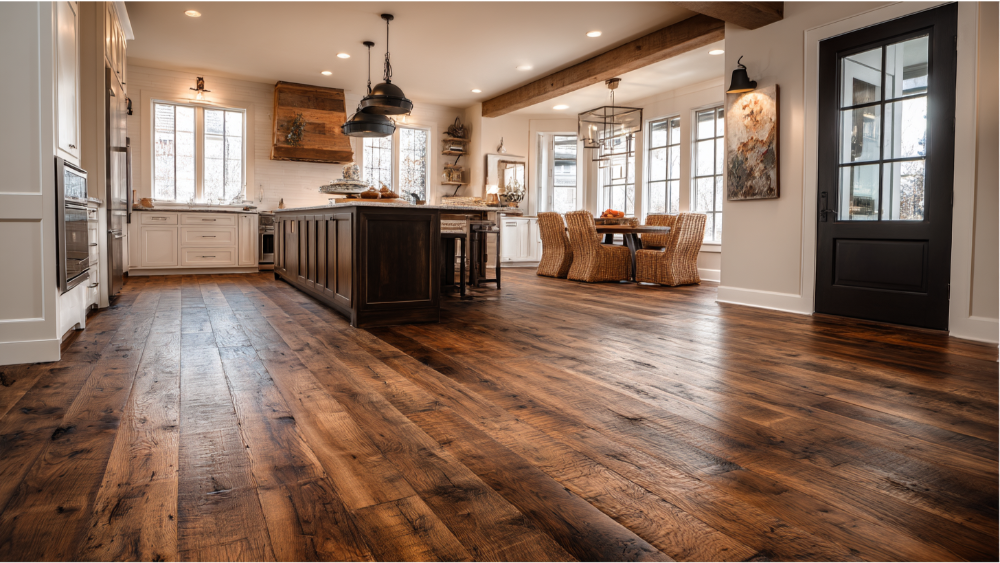
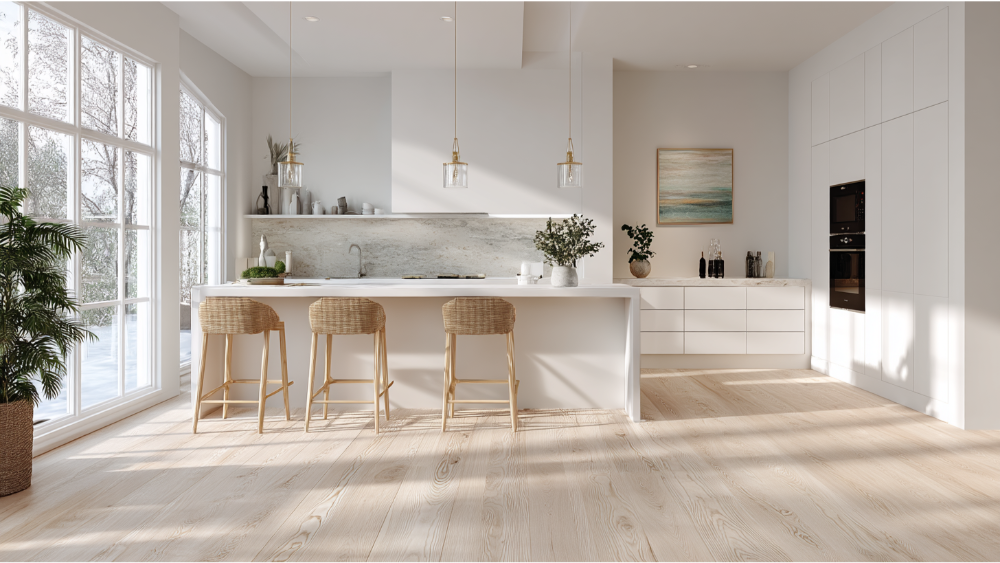
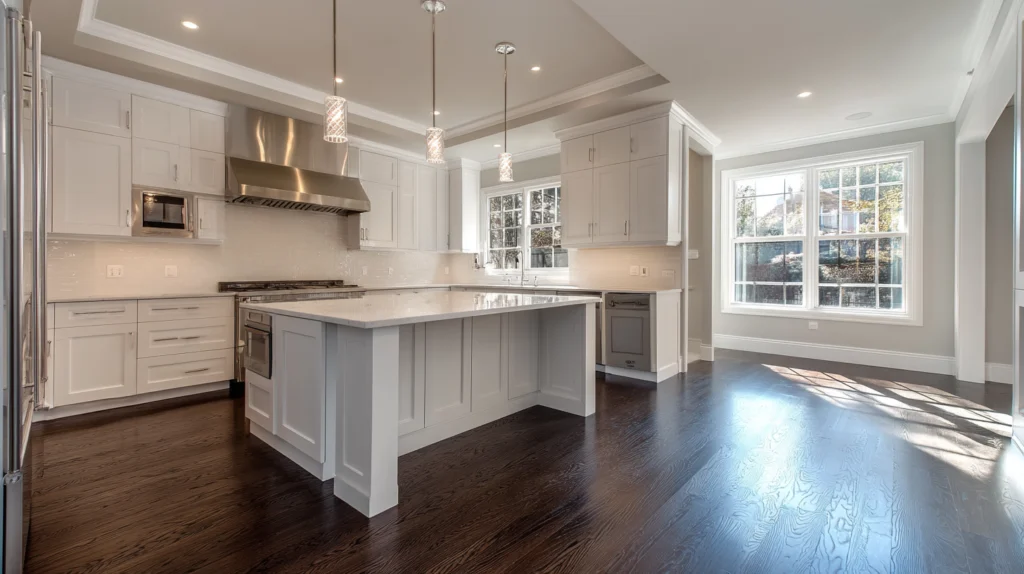
For those who value natural beauty, hardwood flooring remains aspirational. The practical choice in kitchens is engineered hardwood flooring, which encapsulates real wood and the charm of solid hardwood flooring while delivering better performance in moisture prone areas.
White oak and other species give a timeless appeal and continuity across kitchen and living spaces, while engineered hardwood makes installation easier and offers more stability.
Advantages of engineered hardwood:
- Real wood look with enhanced moisture resistance
- Greater dimensional stability than solid hardwood, ideal for high traffic areas
- Appealing visual warmth and classic charm
- Seamless transition between spaces for cohesive design
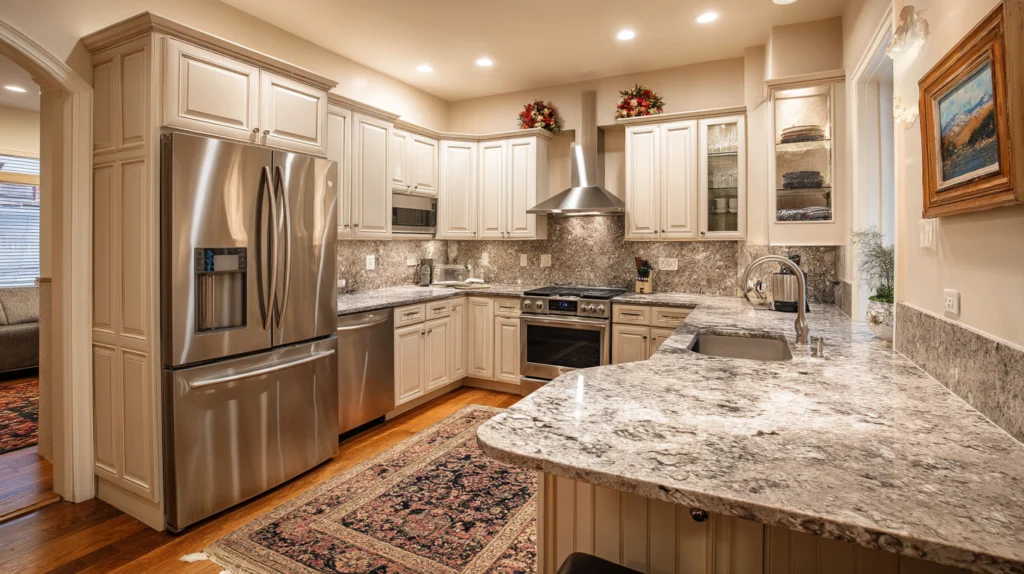
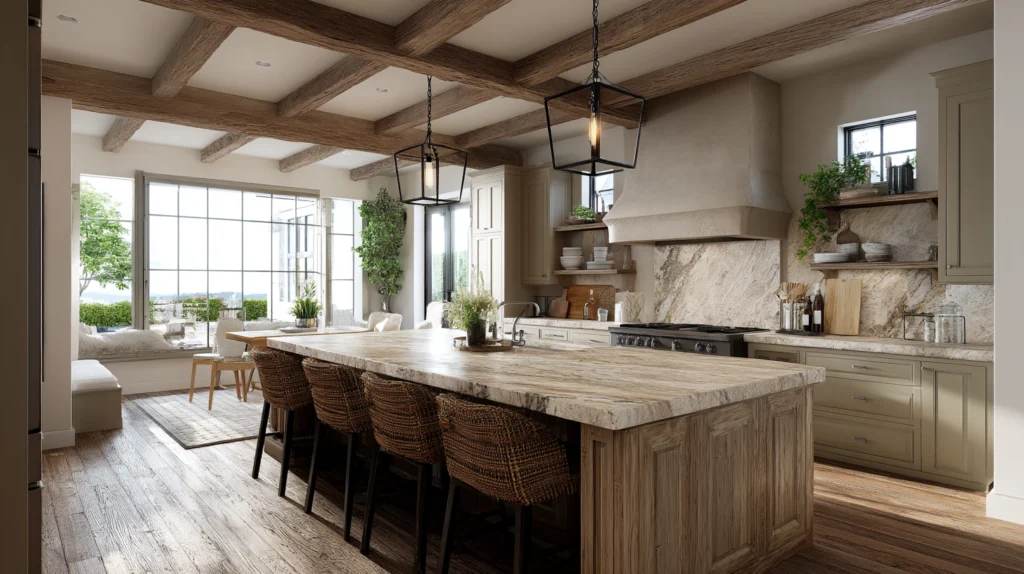
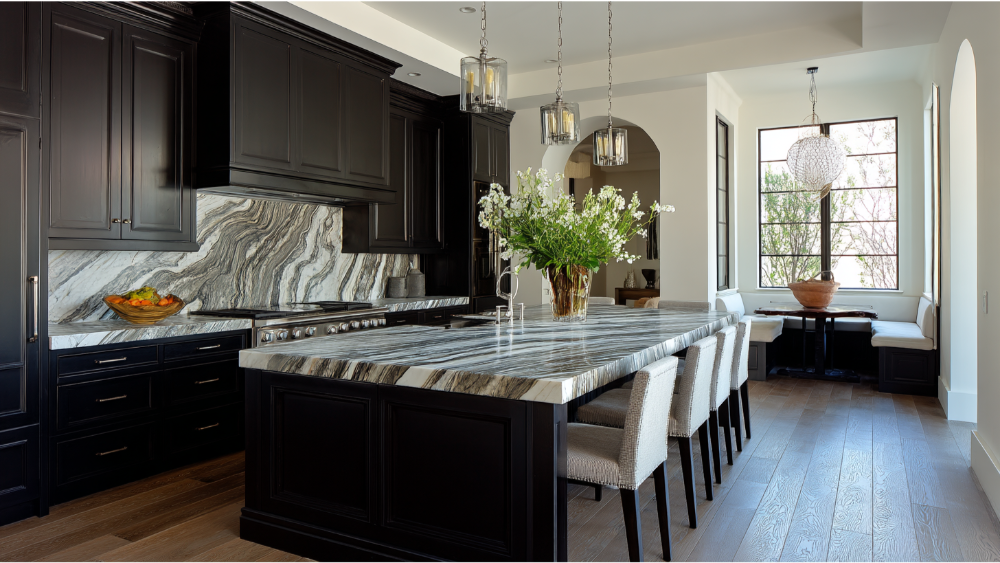
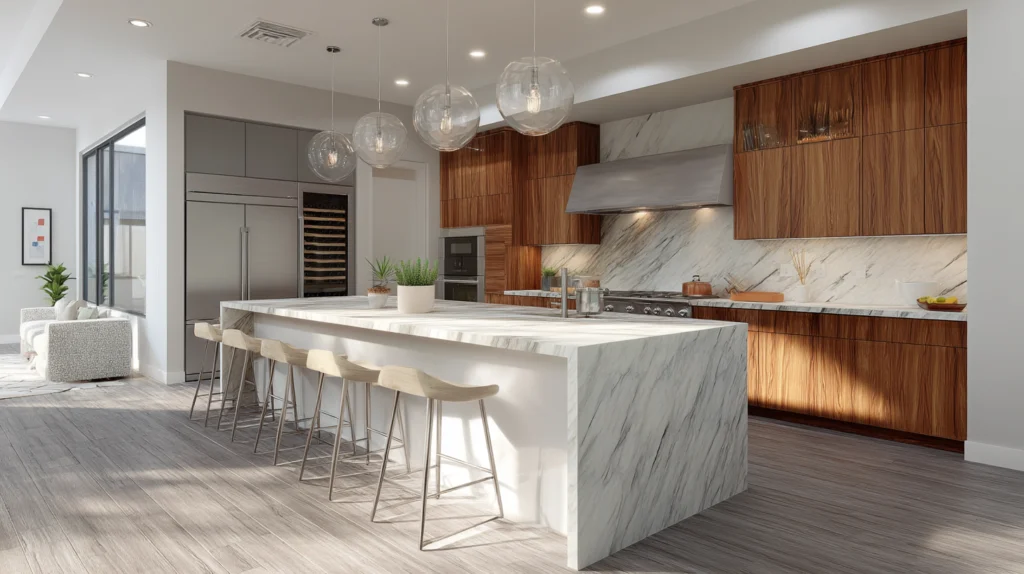
4 | Natural Stone Flooring
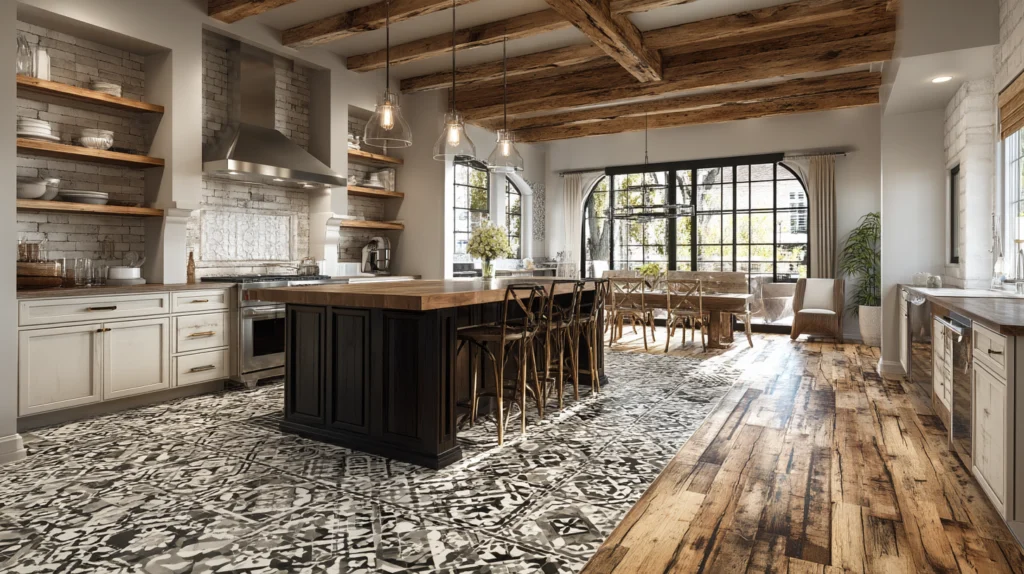
Natural stone, including options like marble flooring and other natural stone tiles, brings unmatched character and timeless luxury to a kitchen. The inherent durability and textured surface of stone create a high-end feel, though they do come with a higher price point and require proper sealing and upkeep.
Why choose natural stone:
- Unmatched in natural beauty, variation, and luxury
- Exceptionally durable and long lasting
- Adds real value and elegance to your kitchen design
- Works beautifully with rustic, Mediterranean, or high-end contemporary styles
5 | Cork and Sustainable Flooring Materials
Cork flooring and other sustainable materials like pulped bamboo, reclaimed wood, and eco-conscious choices are making waves in 2025. They offer warm textures, antimicrobial properties, comfort, and a smaller ecological footprint. Ideal for those prioritizing environmentally friendly options in their kitchen design.
Cork is soft underfoot, insulating, and naturally antimicrobial. Bamboo and reclaimed wood offer unique character and strength, making them in demand for sustainable yet stylish floors.
Why go eco-friendly:
- Renewable, sustainable, environmentally friendly
- Soft underfoot, comfortable during meal prep
- Distinctive textures and natural variations
- Healthy choice for homes with kids or pets, low VOC
6 | Laminate Flooring and Sheet Vinyl
Laminate flooring and sheet vinyl serve as more budget friendly alternatives, though they require careful selection to ensure water resistance. Many low-cost or older laminate styles fall short for kitchens due to proneness to swelling, whereas quality sheet vinyl in a single sheet has solid water resistance.
Considerations:
- Entry-level laminate may not hold up in moisture prone areas
- Sheet vinyl mitigates water damage risk but may lack high-end aesthetics
- We recommend high performance options over typical laminate for longevity
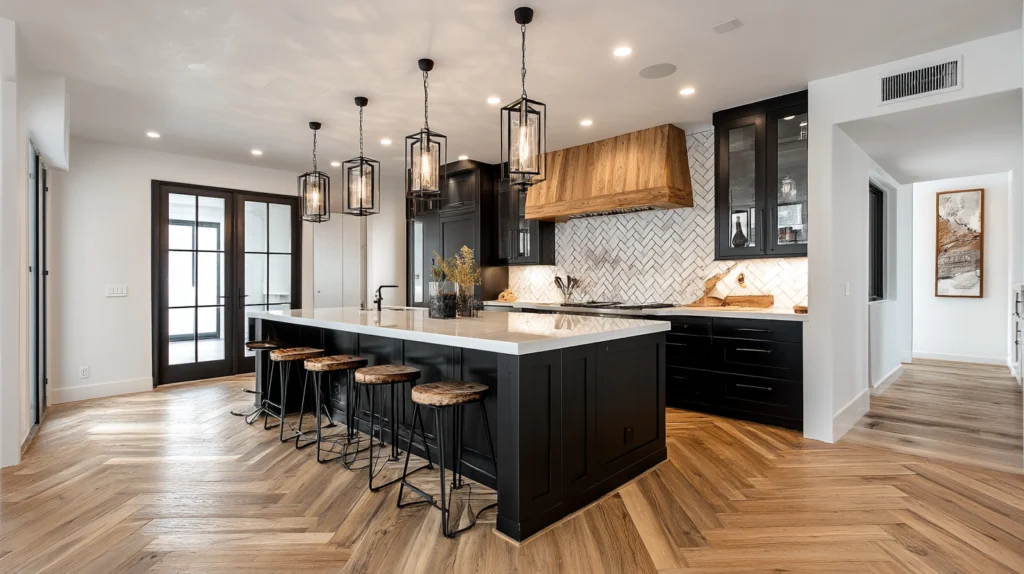
Trending Styles for Kitchen Floor Tile in 2025
Design trends continue to influence flooring materials:
- Large-format kitchen floor tile and floor tile options are reducing grout lines and emphasizing seamless flow
- Checkerboard patterns in natural stone or white tiles evoke classic charm
- Warm neutral tones such as terracotta, soft browns, and earth tones dominate
- Mixed materials zoning kitchen and adjacent dining areas for visual separation without breaking the aesthetic
- Weathered textures and natural textures remain in vogue, particularly in natural stone, cork, or rustic engineered wood
Flooring Materials to Avoid in Kitchens
Even if they look appealing, some materials don’t make practical sense in a kitchen:
- Solid wood flooring, though beautiful, fares poorly in moisture prone areas
- Basic laminate flooring without water-resistant backing is likely to buckle when exposed to spills
- Sheet vinyl with seams may trap water and cause peeling
- Carpet or soft flooring options entrap spills and are hard to clean
- Unsealed natural stone or unfinished real wood invites staining and damage
We’ll guide you away from options that compromise longevity or daily convenience.
Maintenance Tips for Long‑Lasting Kitchen Flooring
No matter which flooring you choose, these care tips help maintain its appearance:
- Sweep or vacuum regularly to prevent scratches
- Use a damp mop, avoid harsh cleaners or steam mops, especially on LVP or wood
- Reapply seal on natural stone or engineered hardwood as recommended
- Wipe food spills promptly to avoid staining
- Place mats near sinks, appliances, and entry points to reduce wear
How to Choose the Right Flooring for a Kitchen
When you’re selecting new flooring, ask yourself:
- Is water resistance or stain resistance my top priority?
- Do I need a comfortable floor for long periods of standing?
- Am I designing for resale or long-term satisfaction?
- What’s my budget, factoring in installation, material, and lifespan?
Our design consultants can coordinate floor samples, layout ideas, and pricing options so you get confident, curated choices that align with your lifestyle, aesthetic, and budget.
Frequently Asked Flooring for a Kitchen Questions
What is the best flooring for kitchen that is durable and water resistant?
Luxury vinyl plank, luxury vinyl tile, and porcelain or ceramic tile are the most durable and water resistant flooring materials available for a kitchen in 2025.
Which flooring is easiest to maintain for a kitchen?
Vinyl flooring and tile flooring, including ceramic or porcelain tile, are the easiest to maintain, especially when using a damp mop regularly.
Is hardwood flooring suitable for a kitchen?
Engineered hardwood offers real wood beauty with superior moisture performance compared to solid hardwood flooring.
What is the most budget friendly kitchen flooring option?
Luxury vinyl flooring is budget friendly yet offers high-end visuals and water resistance.
Can kitchen floor tile increase home value?
Absolutely, high-quality tile flooring and well-chosen luxury vinyl or engineered wood can enhance resale appeal and offer long-term ROI.
Work with Sacramento’s Trusted Kitchen Remodeler
Choosing flooring for a kitchen is a critical design decision that affects functionality, comfort, and value. Every material has its unique strengths, from the practicality of luxury vinyl to the elegance of natural stone and the eco‑style of cork flooring.
At America’s Advantage Remodeling, we guide you through options from kitchen floor tile to hardwood flooring, ensuring every selection suits your home’s design, daily demands, and long-term vision. Let’s work together to find the right flooring that elevates your kitchen space. Contact us today for a free consultation on flooring materials and installation for a kitchen that’s beautiful, built to last, and tailored to your lifestyle.