Granite vs Quartz? Which Countertops Are The Best for Your Home?
Choosing the right kitchen countertop in 2025 is one of the most important decisions in any remodel. Whether you’re starting from scratch or upgrading an outdated kitchen or bathroom, the debate of granite vs quartz countertops is one homeowners face every day. At America’s Advantage Remodeling, we specialize in helping Northern California homeowners choose the perfect material for their lifestyle, budget, and design preferences. This guide breaks down everything you need to know about granite countertops, quartz countertops, and how to make the smartest decision for your home.
Understanding Granite and Quartz Countertops
What Are Granite Countertops?
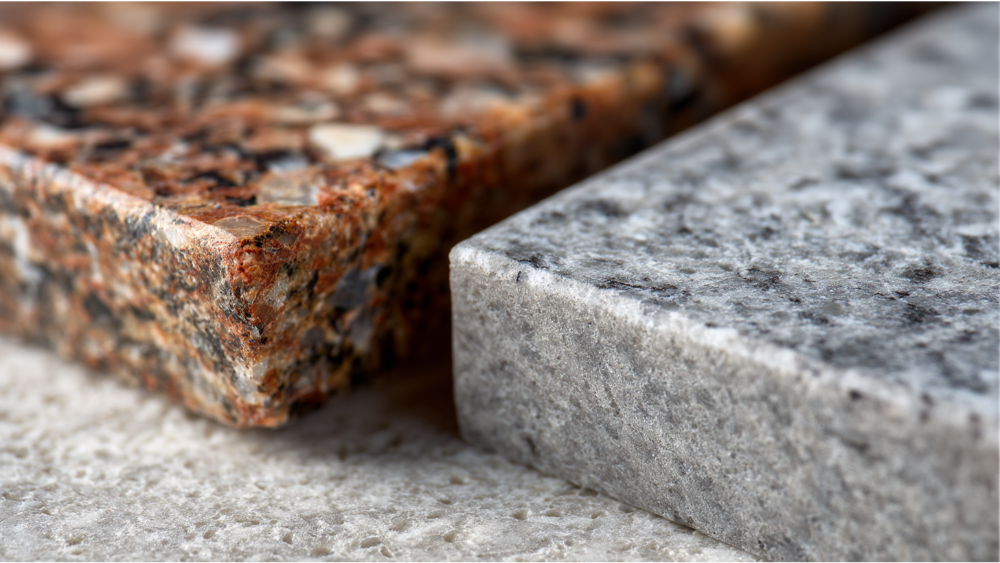
Granite is a 100% natural stone that’s quarried from the earth and cut into slabs. Each granite slab offers a one-of-a-kind combination of minerals, colors, and unique patterns, giving it unmatched natural beauty. Granite countertops are known for their durable surface, rich tones, and resistance to heat, making them a favorite for chefs and homeowners who value timeless elegance.
What Are Quartz Countertops?
Quartz countertops are made from engineered stone, composed of about 90% ground quartz combined with resins and pigments. This process results in a non-porous, low-maintenance surface with consistent patterns and colors. Quartz and granite may serve the same purpose, but their composition leads to very different performance in the home. For those looking to buy quartz, it offers a versatile and budget friendly option among countertop options.
Why the Granite vs Quartz Countertop Decision Matters
When you compare granite vs quartz countertops, you’re looking at more than just appearance. These two materials differ in heat resistance, cleaning needs, maintenance, cost per square foot, and overall resale value. Making the right choice requires balancing personal preferences with practical functionality.
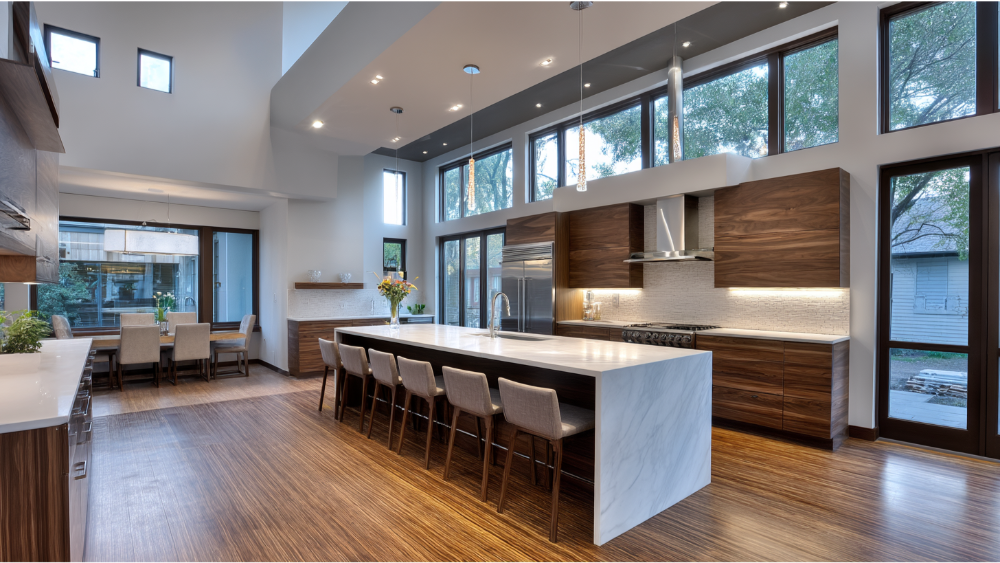
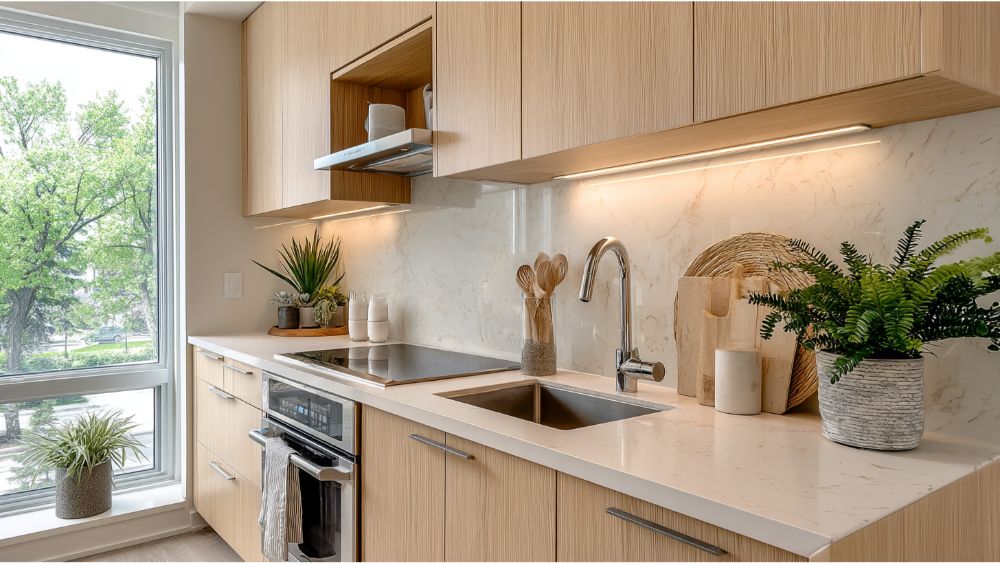
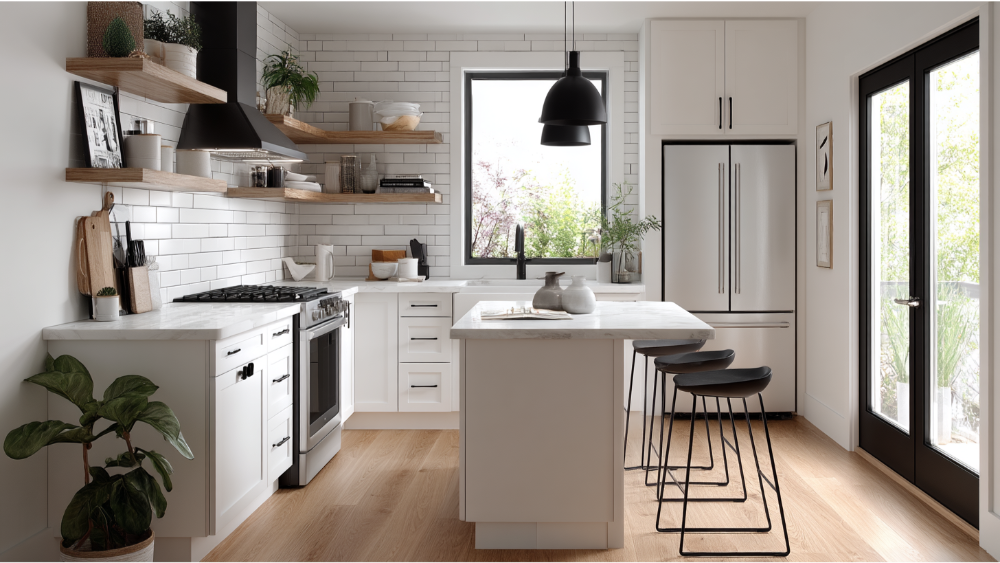
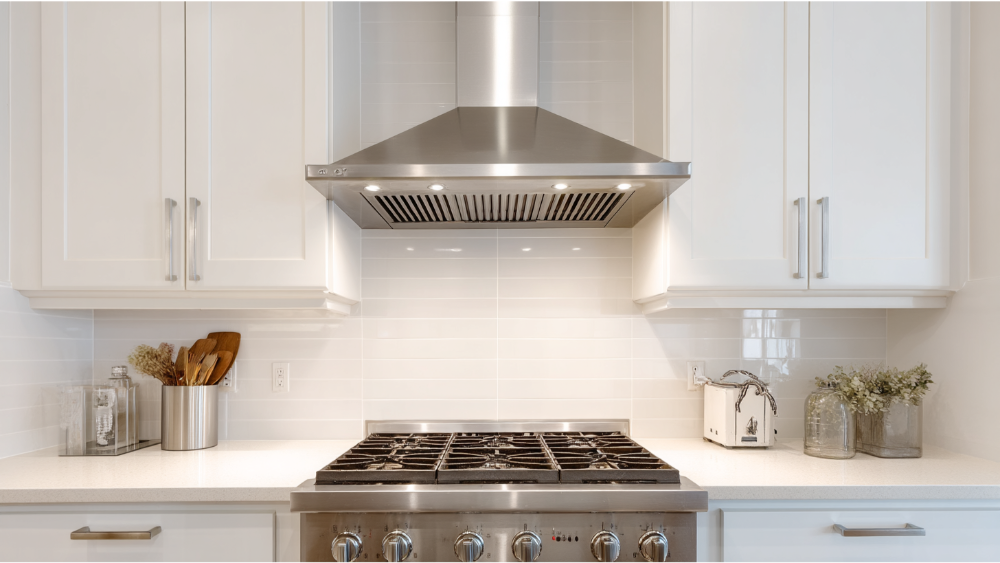
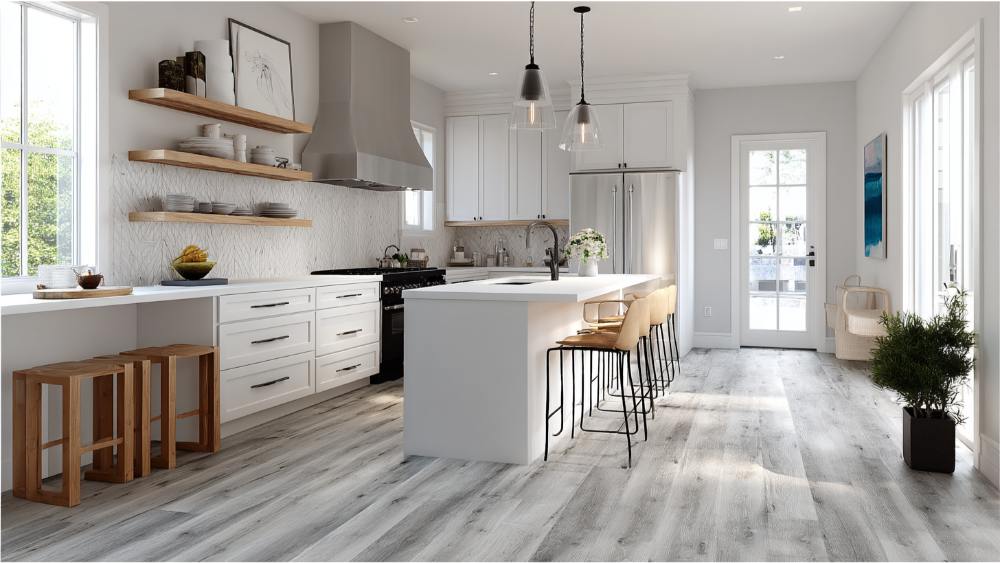
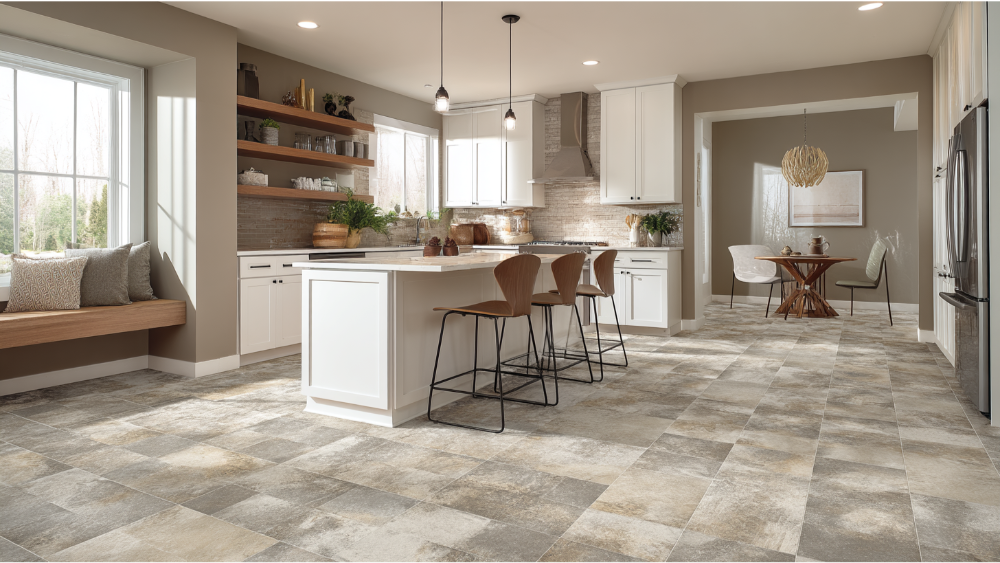
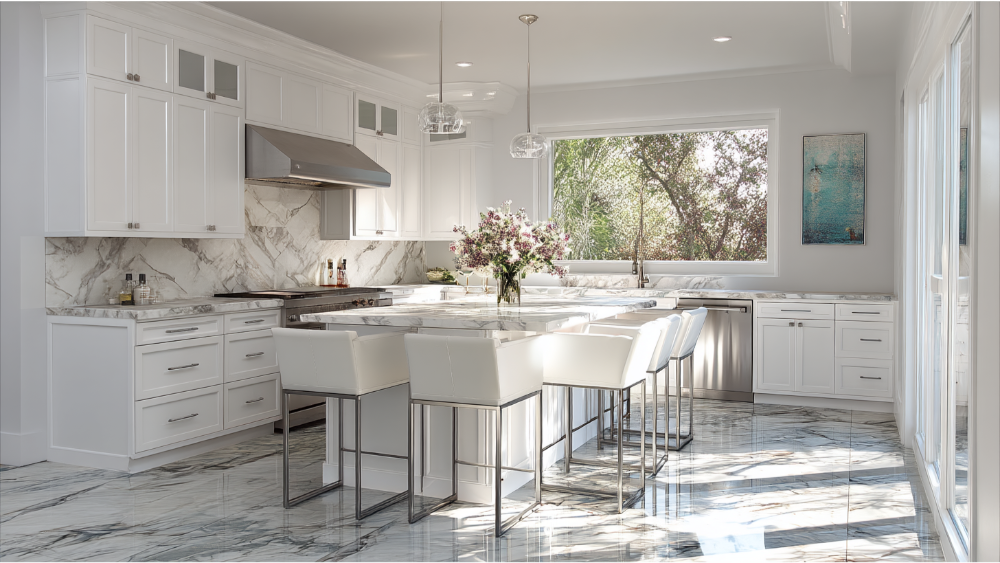
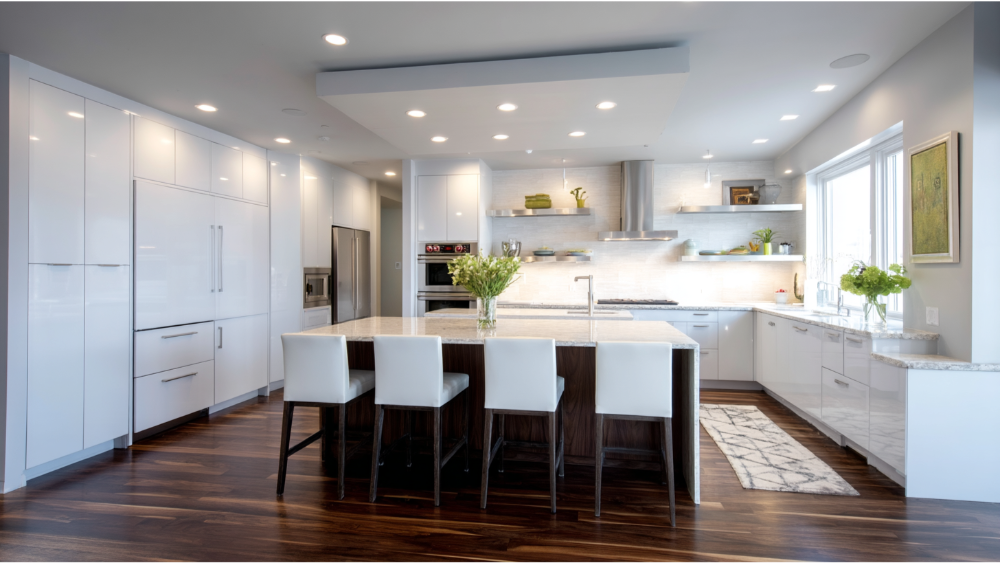
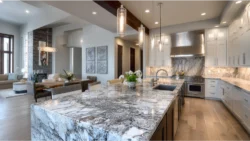
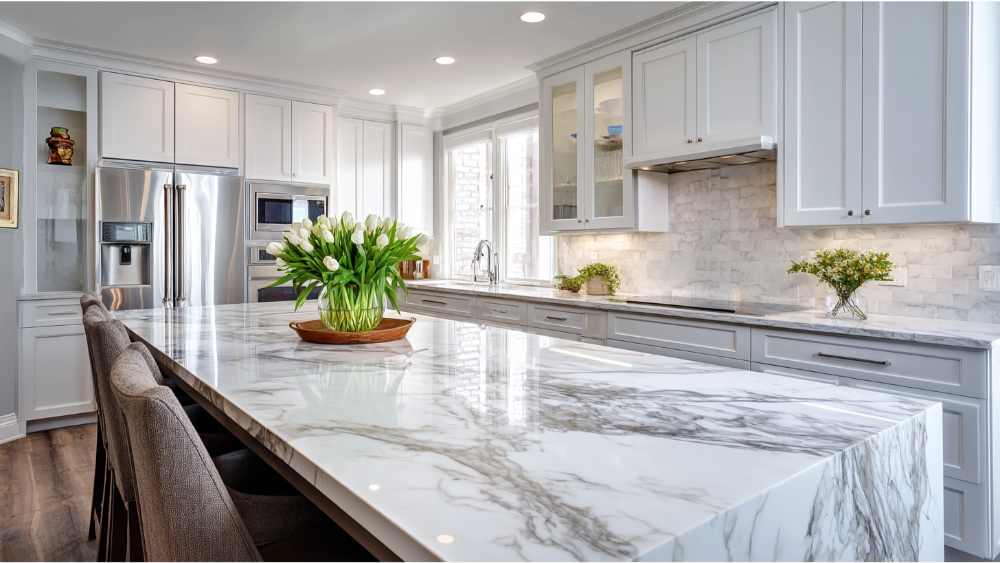
Appearance and Aesthetic Appeal
The Natural Beauty of Granite
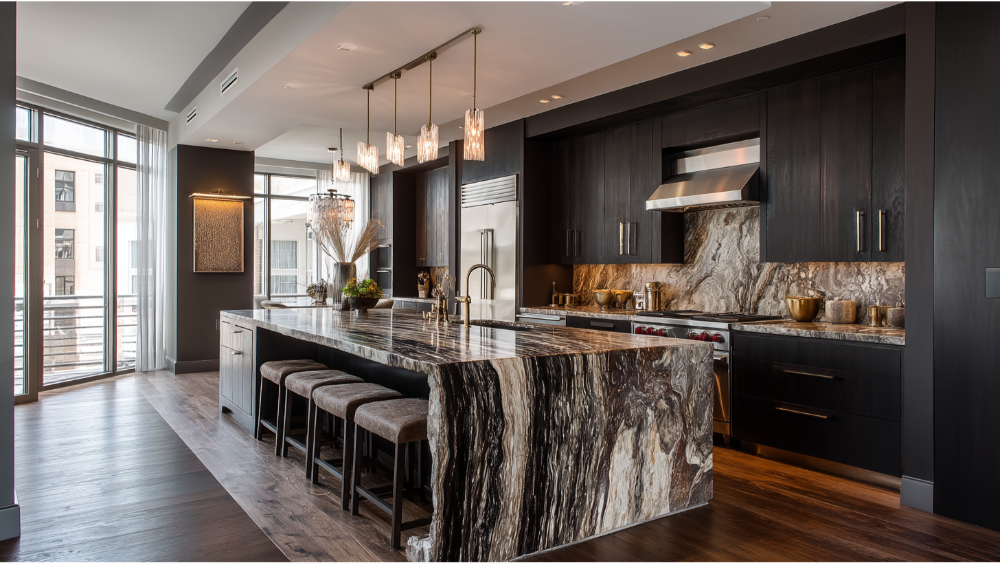
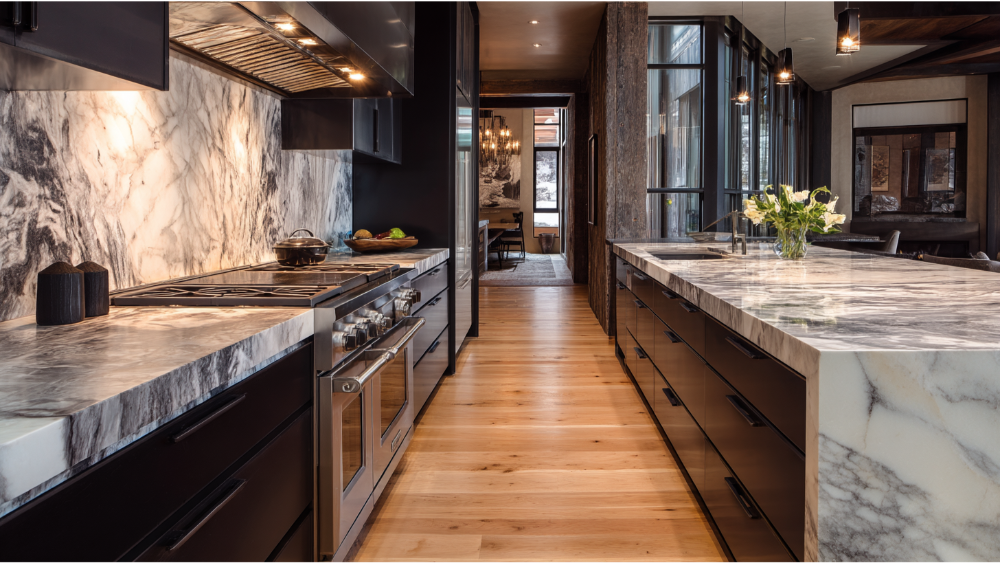
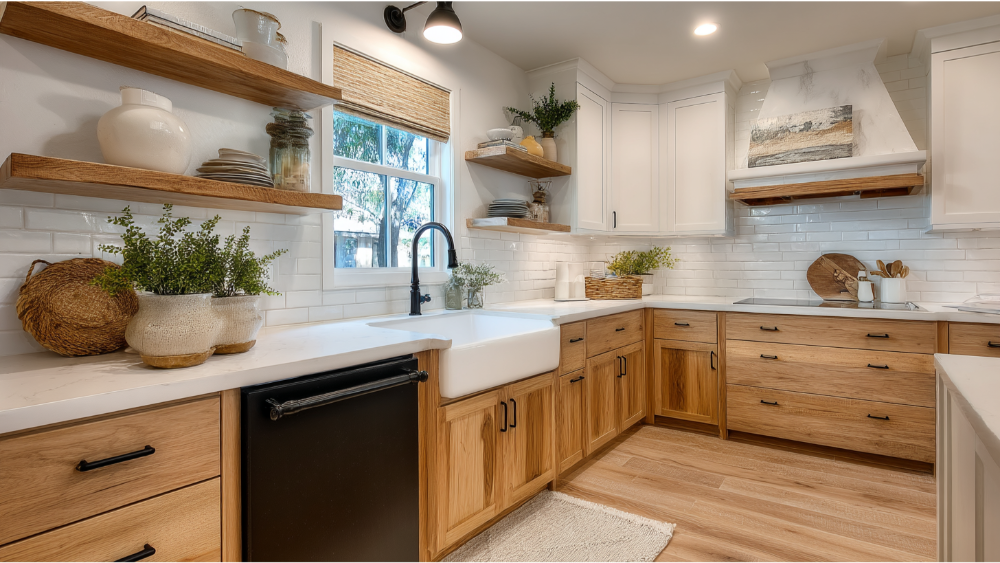
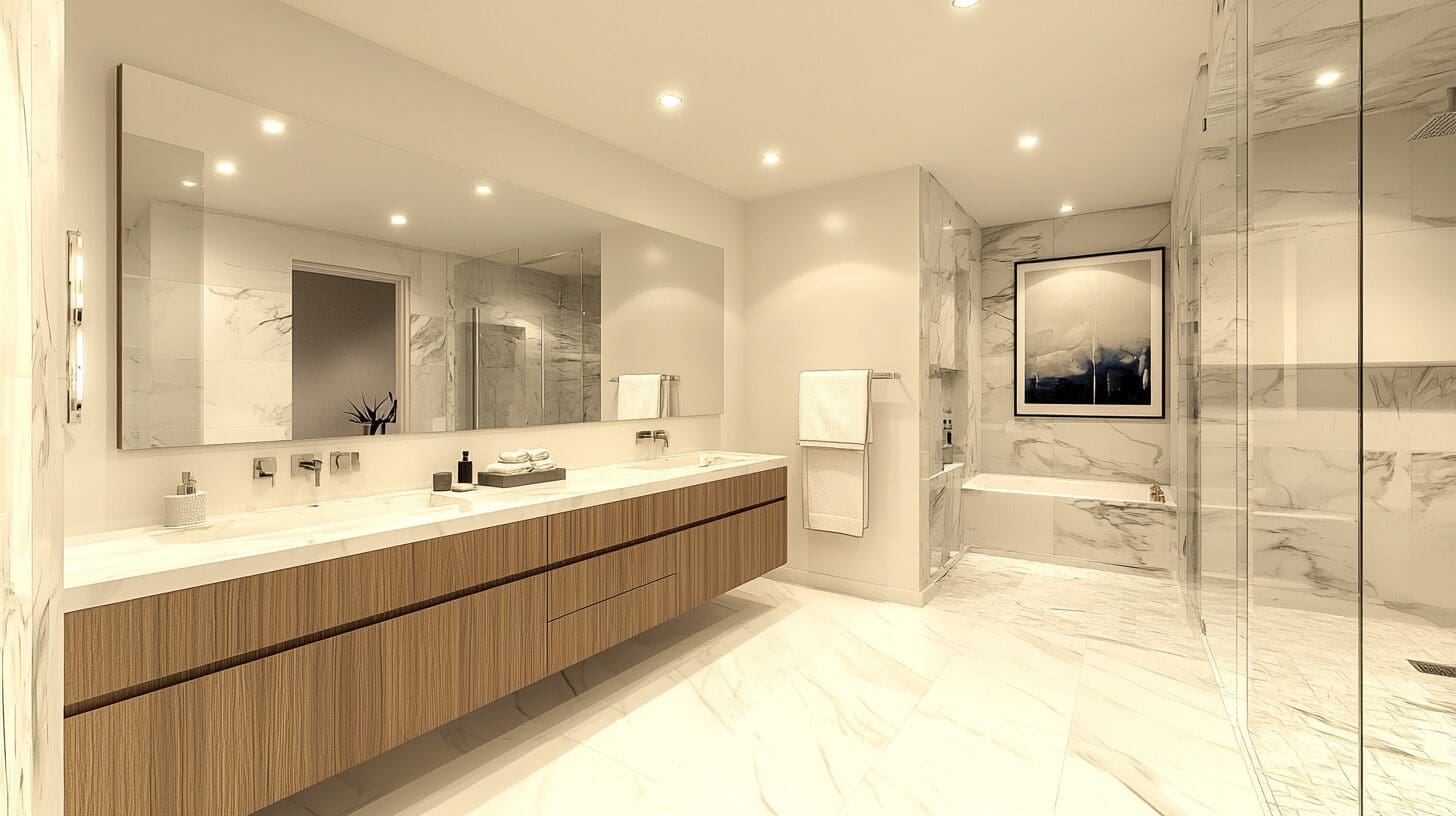
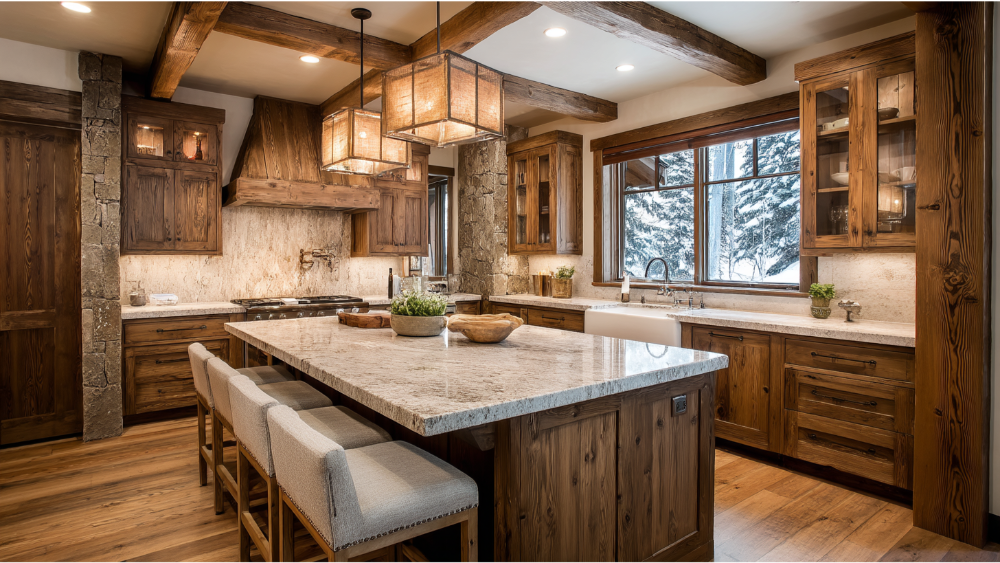
If you love the look of authentic stone, granite counters offer striking, unique patterns and rich natural coloring. Whether you’re designing a rustic farmhouse kitchen or a classic bathroom, granite and quartz countertops can both fit the bill, but granite gives you that truly organic feel. It pairs well with wood cabinets, butcher block islands, and even marble countertops in mixed-material kitchens.
The Clean Look of Quartz
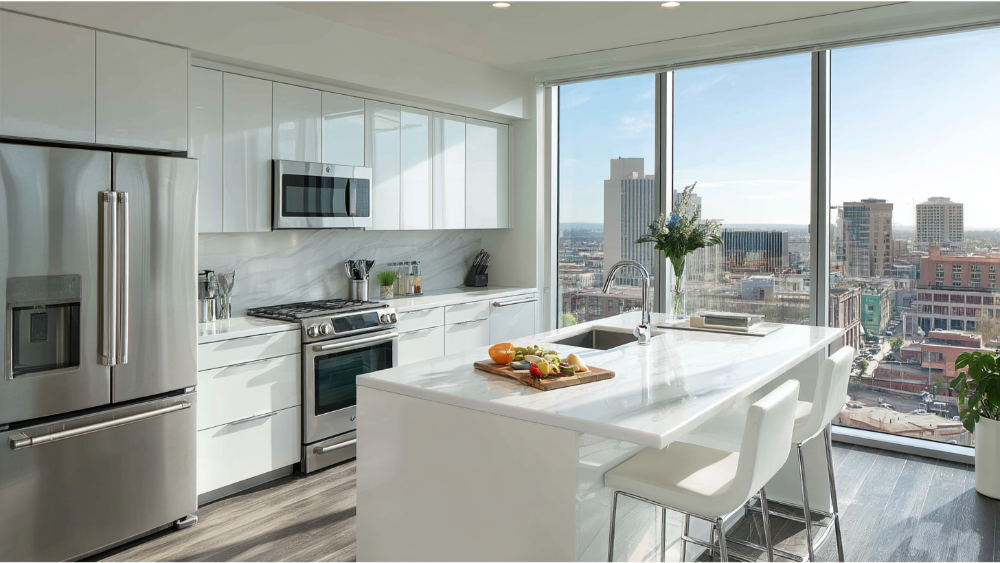
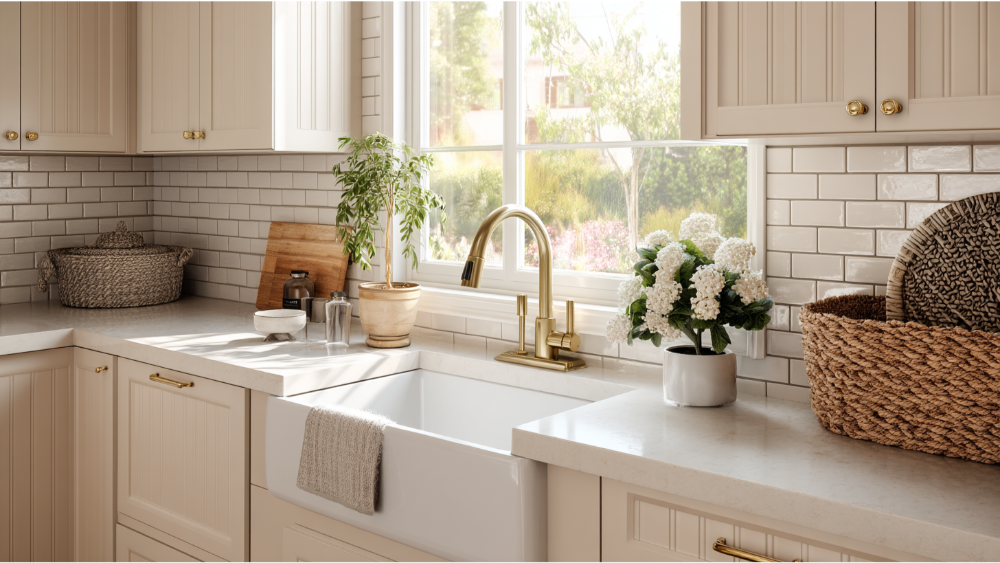
On the other hand, quartz countertops feature consistent patterns and are available in nearly every shade and style imaginable. Many quartz products are designed to mimic the look of marble countertops, but without the maintenance that marble requires. For those wanting a modern, sleek look with little variation, quartz is the perfect solution.
Durability and Heat Resistance
Can Granite Withstand High Temperatures?
Yes, granite countertops are highly durable and heat resistant. You can place a hot pan or hot pots directly on the surface without fear of heat damage. Granite, like many natural stone surfaces, can withstand high temperatures, making it a great option for serious home cooks or entertainers.
What About Quartz Heat Resistance?
Quartz, while highly resistant to scratches and stains, is not as heat resistant as granite. Because quartz countertops contain resin, direct exposure to extreme heat or high temperatures can cause discoloration or warping. Always use hot pads or trivets when placing hot pots or pans on quartz surfaces.
Maintenance and Cleaning
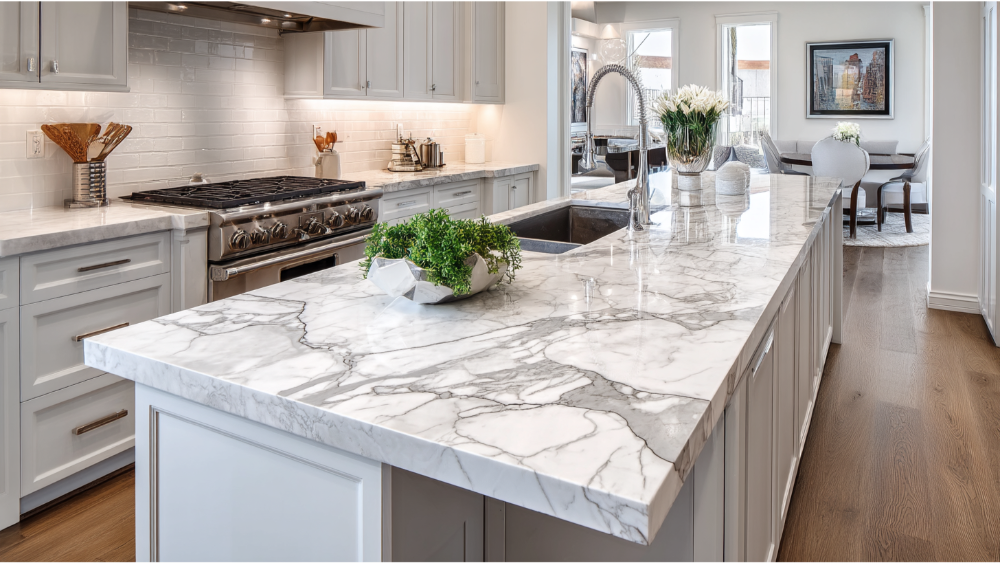
Caring for Granite
Granite countertops require regular sealing to maintain their non-porous surface. Without proper sealing, granite can absorb spills and stain, especially in high-use areas like the kitchen countertop. However, with proper care, including regular cleaning and sealing every 12–18 months, granite can last for decades. Proper sealing is essential to prevent staining and keep your granite counters looking their best.
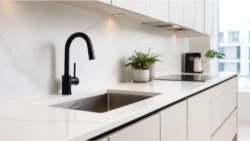
Caring for Quartz
Quartz countertops are non-porous, which means they do not require sealing and resist staining. Their low-maintenance design is one of the top reasons homeowners choose quartz. Just a simple wipe-down with mild soap and water is enough to keep your countertops looking spotless. The non-porous surface also makes quartz more hygienic, especially during food preparation.
Cost Comparison Per Square Foot
When evaluating granite vs quartz countertops, cost is a major factor. Both options vary widely based on color, origin, and finish, but here’s a general breakdown:
- Granite cost per square foot: $40 to $200
- Quartz cost per square foot: $70 to $150
The final cost of either surface can also vary based on edge profiles, cutouts for sinks, and installation labor. Exotic stones or rare color patterns can increase pricing significantly due to the stone’s rarity.
Environmental Impact and Sustainability
If eco-conscious remodeling is a priority, it’s worth comparing the environmental footprint of each material.
- Granite is a natural stone, but quarrying and transporting slabs can create a larger carbon footprint. Opting for local sources or recycled slabs is a more sustainable approach.
- Quartz countertops, being engineered stone, are manufactured using energy-intensive processes. However, many brands now offer quartz with recycled content and low-VOC resin formulas that improve sustainability.
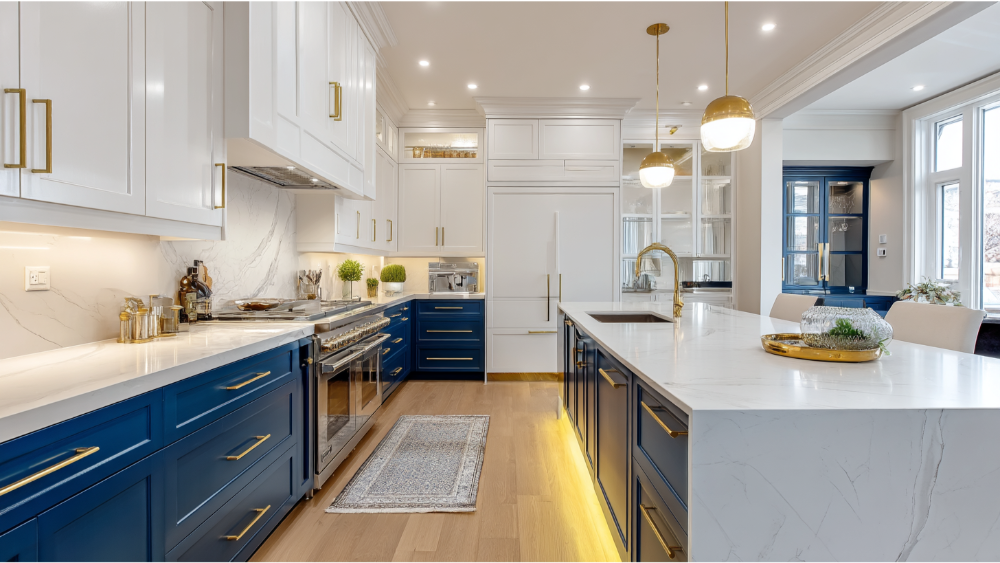
Countertop Materials and Home Value
When comparing countertop materials, both granite and quartz offer exceptional long-term value. Buyers are drawn to the timeless beauty and functionality of both surfaces. In Northern California’s competitive housing market, quartz countertops appeal to those who want a low-maintenance, modern space, while granite countertops often signal luxury and timeless elegance.
In short, both surfaces positively impact resale value, and your decision can be based on how you use your kitchen or bath and what style speaks to you.
Pros and Cons of Granite and Quartz
Granite Countertops
Pros:
- Natural, authentic stone
- Superior heat resistance
- Unique slab colors and textures
Cons:
- Needs proper sealing and regular cleaning
- Can absorb liquids if not properly sealed
- Some patterns are hard to match if repairs are needed
Quartz Countertops
Pros:
- Non-porous and highly stain-resistant
- Low maintenance and easy to clean
- Available in designs that mimic marble countertops and other materials
Cons:
- Can’t handle extreme temperature changes
- Direct heat can damage resin
- Slightly more expensive depending on brand
Common Use Cases and Recommendations
Best for Busy Families
If you have kids, frequent guests, or heavy kitchen use, quartz countertops are ideal thanks to their low maintenance and non-porous nature.
Best for Serious Cooks
Homeowners who frequently use cast iron or cook at high temperatures should lean toward granite, which can handle hot pans without damage.
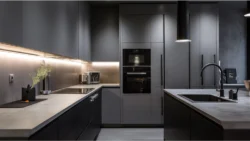
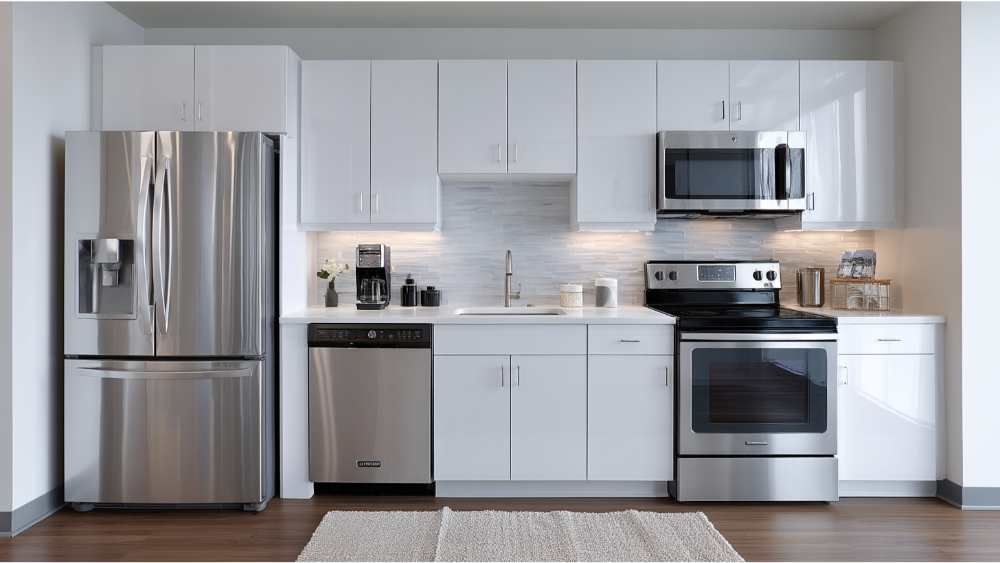
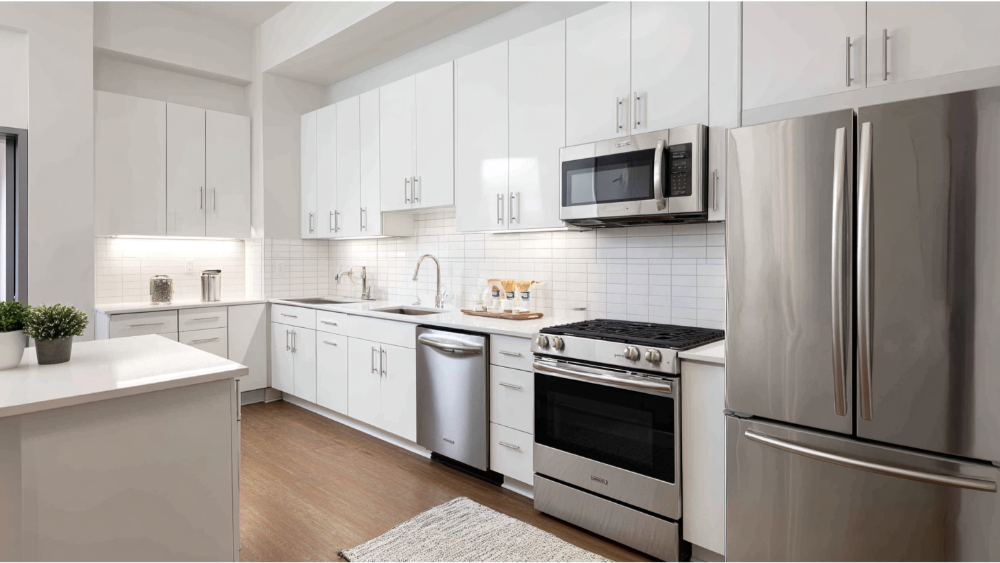
Best for Modern Aesthetics
Want a streamlined, minimal look? White quartz countertops or engineered options with subtle veining offer consistency and modern appeal.
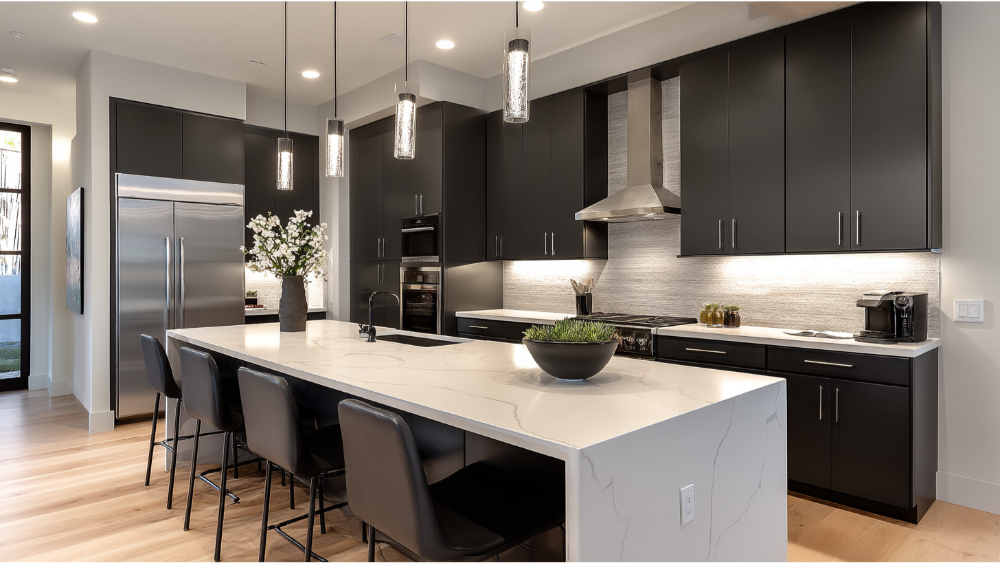
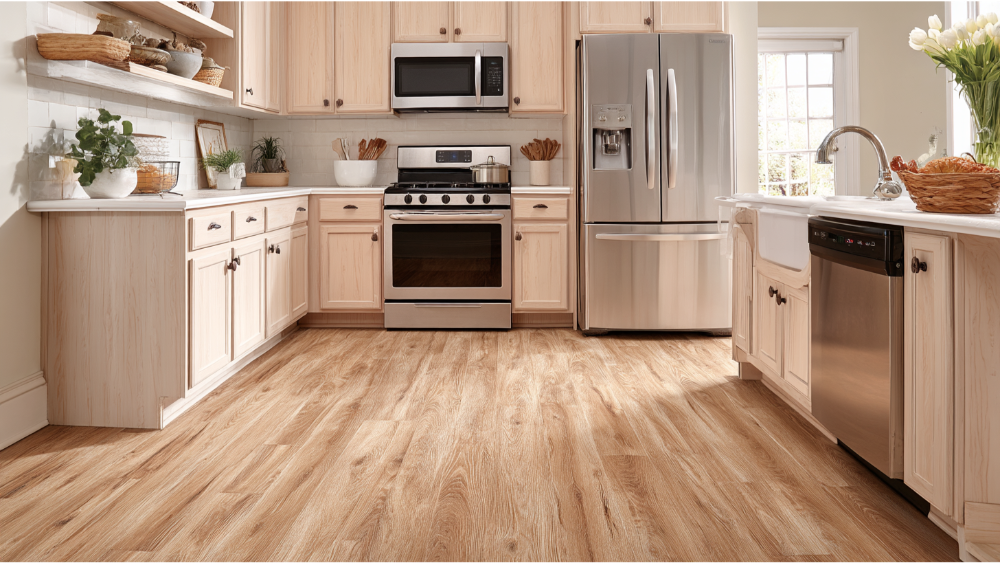
Best for Traditional Design
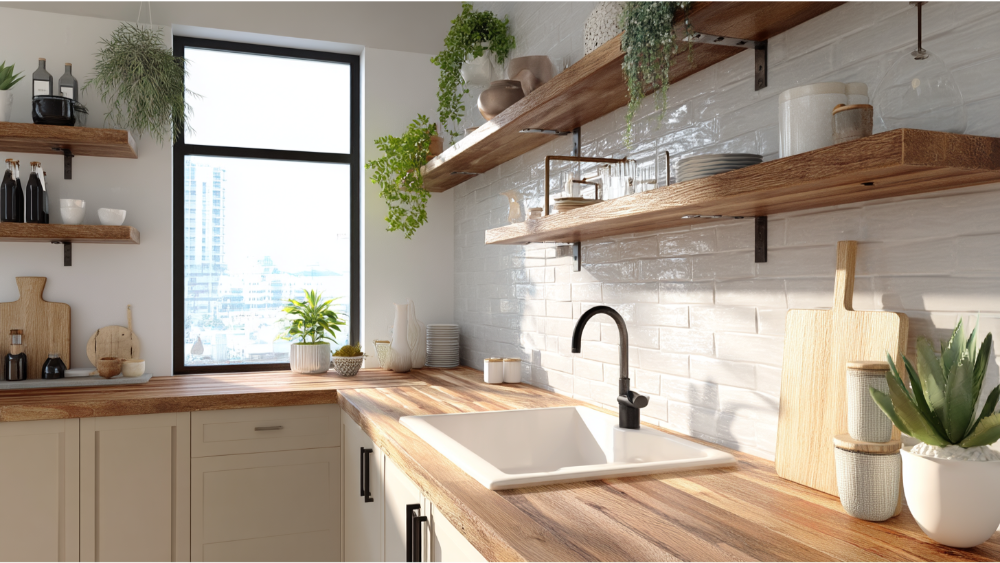
Love warm tones, wood cabinetry, or farmhouse style? Granite countertops or a mix of granite and quartz deliver contrast and natural beauty.
Design Trends: What’s In for 2025?
2025 is all about blending beauty and practicality. Here are a few trends we’re seeing across granite and quartz installations:
- Matte finishes on both granite and quartz countertops
- Waterfall edges using sleek engineered stone
- Mixing marble countertops with solid surface or granite accents
- Budget-friendly designs that pair butcher block islands with quartz perimeters
- Increased demand for sustainable and recycled quartz products
Frequently Asked Granite vs Quartz Countertops Questions
Is quartz better than granite?
Not better, just different. Quartz is low maintenance and consistent, while granite offers more natural beauty and heat resistance.
Can I put hot pots on quartz?
No. Placing hot pots or pans directly on quartz can damage the resin. Always use a trivet or hot pad.
Does granite require sealing?
Yes. Granite needs to be sealed every 12–18 months to protect its surface and keep it stain-resistant.
Which costs more, granite or quartz?
Quartz tends to be slightly more expensive on average, but pricing varies widely depending on color, finish, and installation complexity.
What is the best countertop material for resale?
Both granite and quartz offer strong resale value in Northern California. Choose the one that best fits your lifestyle and design preferences.
Final Thoughts: Which Countertop Is Best?
There’s no universal winner in the granite vs quartz countertops debate. It all comes down to how you use your space, how much maintenance you’re willing to do, and what design speaks to you. Granite brings natural beauty, timeless elegance, and heat resistance. Quartz offers sleek design, low maintenance, and lasting durability.
At America’s Advantage Remodeling, we’ll help you find the perfect fit for your kitchen or bath, one that enhances your daily life and adds lasting value to your Northern California home.
Ready to Transform Your Kitchen or Bathroom?
Let’s get started. Schedule your free consultation today to explore the best countertop materials for your Sacramento, Roseville, or greater Northern California home. Whether you’re drawn to the natural beauty of granite, the sleek appeal of quartz, or the luxurious finish of marble, America’s Advantage Remodeling is your trusted partner for a job done right.