Installing Kitchen Cabinets: Step‑by‑Step Guide for a Flawless Finish

Installing Kitchen Cabinets
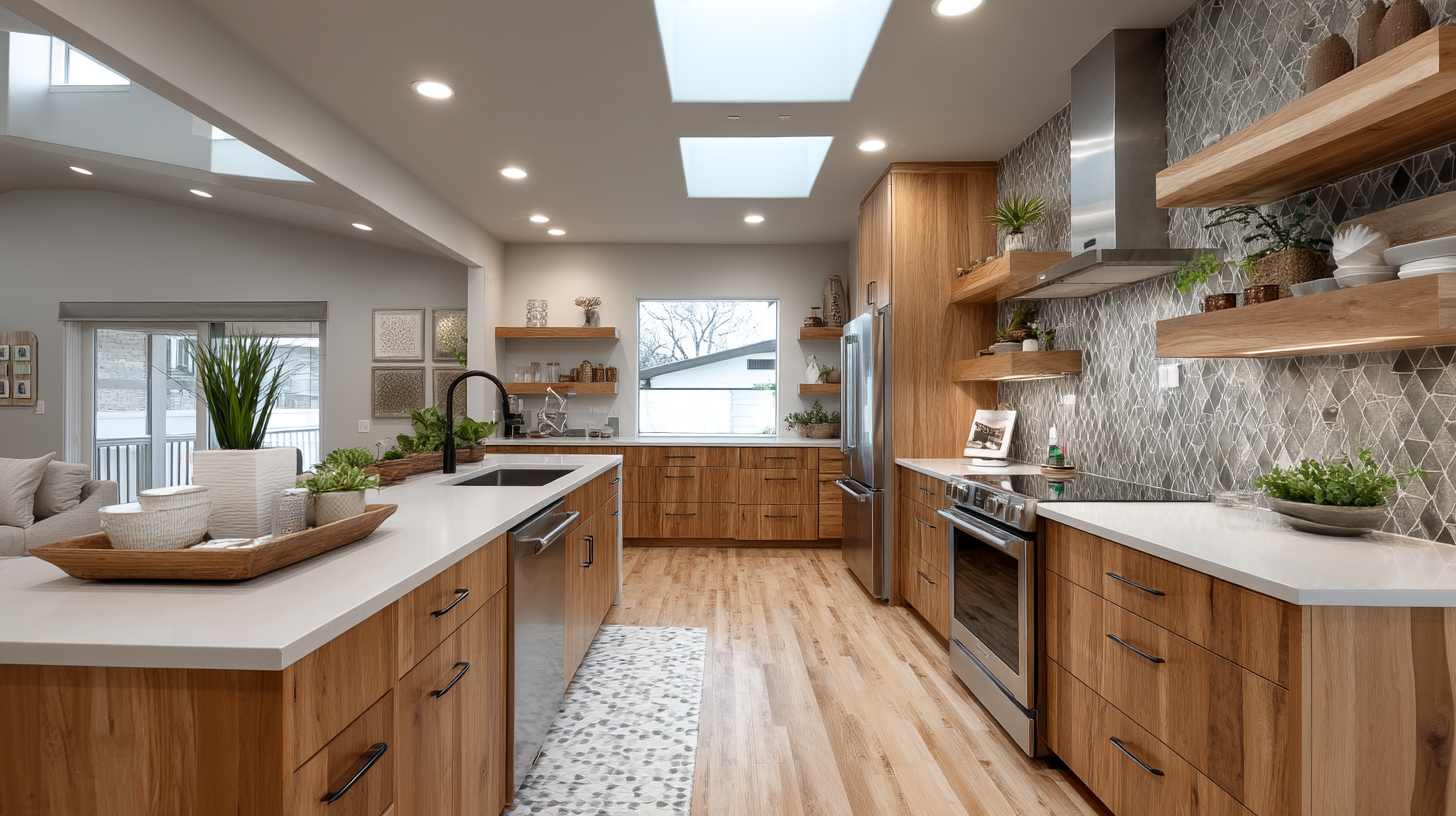
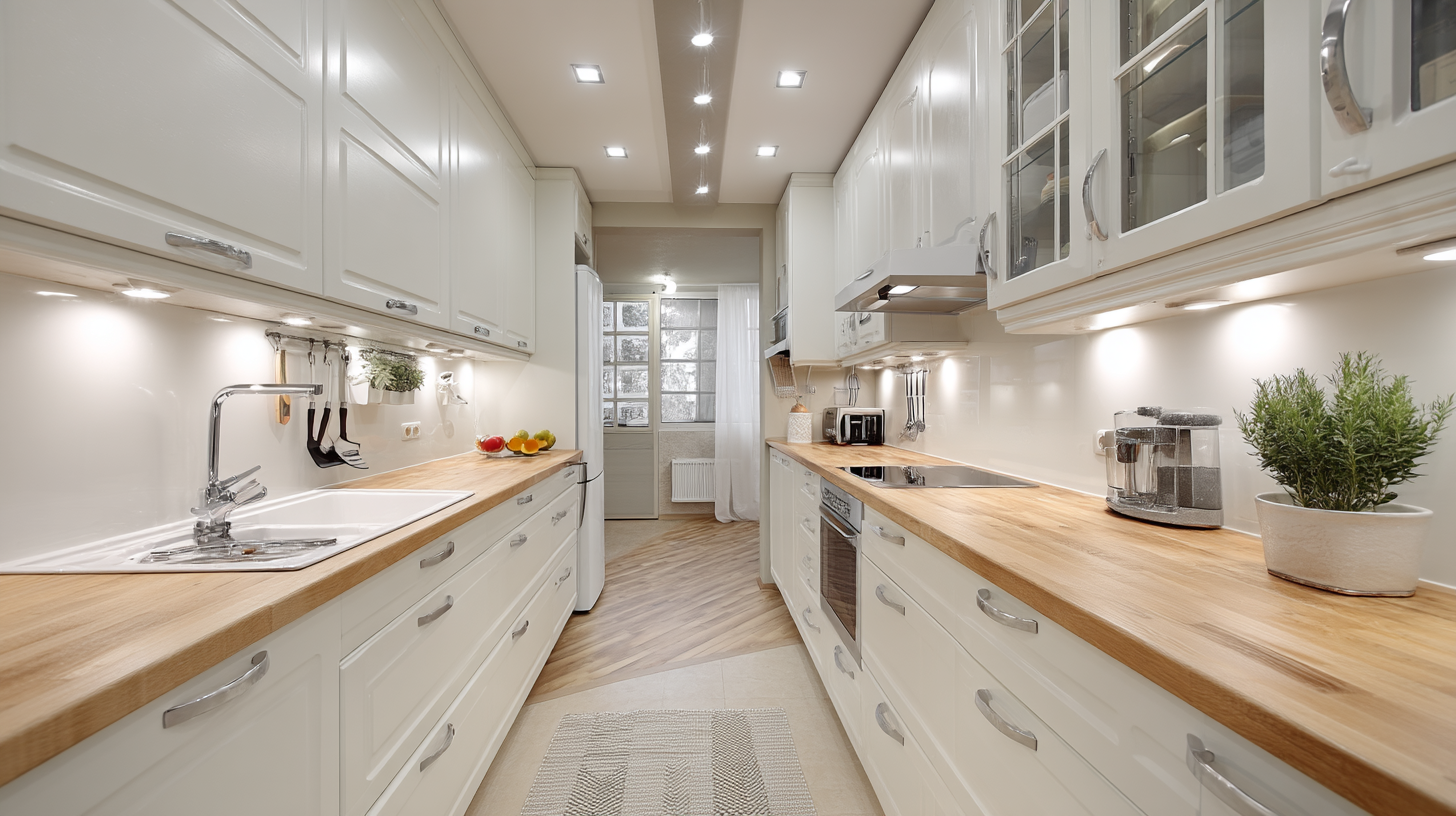
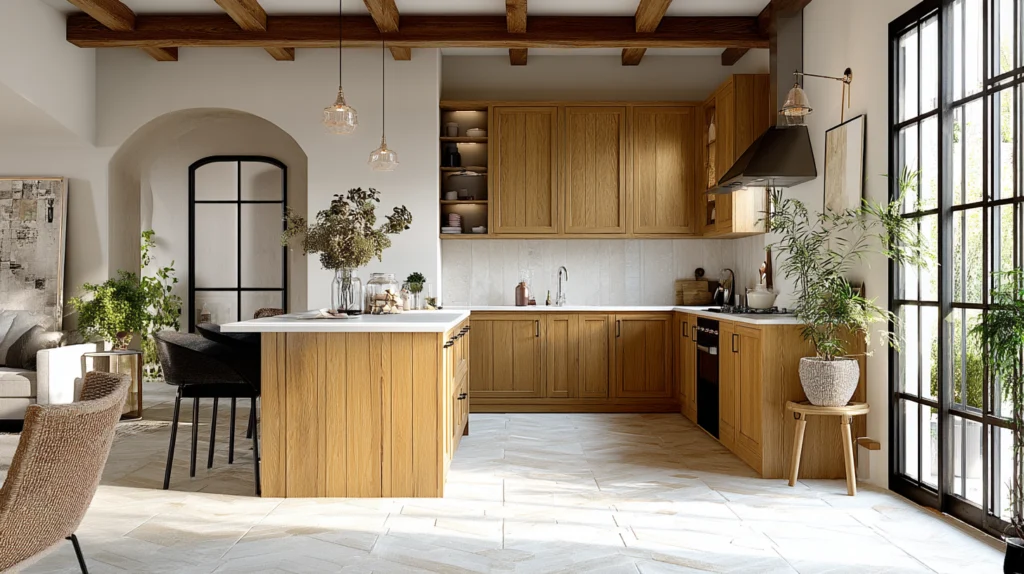
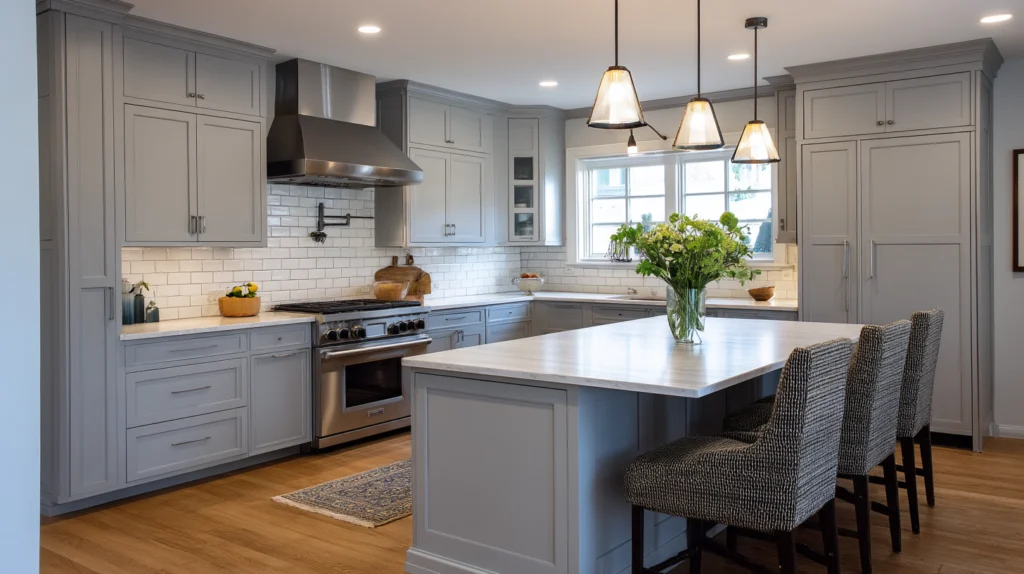
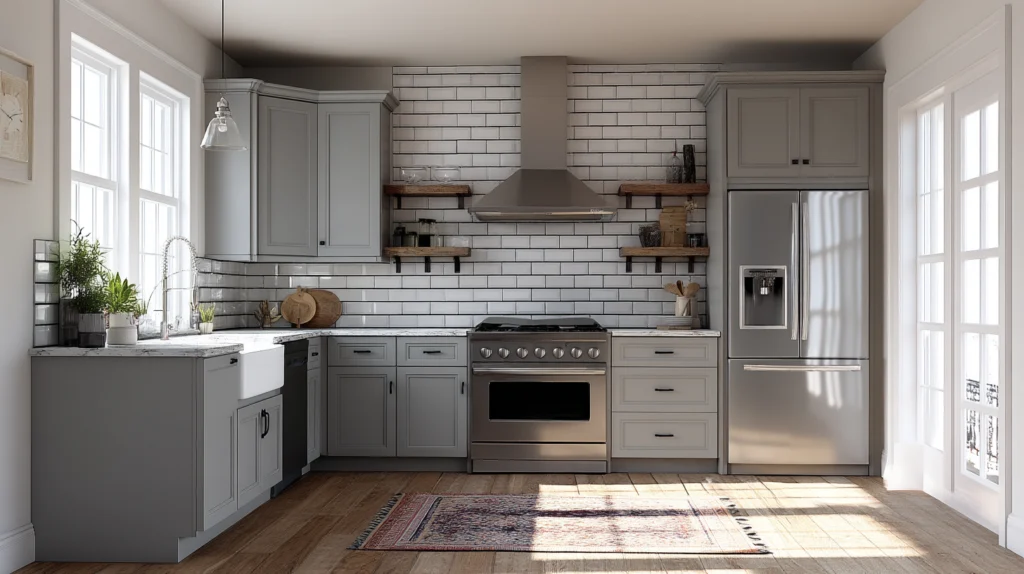
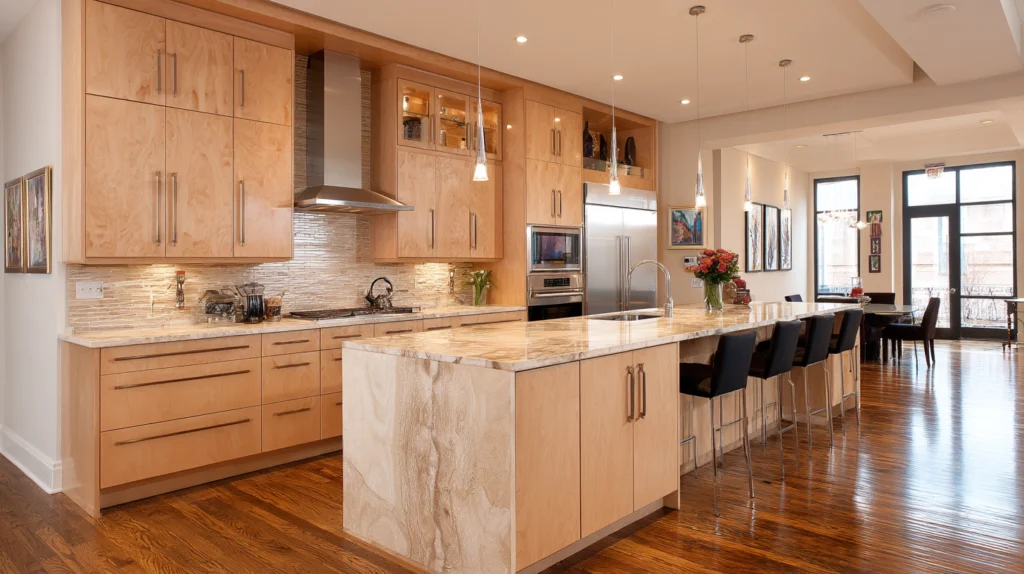
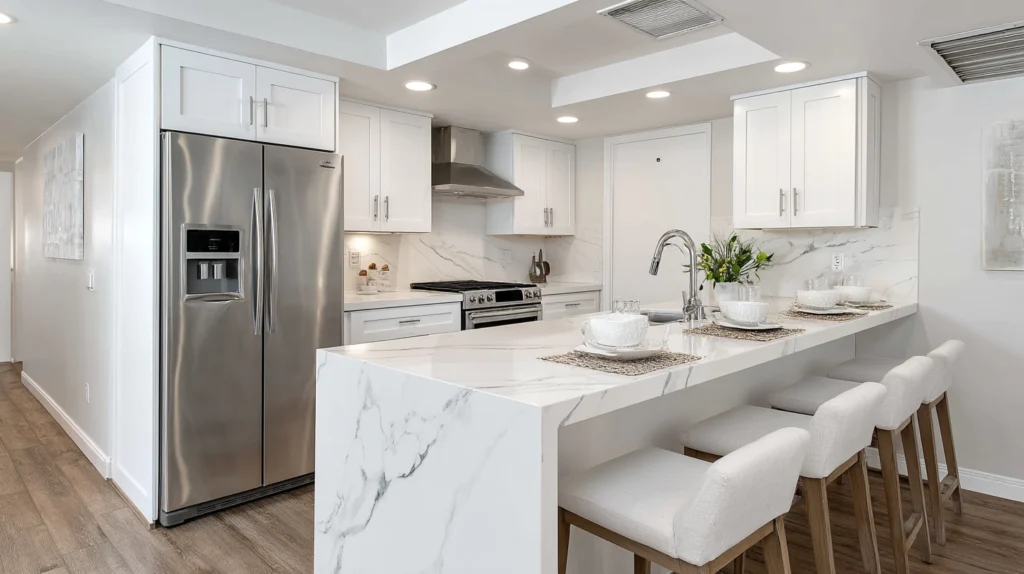
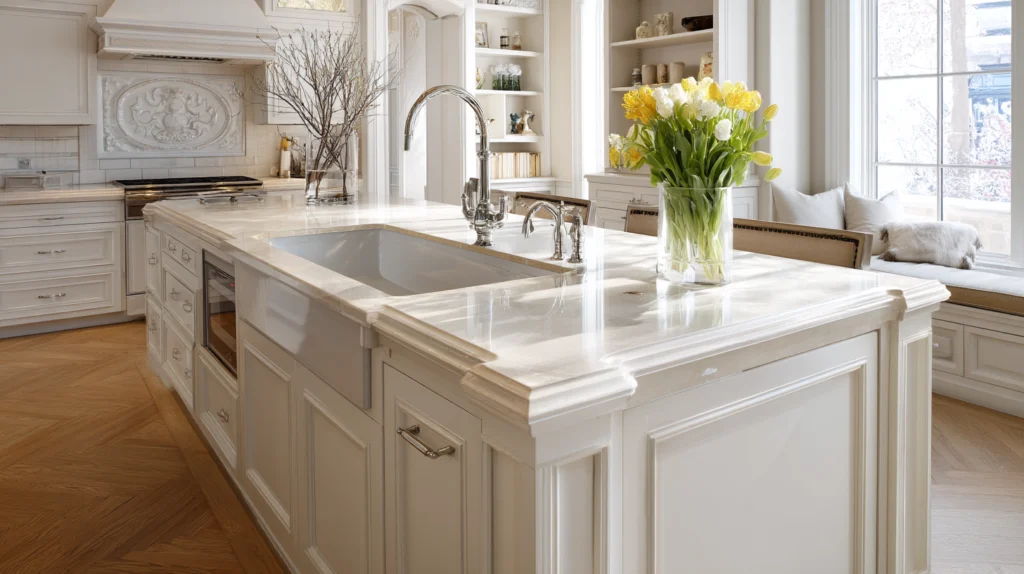
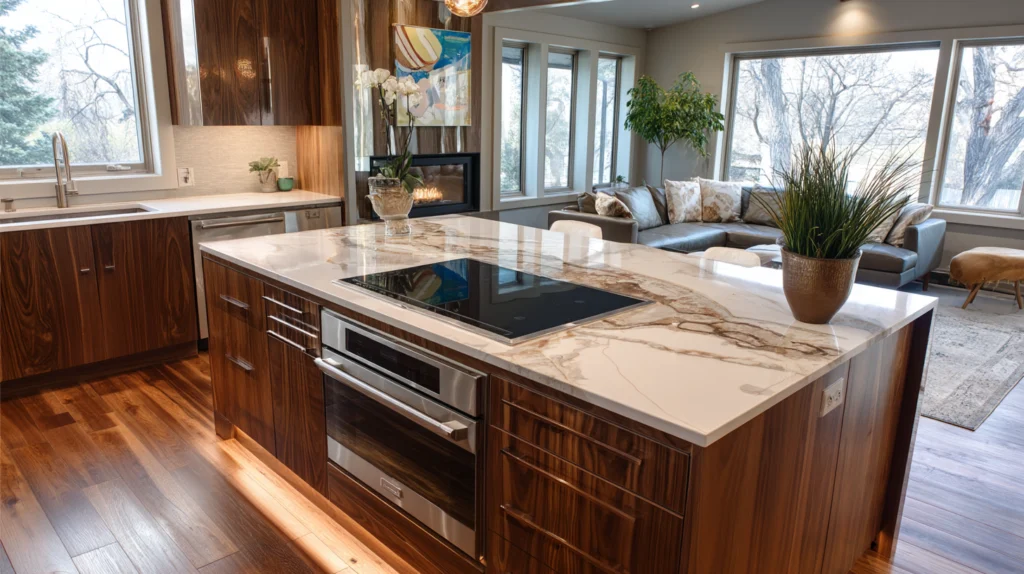
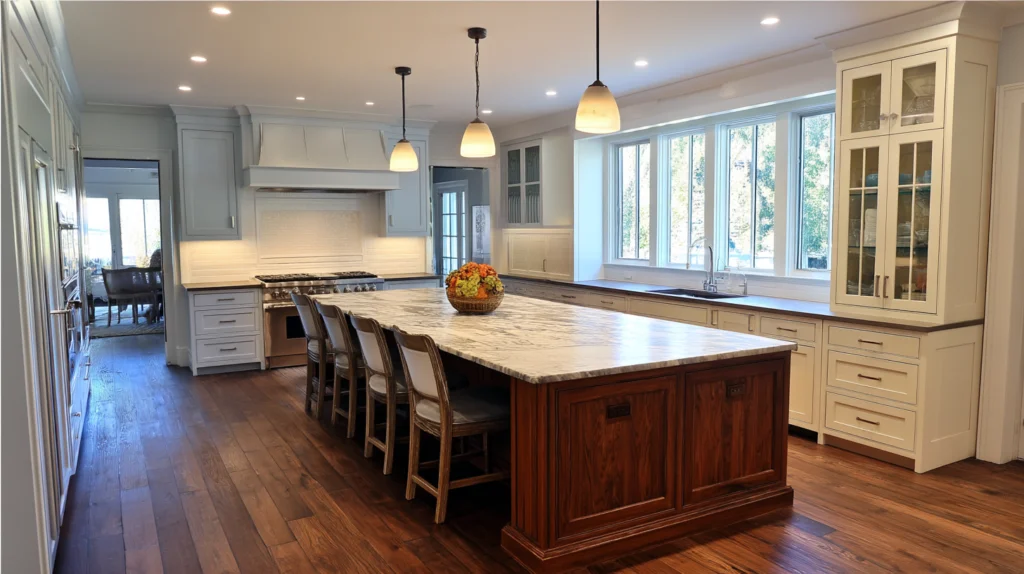
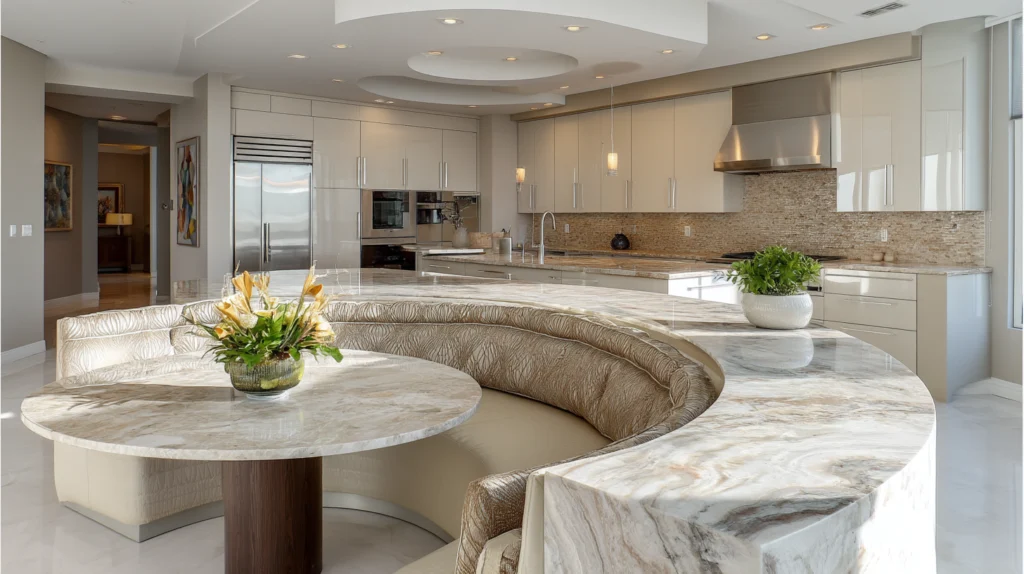
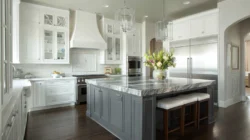
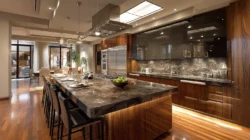
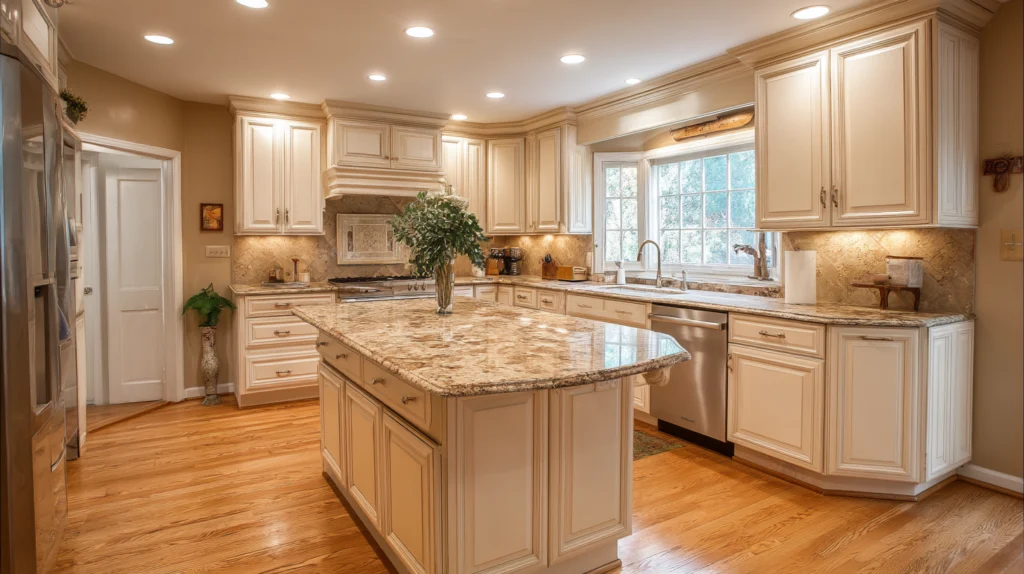
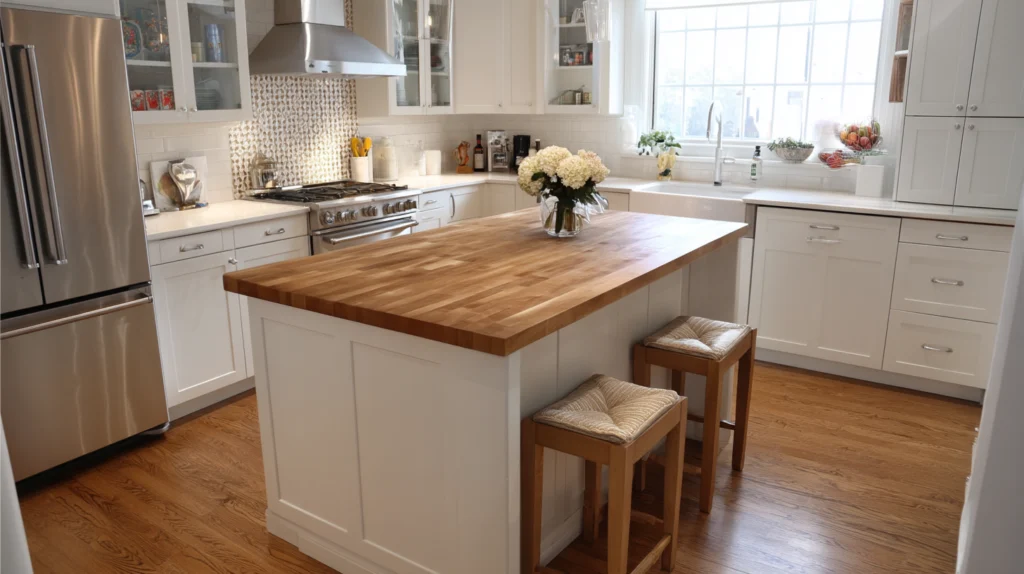
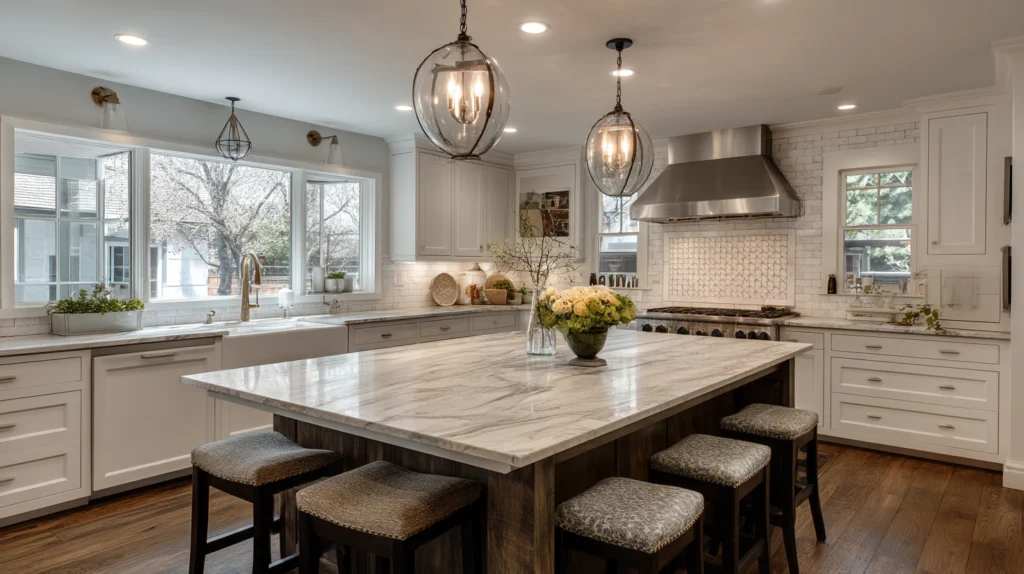
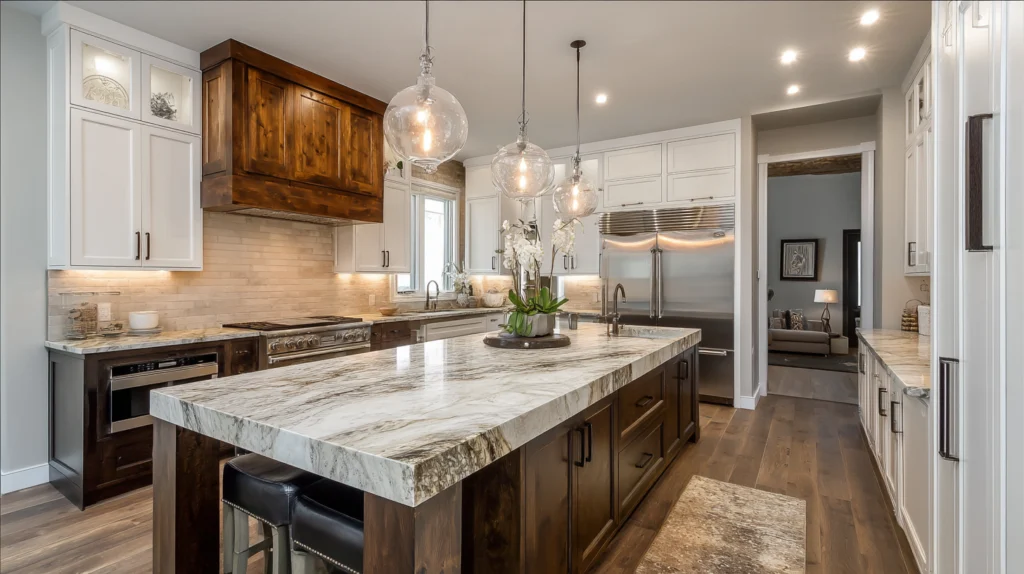
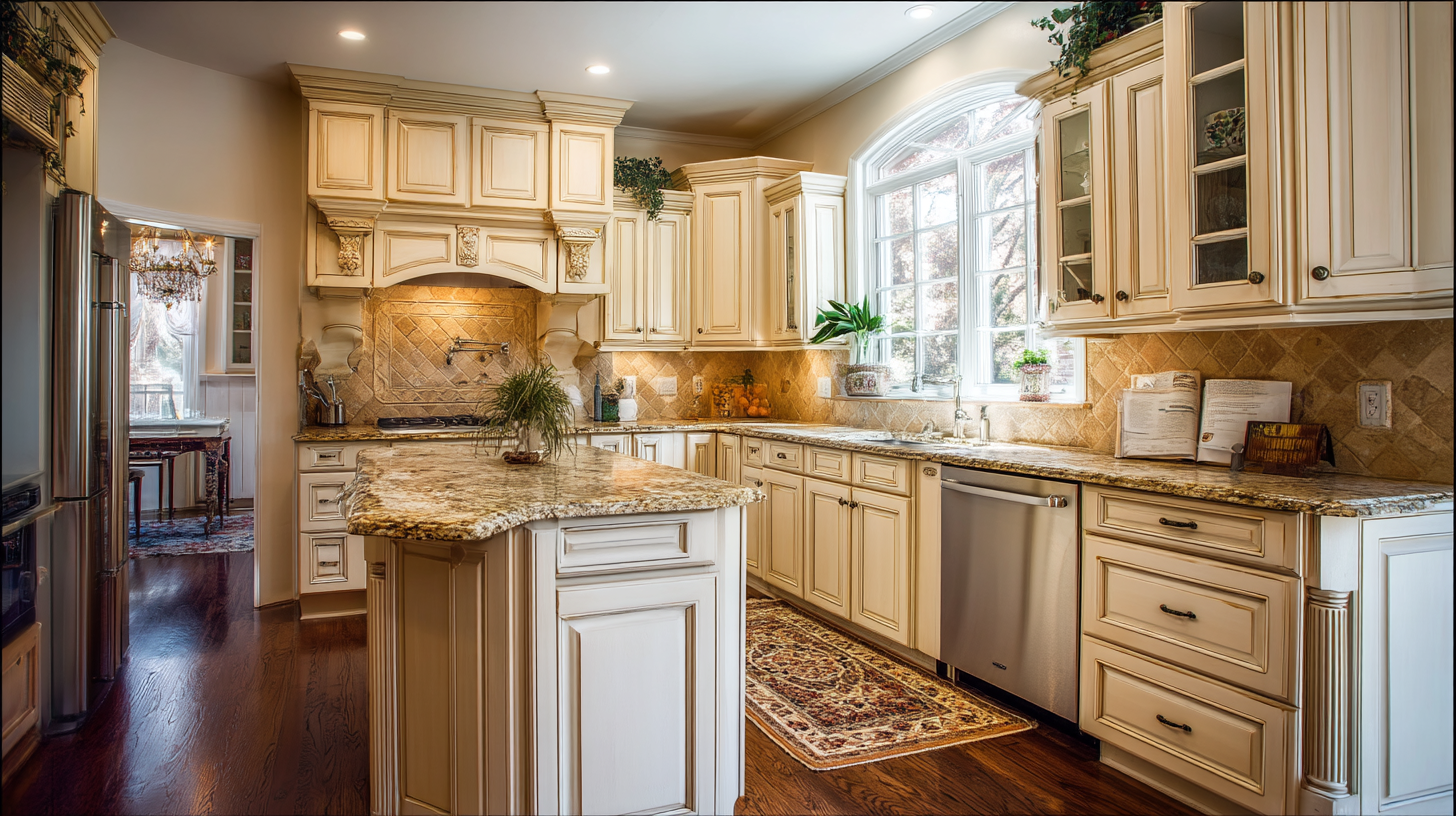
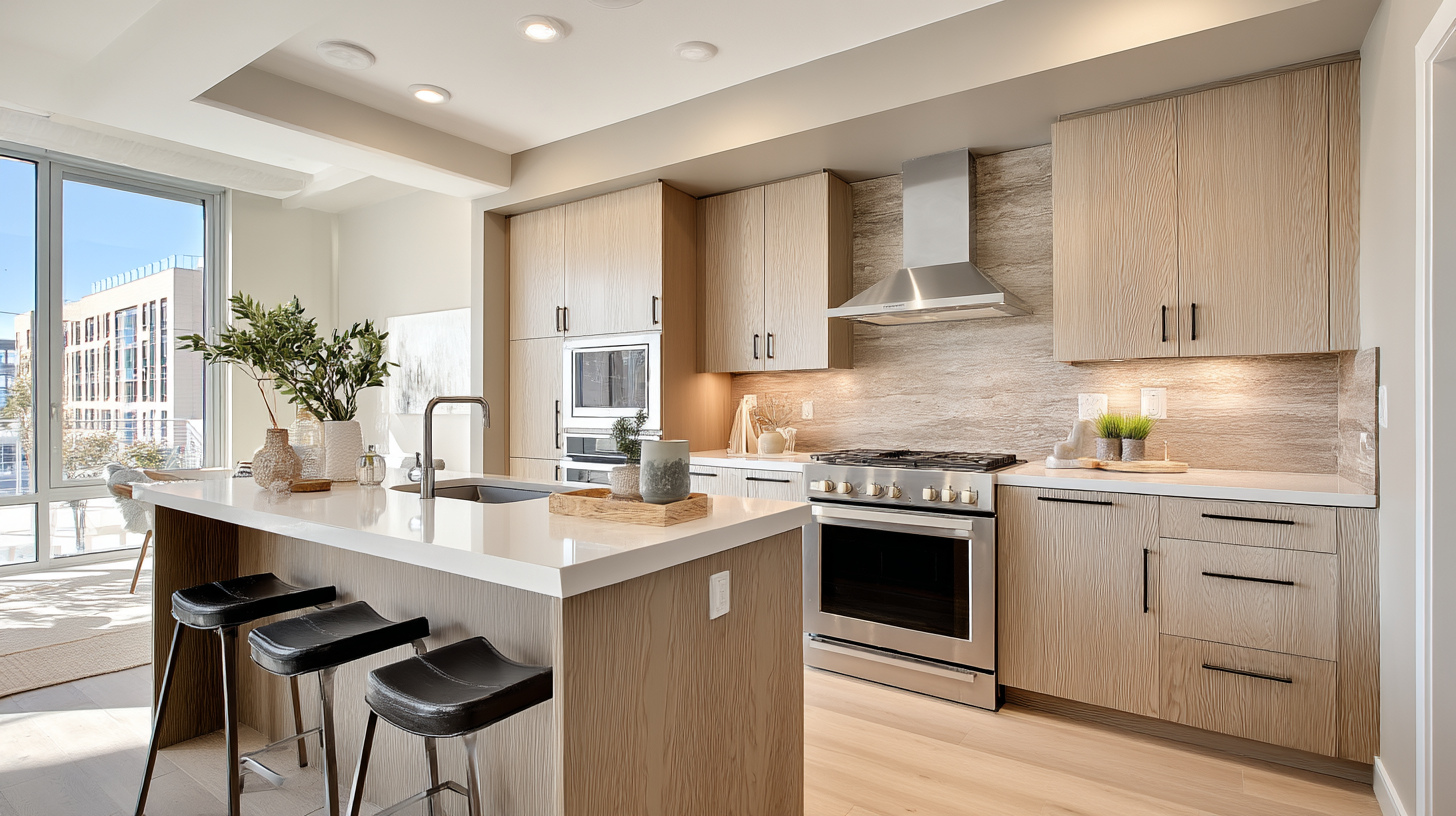
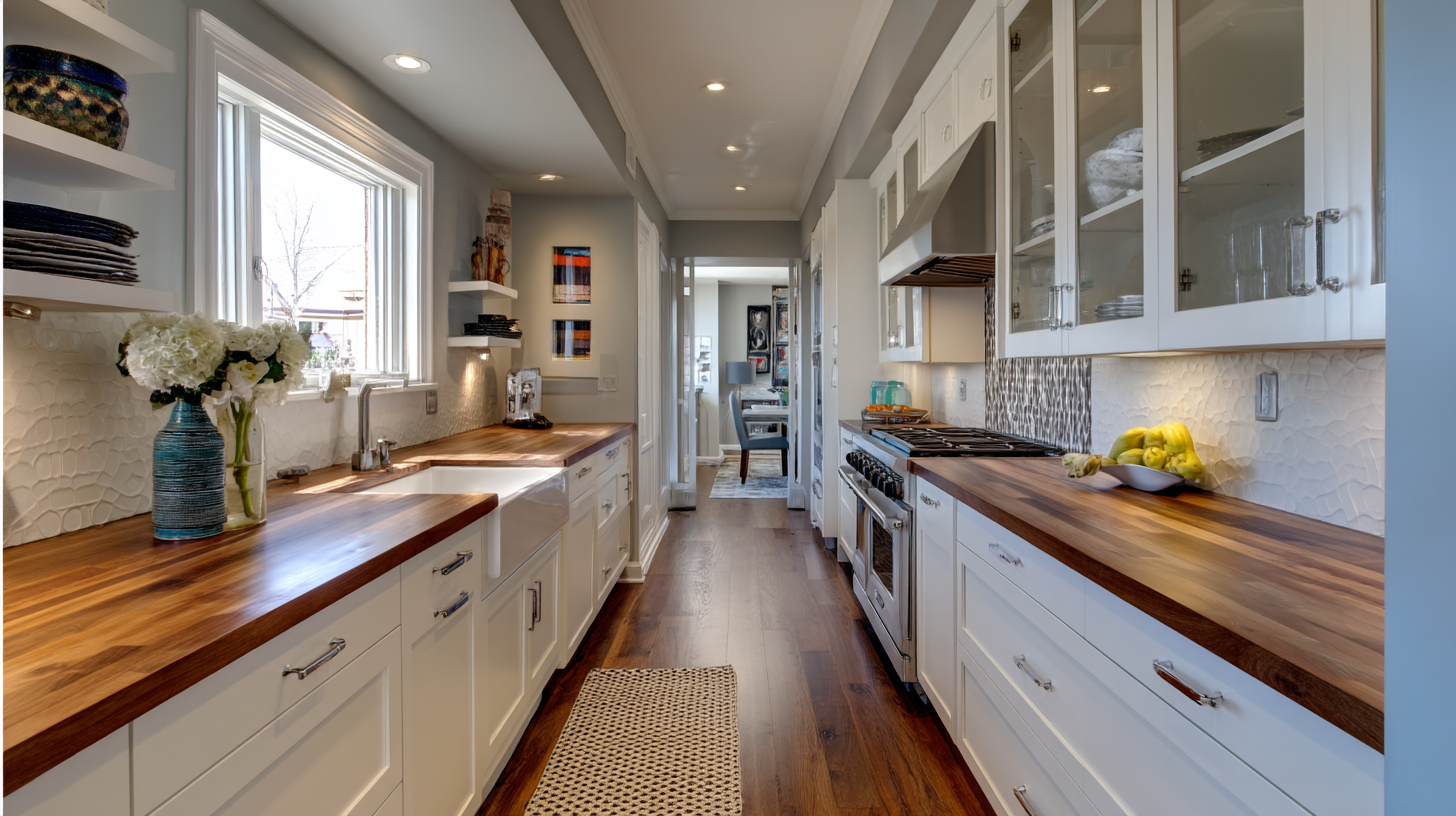
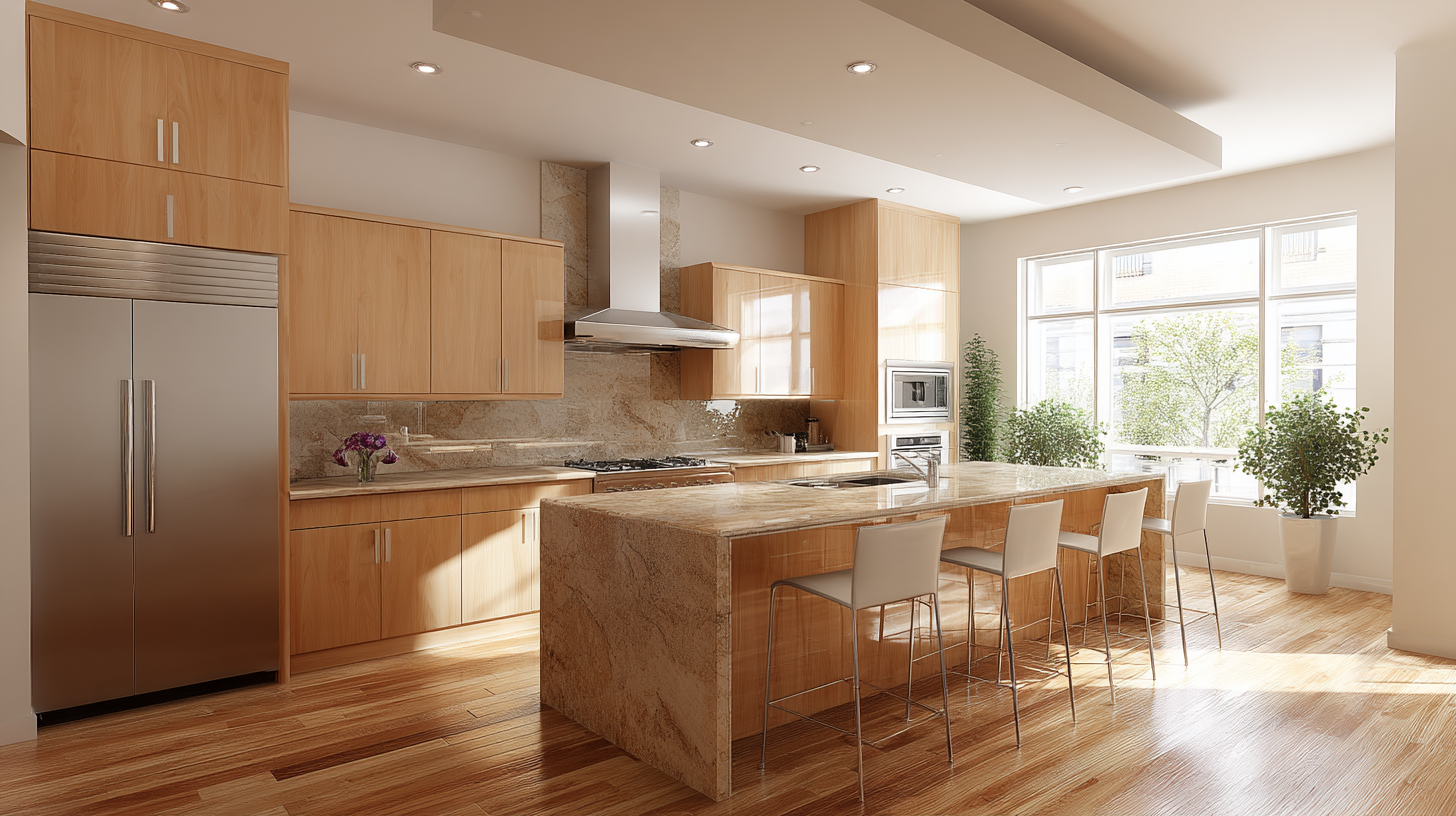
When it comes to kitchen cabinet installation, few upgrades make as big of an impact as new kitchen cabinets. Not only do cabinets define the look and feel of your kitchen, but they also drive how your space works every day. Whether you’re struggling with limited storage, sagging cabinet doors, or an outdated layout, properly installed kitchen cabinets can completely transform a room, both visually and practically. At America’s Advantage Remodeling, we know that kitchen cabinet installation is one of the most important and technical parts of any kitchen remodeling project, and whether you’re starting from scratch or replacing old cabinets, getting it right is essential to ensure a long‑lasting, high quality result.
Why Proper Cabinet Installation Matters
Functionality, Safety & Durability
Cabinets are more than just boxes with doors, they’re foundational to your kitchen’s usability. When cabinets are installed incorrectly, it can lead to uneven countertops, stuck drawers, crooked doors, and even safety hazards. A misaligned base cabinet run can throw off your entire kitchen layout, especially when it’s time to install heavy stone countertops or large appliances like a dishwasher. Cabinets that aren’t anchored properly can eventually pull away from the wall or shift out of square. That’s why every screw, shim and stud connection matters, a level, plumb installation ensures your kitchen functions the way it should for decades.
Appearance & Resale Value
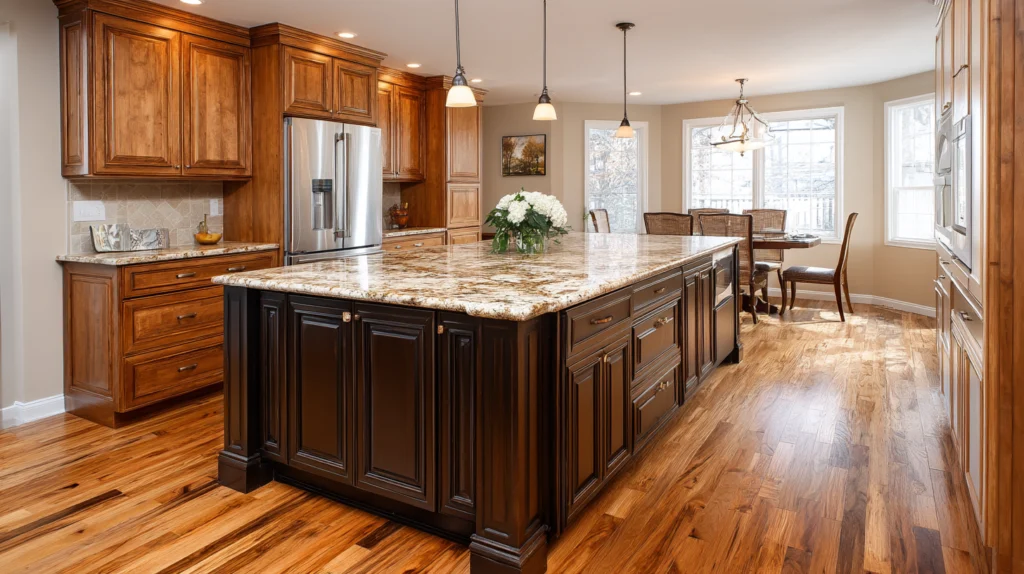
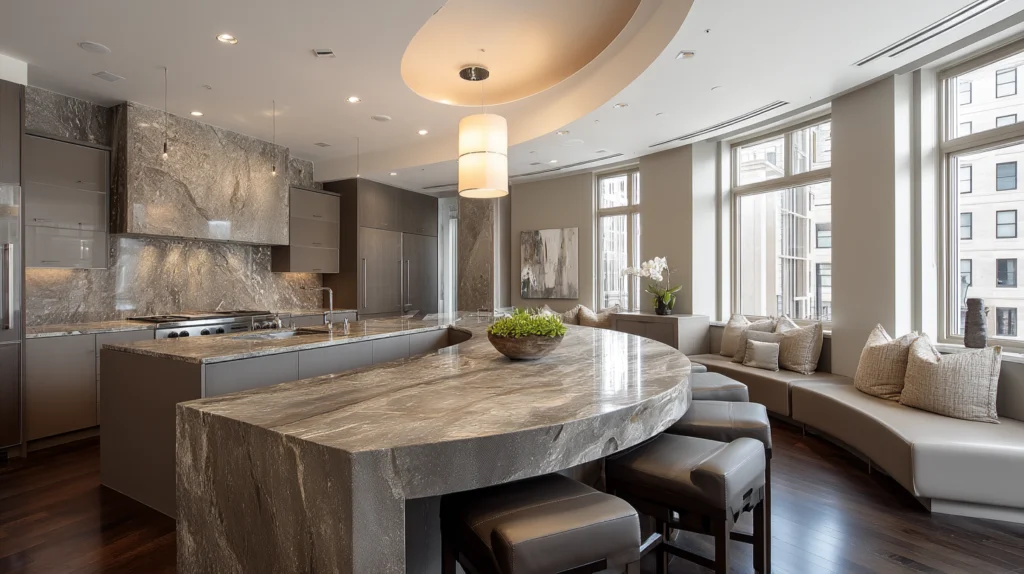
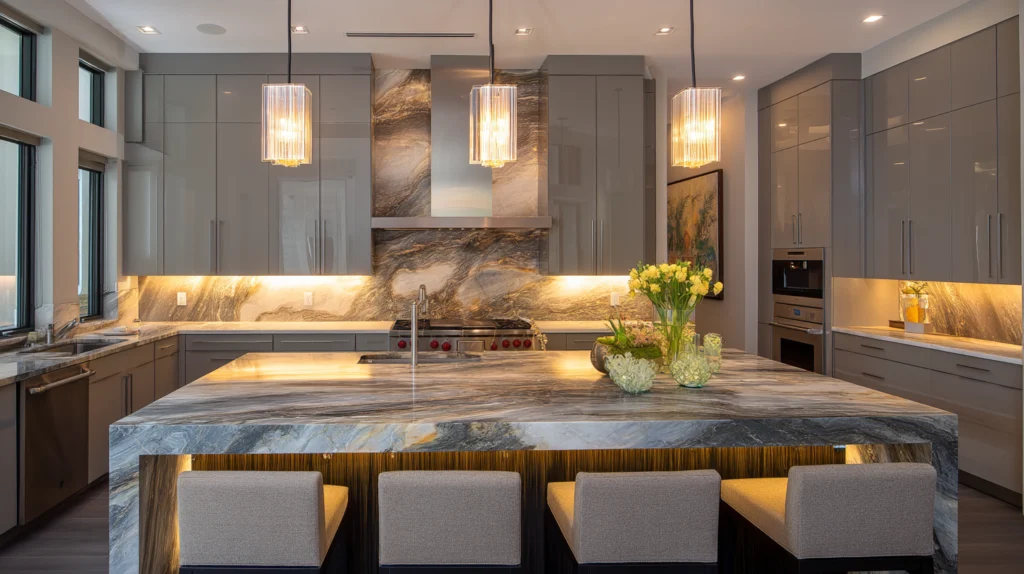
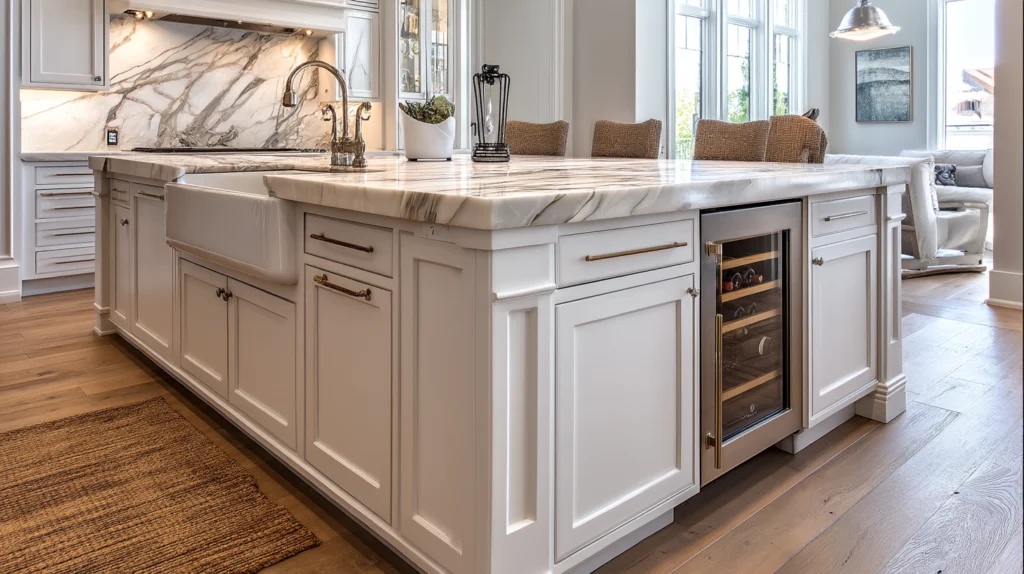
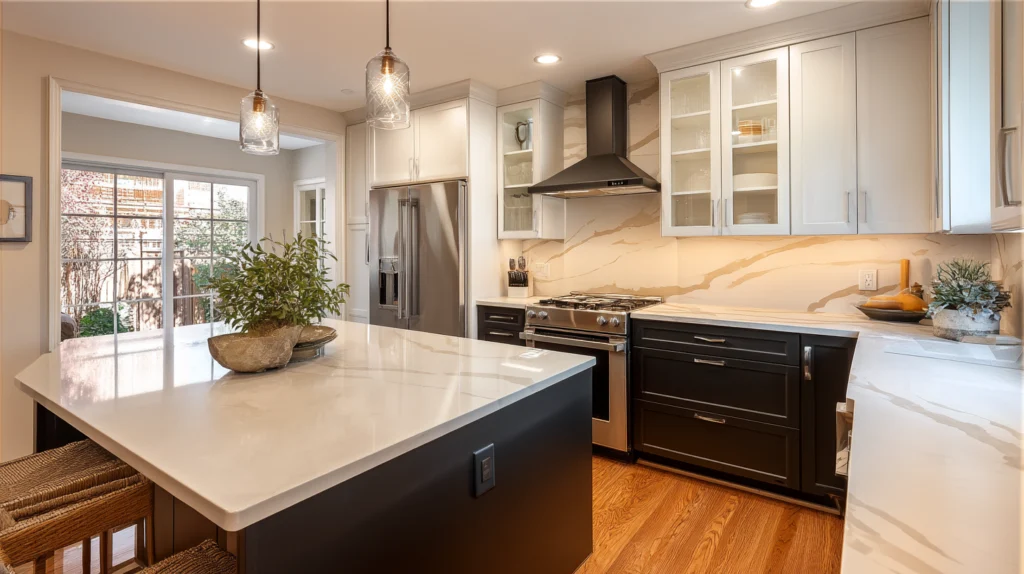
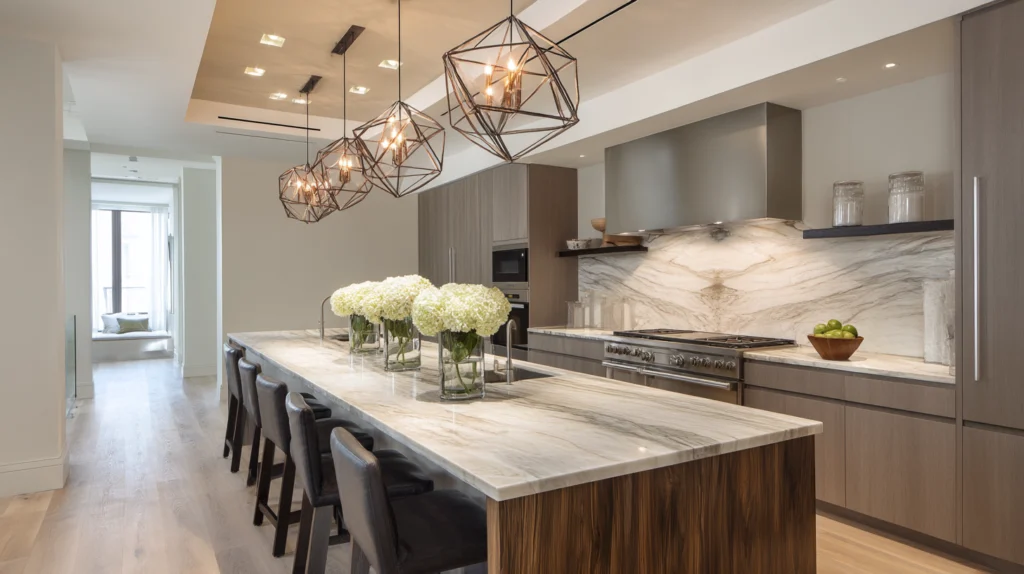
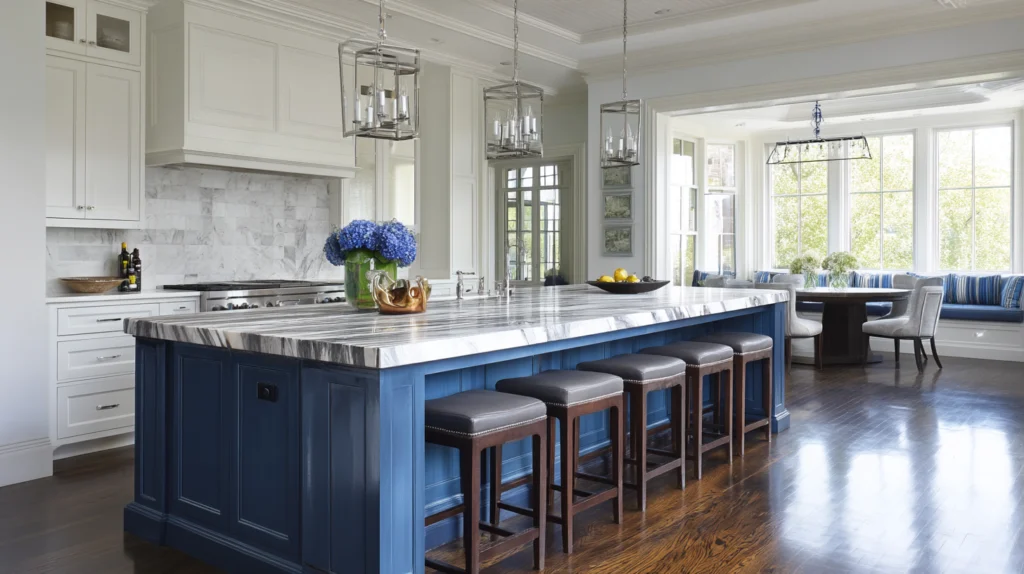
Aesthetically new kitchen cabinets are one of the first things potential buyers notice, even the most beautiful custom kitchen cabinets can look amateurish if they’re not installed with precision. Gaps, uneven finishes and poor trim work can reduce home value or raise red flags during inspection. A clean professional install gives your entire kitchen a polished upscale feel that holds long term value.
DIY Projects vs Professional Cabinet Installation
While many homeowners consider DIY projects installing cabinetry, kitchen cabinet installation is one of those projects where experience matters. Between leveling floors, marking accurate reference lines, securing to studs and aligning multiple cabinet runs there’s a lot that can go wrong without the right tools and knowledge. Our team brings the skills, equipment and craftsmanship to ensure the job is done right, from the first cabinet box to the last finishing nail.
Planning Before Installing Kitchen Cabinets
Measuring the Kitchen Space
The success of any cabinet installation begins with accurate measurements. We measure not just the floor and wall dimensions but also account for obstacles like electrical outlets, plumbing fixtures, windows and appliances. Using laser levels, stud finders and layout tools we create a precise cabinet plan that fits your space perfectly and prevents costly layout mistakes later.
Choosing Cabinet Types (Pre‑assembled, RTA or Custom)
There are three main categories of kitchen cabinets:
- Ready‑to‑Assemble (RTA) cabinets: These arrive flat‑packed and require assembly on site, they’re budget‑friendly but demand time and precision.
- Pre‑assembled new cabinets: Shipped fully built, easier to install and more durable than RTA.
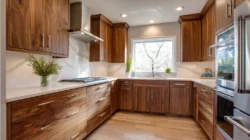
- Custom kitchen cabinets: Tailored to your space and style, offering the highest flexibility in design, dimensions and materials.
We help homeowners weigh the pros and cons of each type based on timeline, budget and long‑term goals.
Laying Out Your Kitchen Cabinet Design
Before any cabinet touches the wall we help finalize the layout, this includes:
- Base cabinets positioning for sink, range and dishwasher
- Upper cabinets height (standard is 18‑20″ above the countertop)
- Storage needs and cabinet types (drawers vs doors, lazy Susans, pull‑outs)
- The kitchen triangle for optimal workflow between sink, stove and refrigerator
Design decisions here impact not only looks but how the space performs day to day.
Tools and Materials Needed
A professional cabinet installation project requires these tools and materials:
- Stud finder to locate wall stud locations
- Level and/or laser level to find the high point on the floor and mark reference lines
- Clamps and cabinet jacks for supporting upper corner cabinet or wall cabinets during hang time
- Drill/driver with appropriate bits
- Screws (typically 2.5″ cabinet screws) for securing the face frame or cabinet box to the wall studs
- Shims, filler strips, trim pieces
- Measuring tape, pencil, framing square
- Safety glasses, gloves
Using the right equipment helps ensure precision especially when dealing with uneven floors or out‑of‑square walls, something commonly seen in older homes.
Step‑by‑Step Process for Installing Kitchen Cabinets
Step 1 – Prep the Space
Before installing anything we prep the space: remove old cabinets (if applicable) and haul away debris, finish the walls (paint, patch or prime), confirm that plumbing, gas lines and electrical are roughed‑in correctly. This also is the time to double check floor and wall conditions for leveling issues.
Step 2 – Mark Reference Lines
Using the high point on the floor we mark a level reference line for the top of the base cabinets (typically 34½″ from the high spot). We also mark where upper cabinets begin and end, and where studs are located to secure the wall cabinets. These lines guide the entire installation process and prevent alignment issues.
Step 3 – Install Base Cabinets
We typically start the base cabinet run in the corner with the most stable cabinet box. From there we shim cabinets as needed to keep them level, clamp and screw adjacent cabinets together, secure each cabinet to studs with proper screws through the back rail, check level and plumb after each cabinet is placed. The face frames must align, doors and drawer fronts must align flush for a seamless look.
Step 4 – Install Wall Cabinets & Upper Cabinets
Wall cabinets and upper cabinets go in after the base cabinets are installed and leveled. Use temporary support cleats or cabinet jacks to help hold the units during installation. Secure cabinets into wall studs, clamp adjacent units for flush seams, align the doors and drawer fronts for consistent spacing and visual flow. If you’re installing an upper corner cabinet you must ensure the two wall cabinet runs meet cleanly at the corner and that filler panels or trim handle any odd gaps.
Step 5 – Add Doors, Drawers & Finishing Touches
Once the cabinet boxes are in place we hang doors and insert drawers, install hinges and adjust them, install filler strips and crown molding, add toe kicks and base trim, prep for countertop installation if not already templated. We check alignment of doors and draw fronts for even reveal and smooth operation. At this stage any remaining cabinets and accessories like shelves are installed.
Common Challenges During Cabinet Installation (And How to Solve Them)
Uneven Walls and Floors
Older houses often come with sagging floors or bowed walls. In these cases shimming the cabinets and using laser tools to find the high spot is essential to ensure countertops fit properly and cabinets don’t look crooked. Failing to address this can lead to hardware failure, stuck drawers or doors, and long term issues.
Missing Studs or Obstructions
Sometimes studs aren’t located where they’re needed because of wiring or plumbing. In these cases blocking or heavy‑duty toggle bolts may be used for secure fastening. Also obstructions behind the wall may require moving or modifying wall cabinets or custom kitchen cabinets to fit around the issue.
Cabinet Doesn’t Fit the Layout
When cabinet widths don’t align perfectly with wall measurements or when there is a structural obstacle we install filler strips for a seamless look. Custom modifications may also be necessary to accommodate piping, soffits or unique architecture. The face frame and door alignment must still be maintained for visual consistency.
What It Costs to Install Kitchen Cabinets in 2025
Factors That Impact Cost
The cost of installing kitchen cabinets can vary widely based on: type of cabinets (RTA, pre‑assembled or custom kitchen cabinets), size of the kitchen, level of demo/prep work needed, finishing details and trim, labor costs in your area. Also the complexity of the layout, number of doors and drawers, hardware quality, and need to correct structural issues like uneven floors or walls all raise cost.
Average Cabinet Installation Cost
In 2025 the average cost to install kitchen cabinets ranges from roughly $4,500 to $11,000 or more depending on materials and complexity. Custom kitchen cabinets installed in a large space with many doors and drawers and high‑end materials will exceed that range. Budget installs with standard cabinet lines may fall at the lower end.
How to Get a Fair Estimate
When looking at quotes make sure the estimate includes all demolition of old cabinets, disposal, prep (floor/wall/floor leveling), delivery and installation of new cabinets, doors and drawers, installation of hardware, adjustment of hinges and drawer fronts, installation of trim, filler strips and toe kicks, and final cleanup. Ask for a breakdown of labor costs and materials. Choose a professional cabinet installation service that is licensed, insured and familiar with local house types and building conditions.
Why Choose America’s Advantage for Cabinet Installation?
Local Expertise with Custom Fit Solutions
From older homes in our region to newer build houses, we’ve seen it all. Our team understands how to work with uneven floors, bowed walls and non‑standard layouts, ensuring your cabinets are solid, straight and built to last.
Full‑Service Remodeling – Not Just Installation
We handle the entire project from layout and measure to prep and finish. We coordinate the install of base cabinets, wall cabinets, upper corner cabinet units and all remaining cabinets, we manage doors, drawers, hardware, trim, and drawer fronts so you don’t need to juggle multiple vendors.
Clean Work, Reliable Timelines, Honest Labor Costs
Our crews respect your home, schedule and budget. You’ll receive a transparent quote that clearly shows labor costs and materials. We deliver on time and we clean up thoroughly so you can enjoy your new kitchen cabinets with confidence.
Cabinet Installation FAQs
How long does it take to install kitchen cabinets?
Most installations take 2 to 4 days depending on cabinet type, kitchen size and whether new kitchen cabinets are part of a broader renovation.
Can I install kitchen cabinets myself?
While DIY projects are possible, kitchen cabinet installation often leads to errors without professional tools and experience. Mistakes in stud locations, leveling, or alignment can result in costly re‑work or functional issues.
Do cabinets go in before or after flooring?
It depends on your flooring type and job‑scope, but typically base cabinets are installed before floating floors, while wall cabinets and upper cabinets might follow once the floor is in place.
Do I need a permit to install kitchen cabinets?
If your project involves relocating plumbing or electrical work, a permit may be required. Pure cabinet install often does not require a permit, but when you coordinate full kitchen services, it’s best to check with local authorities.
What kind of cabinets should I choose for my kitchen?
That depends on your style, budget and how you use your kitchen. Custom kitchen cabinets offer the most flexibility and durability but come at a higher cost. Pre‑assembled or RTA cabinets are less expensive but may require compromises in quality or customization.
Ready to Upgrade Your Cabinets?
If your old cabinets no longer serve you, if your cabinet doors hang unevenly, if your drawers stick or your layout just doesn’t function anymore, don’t settle for a sub‑par kitchen. Let our team at America’s Advantage Remodeling help you turn your space into a beautiful, functional centerpiece of your house. Contact us today to schedule a free in‑home consultation. Our expert cabinet installers use the right tools, address every detail from stud locations to face frame alignment, ensure every screw and hinge is correctly installed and provide a complete finish that enhances value, appearance and daily use.