What is a Bathroom Vanity? Everything You Need to Know

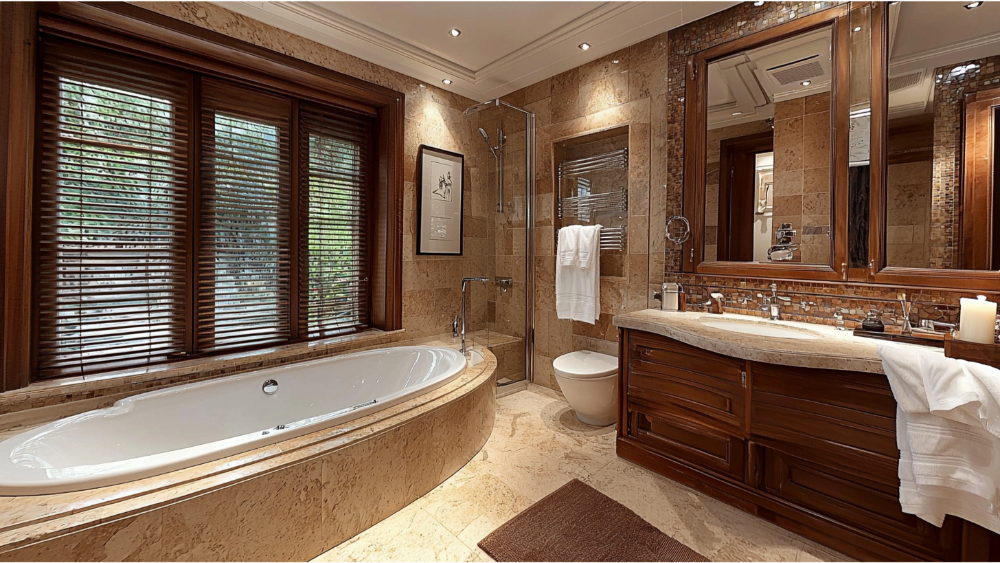
A bathroom vanity is an essential feature in modern bathrooms, combining both functionality and style. It typically includes a sink, countertop, and storage space, making it a practical centerpiece for daily tasks. Beyond its utility, a well-chosen vanity can enhance the overall aesthetic of the bathroom.
Definition of a Bathroom Vanity
A bathroom vanity is a fixed installation within a bathroom that integrates a sink or basin with a storage cabinet and often a countertop. It serves both practical and decorative purposes, offering space for hygiene-related tasks while providing storage for toiletries, cleaning products, and other essentials. Vanities are available in various sizes, styles, and materials, allowing homeowners to select options that suit their functional needs and complement their bathroom’s design.
Components of a Bathroom Vanity
Sink
The sink is the centerpiece of any bathroom vanity, serving as the primary area for hygiene tasks like washing hands and brushing teeth. Connected to the plumbing network, it requires proper installation of pipes to ensure functionality and prevent leaks. Choosing the right sink style and materials plays a key role in blending it with the overall design of the space.
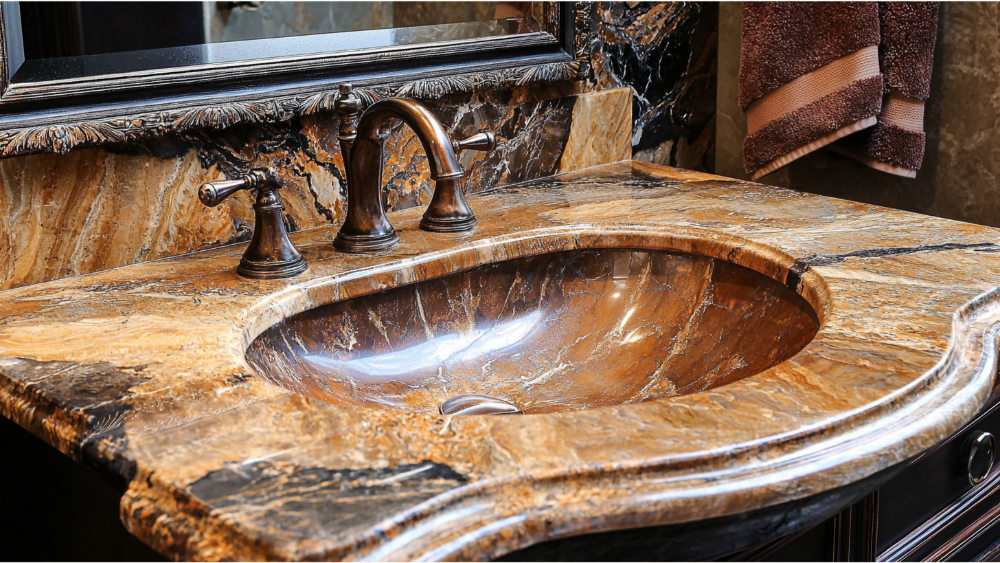
Countertop
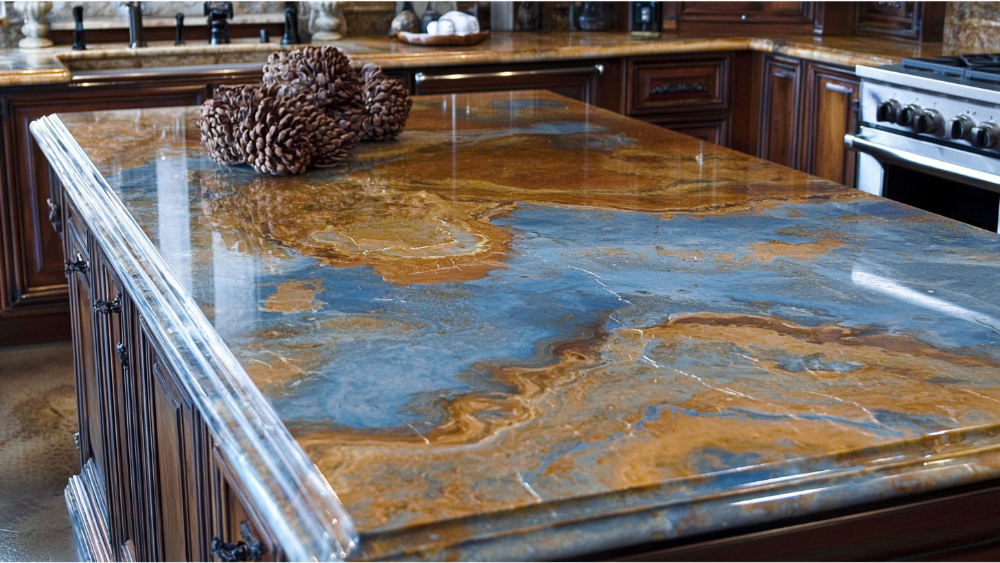
The countertop provides a durable surface for daily use and serves as space to hold bathroom essentials such as toiletries or decorations. When searching for the ideal countertop, key considerations include its durability, ease of cleaning, and suitability for the vanity’s job. High-quality materials like quartz, granite, or laminate ensure both longevity and aesthetic appeal.
Storage Space
Storage space in a vanity helps keep the bathroom organized by providing room for items like towels, toiletries, and cleaning supplies. Cabinets and drawers are common storage solutions, crafted from materials designed to withstand moisture and humidity. Efficient storage design makes it easier to page through items and locate what you need quickly.
Plumbing
The pipes within the vanity connect the sink to the overall plumbing system, ensuring proper water flow and drainage. Proper installation and quality materials are critical to prevent issues like leaks or clogging, which can lead to costly repairs. Inspecting the pipes periodically helps maintain the vanity’s job of delivering seamless functionality.
Faucet
The faucet is the functional highlight of the vanity and is available in styles ranging from modern to vintage. Well-chosen faucet designs and materials can significantly enhance the vanity’s look while complementing the overall bathroom decor. It’s important to search for durable faucet options that meet water efficiency standards for long-term use.
Types of Bathroom Vanities
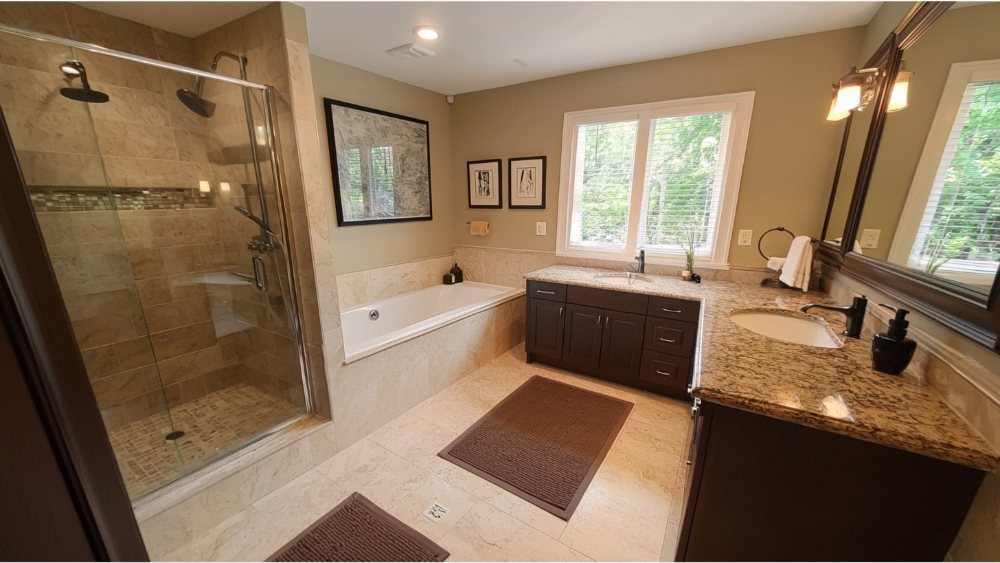
Freestanding Vanities
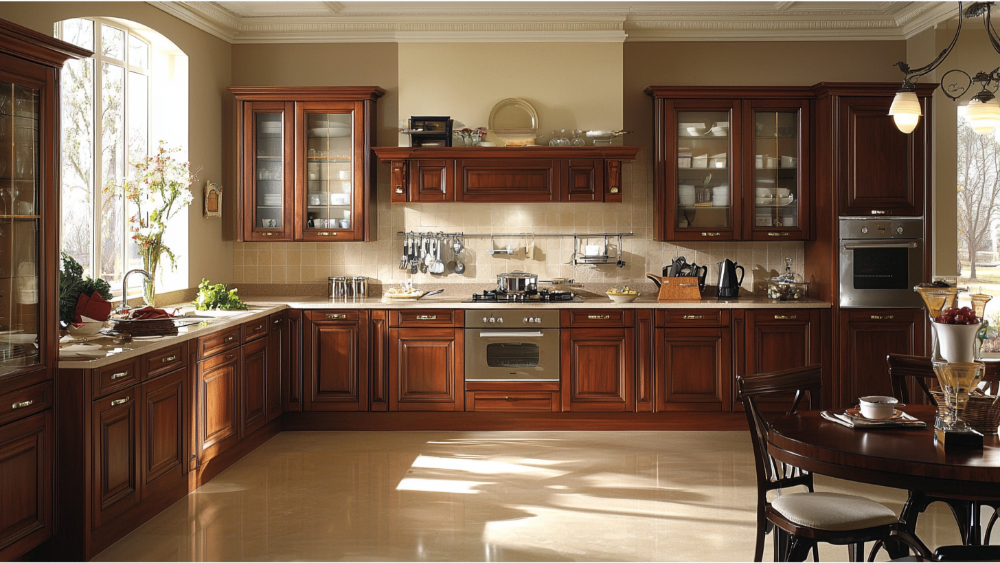
Freestanding vanities are a classic option, designed to stand independently without being attached to walls or floors. These vanities are a popular choice among homeowners seeking a functional yet stylish design that’s straightforward to install. Ideal for users with a budget in mind, freestanding vanities are available in a wide range of sizes and materials, making it easy to tailor them to individual preferences. Since less labor is required during installation, they are also a cost-effective option for quick bathroom remodels.
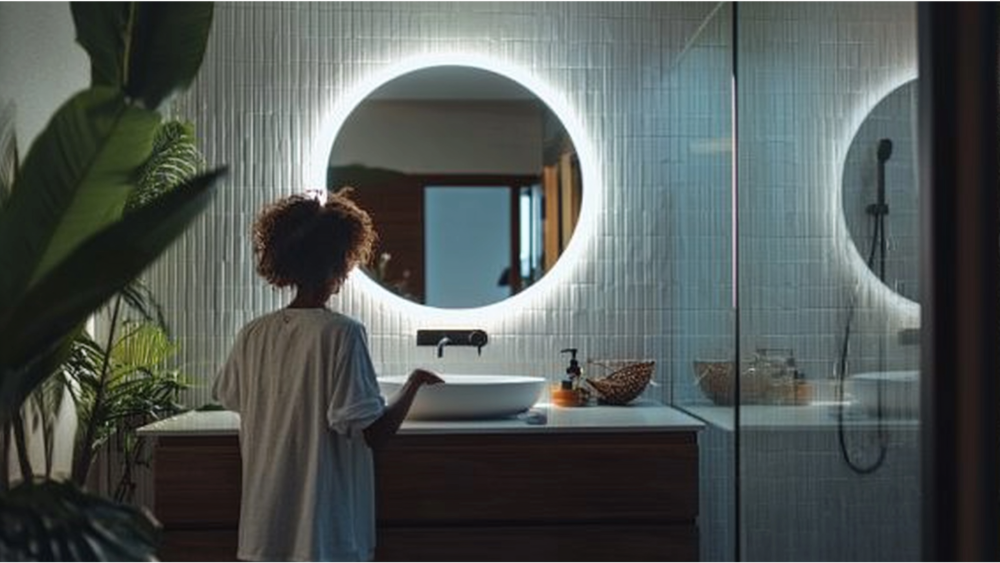
Wall-Mounted Vanities
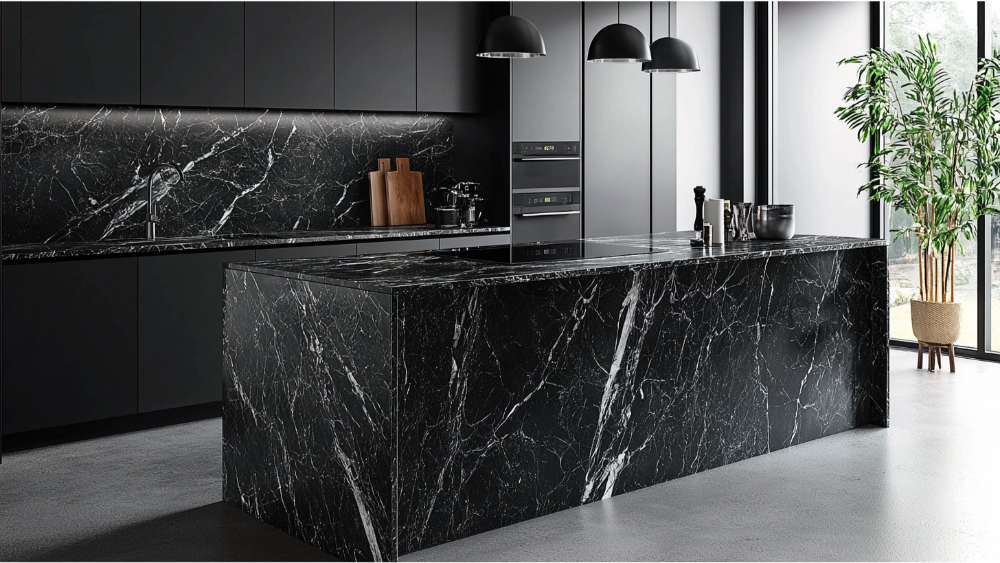
Wall-mounted vanities, often referred to as floating vanities, are designed to be installed directly onto the wall, creating a sleek and modern look. This design not only enhances the aesthetic appeal but also provides open space beneath, making cleaning easier and giving a sense of openness to the room. Homeowners looking to invest in a design-forward piece often opt for wall-mounted vanities to elevate their bathroom decor. However, their installation requires precise measurements and professional labor to ensure securely mounted plumbing connections.
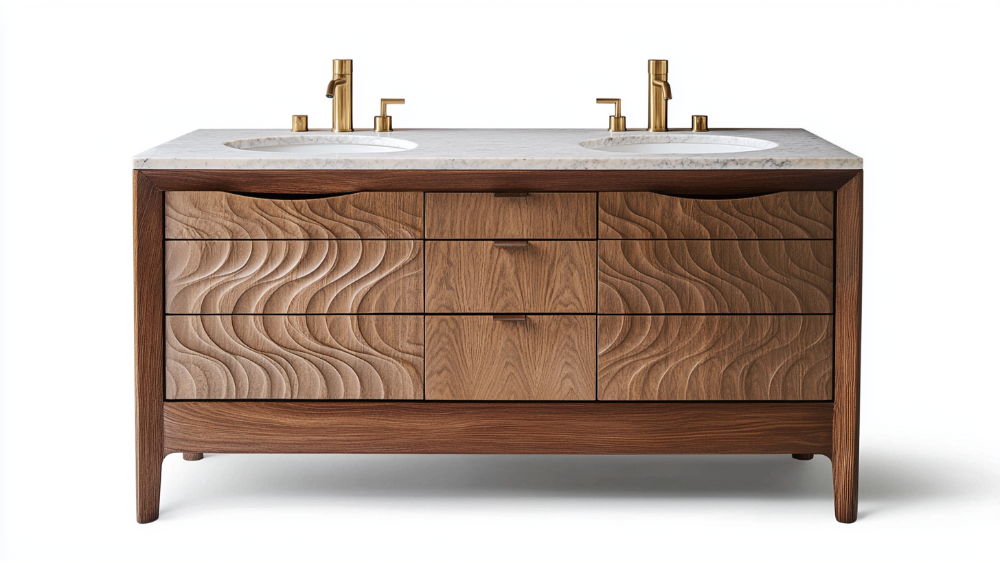
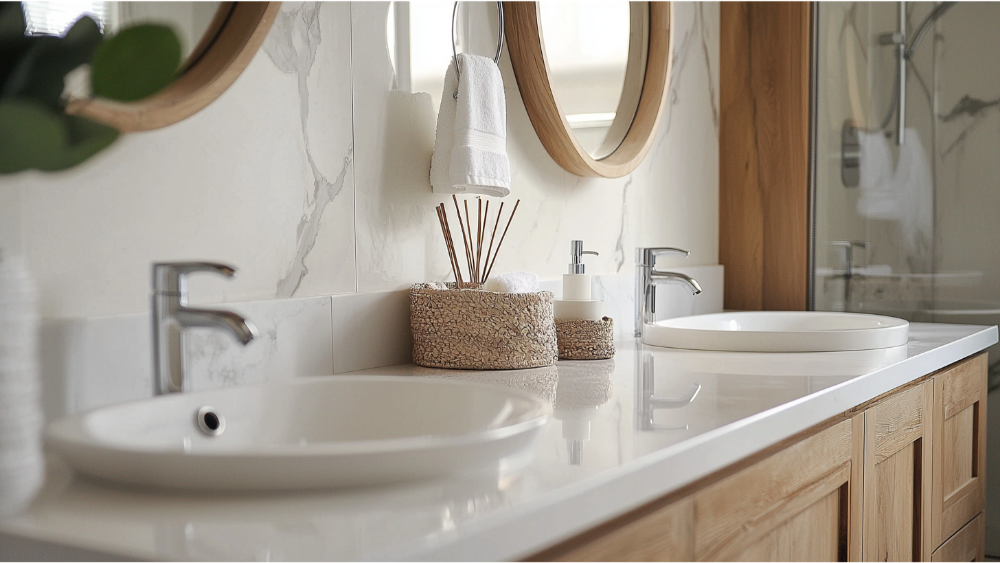
Double Sink Vanities
Double sink vanities are perfect for users who value shared bathroom functionality, offering two sinks and additional counter space. They are a practical choice for families or homeowners who frequently experience high bathroom traffic, making morning routines more efficient. While they require a larger budget due to the additional materials and labor for installation, their practicality often outweighs the costs. This type is an excellent long-term investment for those prioritizing convenience and storage capacity.
Corner Vanities
Corner vanities are a compact and space-saving solution designed to maximize bathroom usability in smaller or awkwardly shaped spaces. Their unique design allows homeowners to make efficient use of corners without compromising on style or functionality. These vanities are a favorite for users seeking affordable options that minimize labor requirements during installation. With careful planning, a corner vanity can provide just the right balance of storage and countertop space for smaller budgets.
Custom Vanities
Custom vanities offer tailored designs to meet the exact needs and preferences of users, delivering a personalized touch to the bathroom. They allow homeowners to select everything from materials to layout, ensuring the vanity integrates seamlessly with the overall design. Although custom vanities can demand higher budgets and labor compared to pre-made options, they provide unmatched uniqueness and long-term satisfaction. This type is ideal for those who want a vanity that serves as a prominent design sign in their bathroom remodel.
Things to Consider Before Choosing a Bathroom Vanity
Location and Space
Before selecting a vanity, it’s crucial to evaluate the location and available space in your bathroom. Measure thoroughly to ensure the vanity fits seamlessly without obstructing doorways, walkways, or other fixtures. A well-placed vanity not only enhances functionality but also serves as a focal spot in your bathroom design.
Style and Home Aesthetics
Your vanity should align with the overall style of your home to maintain a cohesive look. Whether you prefer a modern, traditional, or rustic design, ensure the vanity complements your bathroom’s ambiance. Choosing the right style will set a lasting tone for your bathroom’s appearance.
Materials and Durability
Selecting the right materials is essential to ensure your vanity withstands daily wear and tear. Focus on materials that are resistant to moisture and easy to care for, such as quartz, granite, or laminate countertops. Durable materials will save maintenance costs and keep your bathroom looking pristine over time.
Storage Needs
Assess your storage needs to find a vanity that provides enough cabinets or drawers for your essentials. If organization is a priority, look for designs with efficient storage techniques that help you neatly store toiletries, towels, and cleaning supplies. A well-organized vanity saves time and reduces bathroom clutter.
Plumbing and Installation Requirements
Consider the plumbing setup to ensure the chosen vanity aligns well with your existing or planned system. Wall-mounted vanities, for example, may require professional installation to set secure plumbing connections. Take time to review the installation guide of your preferred vanity type to minimize unexpected labor costs.
Budget and Maintenance
Factor in your budget, not just for purchase but also for future care and maintenance. Free up funds for additional costs like installation or potential repairs down the line. Finding a balance between cost and quality will help you make a smart, long-term investment.
Personalization Options
If you’re looking for a unique addition to your bathroom, consider custom vanities for a personalized touch. They may come at a higher cost but allow you to tailor every detail according to your preferences. America’s Advantage Remodeling excels at helping you personalize your options, ensuring the perfect custom vanity to guide your bathroom design toward a truly one-of-a-kind space.
Frequently Asked What is a Bathroom Vanity Questions
What is the Difference Between a Vanity and a Sink?
A sink is a standalone fixture designed primarily for hand-washing and other tasks involving water, while a vanity encompasses the entire unit that includes the sink, countertop, and storage space. Vanities offer additional functionality by providing areas to store toiletries and personal items, whereas a sink alone lacks this storage component. Vanities also serve as a decorative element, contributing to the overall design and aesthetics of the bathroom. Essentially, the sink is just one part of a vanity, making the latter a more comprehensive and versatile option for bathroom use.
What is the Purpose of a Vanity in a Bathroom?
The primary purpose of a vanity in a bathroom is to provide a functional space where users can perform daily grooming tasks, such as washing, shaving, or applying makeup. Beyond functionality, it serves as an essential storage solution, keeping toiletries, cleaning products, and personal items neatly organized and out of sight. Vanities also play a key role in enhancing the aesthetic appeal of a bathroom, acting as a design focal point that ties the room’s style together. Additionally, they help optimize space by combining multiple functions into a single unit, making bathrooms more practical and efficient.
What is the Most Common Bathroom Vanity?
The most common bathroom vanity is the single-sink vanity, which is ideal for small to medium-sized bathrooms. It provides sufficient countertop space and storage while maintaining a compact design that suits most households. This type of vanity is widely available in various styles and materials, making it both affordable and versatile for different aesthetic preferences.
Conclusion
Choosing the right bathroom vanity is a pivotal aspect of any bathroom remodel, as it blends practicality, storage, and style into one essential piece. By carefully evaluating factors such as space, style, materials, storage, and budget, homeowners can select a vanity that not only meets their functional needs but also complements their home’s overall aesthetic. Whether you opt for a pre-made or custom vanity, a thoughtful selection will ensure long-term satisfaction and elevate the look and efficiency of your bathroom. At America’s Advantage Remodeling, we are committed to helping you find the perfect vanity to transform your bathroom into a beautiful, organized, and functional space.