What is the Best Heat Resistant Countertop For Your Kitchen?
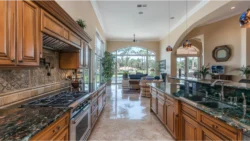
When it comes to kitchen surfaces, durability and functionality are key factors to consider. A heat-resistant countertop is an excellent choice for those who need a surface that can withstand high temperatures without damage. Not only are these countertops practical, but they also come in a variety of styles and materials to suit any design preference.
Best Materials for Heat Resistant Countertops
Granite
Granite is one of the best natural stone options for heat resistance, making it ideal for busy kitchen countertops. It can handle hot pots and pans placed directly on its surface without sustaining damage. This material is incredibly durable and resists extreme heat, scratching, and chipping. Granite countertops come in a variety of colors and patterns, allowing homeowners to match it with their interior design. Proper sealing ensures its longevity and keeps it stain-resistant.
Quartzite
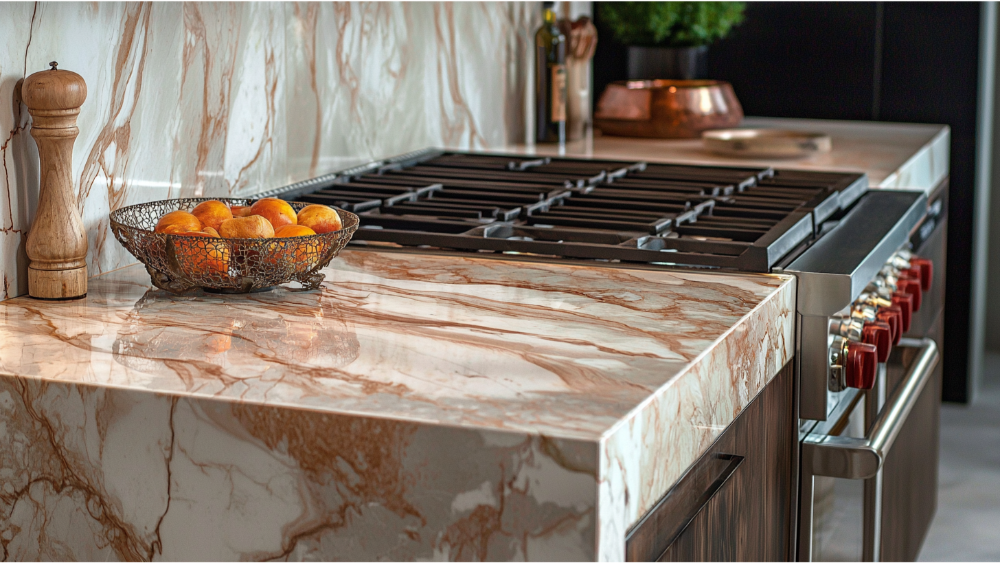
Quartzite is a natural stone known for its impressive heat resistance and elegance. Unlike quartz countertops, which is engineered, quartzite countertops can tolerate extreme heat, making it a practical choice for handling hot pots and dishes. With its resilience and unique veining, it combines both functionality and aesthetic appeal. Though it requires sealing to prevent stains, its durability makes it a reliable choice for long-term countertop use. Its natural look often mimics marble but offers superior heat resistance.
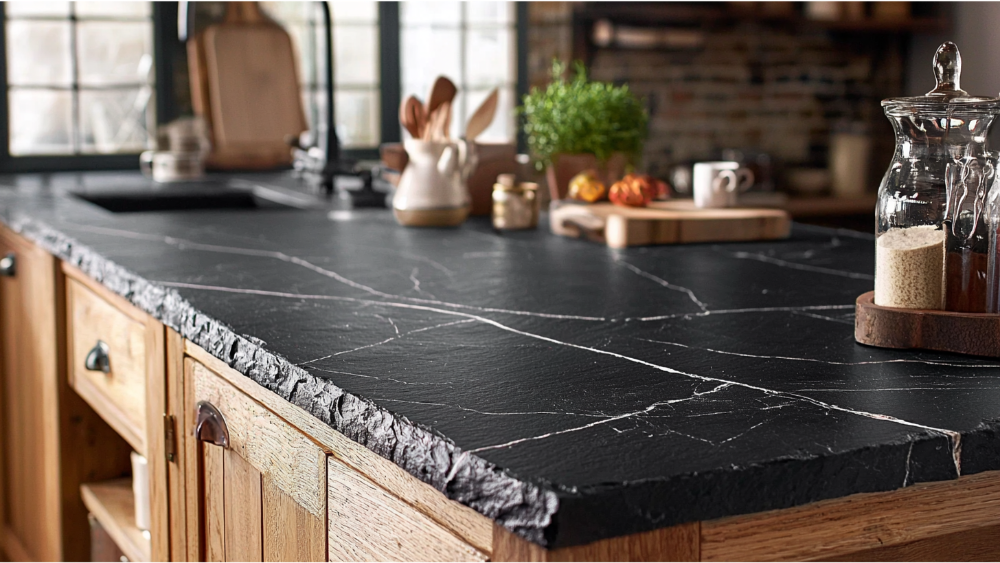
Soapstone
Soapstone is a solid, natural stone prized for its high heat resilient properties and smooth, matte finish. This material allows you to place hot pots and pans directly on the surface without worrying about damage or using a heat resistant mat. Its ability to resist extreme heat makes it a go-to choice for people wanting both durability and style in their countertop materials. Furthermore, soapstone is low-maintenance, requiring only periodic oiling to maintain its surface. Its timeless look blends well with both rustic and modern kitchen designs.
Stainless Steel
Stainless steel countertops are renowned for their ability to tolerate extreme heat, which is why they’re commonly used in professional kitchens. Hot pots, pans, and other heated cookware can be placed on them without the risk of burning or discoloration. Besides being heat resistant, stainless steel surfaces are hygienic and easy to clean, ideal for food preparation. They pair well with modern or industrial-style kitchens, offering both functionality and an edgy aesthetic. However, they may be prone to scratching, so extra care is needed to maintain their appearance.
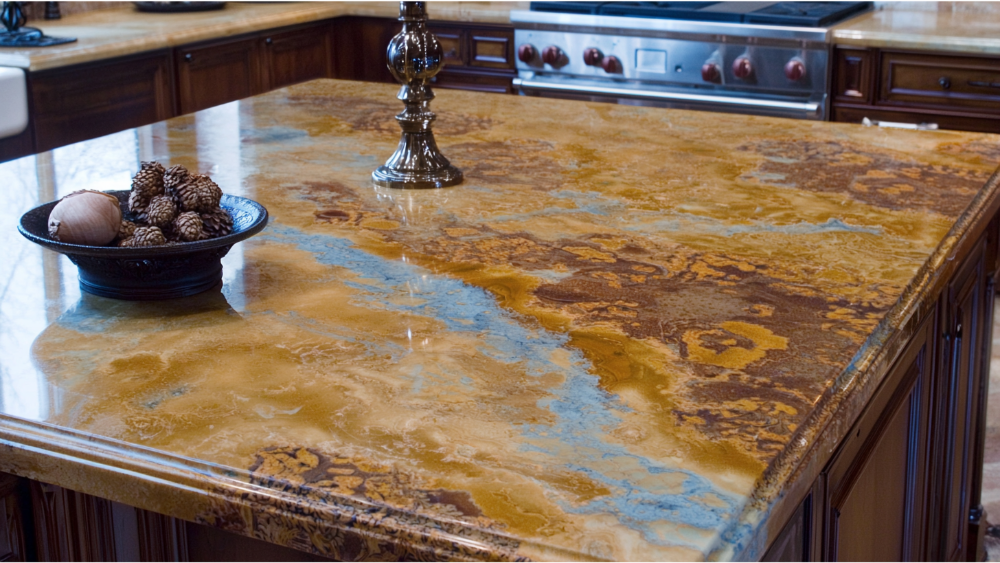
Concrete
Concrete countertops are a modern and highly customizable choice for kitchens that require heat resistance and durability. This material can bear extreme heat, allowing users to put hot pots and pans on the surface without fear of damage. With the flexibility to be molded into various shapes and colors, concrete caters to creative design ideas. Proper sealing is essential, however, to prevent stains and maintain its look over time. Its rugged, industrial appeal makes it a favorite for contemporary kitchens.
Price Considerations for Heat-Resistant Countertop Materials

Granite: $40 – $100
Granite countertops are often considered a premium choice due to their natural beauty and durability. The cost generally ranges from $40 to $100 per square foot, depending on the quality, thickness, and complexity of the installation. Additional expenses can arise from custom edges or unique finishes, which can further increase the overall price. While granite’s initial cost may be higher compared to other materials, its long lifespan and low maintenance justify the investment for many homeowners. However, it’s important to budget for periodic sealing, which is a necessary step to maintain its longevity and aesthetic over the years.
Quartzite: $70 – $200
Quartzite tends to be one of the more expensive natural stones, costing between $70 and $200 per square foot, including installation. This wide price range depends on the stone’s rarity, source, and the degree of detailing required for custom cuts and finishes. Because quartzite often mimics marble in appearance, it’s favored for its luxurious look, which contributes to its higher cost. Though it demands regular sealing for stain prevention, its durability and heat resistance can offset maintenance expenses in the long term. For homeowners prioritizing elegance and practicality, quartzite remains a worthy but premium investment.
Soapstone $70 – $120
Soapstone is a moderately priced material, with costs typically ranging from $70 to $120 per square foot, including installation. This variation depends on the grade, thickness, and complexity of the project, such as custom cutouts or unique edge profiles. Although soapstone requires periodic oiling to maintain its dark, smooth appearance, the low-maintenance requirements compared to other materials often appeal to budget-conscious homeowners. Its inherent heat and stain resistance also reduce the likelihood of unforeseen repair costs over time. For those seeking a combination of affordability and timeless appeal, soapstone is an excellent choice.
Stainless Steel: $60 – $120
Stainless steel countertops, while less conventional for home kitchens, offer a unique price range of $60 to $120 per square foot, depending on factors like gauge thickness and customization. Fabrication costs can add significantly to the price, as these countertops are often custom-made to fit specific layouts. While stainless steel generally doesn’t require sealing or other regular maintenance, scratches and dents may necessitate professional repairs, adding to long-term expenses. However, its durability and heat resistance make it a cost-effective option for homeowners who value functionality and a sleek, industrial look. Its initial cost is offset by the longevity and minimal upkeep it provides.
Concrete: $65 – $135
Concrete countertops typically range fromHeat-resistant, with variations depending on the level of customization, finish, and installation expertise. Highly detailed designs, custom colors, or embedded materials can push the price toward the higher end of this range. Maintenance costs, such as resealing to prevent stains or cracking, should also be factored into the overall budget. Despite these additional expenses, concrete’s durability and flexibility in design make it a popular choice for creative homeowners. For those willing to invest in proper care and sealing, concrete countertops deliver both visual appeal and practicality at a fairly competitive price.
Maintenance Tips for Heat Resistant Countertops
Use Hot Pads or Heat Pads
Even though heat resistant countertops can withstand high temperatures, it’s a good practice to use hot pads or heat pads under hot pots, pans, and baking dishes. This helps preserve the surface’s finish, especially for materials like quartzite or granite that rely on proper sealing for long-term durability. Over time, frequent exposure to extreme heat can potentially weaken the sealant or alter the countertop’s appearance. By incorporating this habit into daily use, you can extend the lifespan of your countertop.
Implement Regular Sealing
For materials like granite, quartzite, or concrete, sealing is crucial to maintain their ability to withstand temperatures and resist staining. Periodically reapplying sealant ensures that your countertops remain protected against moisture and heat damage. Make sure to clean the surface thoroughly and allow it to dry before applying a new layer of sealant. A well-sealed countertop not only looks great but also retains its durability over the years.
Use a Baking Mat for Extended Baking Sessions
When working with hot cookware after baking, placing your items on a baking mat can add an extra layer of protection for your countertops. This is especially useful during extended baking or cooking sessions where heat exposure might accumulate. Baking mats distribute heat more evenly, reducing the strain on the countertop’s surface. This precautionary step aligns with proper care, helping to keep your countertops in pristine condition over time.
Avoid Abrasive Cleaning Supplies
Heat-resistant countertops are durable, but using abrasive cleaners or brushes can harm their surfaces. Instead, stick to non-abrasive cleaning products and soft cloths to wipe away stains or spills effectively. This approach is gentler on the material and ensures that its sealant or finish remains intact. Regular cleaning with appropriate products will prevent buildup and protect heat-resistant surfaces for years to come.
Protect Against Thermal Shock
Although these countertops withstand temperatures well, sudden and extreme changes can cause stress on certain materials, like concrete or natural stone. For example, avoid placing a hot pot directly from the stove onto a chilly countertop, or vice versa. Using heat pads or hot pads can help buffer these rapid temperature changes, preventing possible cracks or other damage. Being mindful of thermal shock helps preserve the integrity of your countertop in the long run.
Frequently Asked Heat Resistant Countertop Questions
Which Countertop Is Most Heat Resistant?
When it comes to heat resistance, granite and quartzite are often regarded as the top-performing materials. Granite, being a natural stone, can withstand high temperatures without damage, making it one of the most heat-resistant countertop options available. Similarly, quartzite is highly heat resistant and can endure extreme heat without suffering discoloration or cracks. These properties make them ideal for kitchens where hot cookware is frequently used.
On the other hand, while soapstone and stainless steel also offer excellent heat resistance, they are slightly less robust compared to granite or quartzite in handling consistent exposure to high heat. Soapstone can develop minor surface imperfections over time, and stainless steel is prone to heat marks with excessive use. Concrete countertops, though durable, require proper sealing to avoid heat-related stress.
What Countertops to Avoid?
When choosing countertops, it’s important to steer clear of materials that may be prone to damage or require excessive maintenance in high-heat environments. One such material is laminate. While cost-effective and available in various designs, laminate countertops are not heat resistant and can easily scorch or warp if exposed to hot cookware. This drawback makes them unsuitable for kitchens where high temperatures are common.
Similarly, wood countertops, such as butcher block, may not be the best choice for areas with frequent heat exposure. Although they offer a warm, rustic aesthetic, wood is highly sensitive to heat and can scorch, darken, or crack under intense temperatures. Maintenance can also be labor-intensive, as wooden countertops require regular sealing and sanding to maintain their appearance and functionality.
Lastly, low-quality quartz countertops should be avoided when heat resistance is a top priority. Unlike natural stones, engineered quartz can suffer thermal damage, such as discoloration or cracks, from excessive heat due to the resin used in its composition. For households where hot pots and pans are often placed directly on the surface, engineered quartz may not provide the durability needed for long-term use in a high-heat kitchen setting.
How to Protect Countertops From Heat
Protecting countertops from heat is essential for maintaining their longevity and appearance, regardless of the material. Using heat-resistant pads, trivets, or insulated mats is one of the simplest and most effective ways to shield countertops from hot cookware or appliances. Avoid placing hot pots, pans, or baking sheets directly on the surface, especially on materials like laminate, wood, or engineered quartz, which are more prone to thermal damage.
Regular maintenance, such as sealing natural stone countertops like granite, quartzite, or concrete, can also help prevent heat-related issues by creating an additional barrier against potential damage. Additionally, educating household members about proper handling of hot items and investing in quality kitchen accessories can go a long way in preserving the integrity and beauty of countertops for years to come.
Conclusion

Choosing the right countertop material for your kitchen involves balancing factors such as heat resistance, cost, maintenance, and aesthetic appeal. Natural stones like granite and quartzite stand out for their unparalleled heat resistance, while options like stainless steel and soapstone offer durability with a modern or rustic touch. On the other hand, materials like laminate, wood, and some engineered quartz may lack the resilience needed in high-heat environments.
By understanding the strengths and limitations of each material, as well as employing simple practices to protect your countertops from heat, you can ensure a functional and long-lasting kitchen space that meets both your practical and design needs.