How to Make Oak Kitchen Cabinets Look Modern (2026 Guide)
How to Make Oak Kitchen Cabinets Look Modern (2026 Guide)
You can absolutely make dated oak kitchen cabinets look modern — and you don’t always have to replace them. The most effective options, from least to most involved, are: paint or refinish the cabinets in a current color, swap the dated hardware for clean modern pulls, update the countertops and backsplash, add or change lighting, and — for the biggest transformation — reface or replace the doors. The right choice depends on the condition of your cabinets and how far you want to take the change.
If your oak cabinets are making your whole kitchen feel stuck in another decade, here are your real options, what each one accomplishes, and how to decide.
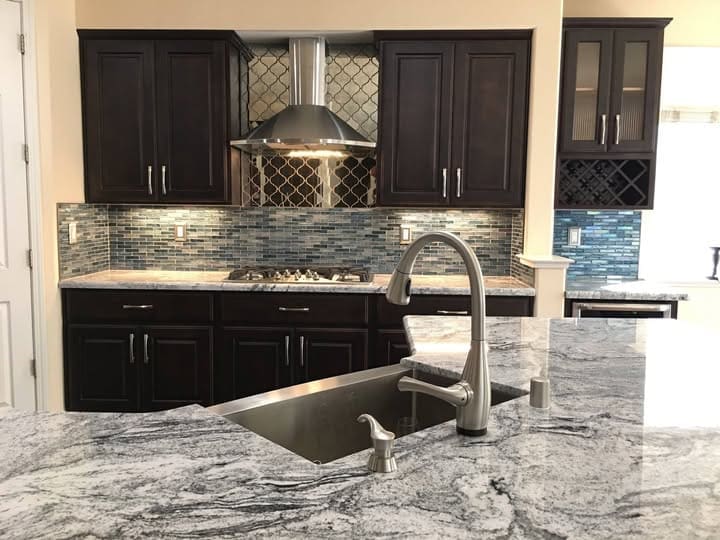
First: Are Oak Cabinets Actually “Out”?
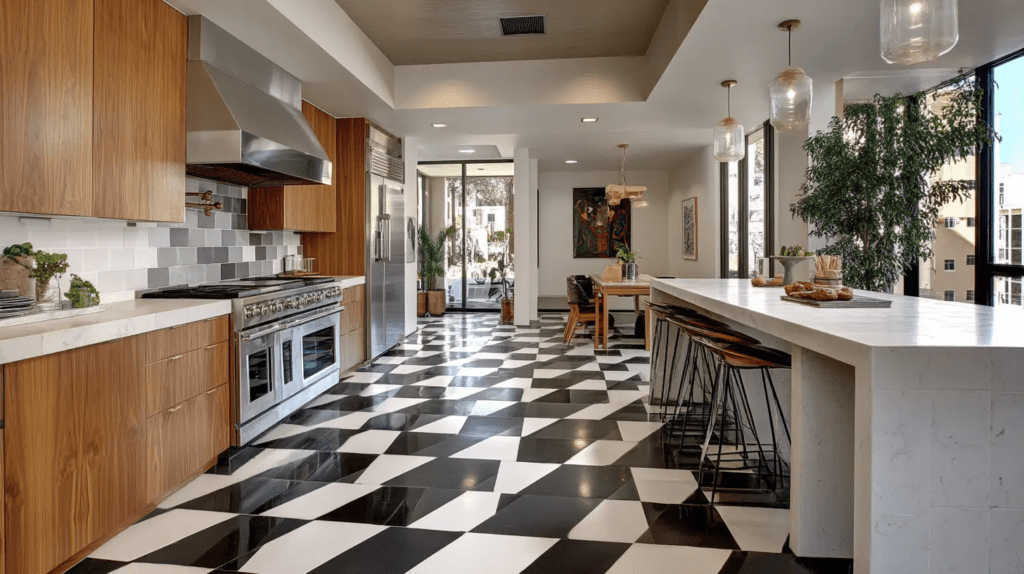
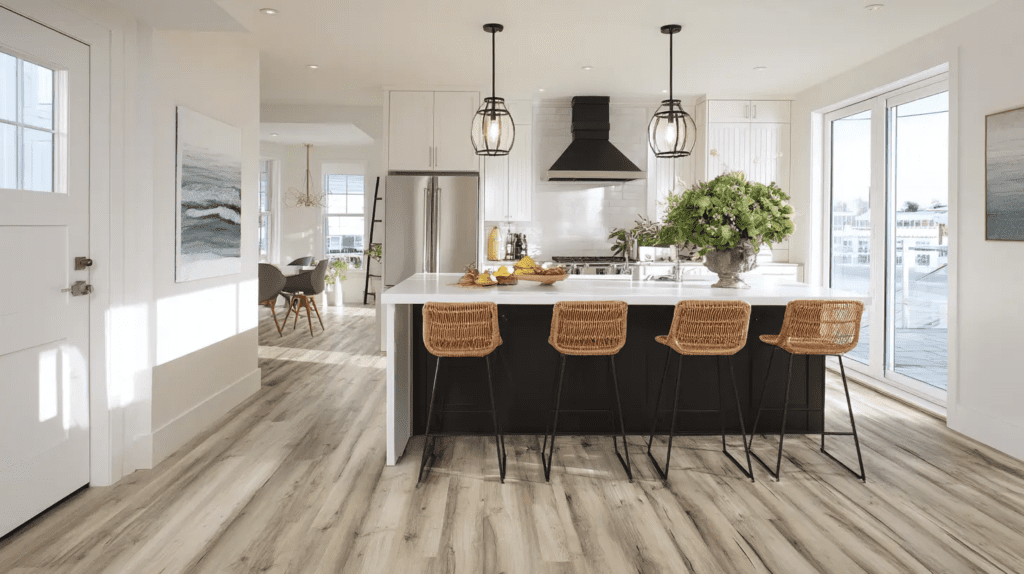
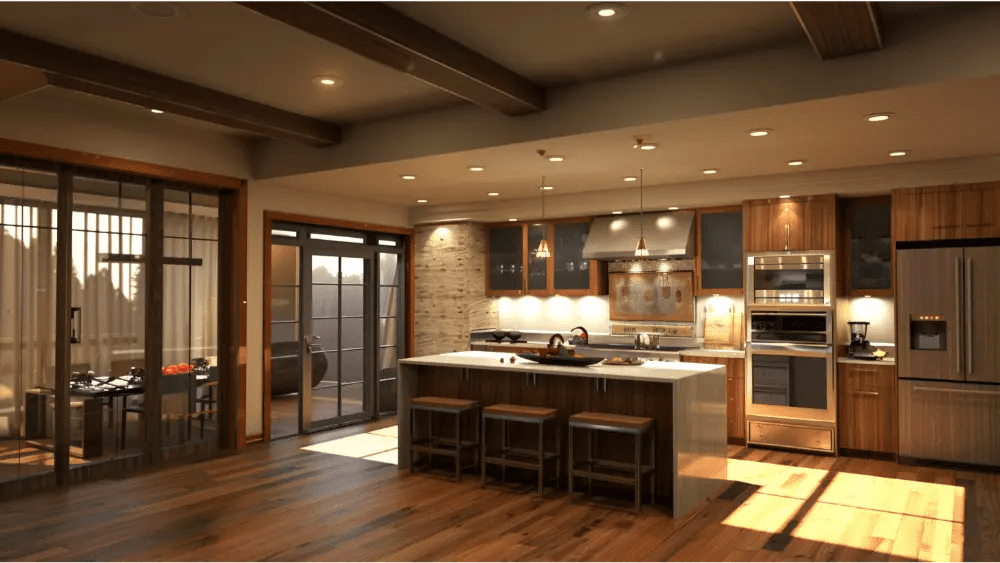
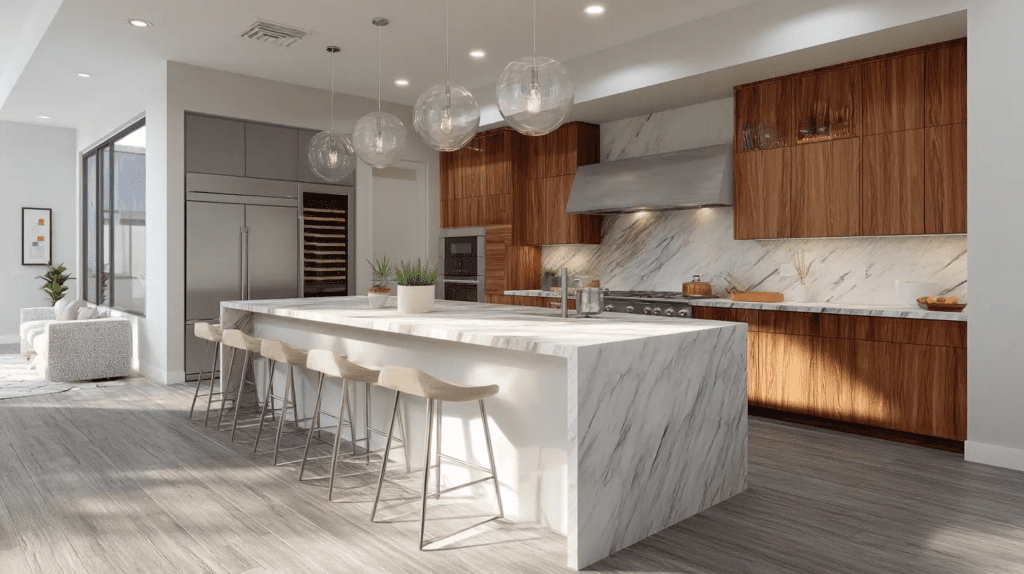
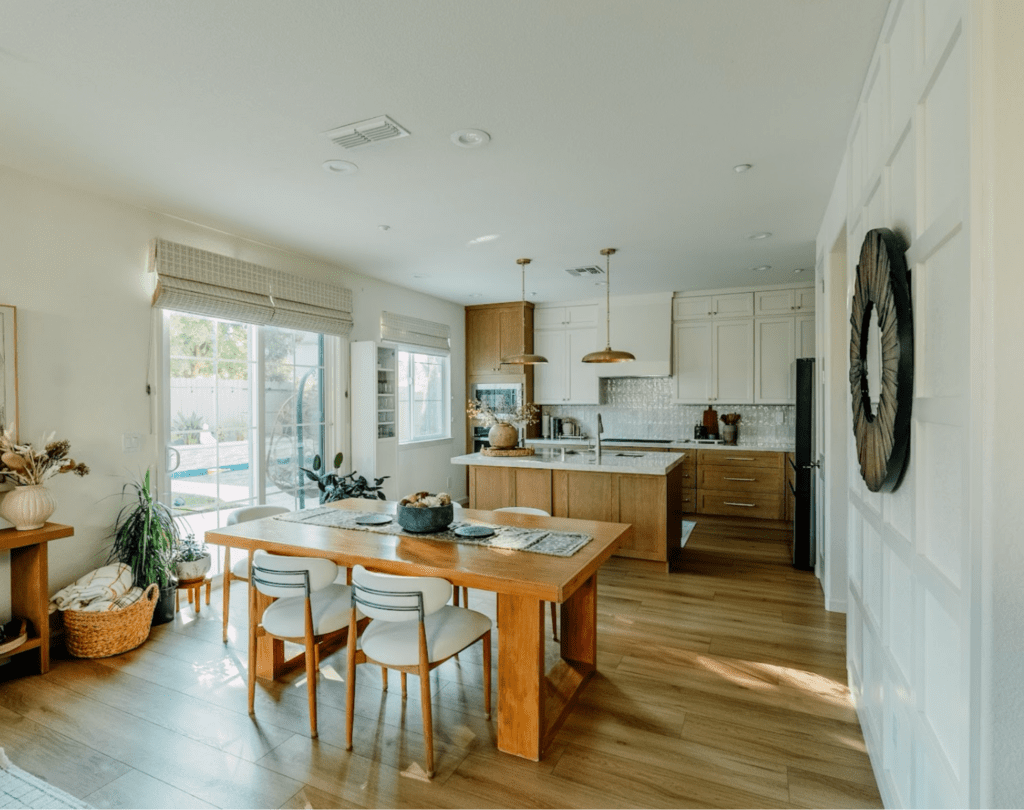
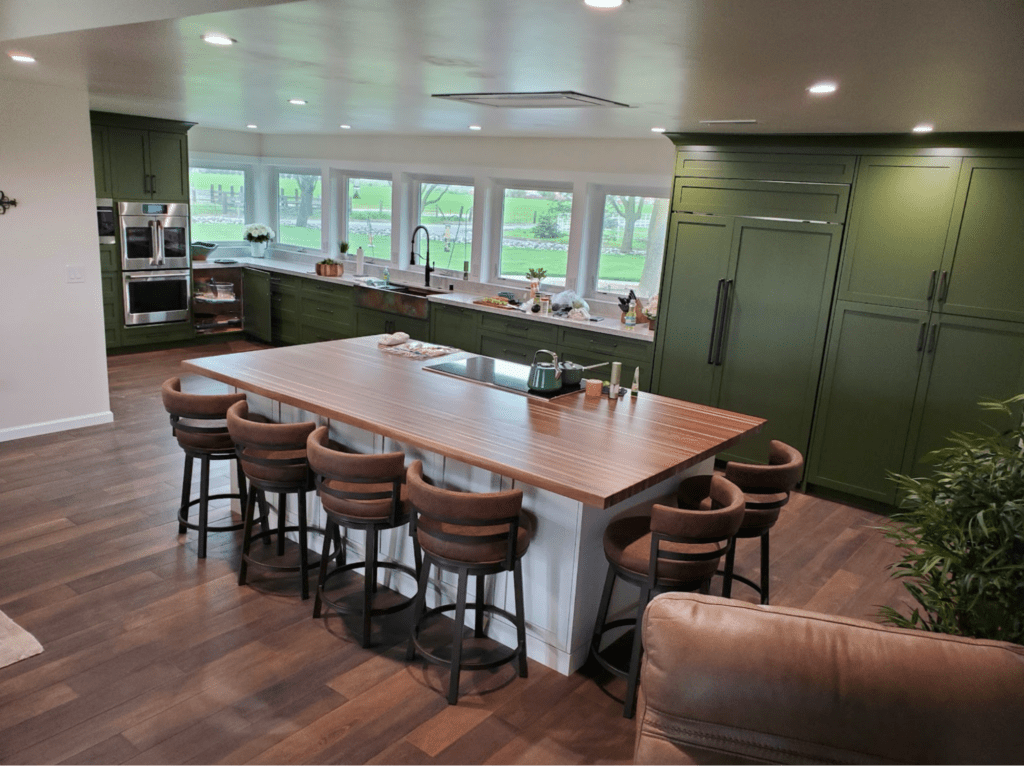
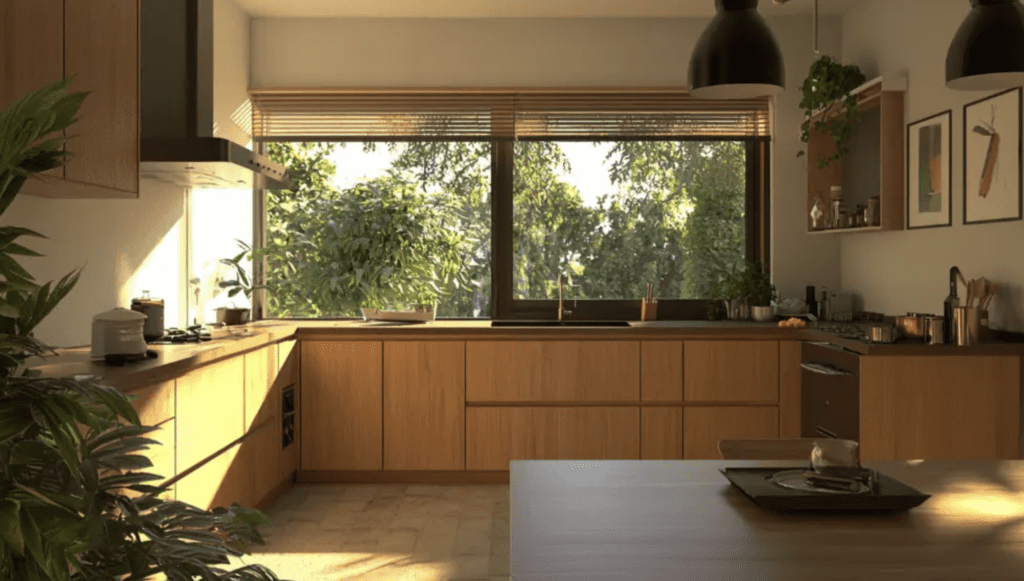
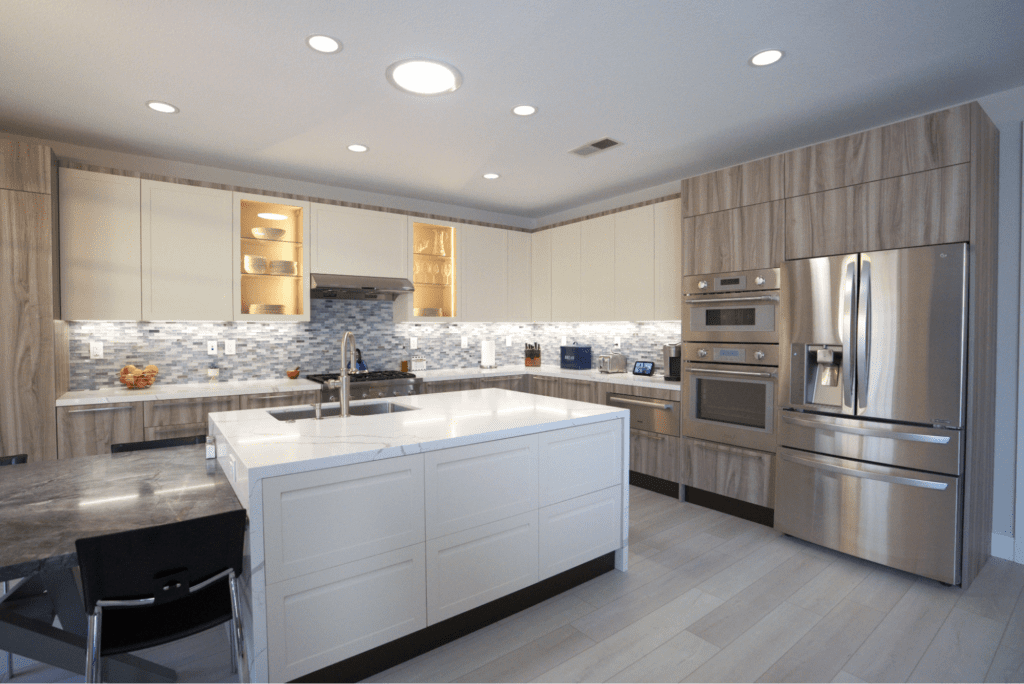
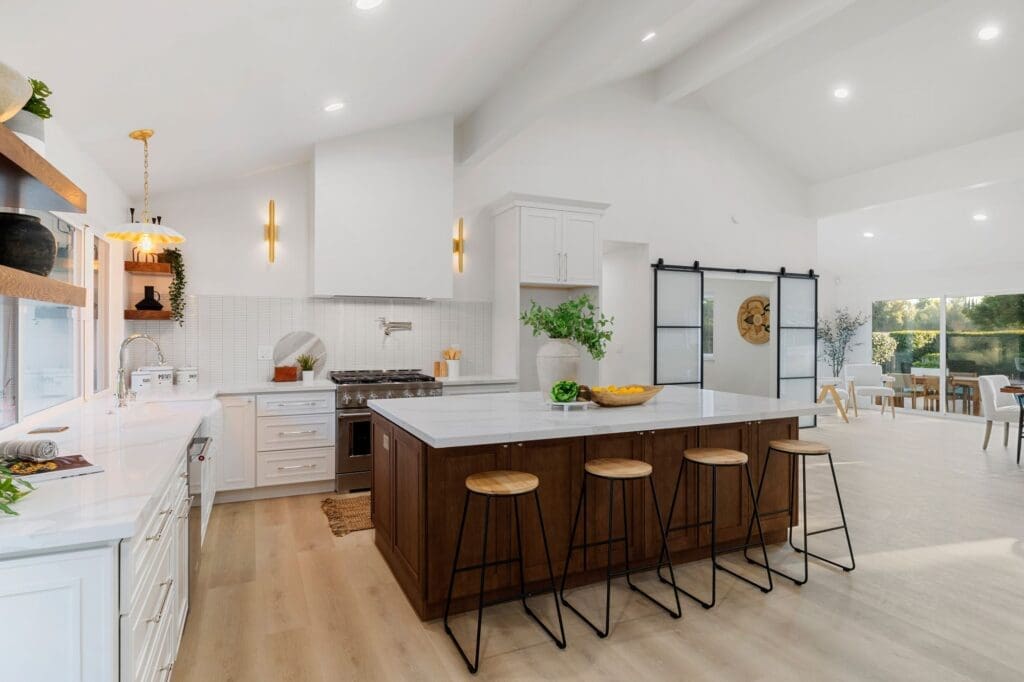
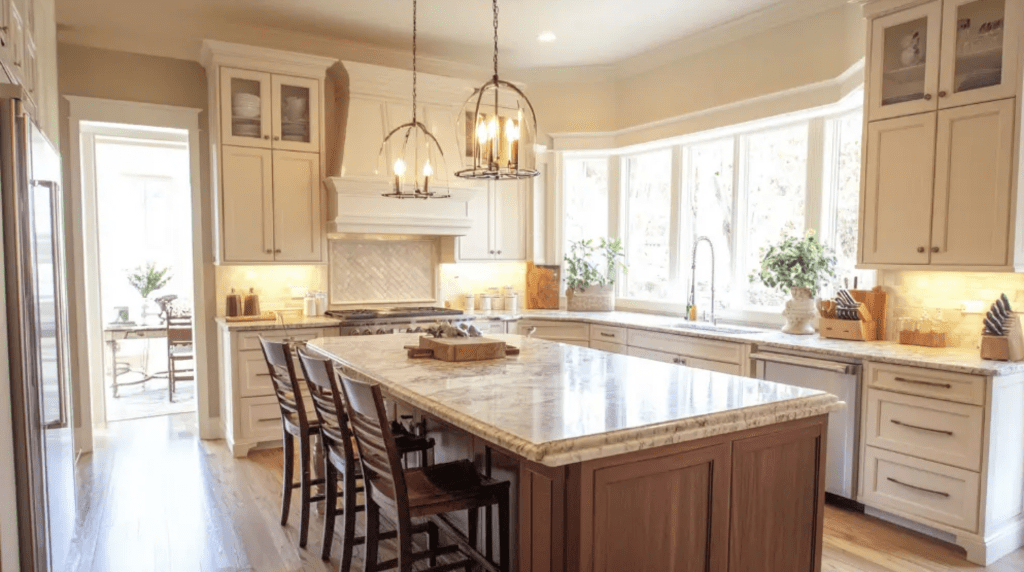
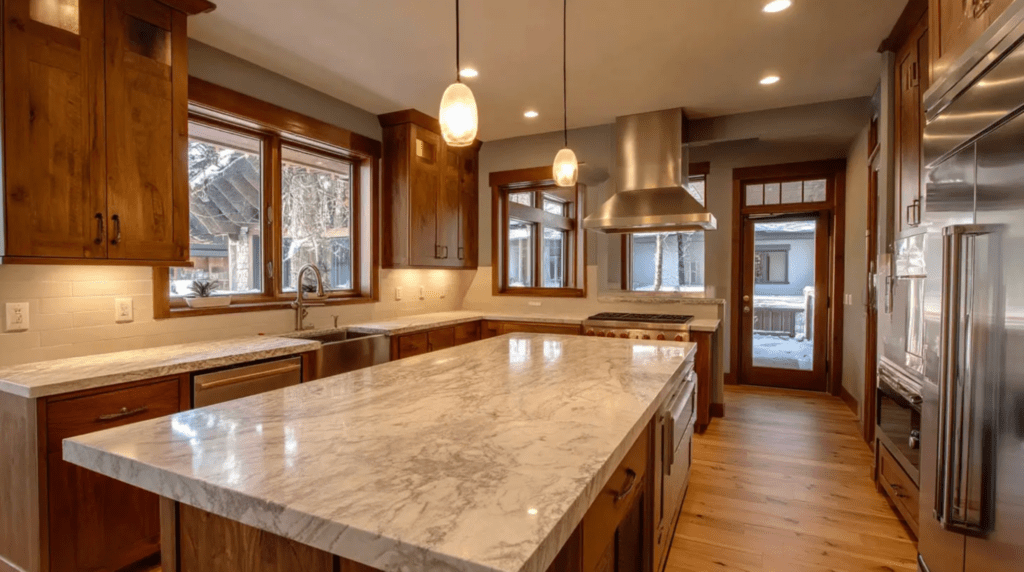
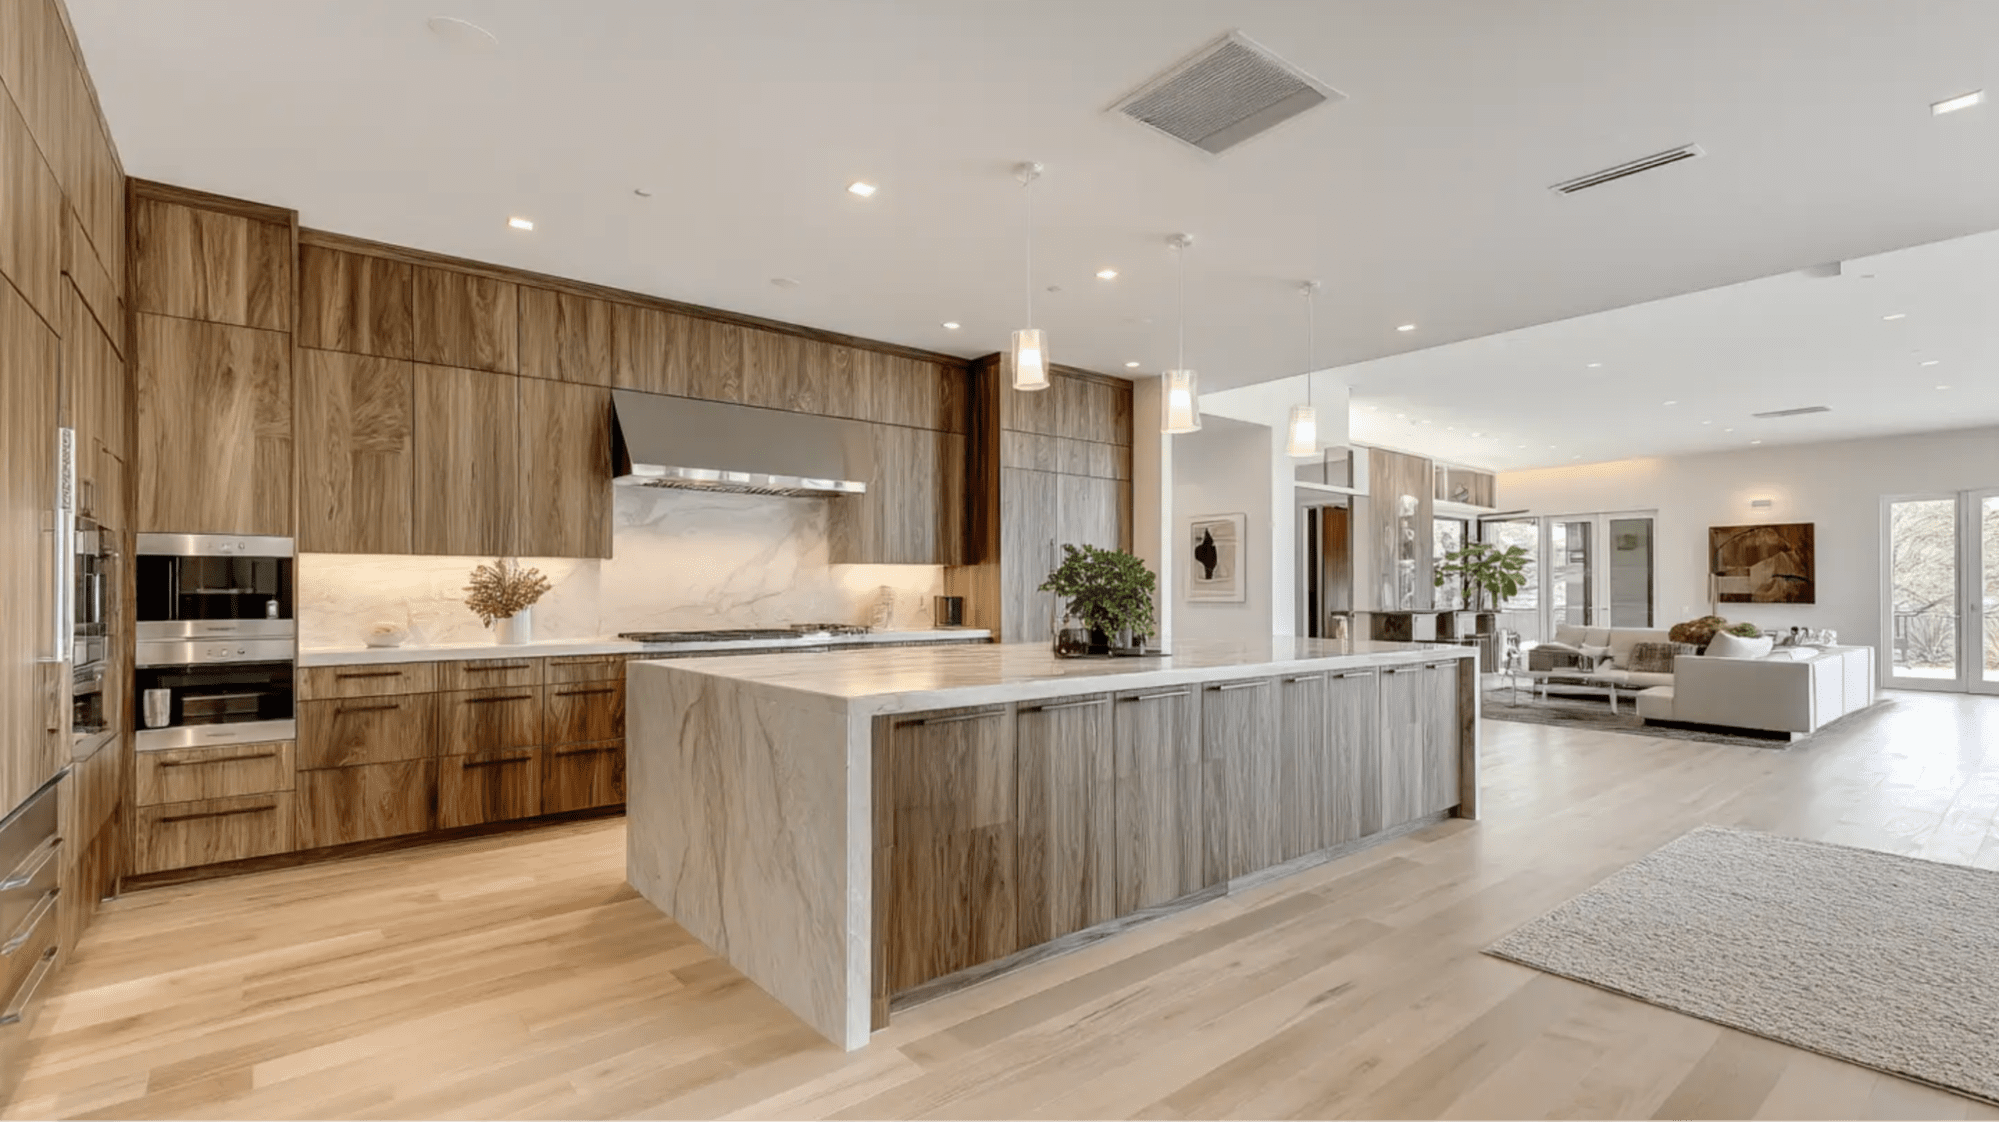
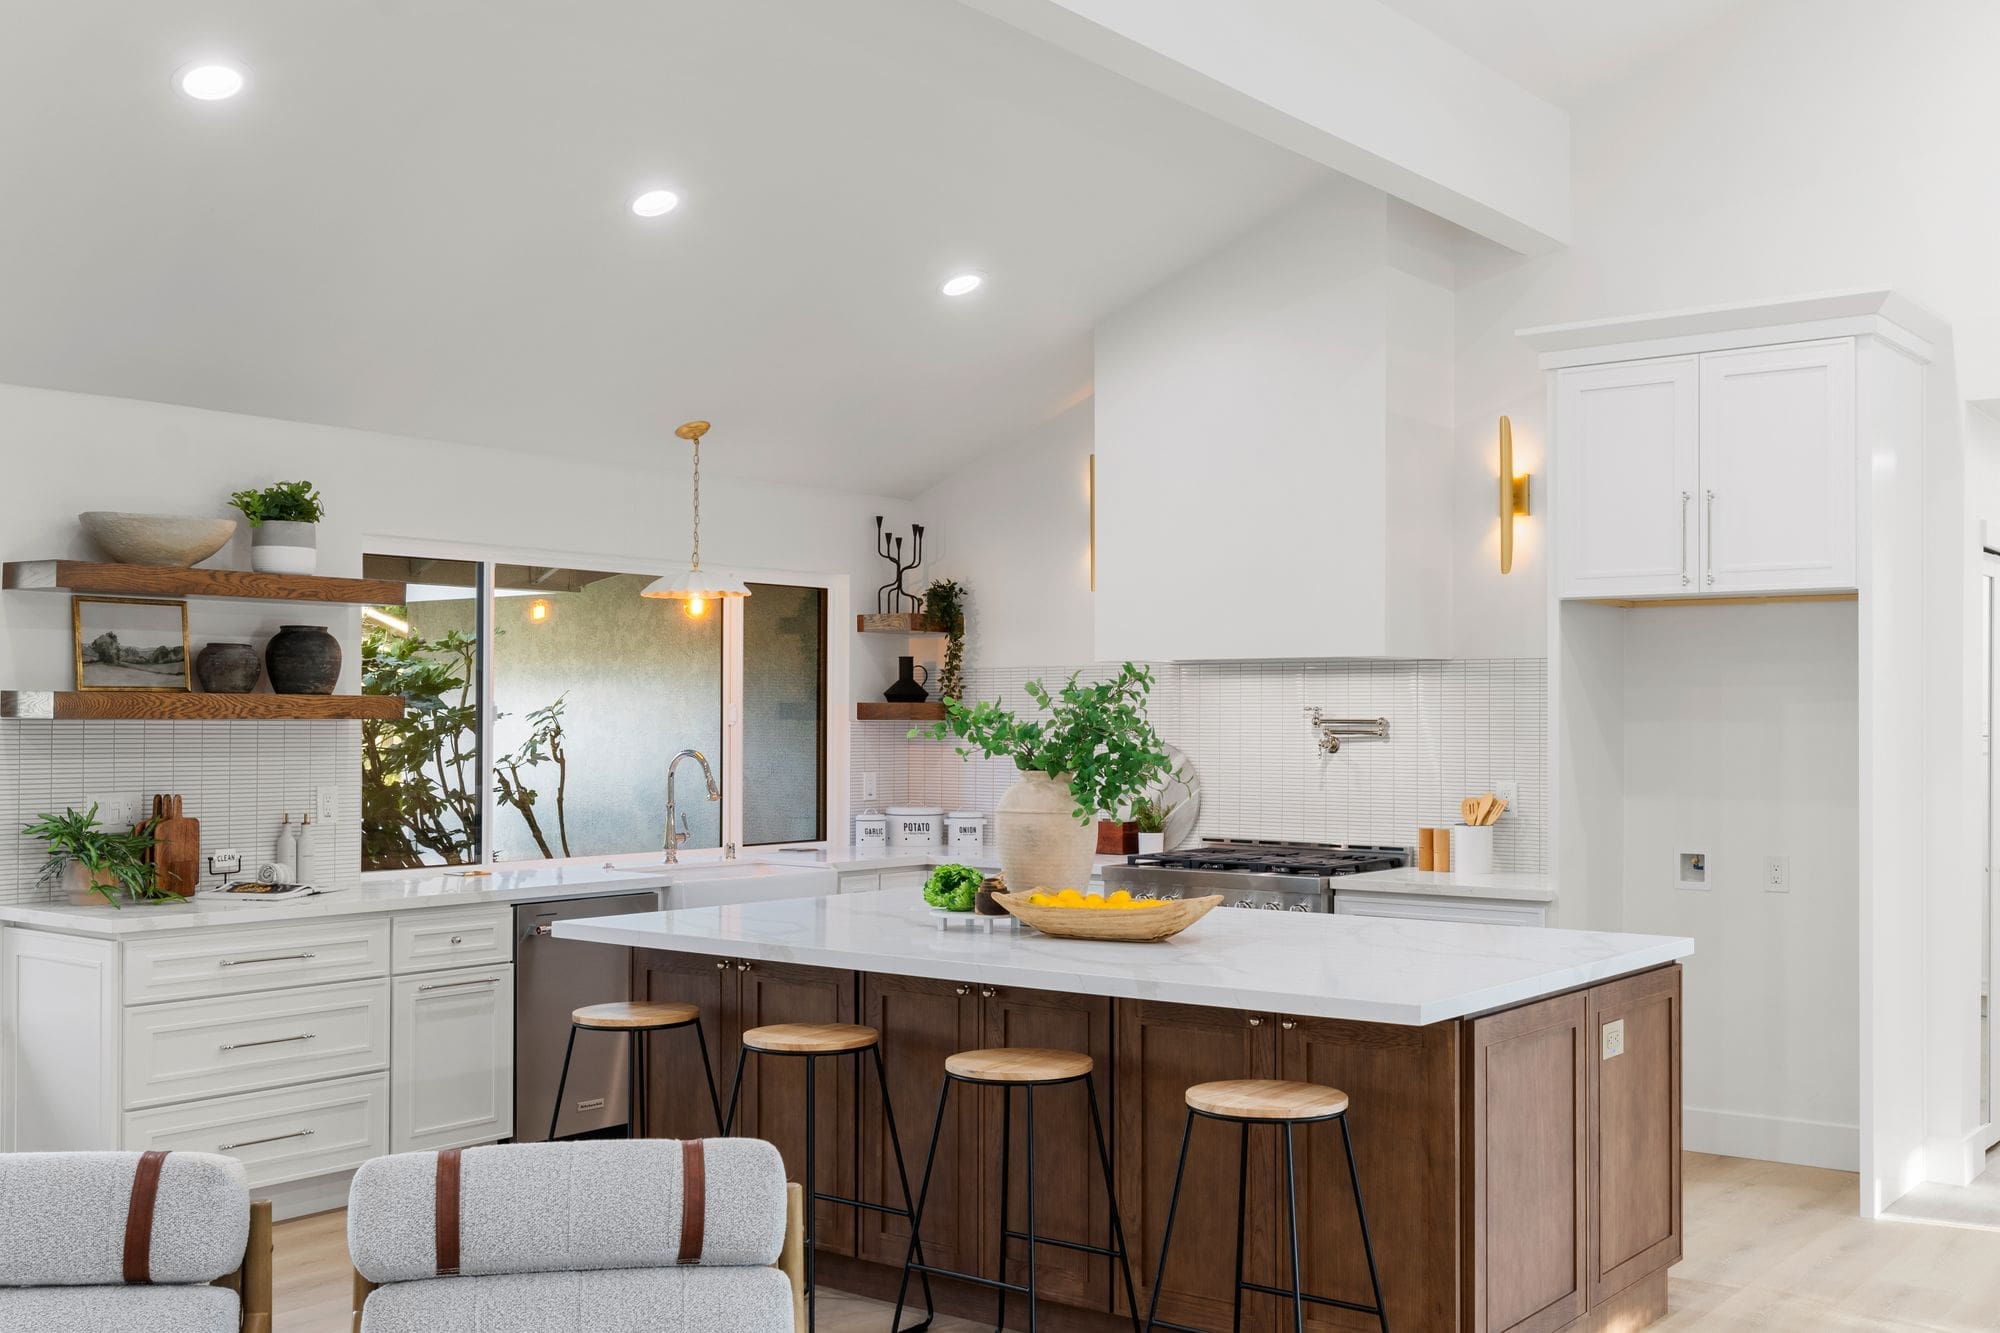
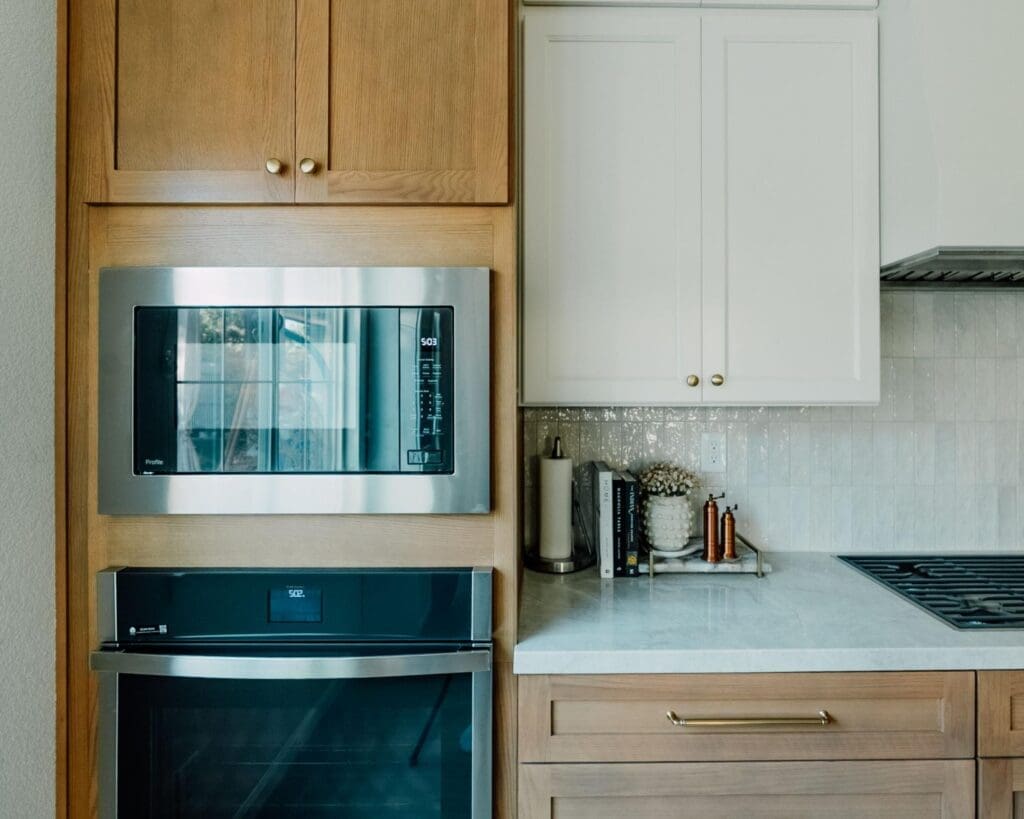
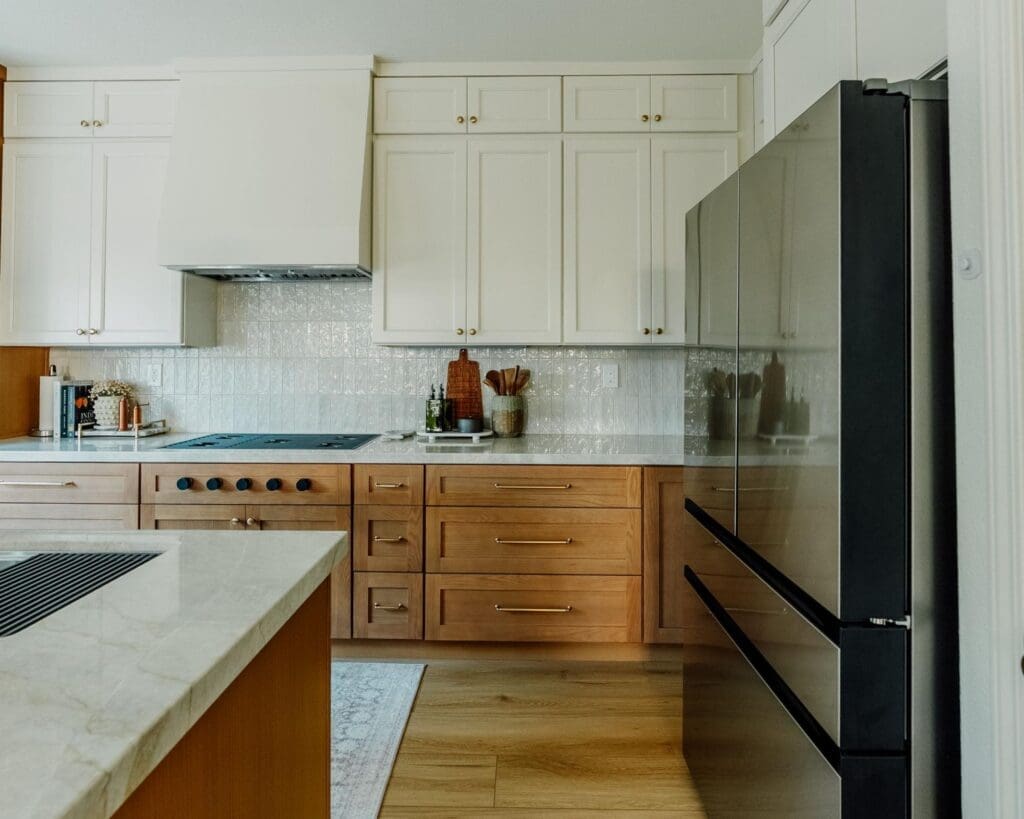
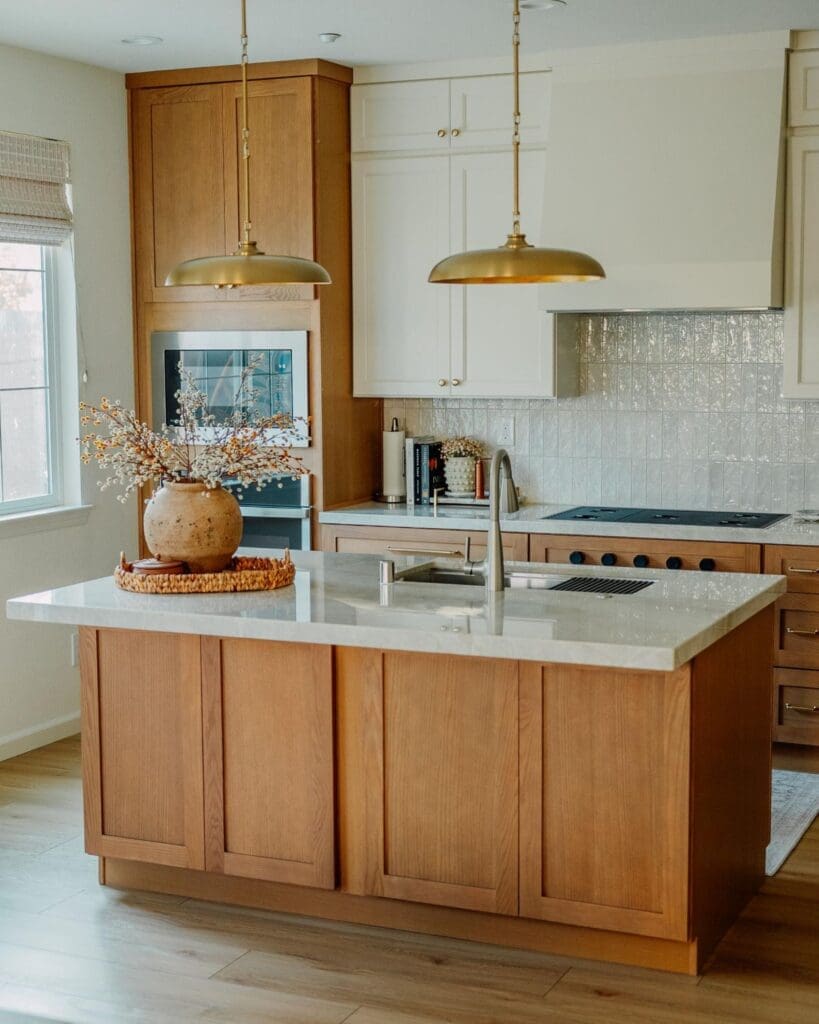
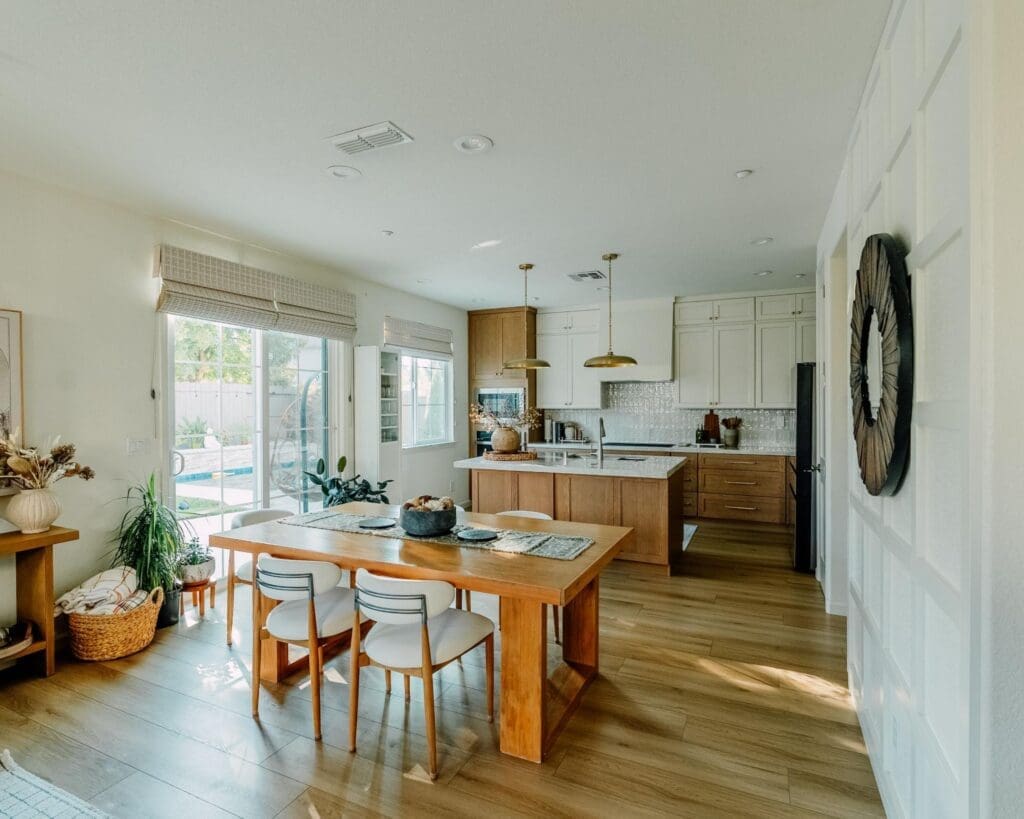
Worth knowing before you do anything drastic: natural wood, including oak, is actually trending again — but the *modern* version is different from the orange-toned, heavy-grained oak of the ’80s and ’90s. Today’s look favors lighter, flatter, more natural wood tones (think white oak and rift-cut), simpler door styles, and minimal hardware. So you have two modern paths: lean *into* a refreshed wood look, or paint over it for a clean painted aesthetic. Both are current.
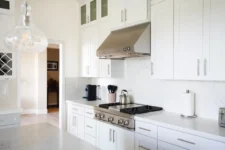
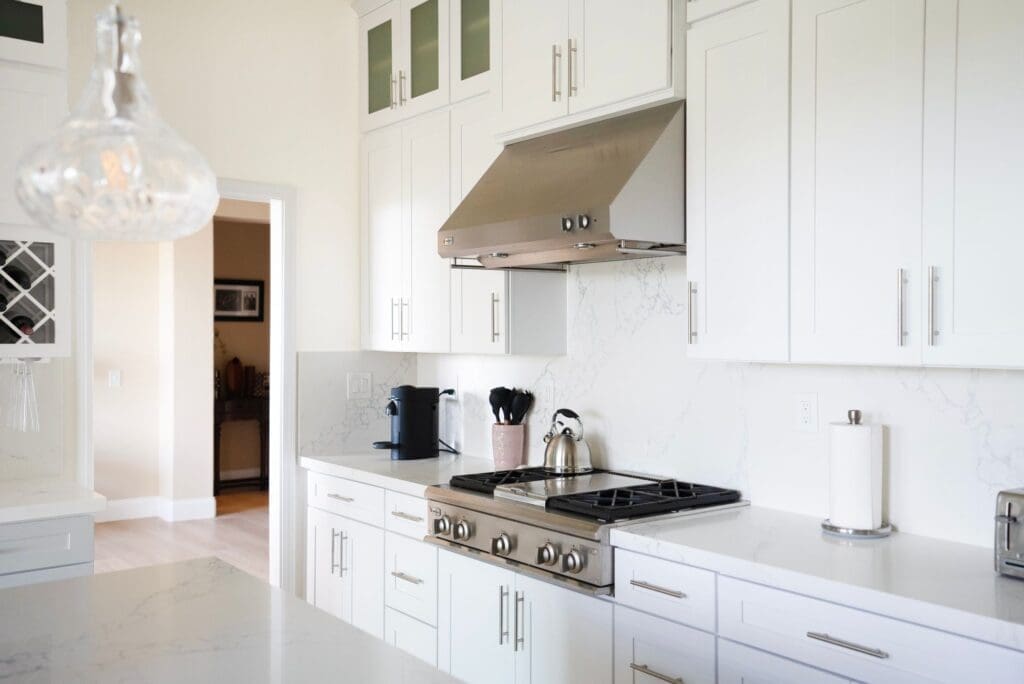
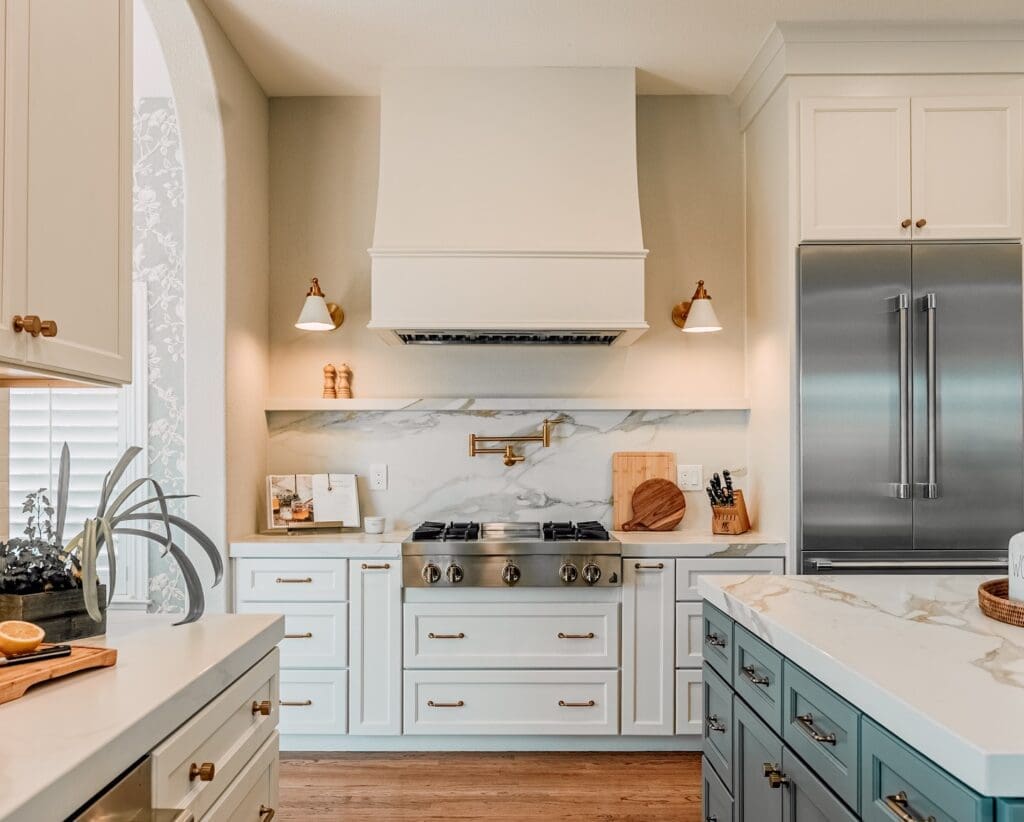
Option 1: Paint or Refinish (Biggest Impact for the Money)
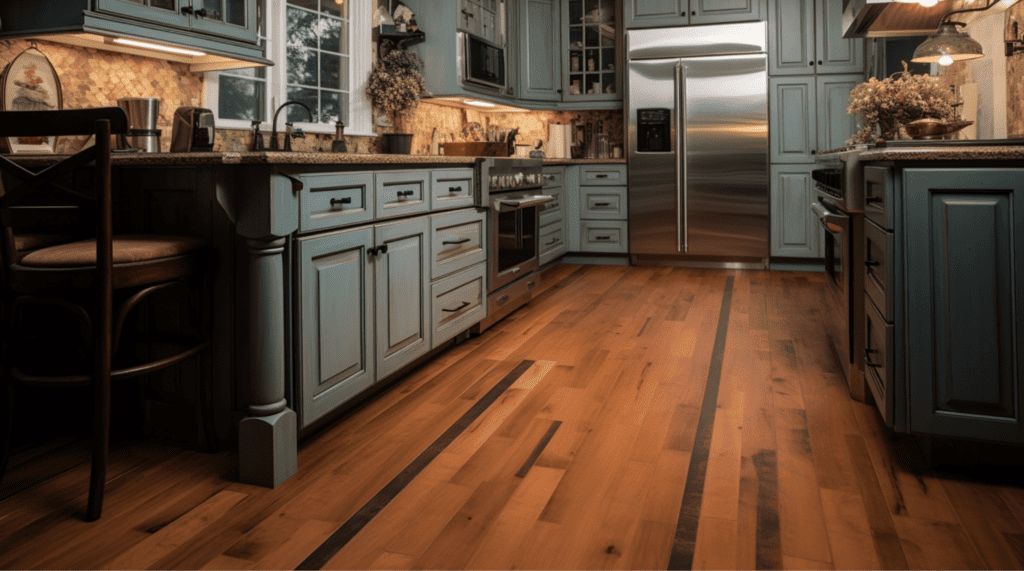
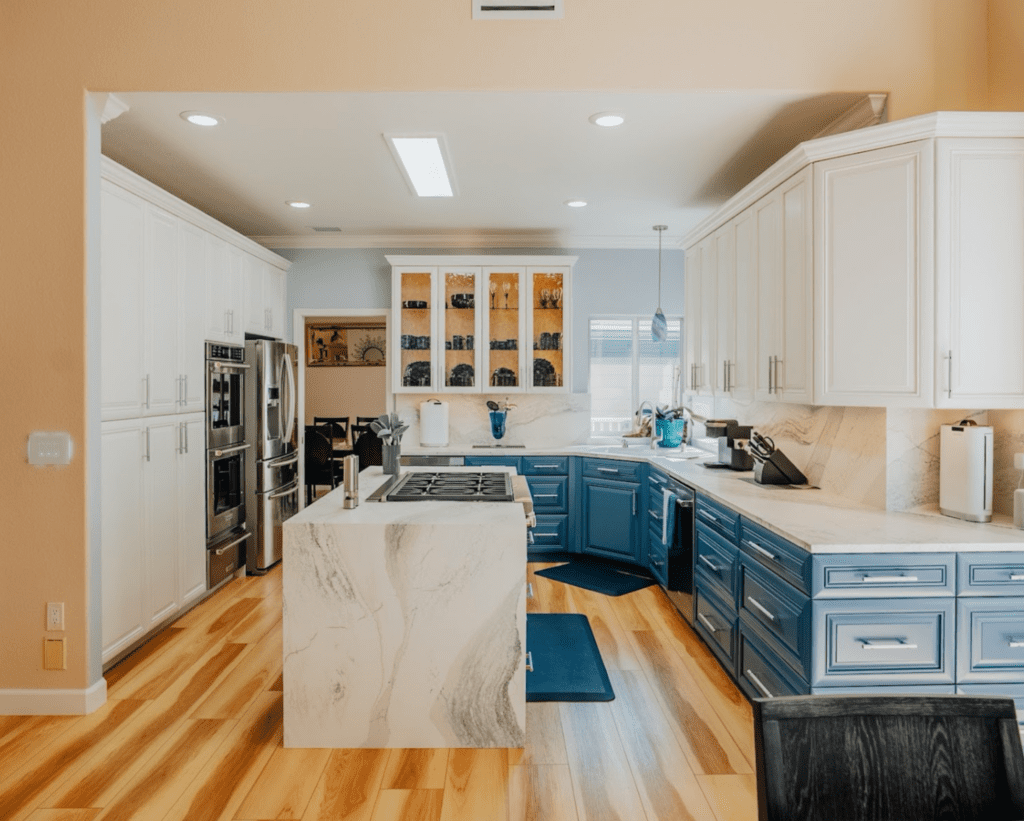
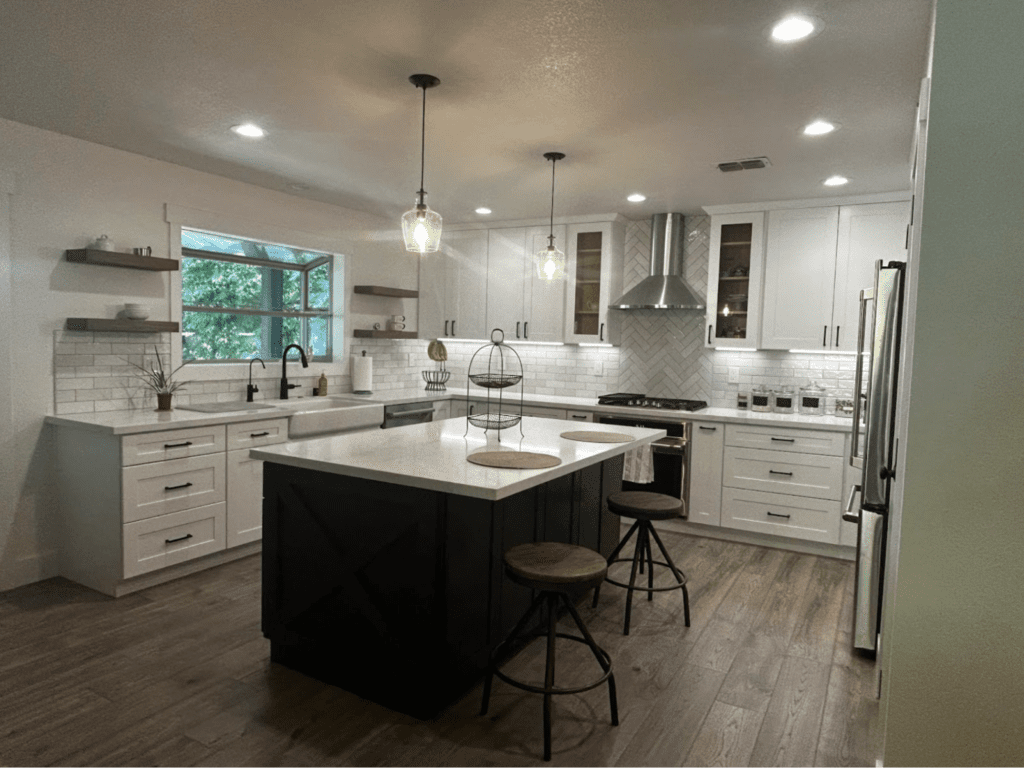
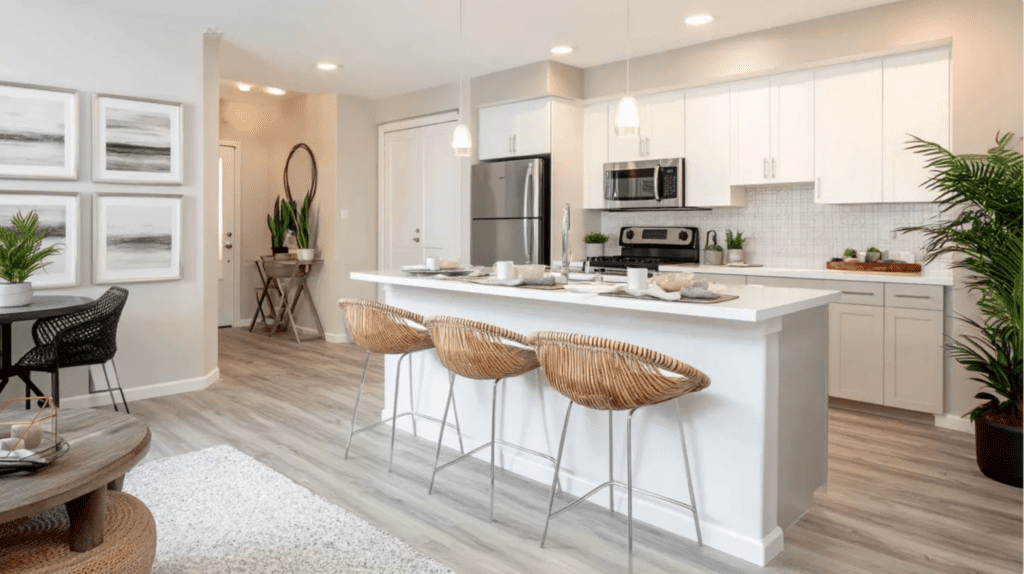
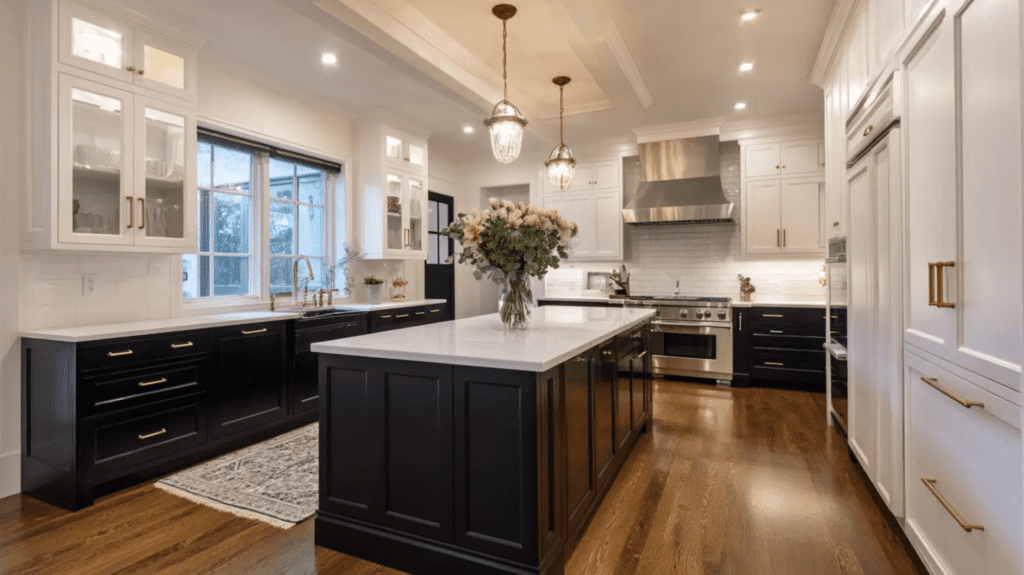
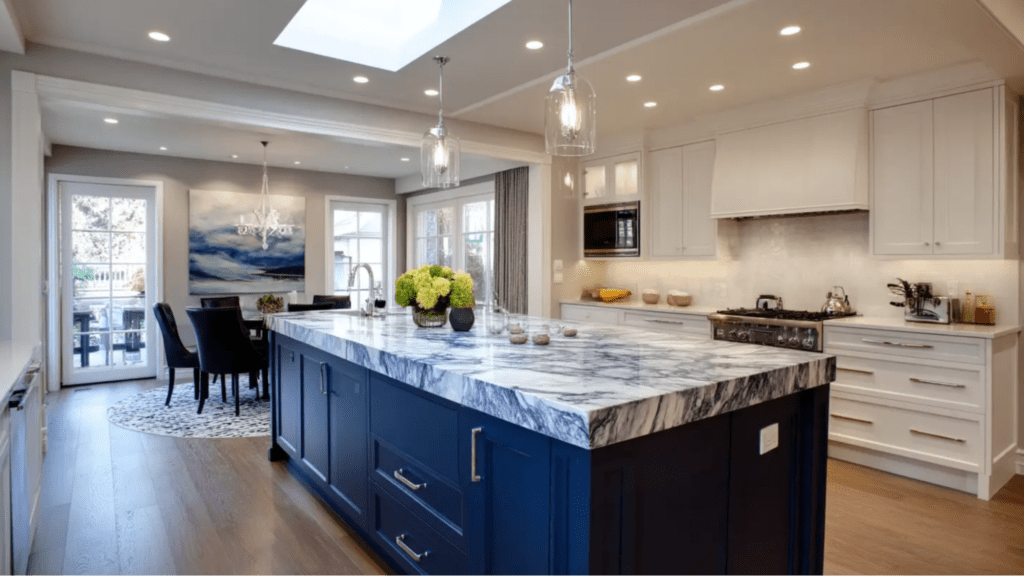
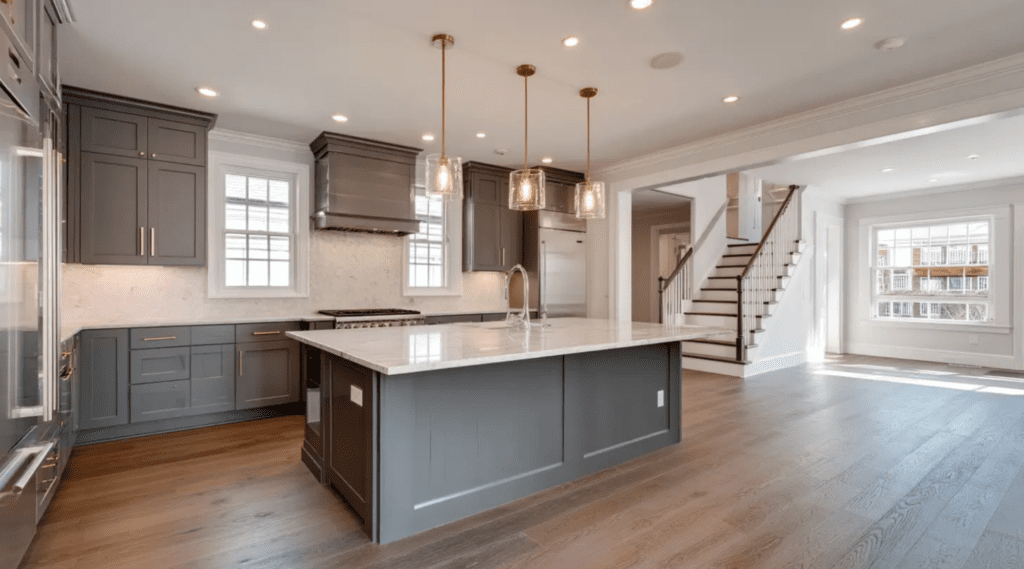
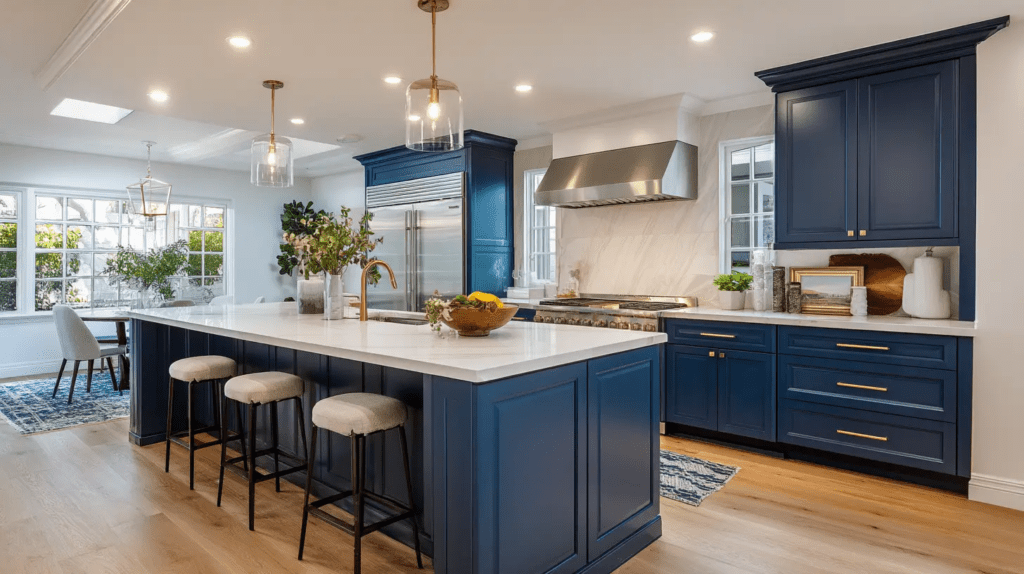
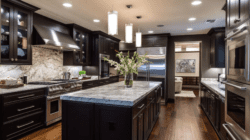
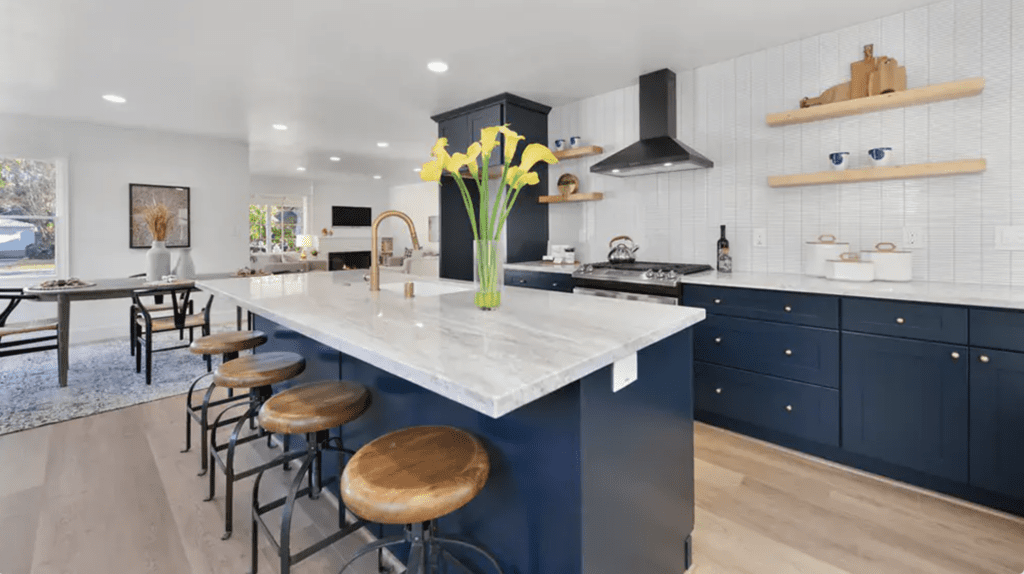
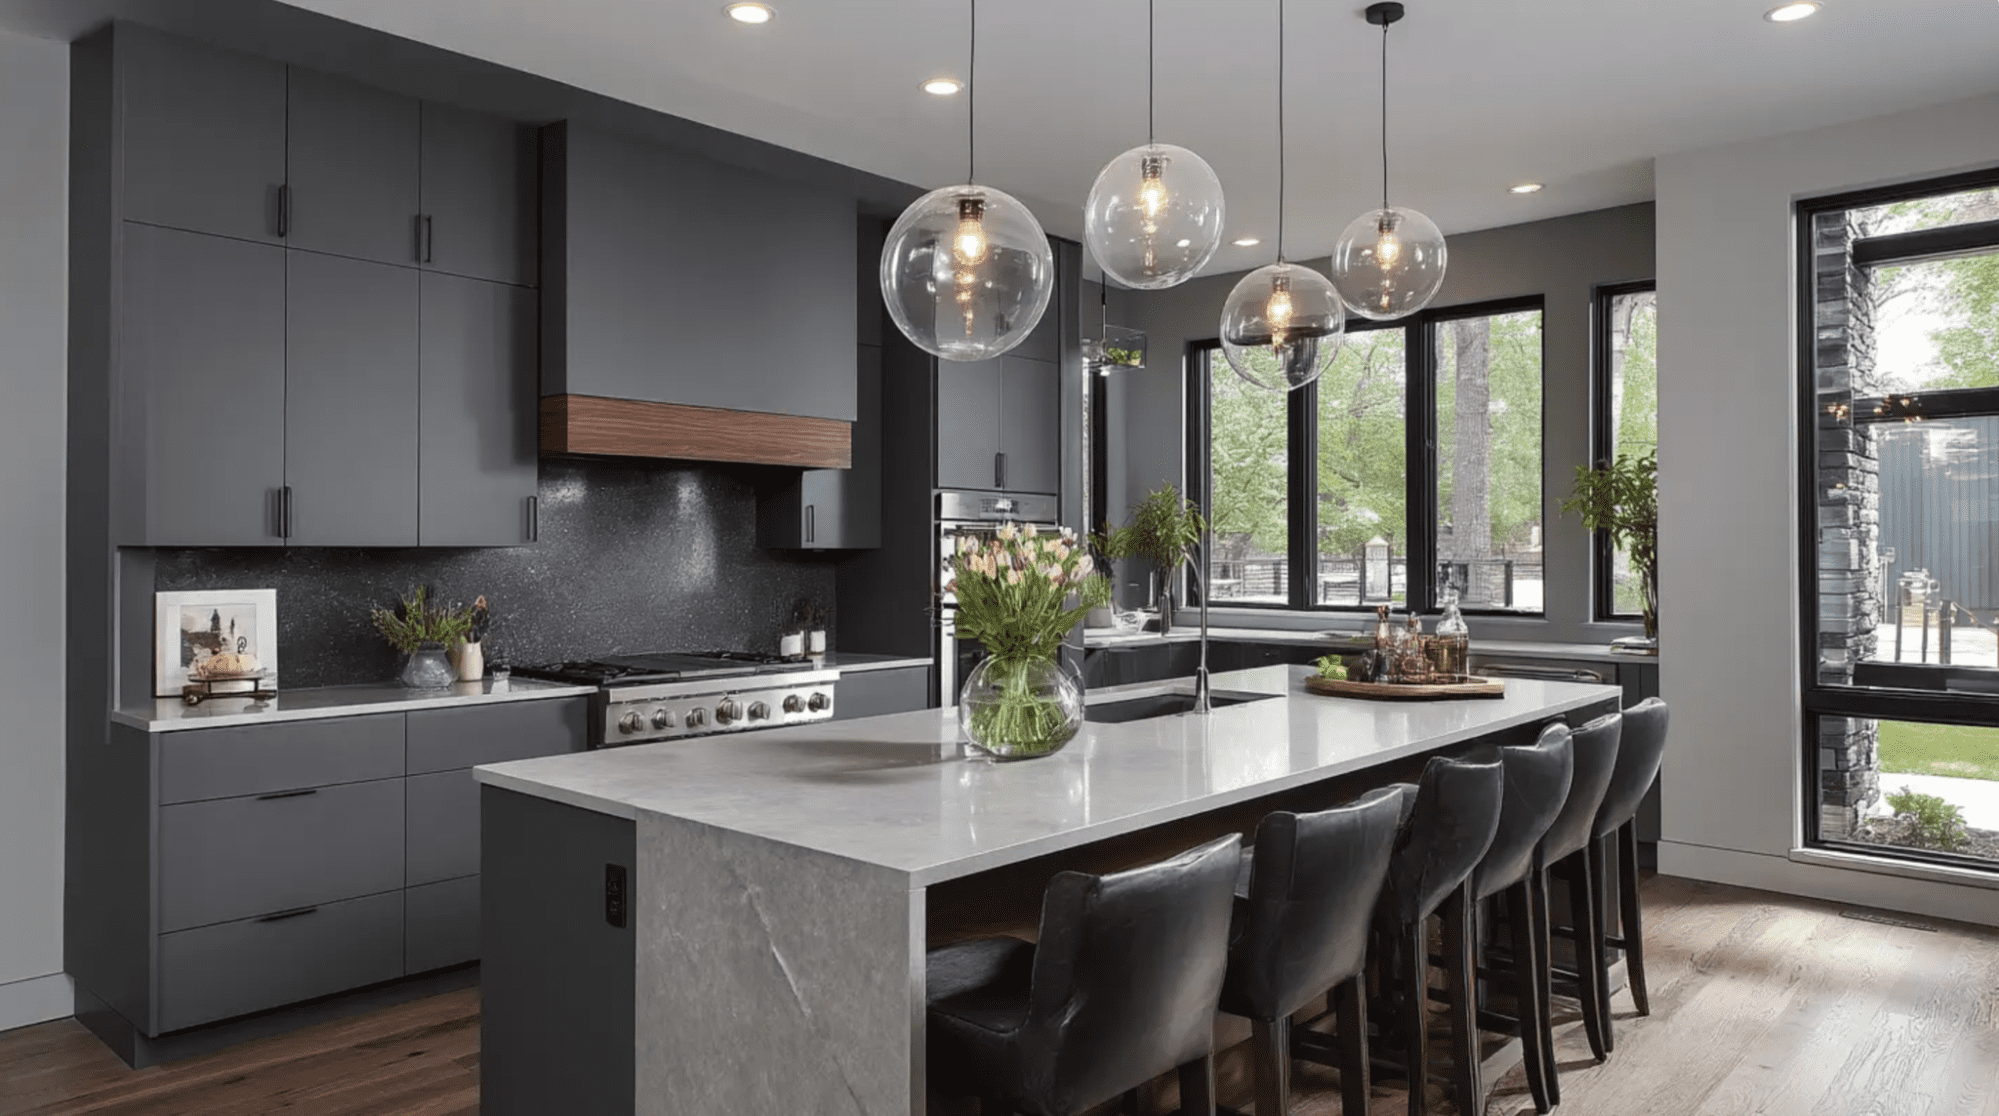
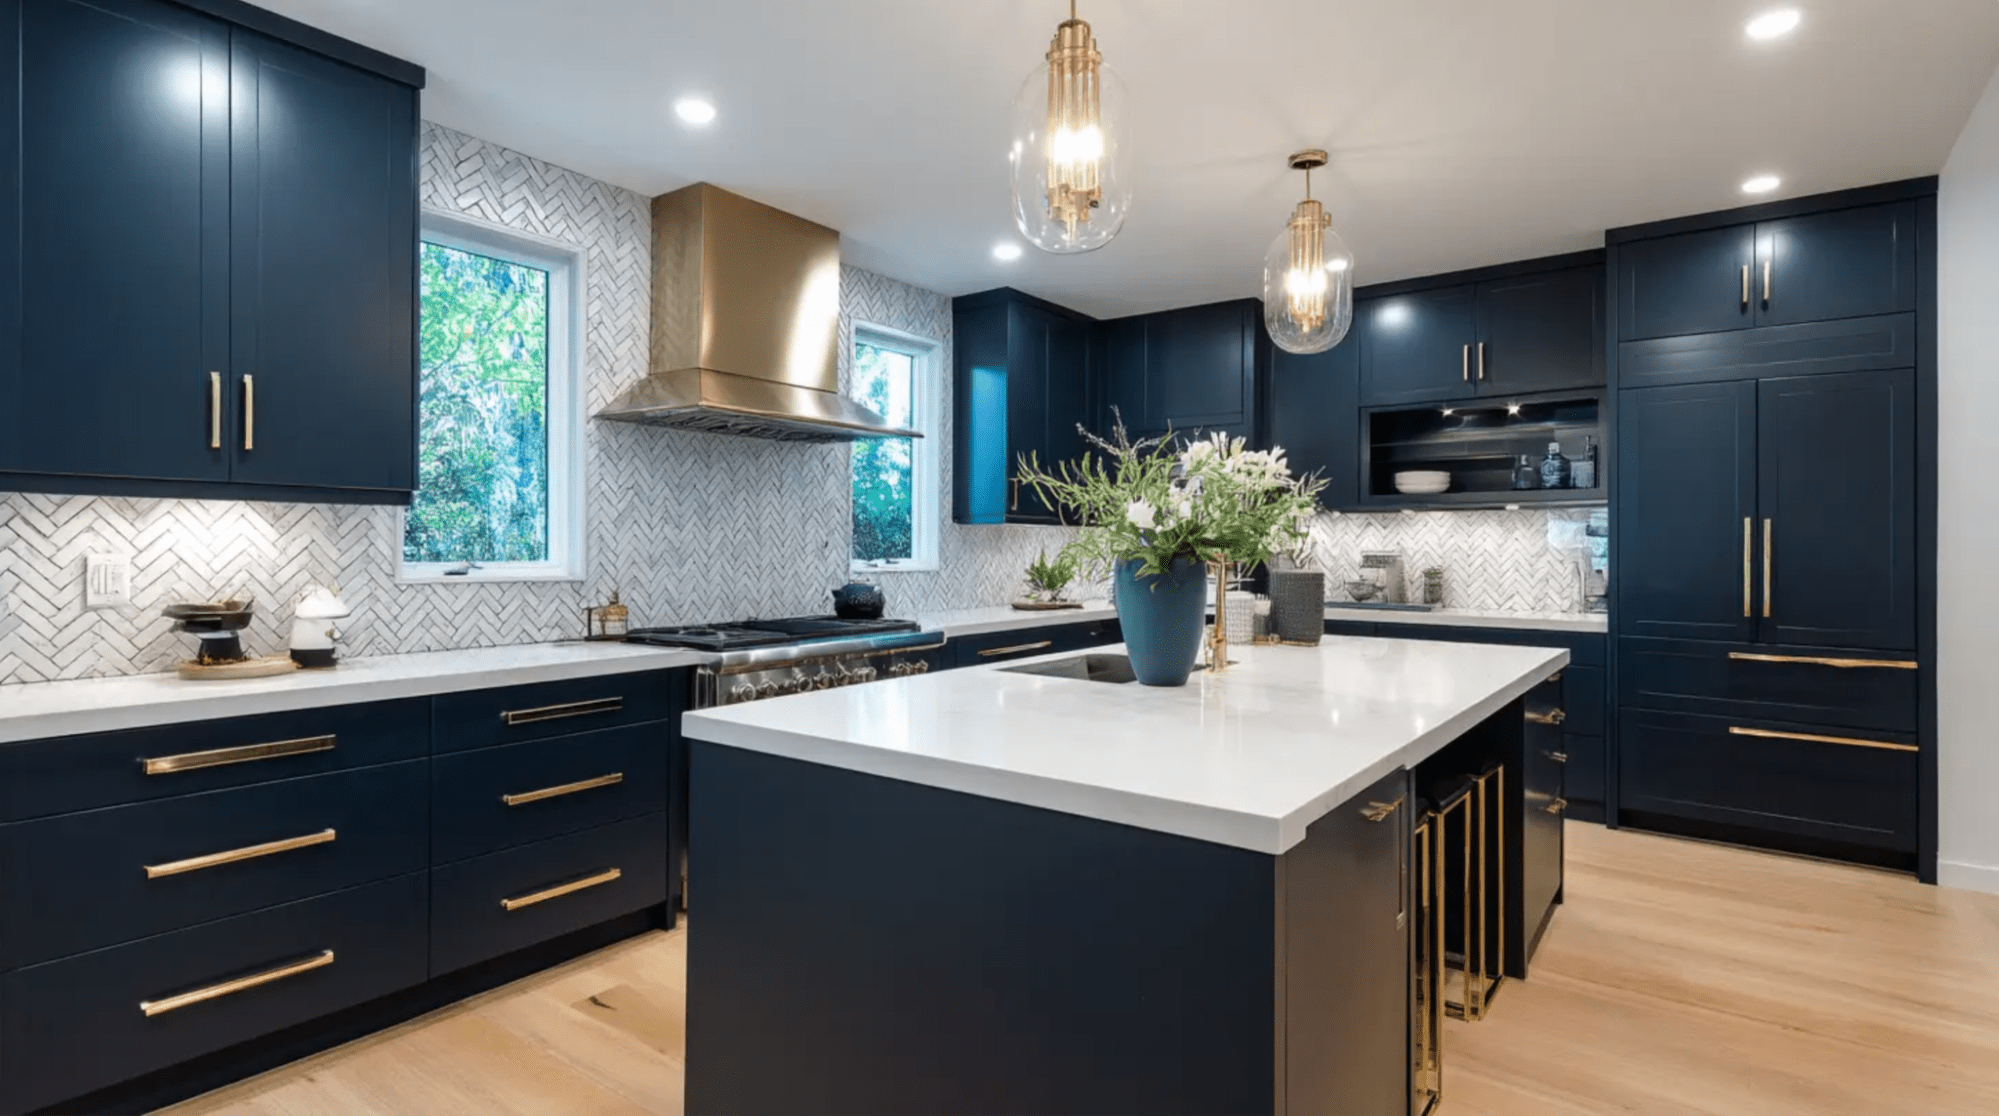
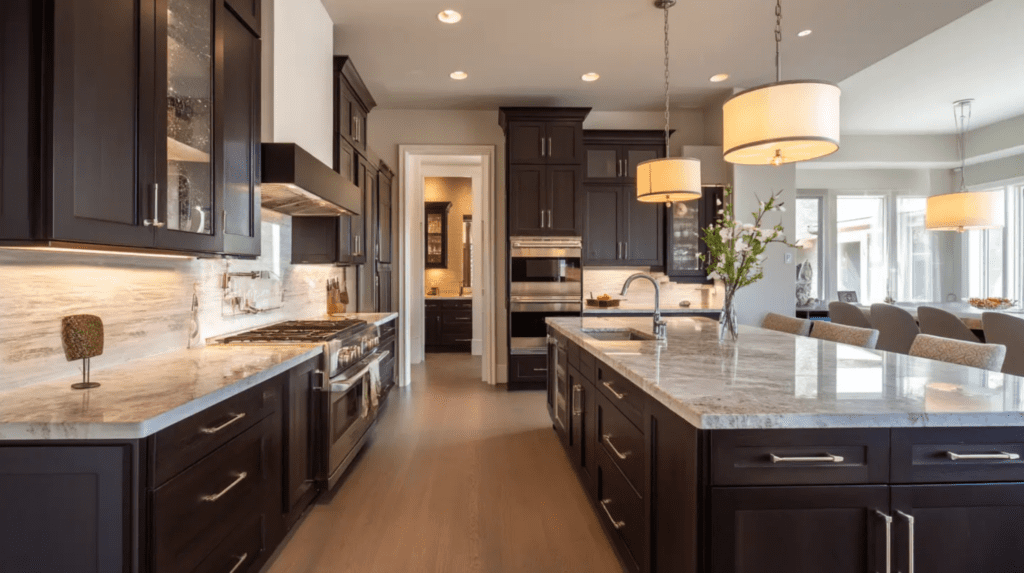
Painting or professionally refinishing your oak cabinets is the single most transformative change for the budget. A warm white, soft greige, sage green, or navy instantly drags a kitchen out of the ’90s. The key with oak specifically is dealing with its prominent grain — a quality job either fills the grain for a smooth painted finish or embraces it intentionally. Done well, painted oak looks completely modern; done cheaply, the grain telegraphs through and it looks like a rushed DIY. This is one to do right.
Option 2: Update the Hardware
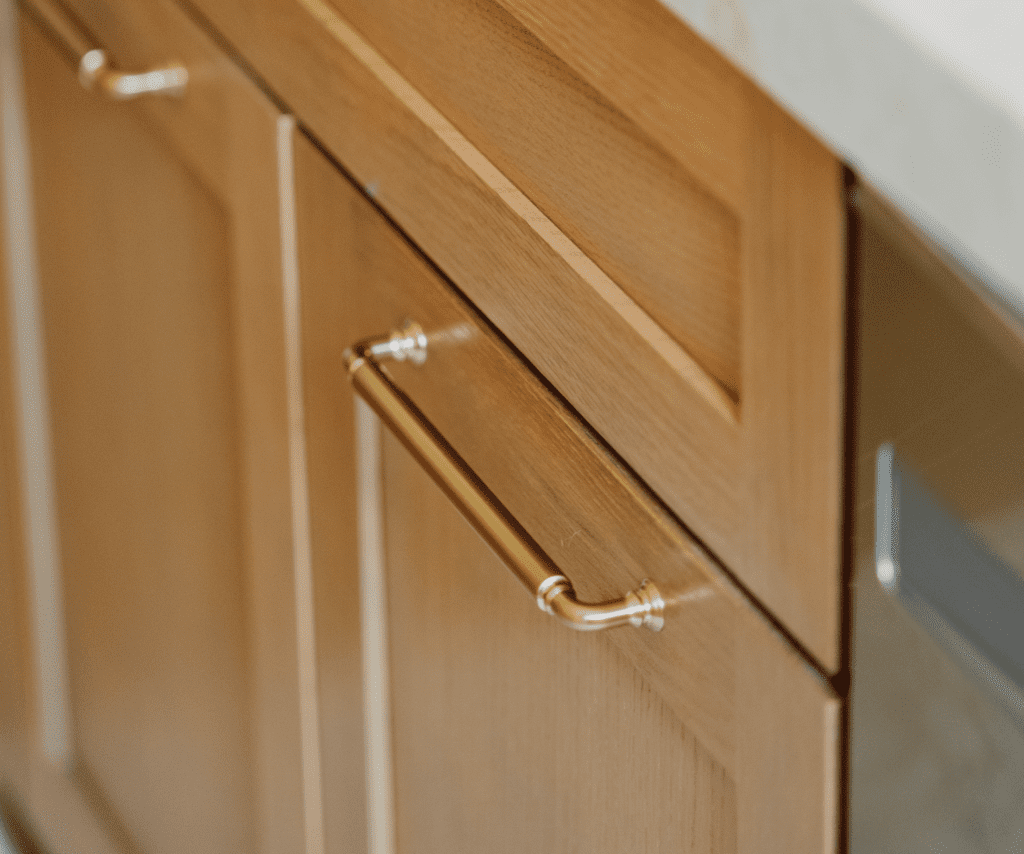
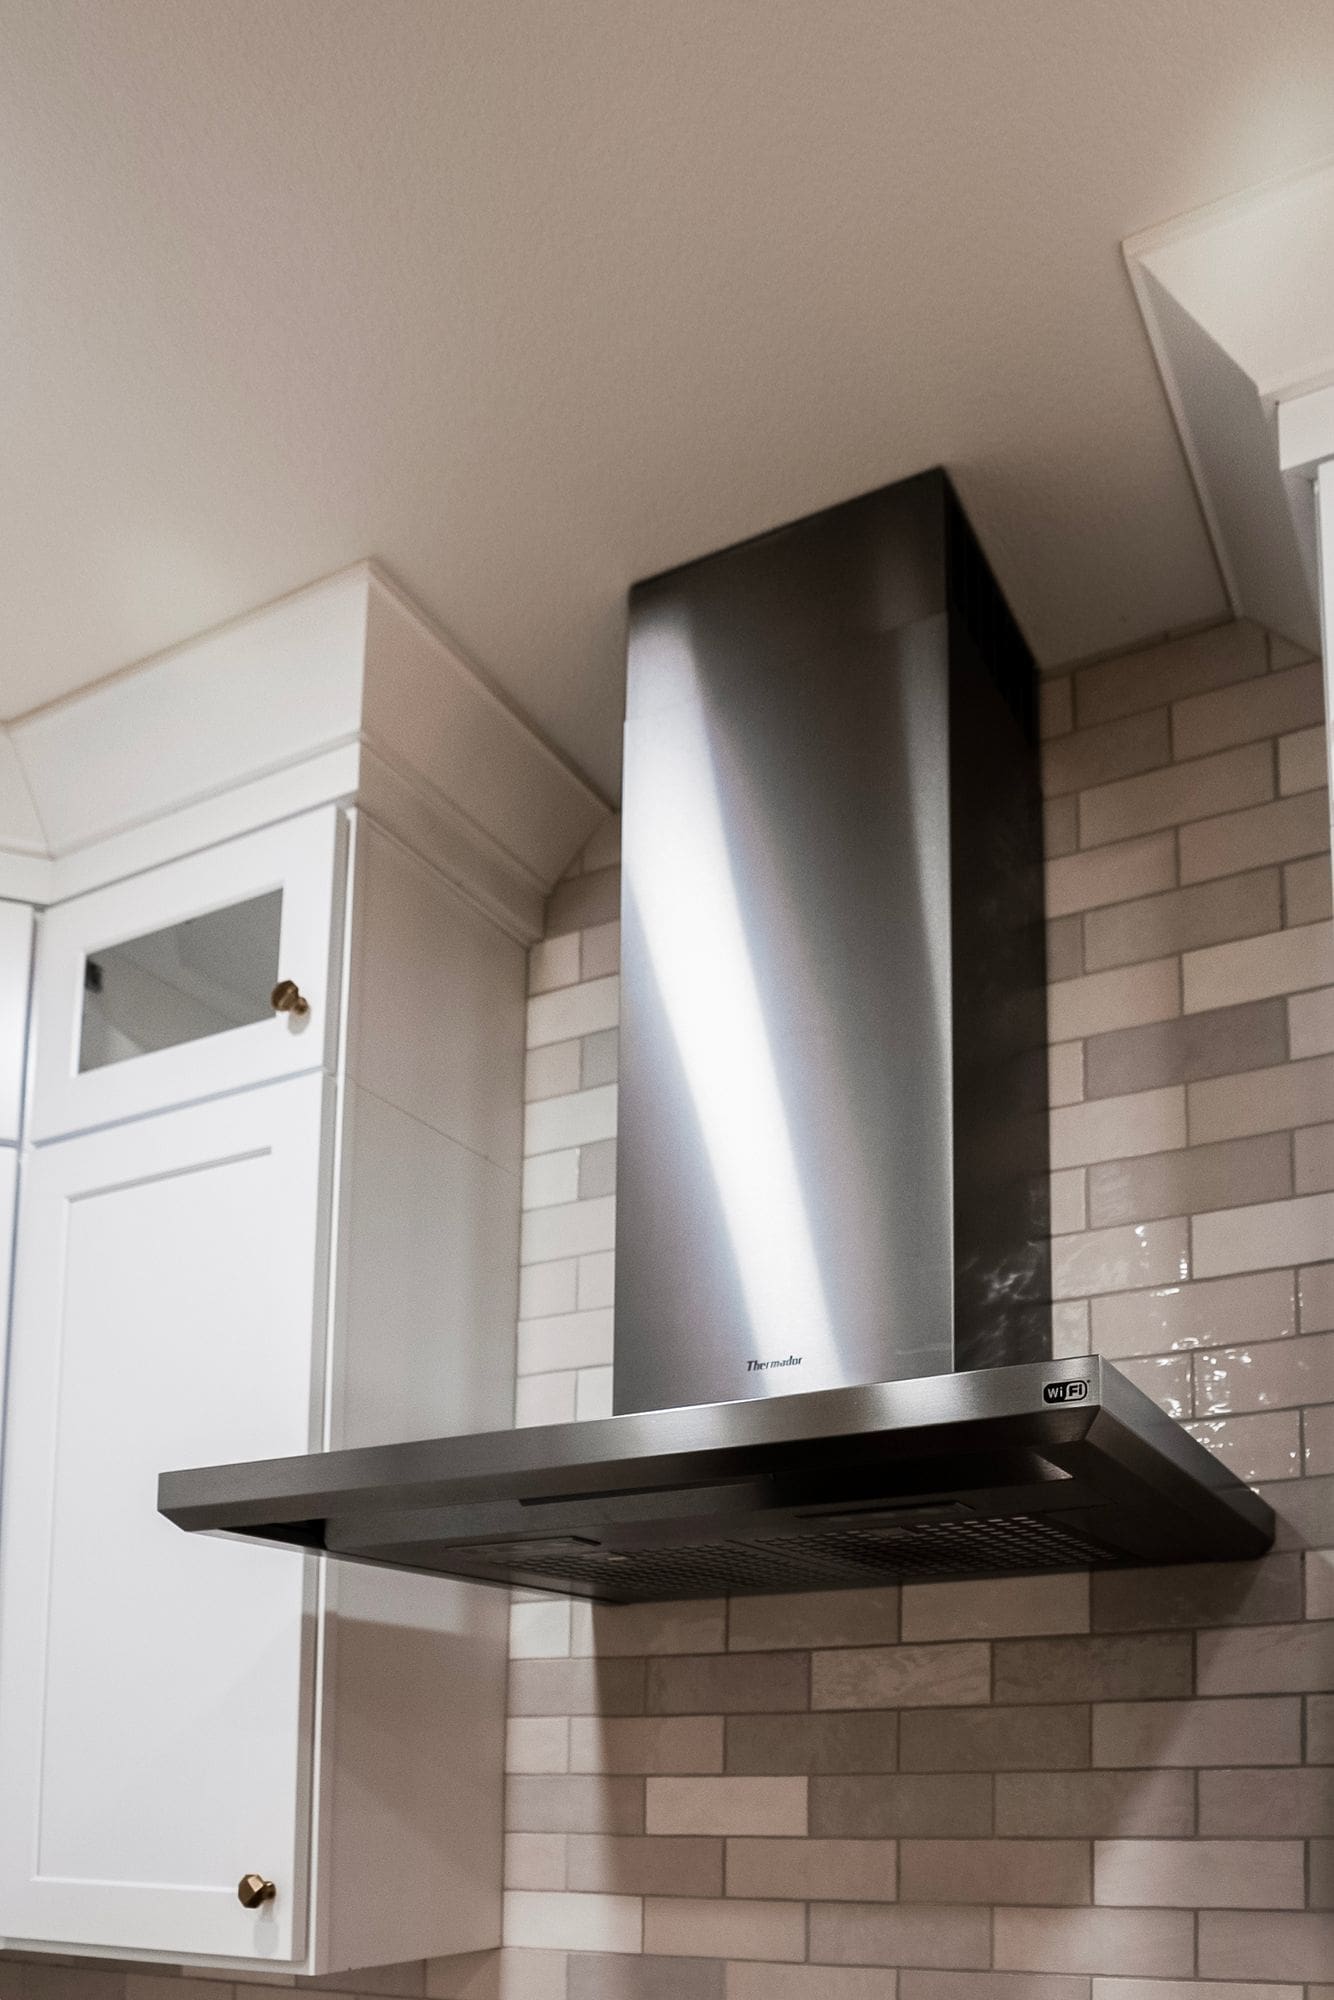
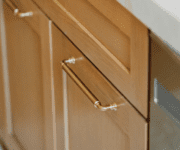
The fastest, cheapest update: replace dated hardware. Swapping old brass knobs or oak-toned pulls for clean matte black, brushed nickel, or warm brass bar pulls modernizes cabinets in an afternoon. It won’t transform a kitchen on its own, but paired with paint it’s a force multiplier — and on its own it’s the highest-impact hour you’ll spend.
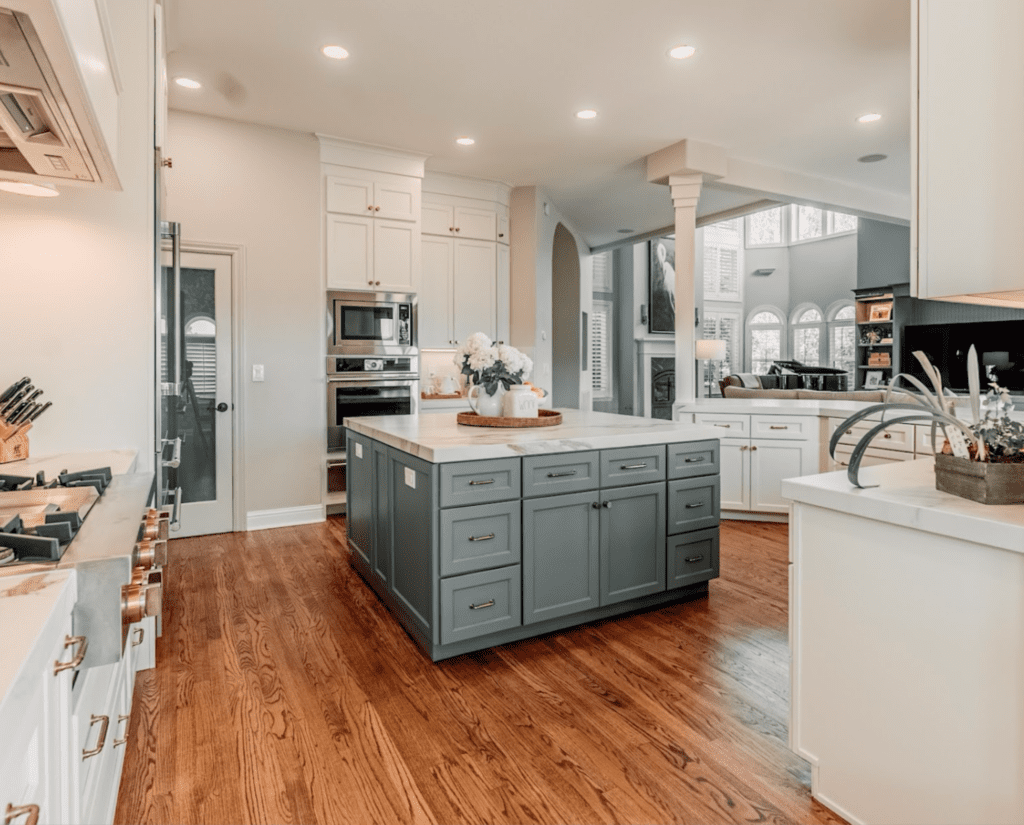
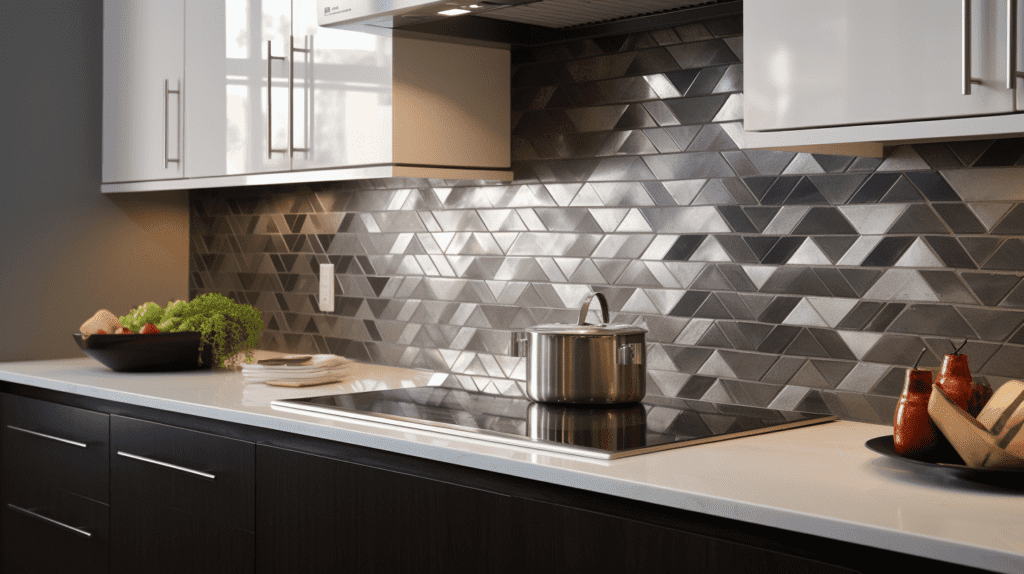
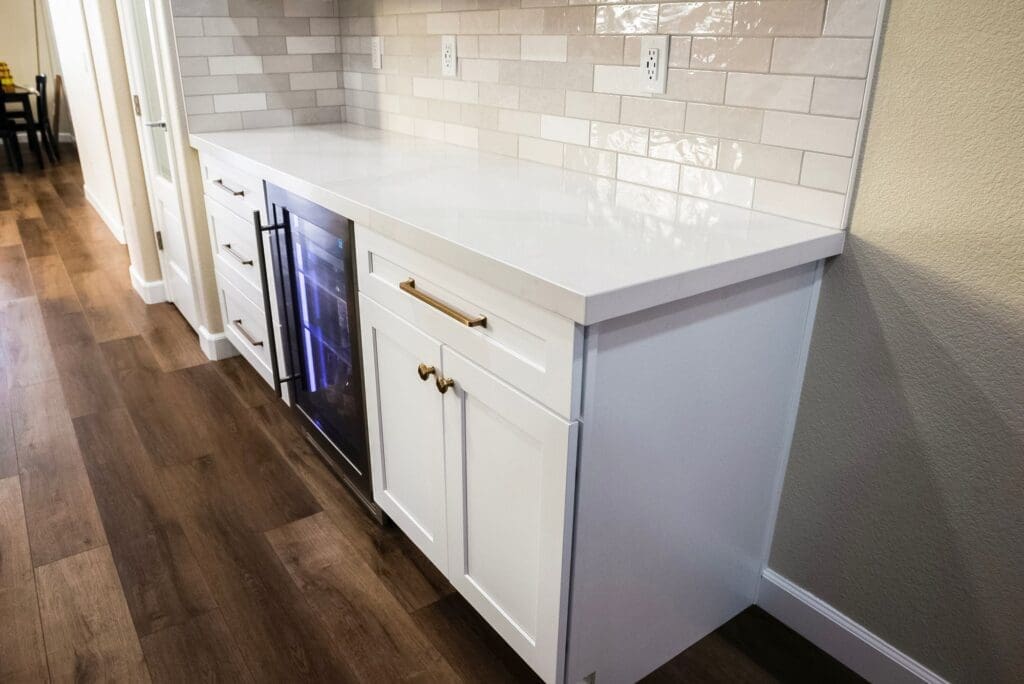
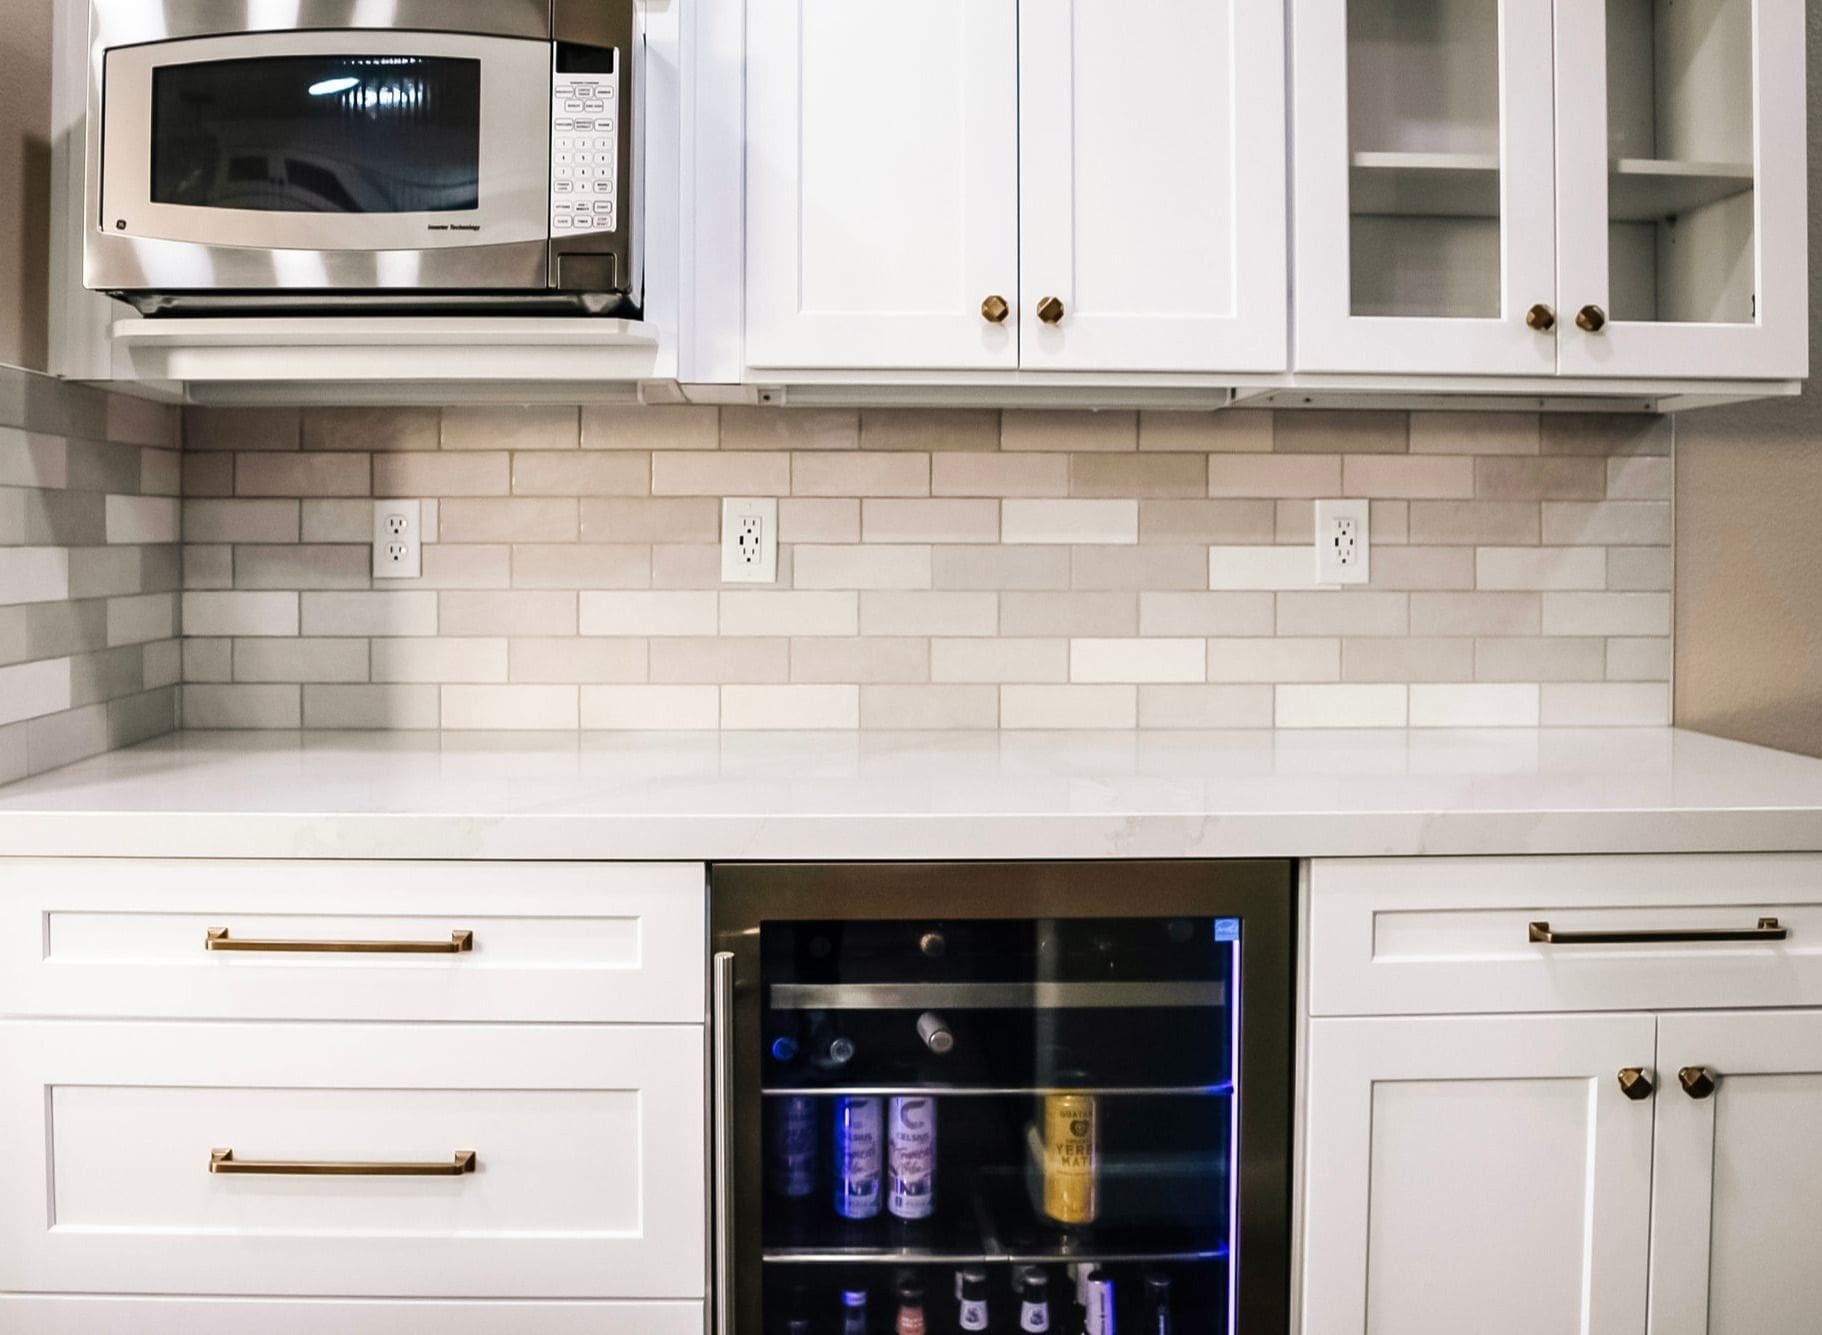
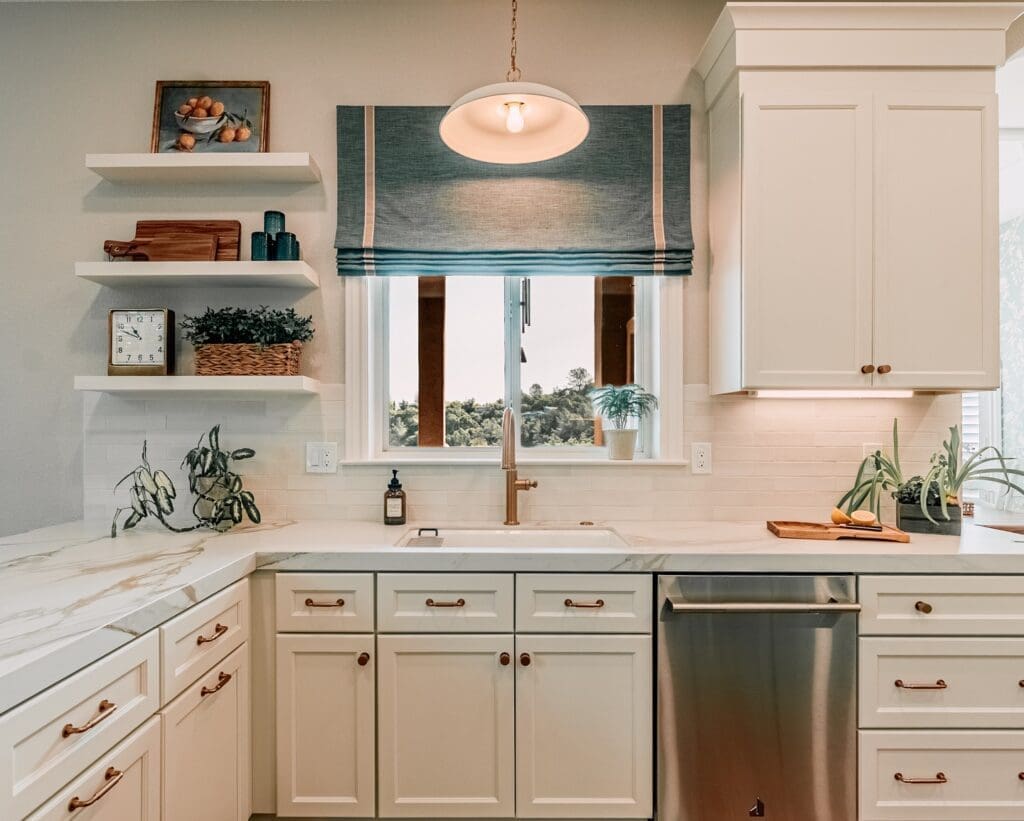
Option 3: Refresh Countertops and Backsplash
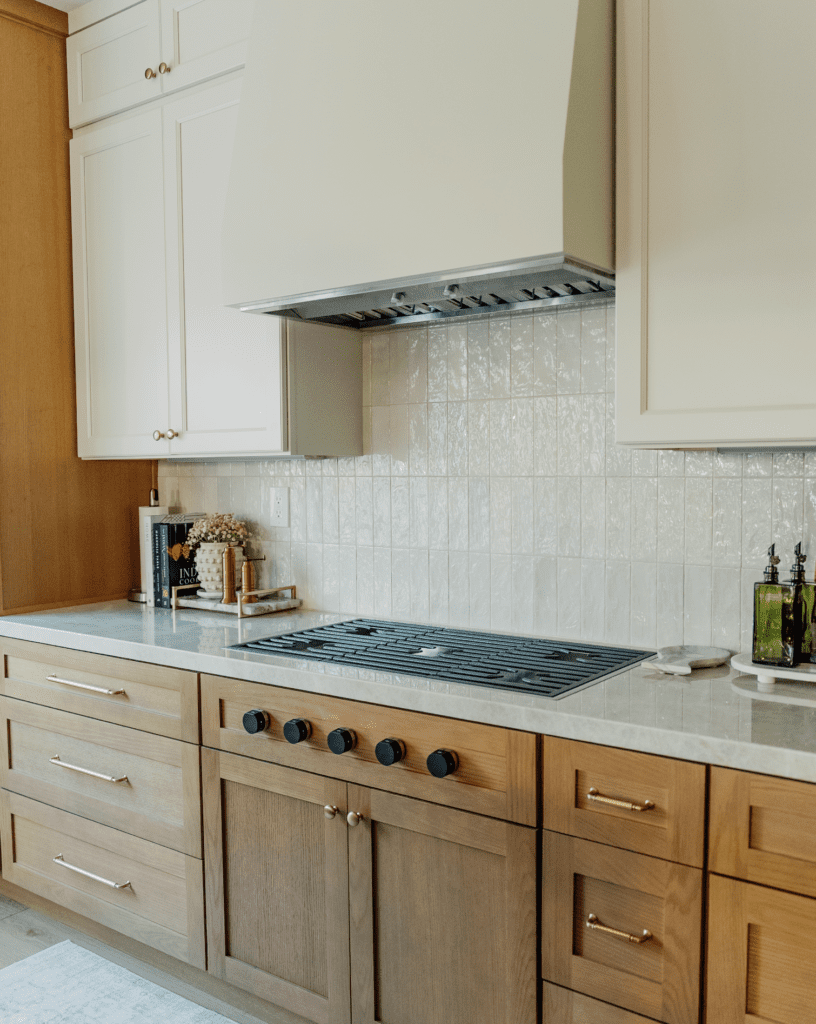
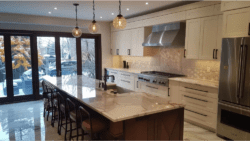
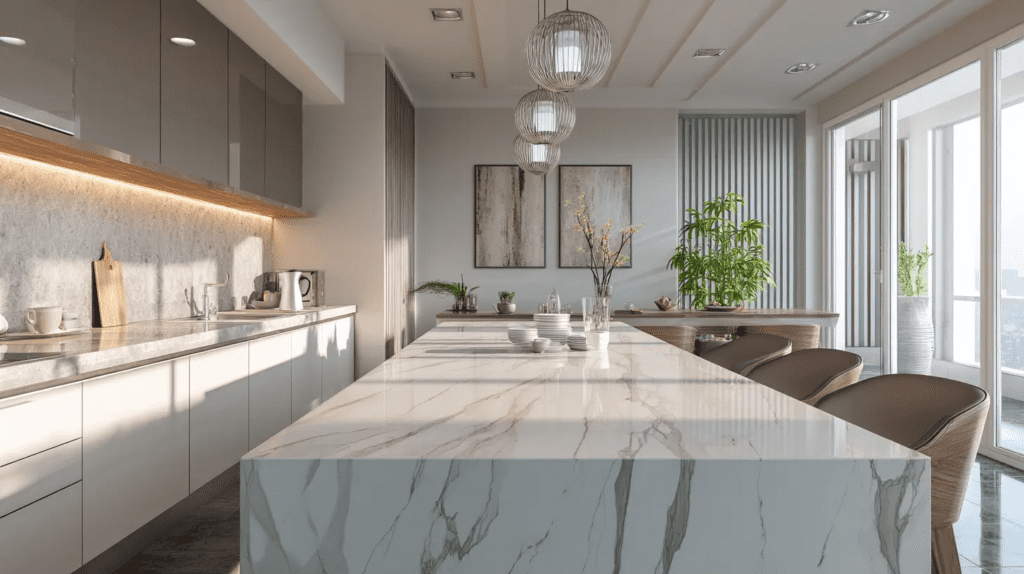
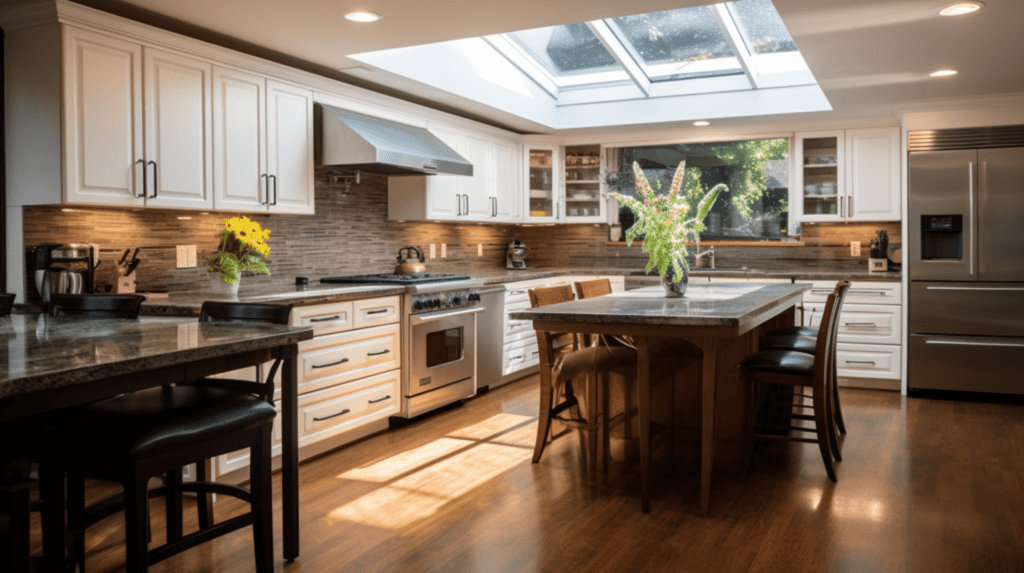
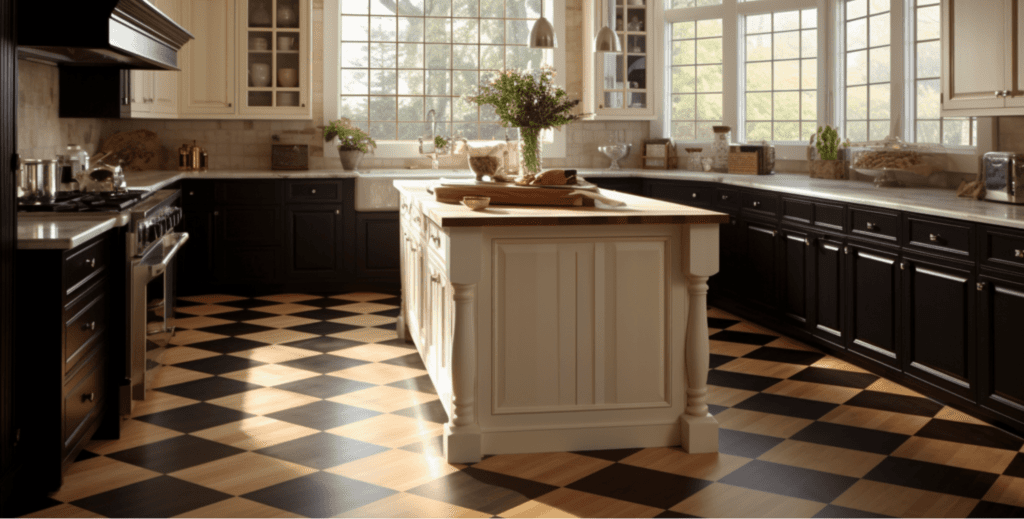
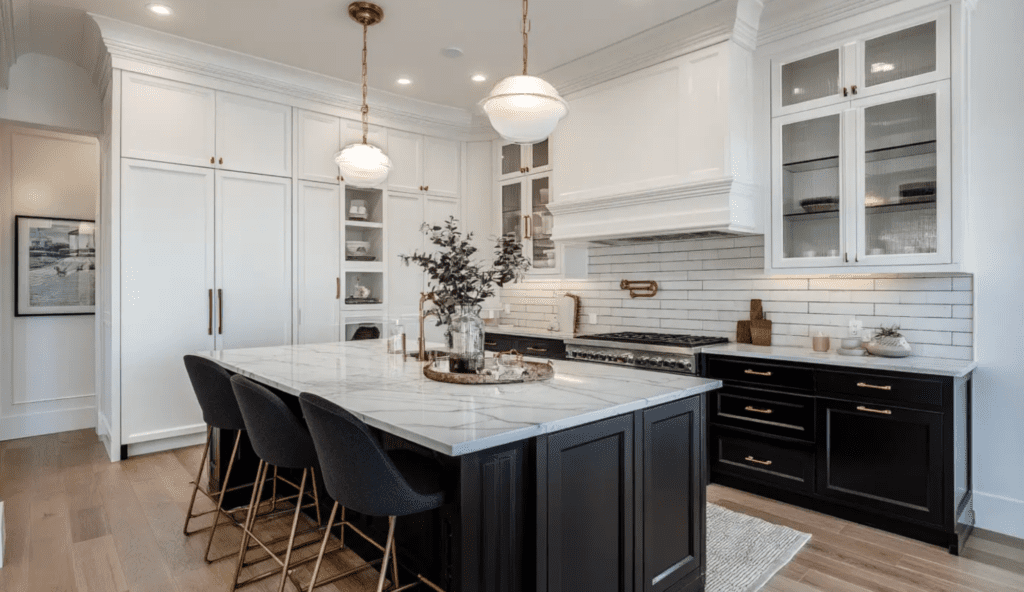
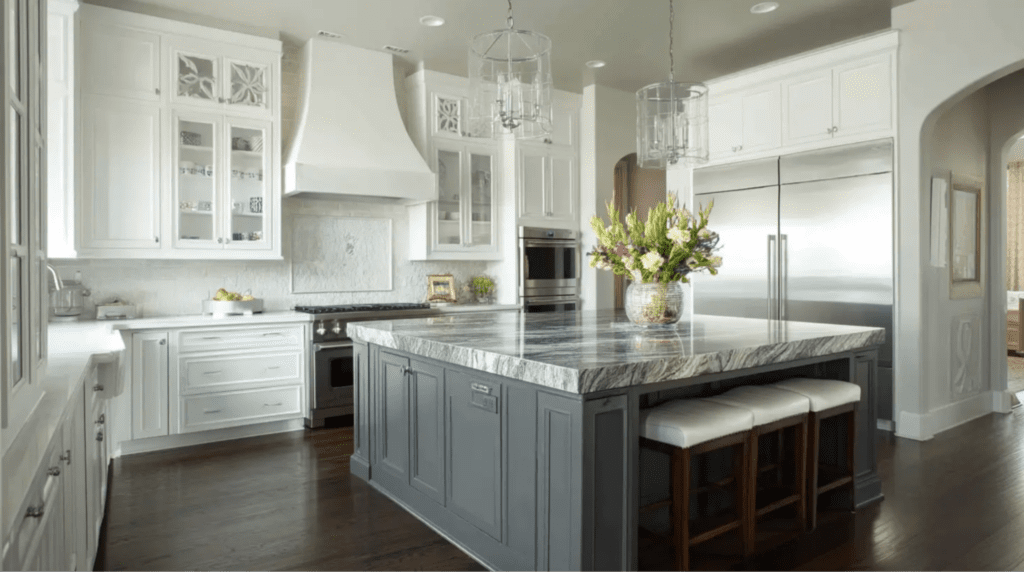
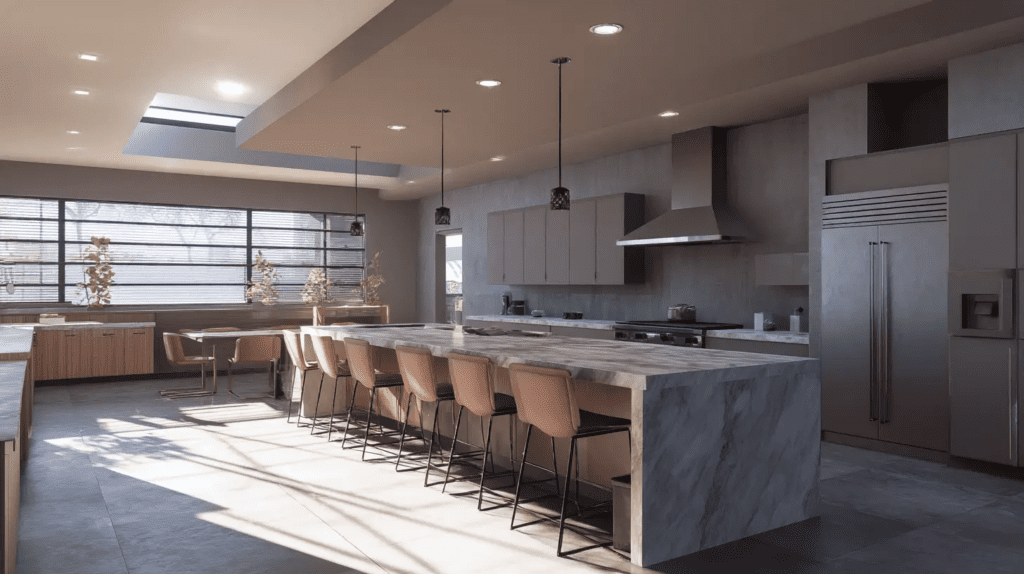
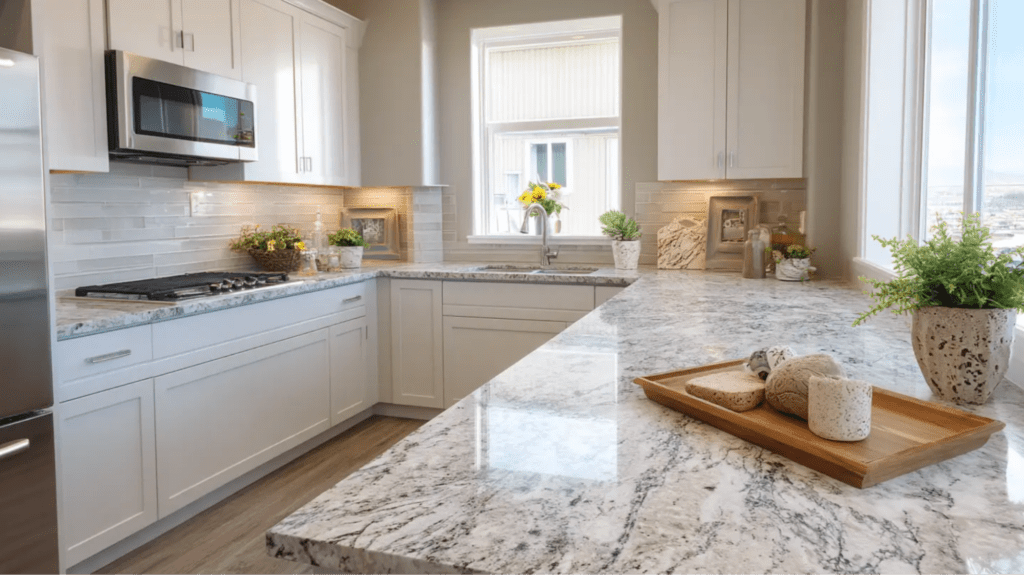
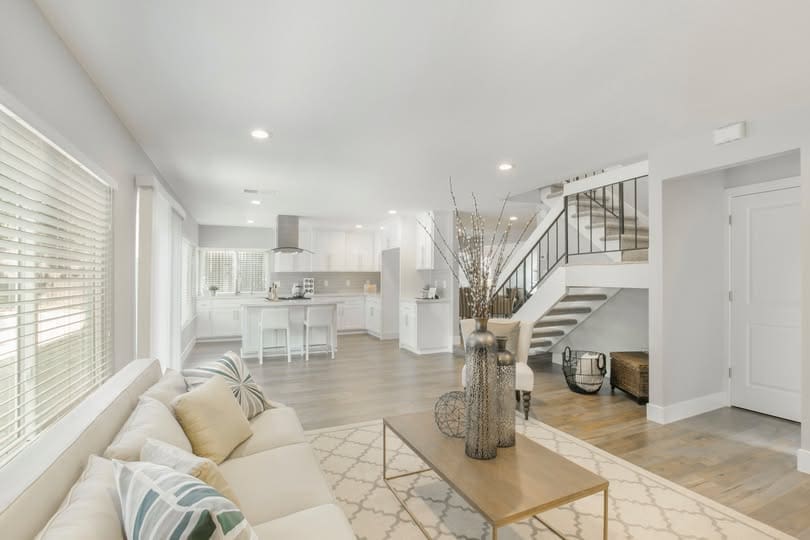
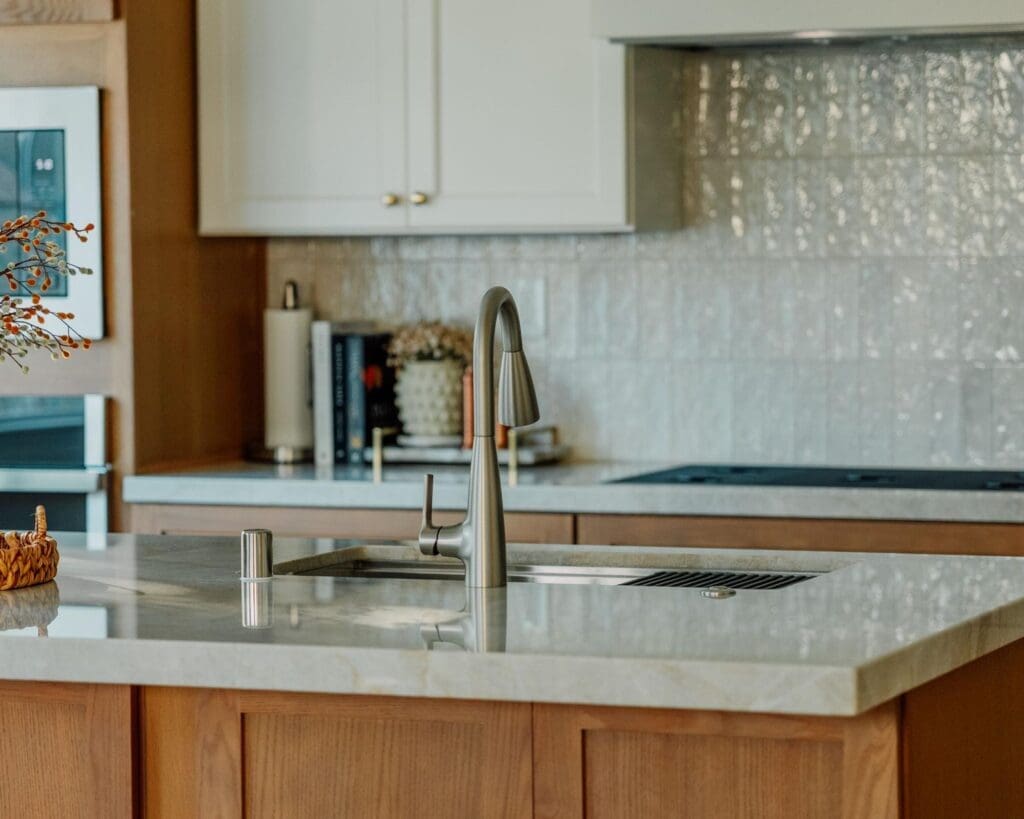
Oak cabinets often came with dated counters (think speckled laminate or busy granite) and a builder backsplash. Updating to a clean quartz or stone counter and a simple modern backsplash changes how the *whole* kitchen reads — and makes even existing oak look intentional rather than dated. If the cabinets themselves are in good shape, this alone can modernize the space dramatically.
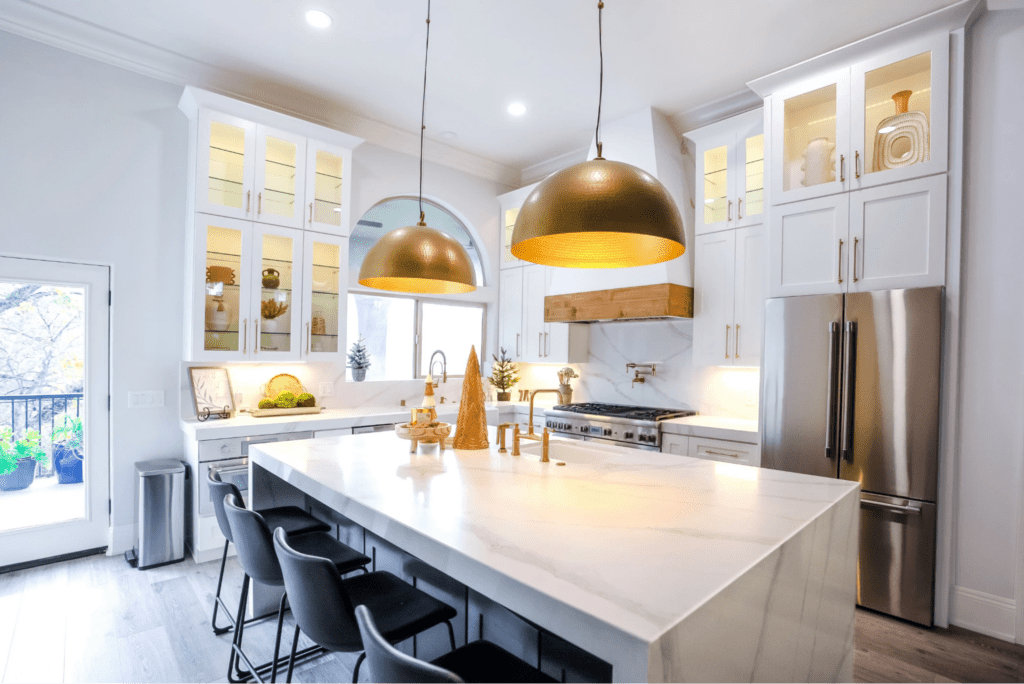
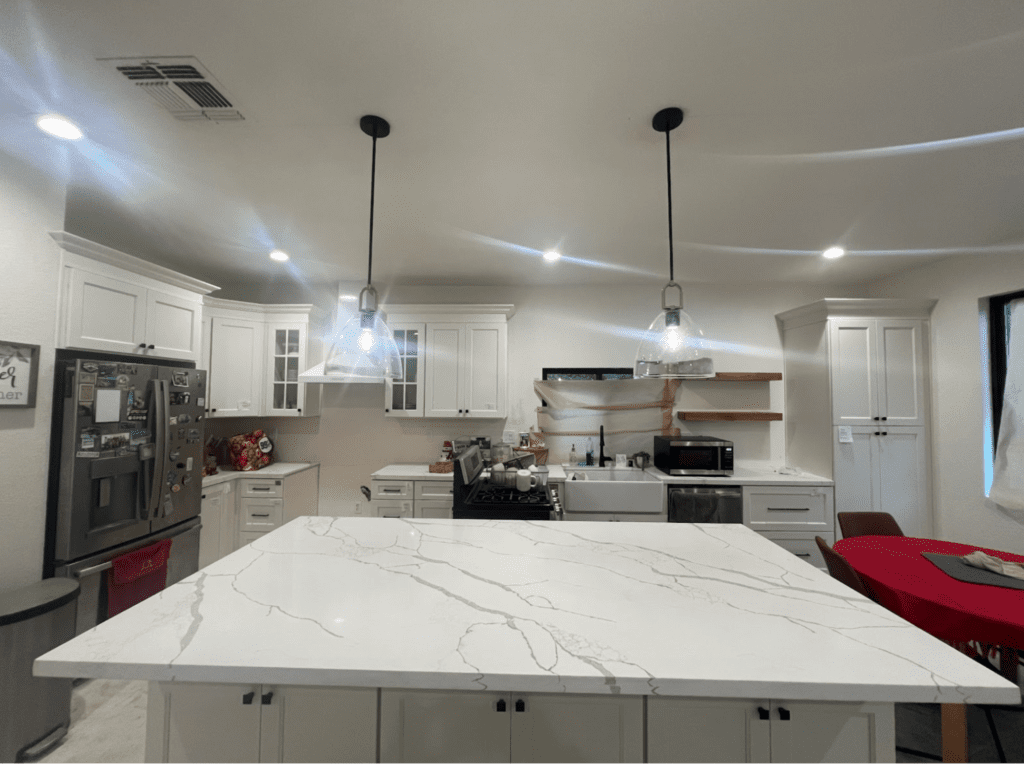
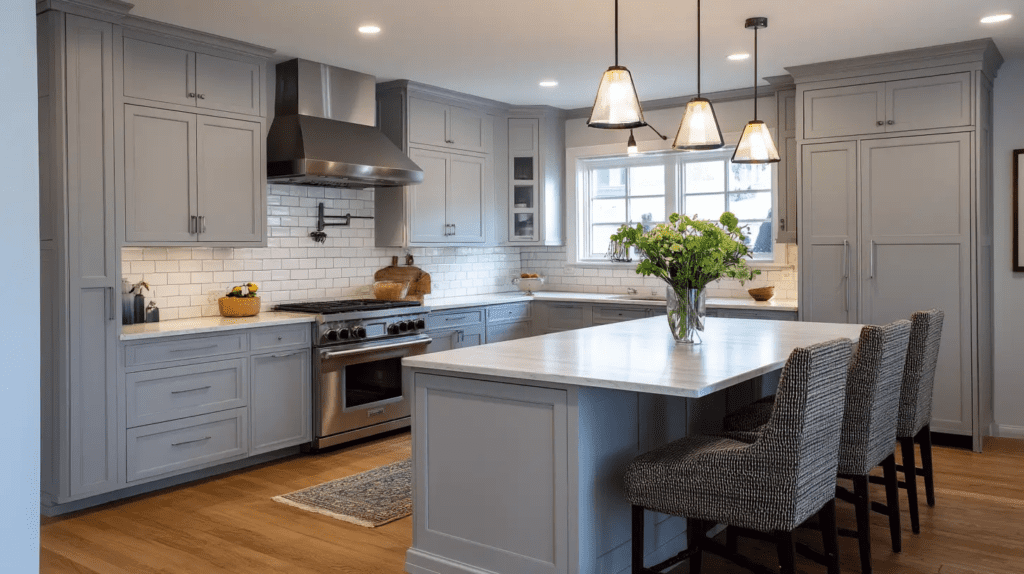
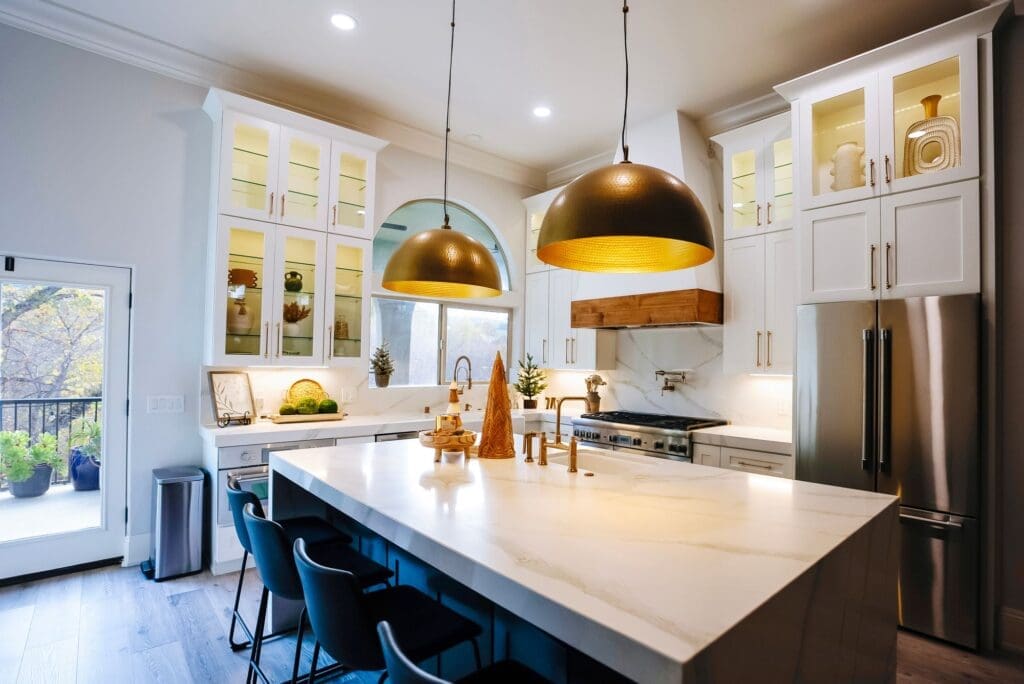
Option 4: Change the Lighting
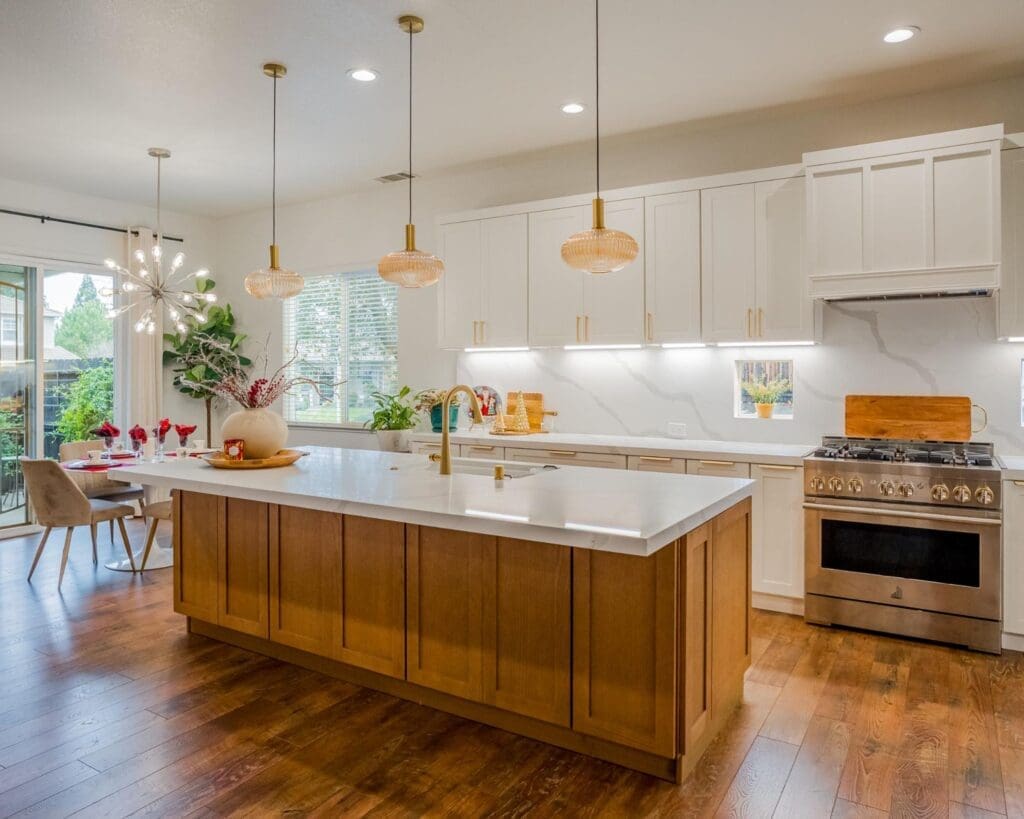
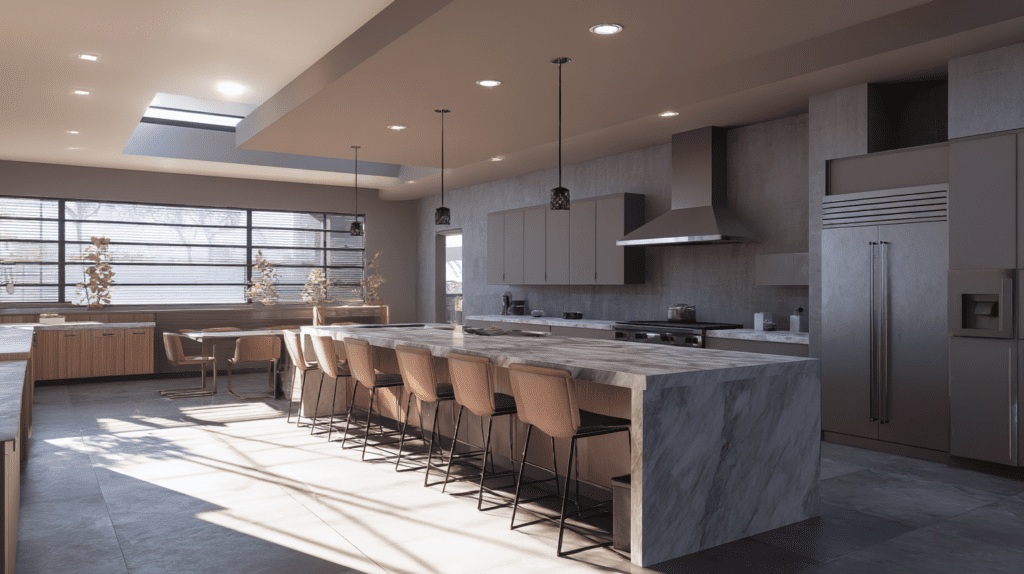
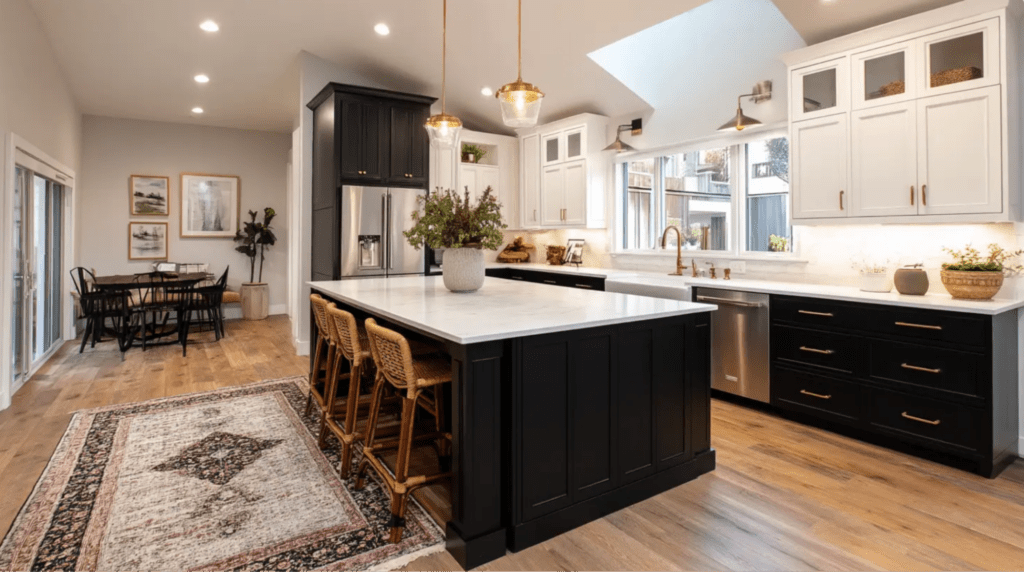
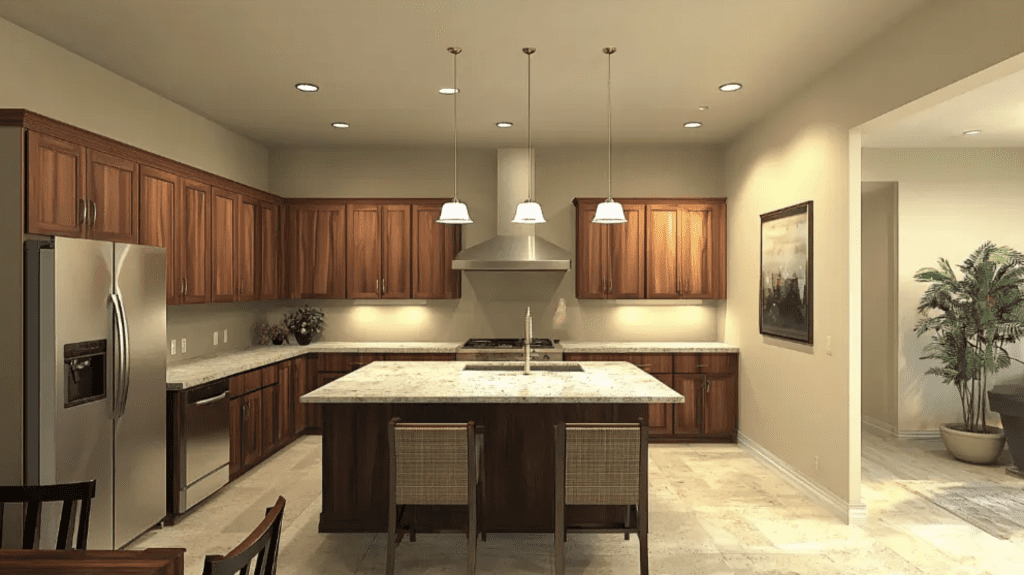
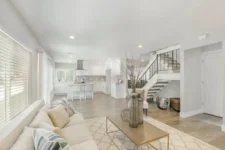
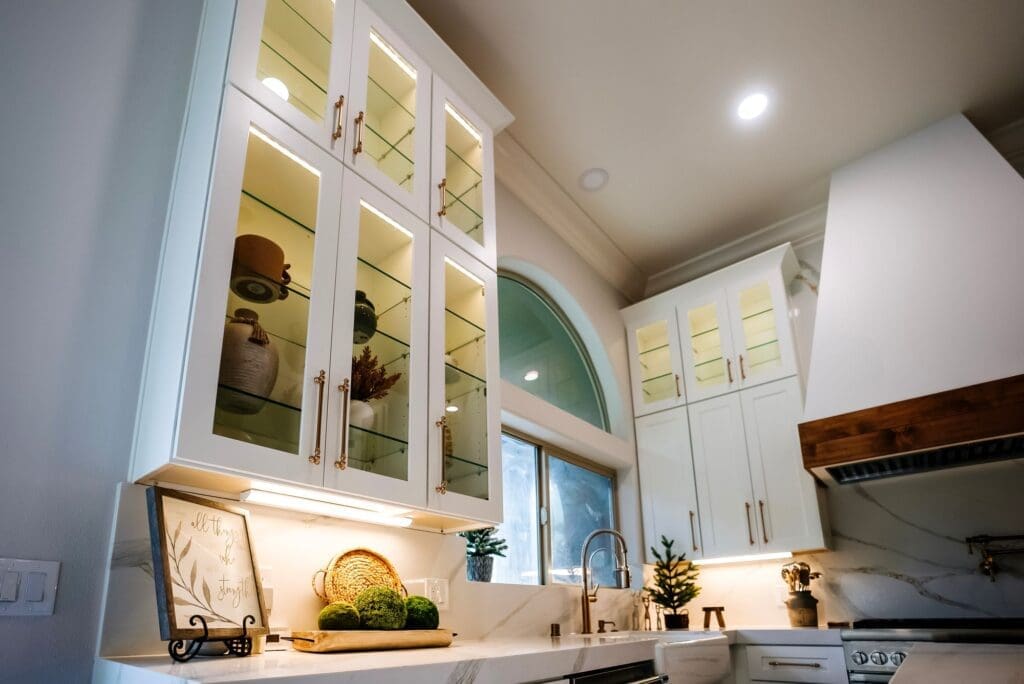
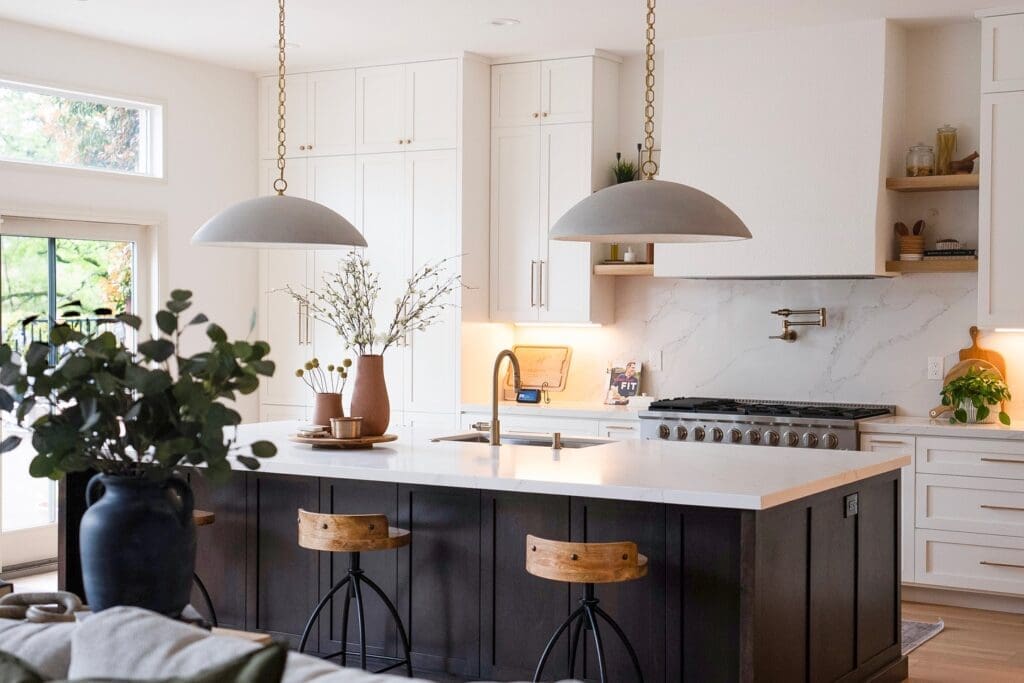
Dated kitchens often have a single flush ceiling fixture and dark corners. Adding recessed lighting, under-cabinet lighting, and a couple of modern pendants over an island or sink instantly updates the feel and makes every other finish look better. Lighting is one of the most underrated modernizing moves.
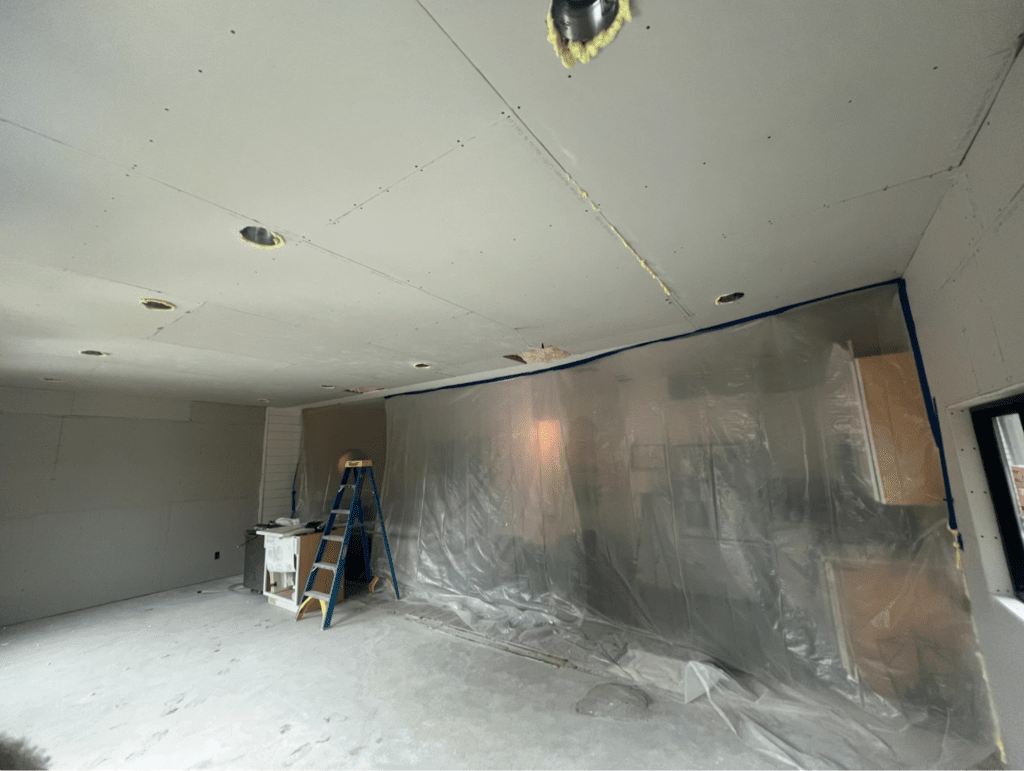
Option 5: Reface or Replace the Doors
For the most dramatic change short of a full remodel, refacing keeps your cabinet boxes but replaces the doors and drawer fronts with a modern style and finish — a big visual change for less than full replacement. Replacing the cabinets entirely is the right call when the boxes are damaged, the layout doesn’t work, or you want to change the kitchen’s footprint. A professional can tell you quickly whether your boxes are worth keeping.
How to Decide
Cabinets in good shape, just dated-looking? Start with paint/refinish + new hardware + maybe new counters. This handles the vast majority of dated-oak kitchens at the lowest cost.
Cabinets worn, doors damaged, or you want the layout changed? Refacing or replacing makes more sense — you’ll spend more, but you won’t be putting lipstick on cabinets that are failing.
The smartest first step is an honest assessment of what you’re working with, so you don’t overspend on a kitchen that needs less — or underspend on cabinets that need replacing.
How We Modernize Oak Kitchens in Sacramento
At America’s Advantage Remodeling, we’ve updated countless dated oak kitchens across Sacramento, Roseville, and Folsom since 2001. We’ll give you an honest assessment of whether your cabinets are worth refinishing, refacing, or replacing — never upselling you to a full remodel you don’t need — and we model the updated kitchen in 3D so you can see your oak cabinets transformed before any work begins.
| Tired of Your Dated Oak Kitchen? Let’s Look at Your Real Options.You may not need a full remodel — sometimes refinishing and a few smart updates are all it takes. Our Sacramento-area team will give you an honest assessment of whether to refinish, reface, or replace, and model the modernized kitchen in 3D so you can see the transformation first. Call 916-507-0469 or request your free design consultation. Serving Roseville, Sacramento, Folsom, El Dorado Hills, and surrounding areas since 2001. |
Frequently Asked Questions
How do you make oak kitchen cabinets look modern?
The most effective ways to modernize oak cabinets are painting or refinishing them in a current color, swapping dated hardware for clean modern pulls, updating the countertops and backsplash, improving the lighting, and — for a bigger change — refacing or replacing the doors. Painting plus new hardware delivers the biggest impact for the lowest cost.
Are oak cabinets coming back in style?
Yes, natural wood including oak is trending again, but the modern version uses lighter, flatter tones like white oak and rift-cut wood with simpler door styles and minimal hardware, rather than the orange-toned, heavy-grained oak of the ’80s and ’90s. You can lean into a refreshed wood look or paint over it — both are current.
Should I paint or replace my oak cabinets?
Paint or refinish your oak cabinets if the boxes and doors are in good structural shape and you mainly dislike the look, since painting is far more affordable and transformative. Replace them if the boxes are damaged, the layout doesn’t work, or you want to change the kitchen’s footprint. A professional assessment makes the call clear.
What color should I paint oak cabinets to make them modern?
Warm white, soft greige, sage green, and navy are the most effective modern colors for painted oak cabinets. The key with oak is properly handling its prominent grain — a quality finish either fills the grain for a smooth look or showcases it intentionally, so the result looks modern rather than like a rushed DIY job.
Is it cheaper to reface or replace kitchen cabinets?
Refacing is generally cheaper than replacing because it keeps your existing cabinet boxes and only swaps the doors, drawer fronts, and finish. Replacing costs more but is the right choice when boxes are damaged or you want to change the layout. The best option depends on the condition of your current cabinets.
How can I update my oak kitchen without painting the cabinets?
You can modernize an oak kitchen without painting by updating the hardware to clean modern pulls, replacing dated countertops and backsplash, improving the lighting with recessed and under-cabinet fixtures, and refacing the doors. These changes make even natural oak look intentional and current while keeping the wood tone.
Does updating oak cabinets increase home value?
Updating dated oak cabinets generally improves a kitchen’s appeal, which is one of the most important rooms to buyers, so it can support home value and marketability. The return depends on the scope and quality of the work, so focusing on high-impact, well-executed updates tends to deliver the best balance of cost and benefit.
About the Author
This guide was written by Eugene Chernioglo, owner of America’s Advantage Remodeling, a licensed kitchen and home remodeling contractor (CSLB #1036517) serving Roseville, Sacramento, Folsom, El Dorado Hills, and the surrounding area since 2001. AAR holds a 4.9-star rating across 225+ Google reviews and an A+ rating with the BBB. Eugene and the AAR team handle design, fabrication, and installation in-house, giving homeowners a single accountable partner from the first 3D rendering to the final walkthrough.