What’s The Typical Sequence of a Kitchen Remodel?

What to Expect Step-by-Step
A kitchen remodel is one of the most valuable upgrades a homeowner can make. Whether you’re looking to improve your daily lifestyle or increase your home’s resale value, a successful kitchen renovation begins with one key principle: follow a structured plan. At America’s Advantage Remodeling, we’ve guided hundreds of homeowners through the kitchen remodeling process with a proven system that keeps every phase on track.
If you’re asking, what’s the typical sequence of a kitchen remodel, this guide lays out every step from the first demolition to the final touches. With the right strategy, a renovation project can transform your outdated kitchen into the new space you’ve always wanted, without unnecessary delays or costly mistakes.
Why Understanding the Kitchen Remodel Sequence Matters
Knowing the kitchen remodel sequence helps ensure your project stays on time, on budget, and stress free. Jumping ahead in the process can result in rework, permit violations, and delivery delays for key materials. Homeowners who understand how construction phases flow can better communicate with their general contractor, prepare for disruptions, and avoid decision fatigue during major kitchen remodels.
When you follow the right kitchen remodel timeline, every part of the renovation, from custom cabinets to installing countertops, happens in a logical, coordinated order. This level of careful planning sets the stage for a smooth experience and a better final result.
Step-by-Step Breakdown of a Kitchen Remodel
1 | Planning and Budgeting
The first step in any kitchen remodel is setting clear goals. Are you looking to modernize your kitchen layout, increase storage, or improve energy efficiency? Maybe you’re ready for a major overhaul with brand-new appliances and new flooring. No matter the vision, careful planning ensures the entire project aligns with your goals, lifestyle, and timeline.
This is the time to set a budget. Factor in labor, materials, permits, and a contingency fund for the unexpected. A general contractor will help you balance your wish list with your financial limits and keep the renovation process realistic from day one.
2 | Kitchen Design and Layout Development
Once you’ve defined your goals, the next phase focuses on kitchen design. This includes creating a detailed layout that optimizes the flow and function of your new kitchen. Think about how the refrigerator, sink, and cooktop align. Are you keeping the same kitchen layout, or making structural changes to open up space?
Your contractor will help with selections like cabinets, flooring, countertops, lighting, and plumbing fixtures. These choices not only impact your kitchen’s style, but also the lead times needed to order materials. A well-documented, detailed design helps avoid costly errors later in the construction phases.
3 | Ordering Materials and Permits
Before demolition can begin, materials need to be ordered and permits pulled. Cabinets, tile, and countertops often have long lead times, sometimes four to eight weeks, especially if you’re selecting custom finishes. Delaying your order could stall your entire project.
At this point, your contractor will submit permit applications for plumbing, electrical, and structural changes. Meeting permit requirements ensures your kitchen remodel complies with local building codes and passes inspections throughout the process.
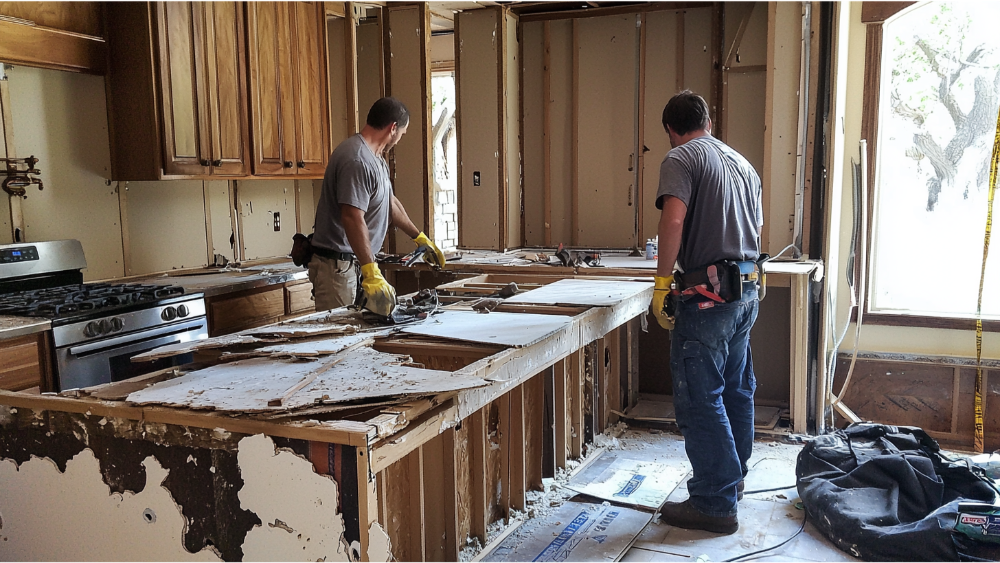
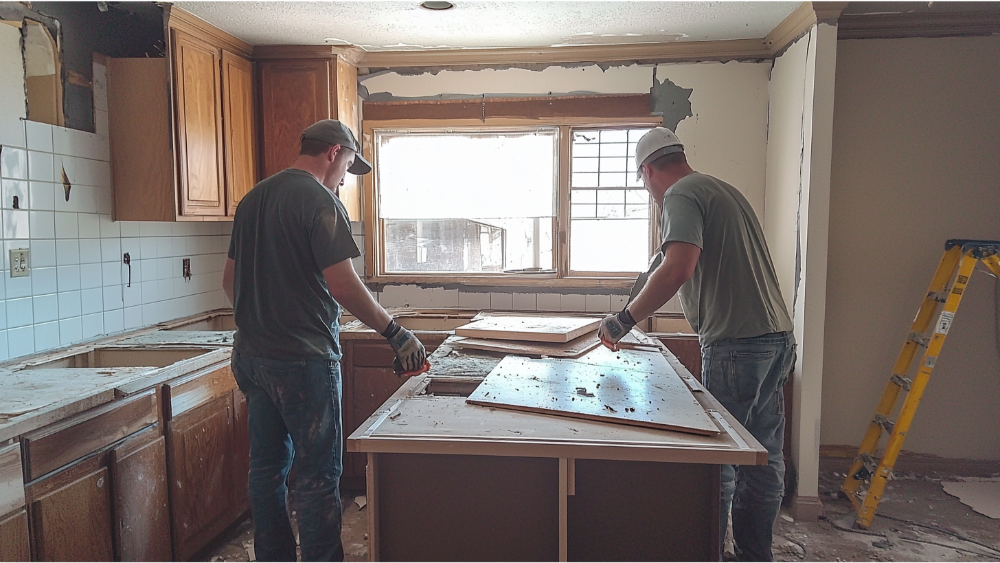
4 | Site Prep and Demolition
With the design finalized and materials on the way, the next phase begins with site prep. Your contractor will protect floors, cover adjacent rooms, and help you set up a temporary kitchen. Then demolition starts, removing old cabinets, flooring, appliances, and sometimes walls.
Professional demolition clears the way for new wiring, plumbing work, and framing. It also gives your crew a clean, safe environment to begin the next stage of construction.
5 | Structural Work and Rough-Ins
At this point, your kitchen remodel transitions from teardown to rebuild. If your design includes structural changes like removing soffits or reworking walls, framing happens now. Then contractors complete rough-ins for electrical, plumbing, and gas lines. This includes:
- Running new plumbing lines for the sink and dishwasher
- Installing electrical outlets, lighting circuits, and appliance wiring
- Adjusting HVAC vents and ductwork if necessary
Once the rough-in stage is complete, inspections are scheduled to ensure all work meets code before closing up the walls.
6 | Drywall, Insulation, and Subfloor Prep
After inspections are approved, your contractor will install insulation (especially in exterior walls), then hang and finish the drywall. At the same time, they’ll inspect the subfloor for damage and prep it for new flooring.
Drywall creates the backdrop for the kitchen’s visual transformation, while subfloor prep ensures a smooth surface for tile, vinyl, or hardwood installation.
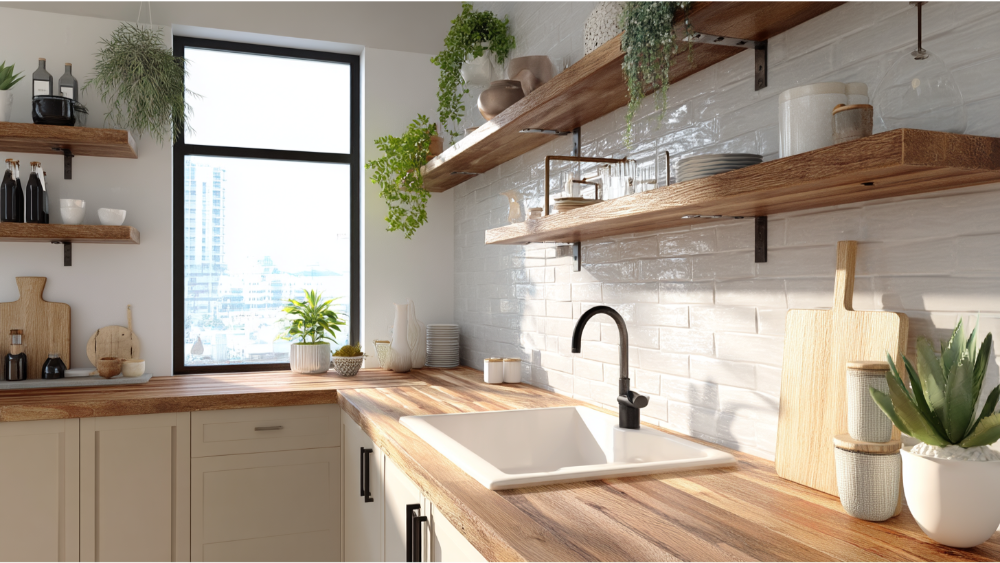
7 | Painting and Flooring
Now your kitchen begins to look like a room again. Painters prime and apply your selected wall and ceiling colors. Then flooring is installed. The decision to install new flooring before or after cabinets depends on your materials and layout.
Whether you choose tile, engineered hardwood, or luxury vinyl plank, professional flooring installation ensures durability and a level surface for the rest of the build.
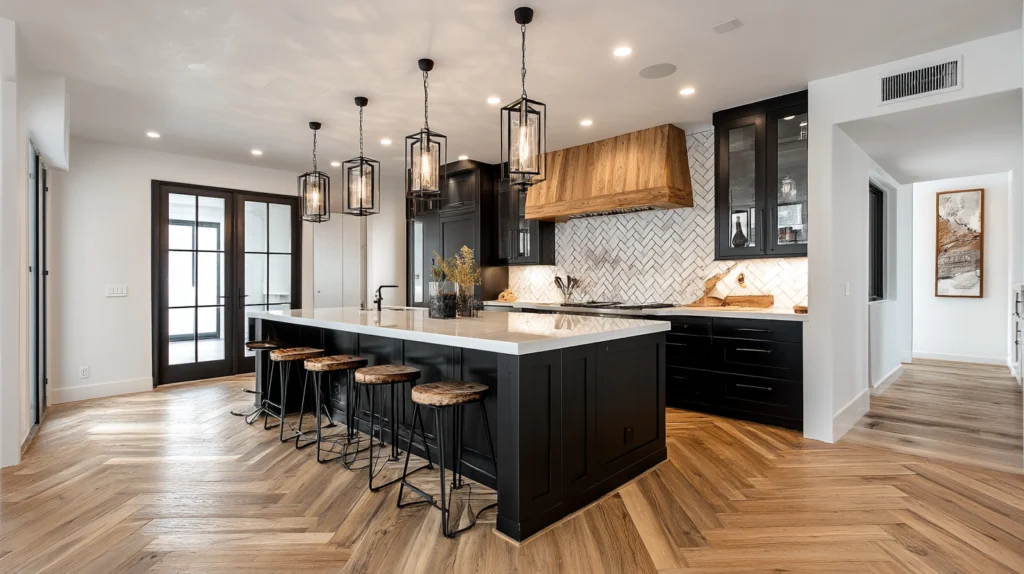
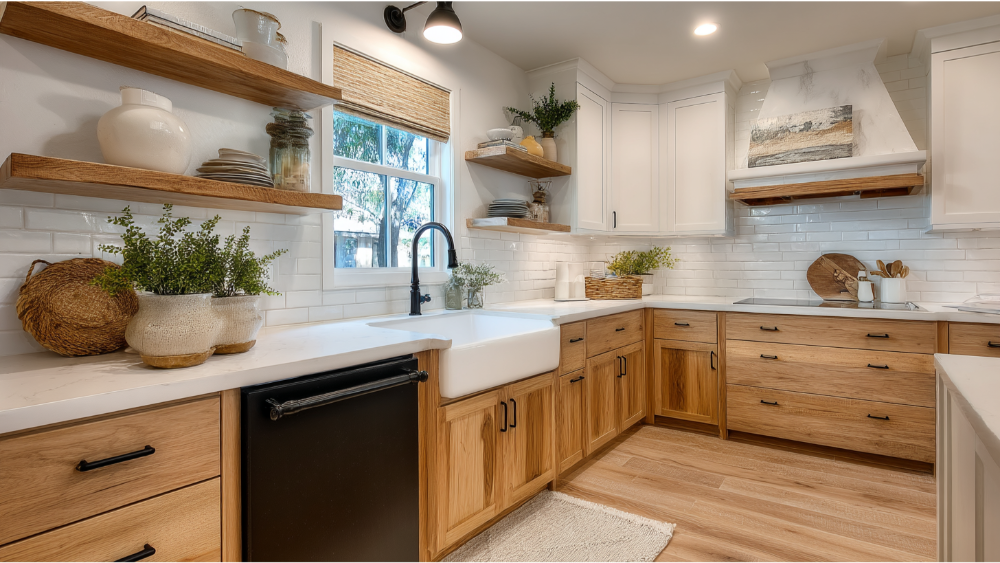
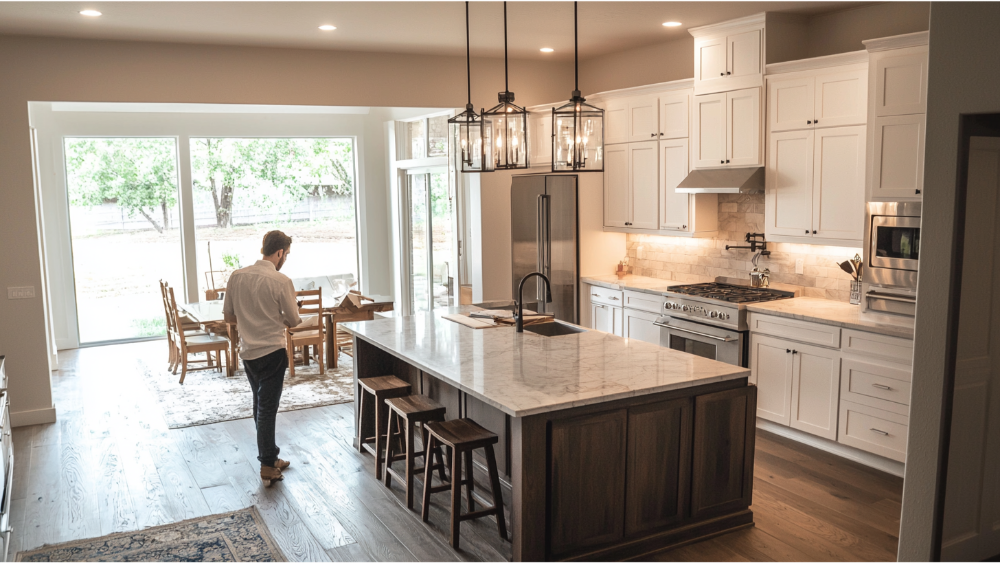
8 | Cabinet Installation and Countertop Prep
Cabinet installation is one of the most exciting milestones in a kitchen remodel. Once your new cabinets are in place, you can begin visualizing how the space will function day-to-day. After this, your contractor will template for countertops. This step ensures exact dimensions for cutting and fabricating the slab.
Installing countertops typically takes one to two weeks after templating. During this time, final plumbing fixtures are also selected and coordinated.
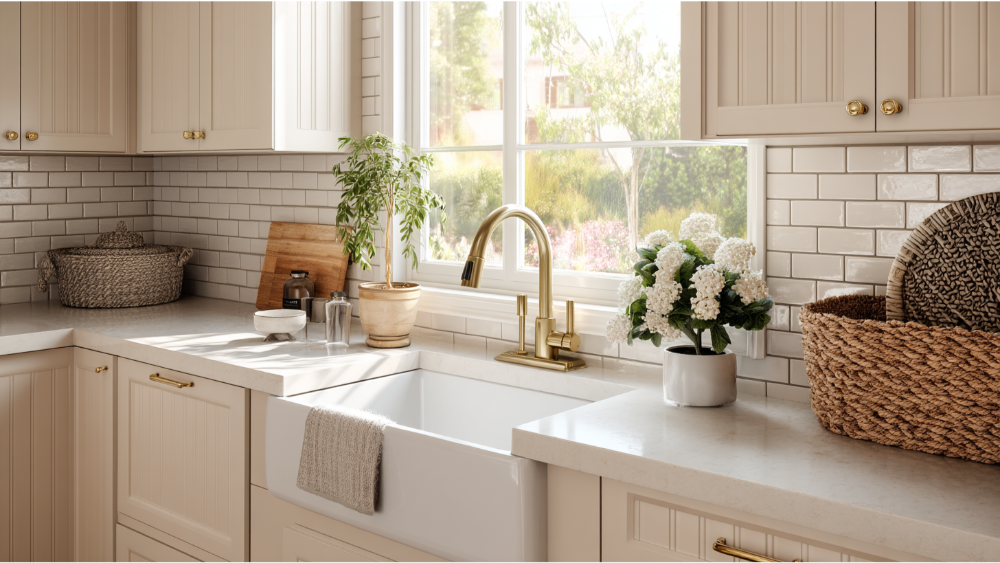
9 | Installing Appliances, Fixtures, and Lighting
At this stage, your kitchen becomes fully functional. Contractors complete appliance installation, including the refrigerator, oven, dishwasher, and microwave. Plumbing fixtures like sinks, faucets, and disposals are installed and tested. Electricians handle final lighting and switch placement.
If you’re upgrading to smart technology, this is when your new appliances are connected and synced.
10 | Finishing Touches and Cleanup
Once the major components are installed, it’s time for the final touches. The backsplash goes up, trim and moldings are added, cabinet hardware is attached, and minor paint touchups are completed.
A final professional cleaning ensures your new space is move-in ready. This stage is all about creating polish and function before the big reveal.
11 | Final Walkthrough and Project Wrap-Up
Before your contractor closes out the renovation, you’ll walk through the kitchen together to complete a punch list. Any small issues or adjustments, like a sticking drawer or crooked outlet, are handled before handoff. You’ll also receive warranty information, appliance manuals, and care tips for new countertops and flooring.
This last step ensures everything meets your expectations and confirms that your project stays aligned with your original vision.
Timeline Overview: How Long Will It All Take?
The full kitchen renovation timeline varies depending on size, materials, and scope, but here’s a general guide:
- Planning and design: 2 to 4 weeks
- Ordering and permits: 2 to 6 weeks (often overlaps with design)
- Construction: 6 to 10 weeks
A complete kitchen remodel typically takes between 8 and 16 weeks. Delays can happen due to permit issues, backordered materials, or unexpected plumbing or electrical work. With expert construction management and careful coordination, most kitchen remodeling projects stay within schedule and budget.
Working with a Professional Kitchen Remodeling Company
Hiring a licensed general contractor makes a major kitchen remodel far less stressful. DIY projects often cost more in the long run due to mistakes, rework, and scheduling errors. An experienced remodeling company handles every phase, from permit requirements to appliance installation, so your renovation process is smooth and predictable.
At America’s Advantage Remodeling, our construction management team oversees the entire project, communicates clearly at each stage, and ensures your kitchen renovation is completed to the highest standards.
FAQs About Kitchen Remodeling Sequence
How long does each stage of a kitchen remodel typically take?
Each stage varies depending on the size and complexity of the project. Demolition may take 2–3 days, while cabinet installation and installing countertops can take 1–2 weeks. The total kitchen remodel timeline usually falls between 8 and 16 weeks.
Should I order materials before demolition begins?
Yes. To avoid delays, it’s important to order materials like cabinets, tile, and new appliances as early as possible. Long lead times are common for custom finishes.
What happens if I change my mind mid-project?
It depends on the phase. Changes during design are easy to adjust. Changes during construction can impact costs and timelines. Good planning minimizes the need for mid-project changes.
Can I live in my home during the remodel?
Yes, many homeowners live at home during a remodel. A temporary kitchen can help with day-to-day needs. Your contractor should work to keep the site clean and safe throughout the renovation.
Do I need permits for my kitchen remodel?
Most kitchen remodeling projects that involve plumbing, electrical, or structural work require permits. A licensed general contractor will handle all permit requirements on your behalf.
Kitchen Remodel Success Starts with the Right Process
The key to a successful kitchen remodel is following the right process from start to finish. With careful planning, experienced professionals, and a clearly defined kitchen remodel sequence, your dream kitchen is within reach.
We help you create a new kitchen that works for your life today and adds value for years to come. From the first step of design to the final walkthrough, our team is here to guide you through every detail.