Refinishing Kitchen Cabinets: The Ultimate Homeowner’s Guide to Cost, Process, and Design Trends

What Does Cabinet Refinishing Really Mean?
Refinishing kitchen cabinets is one of the smartest ways to give your kitchen a completely new look, without the expense and disruption of a full remodel. But what exactly does refinishing involve?
Refinishing vs Refacing vs Replacing: Know the Difference
It’s easy to confuse these three remodeling options, but they’re very different in scope and price.
- Refinishing involves removing the old finish from the cabinet boxes and cabinet doors and drawer fronts, prepping the surfaces including smoothing edges, and applying a new stain, paint, or protective coating. This stripping process is done carefully to preserve the wood beneath.
- Refacing replaces cabinet doors and drawer fronts and applies a veneer to the external visible surfaces of boxes, while the underlying cabinet boxes remain in place.
- Replacing means removing the existing finish, cabinet boxes, doors, drawers and installing entirely new cabinetry. For homeowners who like the layout of their kitchen cabinets and whose cabinet boxes are in good shape, refinishing is a smart, cost‑effective option.
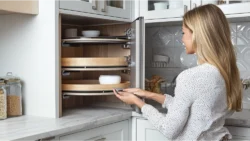
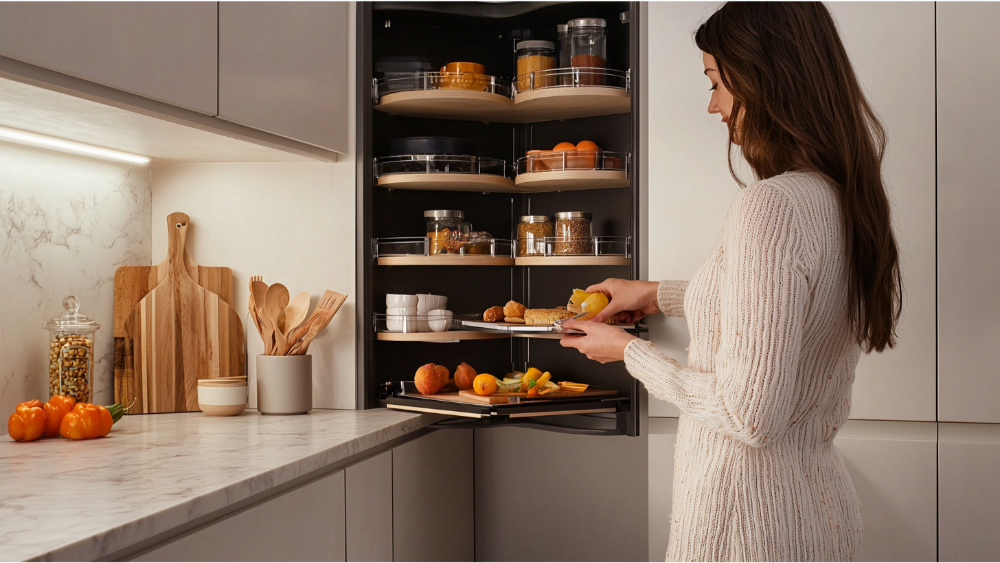
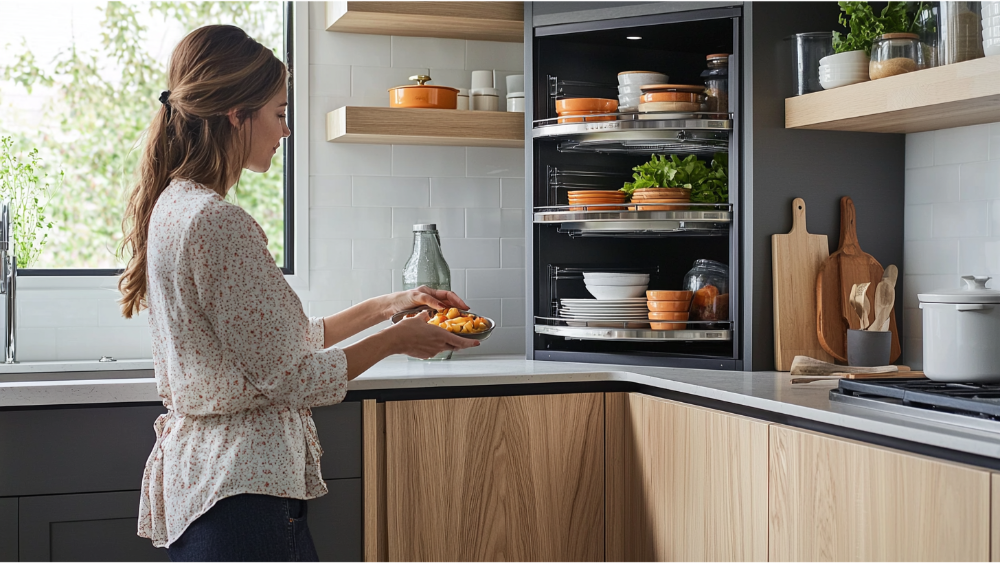
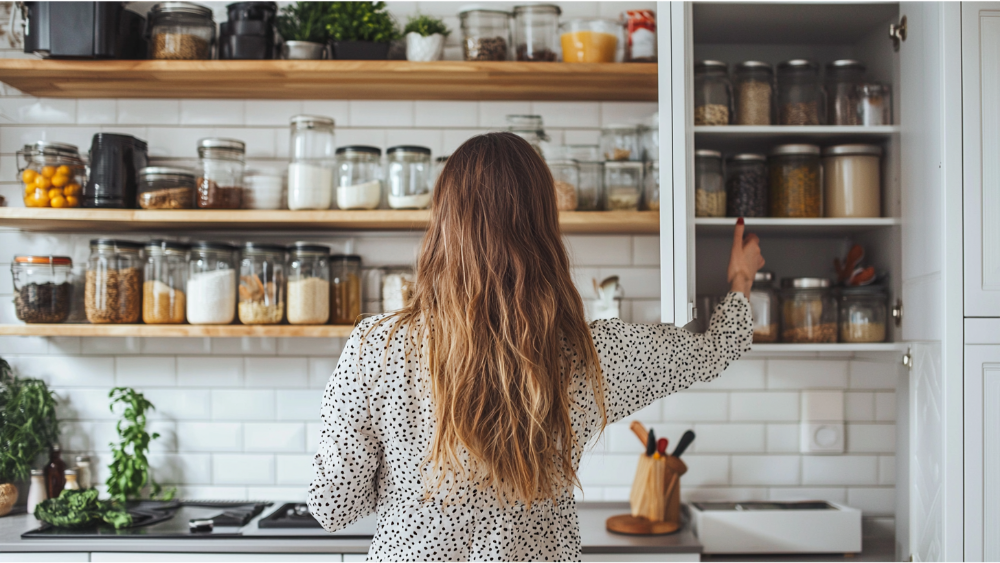
Wood Cabinets: When Is Cabinet Refinishing the Best Option?
Cabinet refinishing is ideal if:
- Your old cabinets are structurally sound, the cabinet boxes and doors and drawers function well, and you’re just unhappy with the finish or style.
- You want a fast, budget‑friendly kitchen update rather than full replacement.
- You’re preparing your house for sale and need a cosmetic upgrade to the kitchen or even the bathroom without full replacement.
- You prefer to preserve the cabinet boxes and avoid the mess/disruption of full installation or refacing.
If your cabinetry is warped, water‑damaged, or the drawer fronts and door panels are failing, then replacing might be the better route. But for most homeowners in the Roseville and Sacramento area served by America’s Advantage Remodeling, refinishing offers the perfect balance of beauty and value.
How Much Does It Cost to Refinish Kitchen Cabinets in 2025?
National Average Cost (Updated for 2025)
As of 2025, the average cost to refinish kitchen cabinets nationwide is around $3,100, with most homeowners spending between $2,000 and $4,500, depending on the size of the kitchen, condition of the cabinets and choice of finish.
What Factors Impact Cabinet Refinishing Costs?
The final cost of your refinishing project depends on several key variables:
- The number of cabinet doors, drawers and visible surfaces that need refinishing.
- The condition of the existing finish and cabinet boxes: if sanding back to bare wood is required or major repairs are needed, costs go up.
- The type of finish you choose: paint, stain, glaze and protective coating each carry different material and labor cost.
- Whether you plan to keep original cabinet doors and drawer fronts or install new doors and drawer fronts.
- Local labor, scope of job (whether crown molding or custom cabinetry upgrades are involved), and the finish complexity. Because refinishing costs significantly less than refacing or replacing, it remains one of the most cost‑effective kitchen upgrades homeowners can pursue.
Cabinet Refinishing vs Refacing vs Replacement Cost Comparison
Here’s a comparison:
- Refinishing: ~$2,000–$4,500, project can be completed in a few days.
- Refacing: ~$4,000–$9,500, involves replacing doors/drawer fronts and veneer on boxes; moderate disruption.
- Replacement: $10,000+ easily, new cabinets, hardware, possible layout changes; longest timeline and most disruption. Refinishing wins when you’re looking for value, less mess, and a fresh look.
Cabinet Doors: Step‑by‑Step: What to Expect During the Cabinet Refinishing Process
Inspection and Cabinet Prep
The process starts with a detailed inspection of wood cabinets, cabinet boxes, cabinet doors, drawer fronts and hardware. We evaluate which surfaces are solid, which might need repairs, and discuss design/finish selections with you. Then the doors and drawers are removed, hardware is taken off, and all surfaces are cleaned and degreased to remove grease and grime, especially around areas like the stove where buildup is common.
During prep, we also protect cabinet interiors and surrounding areas using plastic sheeting to eliminate dust spread. Edges of doors and drawers are carefully filed and smoothed to ensure a flawless finish and to avoid rough spots that could cause peeling later.
Sanding, Cleaning, and Surface Repair
Next we sand the existing finish back to bare wood or adequately scuff the surface where painting will occur. We remove remaining dust particles, wipe with tack cloth, fill any dents, cracks or veneer issues, and smooth the surfaces to ensure a high‑quality finish. This prep is critical for lasting results and a smooth finish on your kitchen cabinets.
Applying the New Finish (Paint, Stain, or Glaze)
With prep complete, we apply the chosen finish. Options include stain on wood cabinets, paint on doors and boxes, glazing for added texture or contrast. For example, you might choose a rich stain on lower wood cabinets and a painted finish on upper cabinets for a custom look. The right coating is applied in multiple coats and allowed to cure properly.
We only use trusted brand materials to ensure durability and a professional appearance that lasts for years to come.
Dry Time, Topcoat, and Reassembly
After the finish is applied and cured, we add a protective top‑coat that safeguards surfaces from moisture, grease and everyday wear. Once dry, we reattach the doors, drawers, install hardware like pulls, knobs and hinges, adjust the alignment and ensure everything opens smoothly. Final cleaning removes any remaining dust particles and we ensure your kitchen is clean and functional.
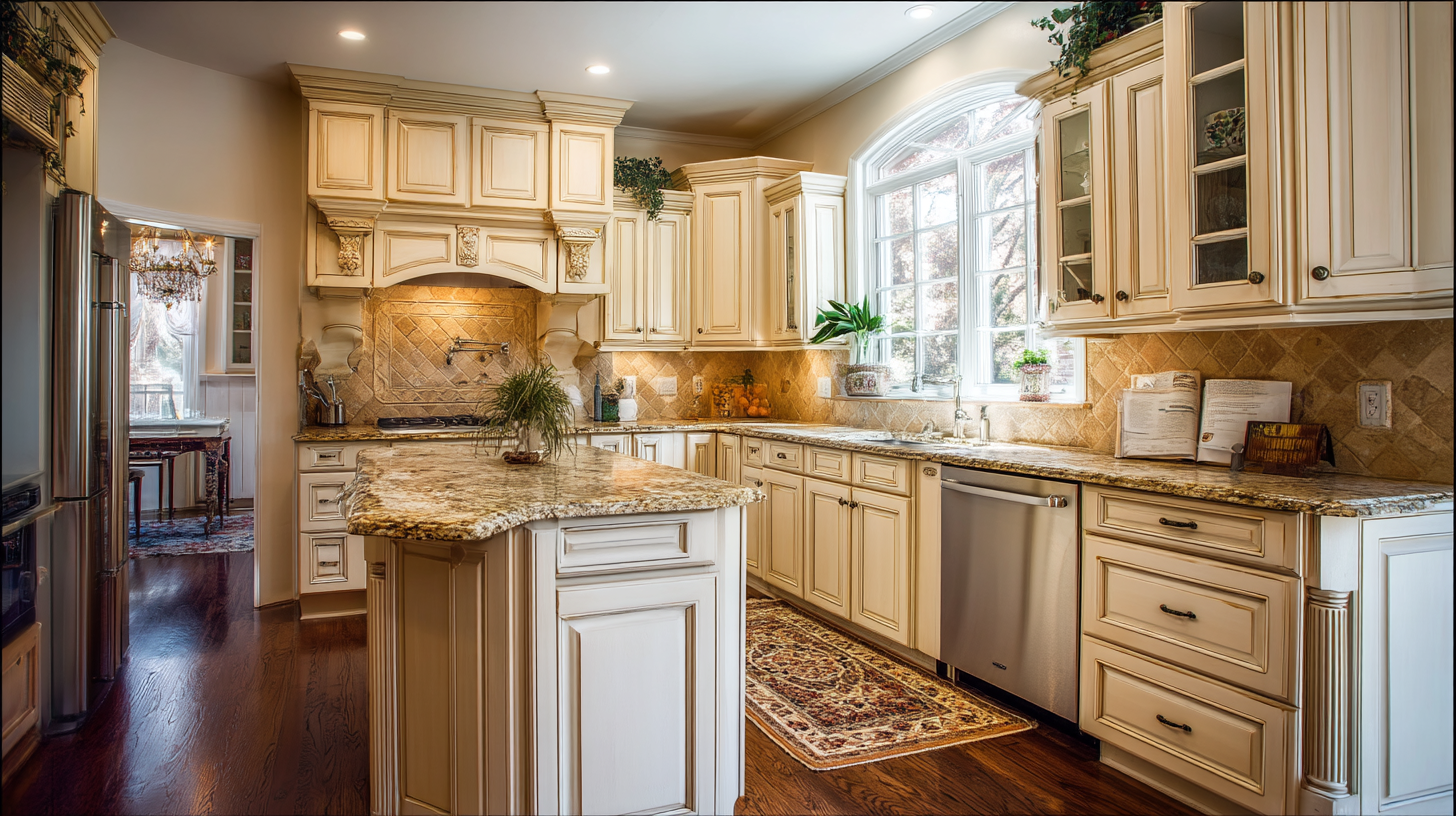
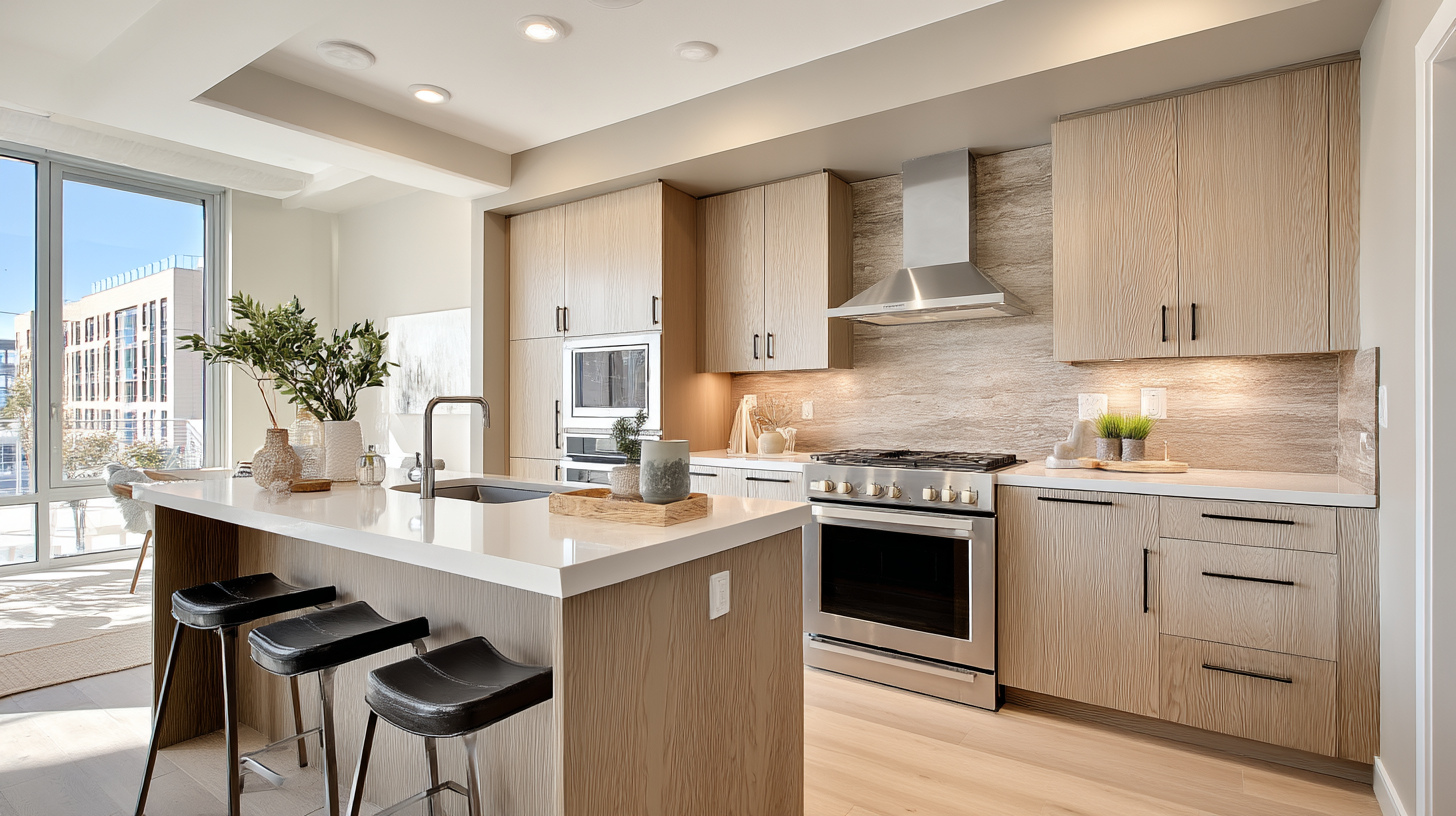
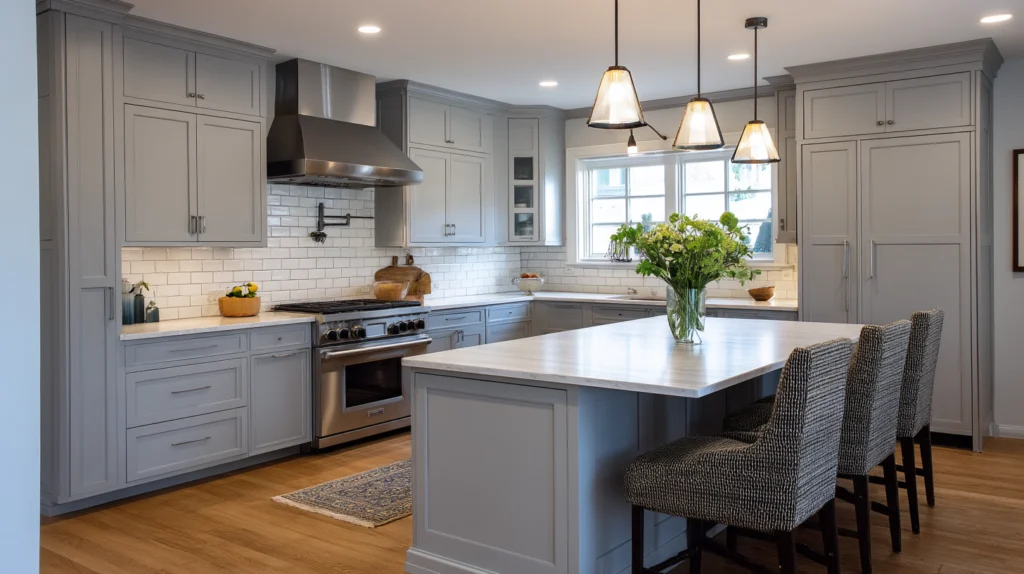
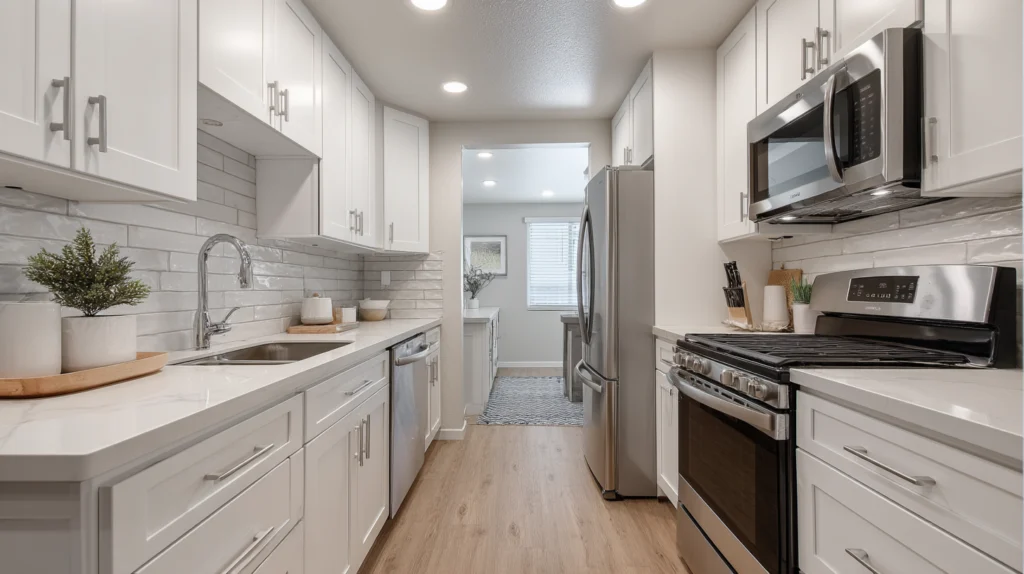
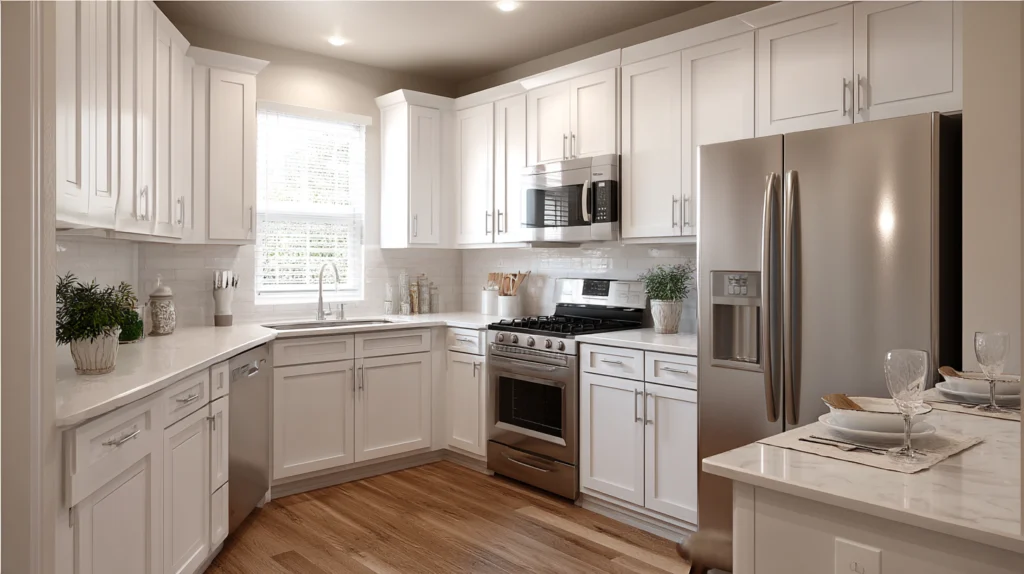
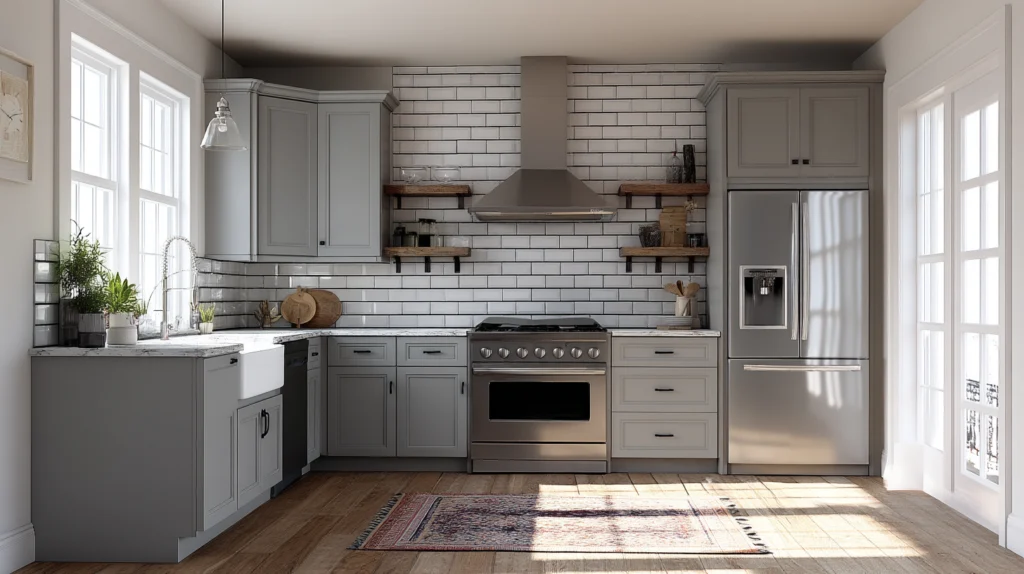
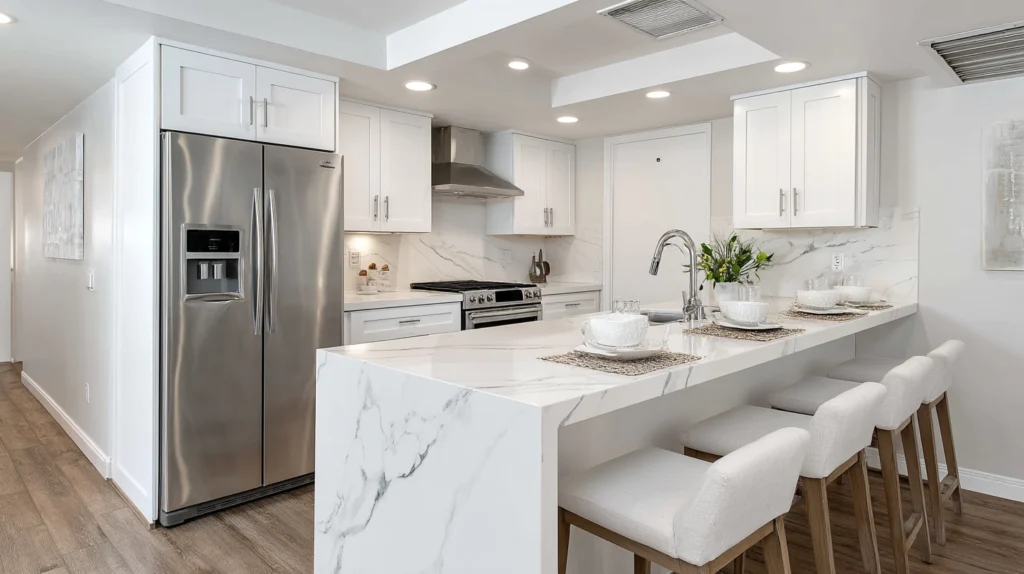
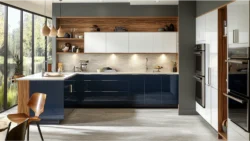
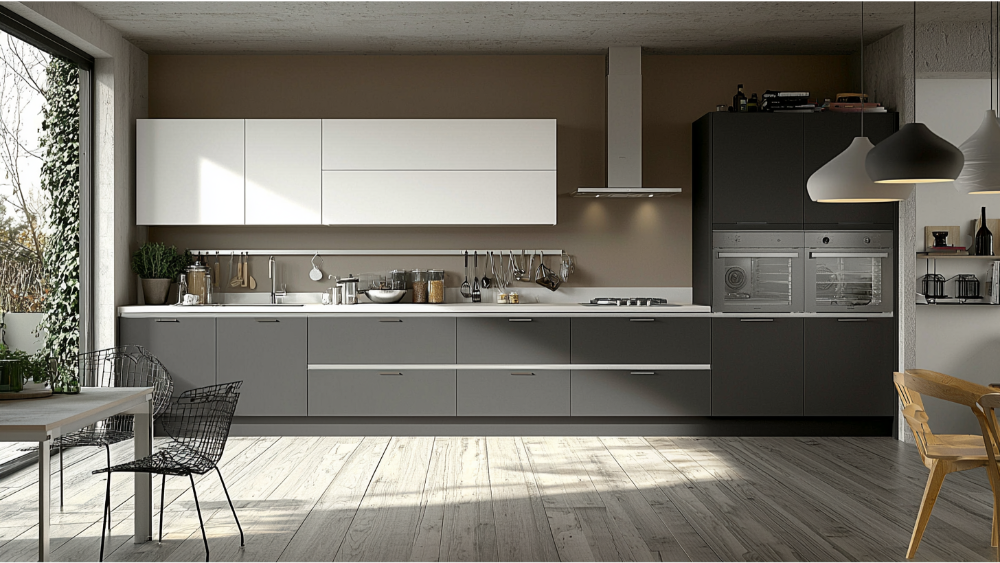
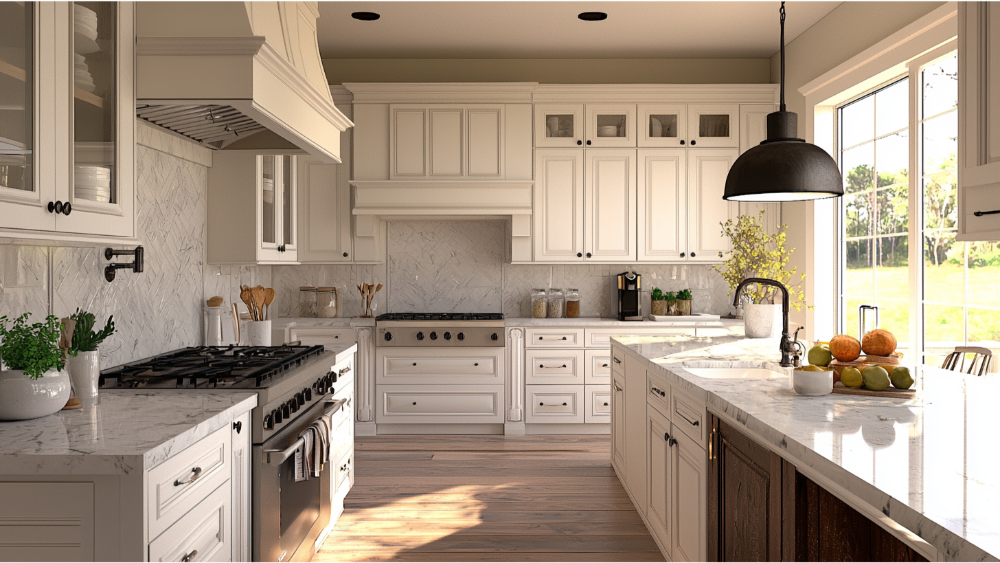
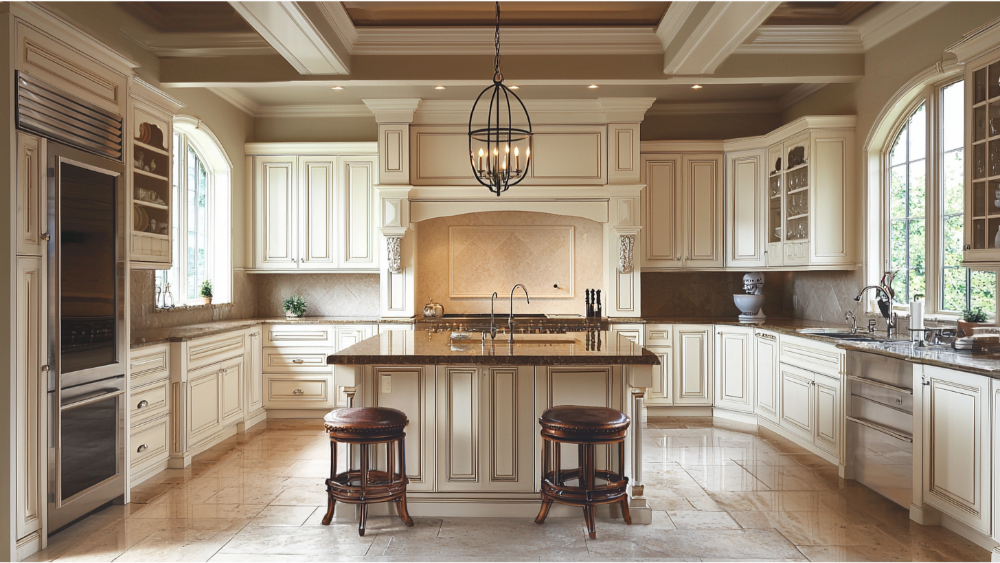
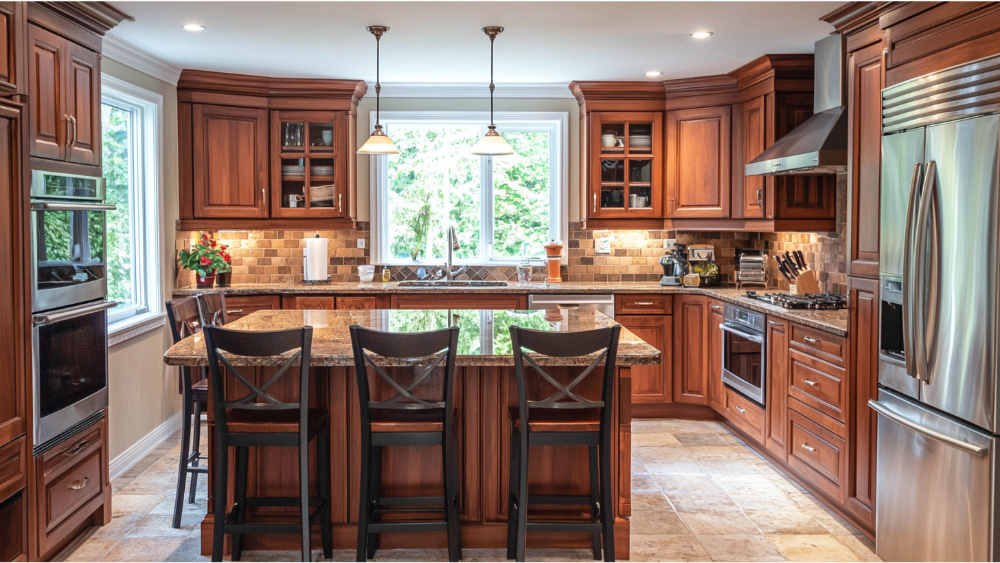
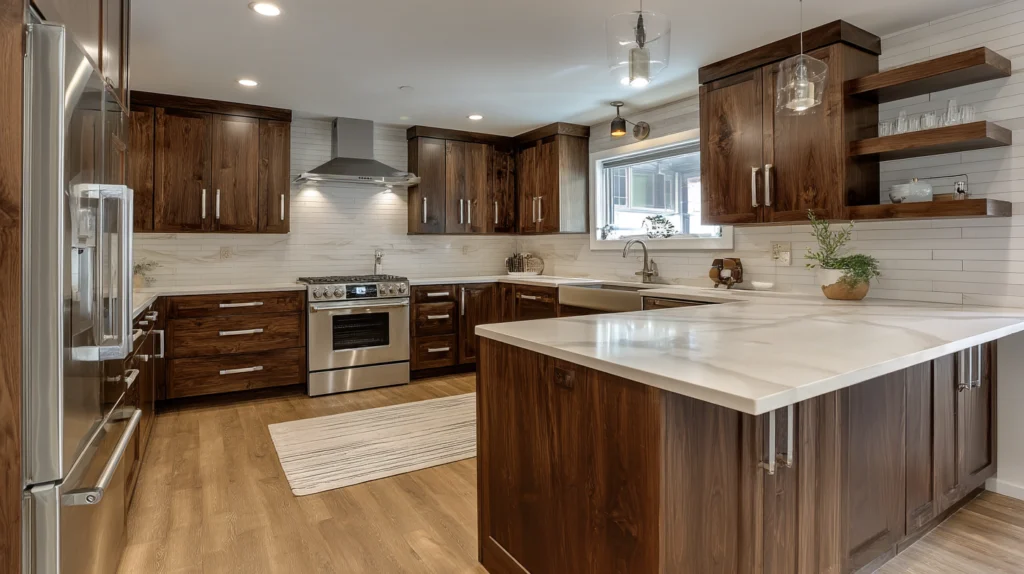
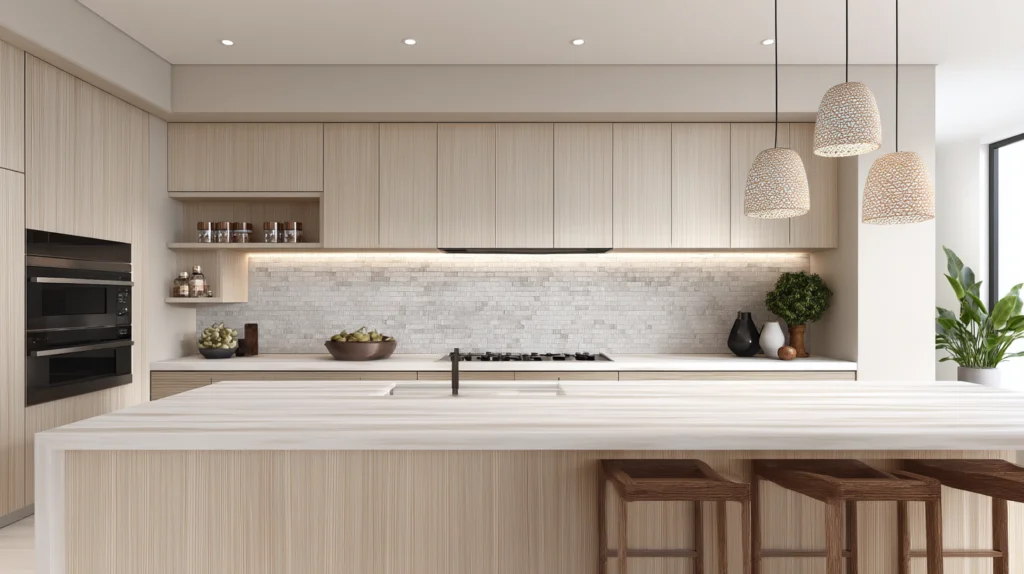
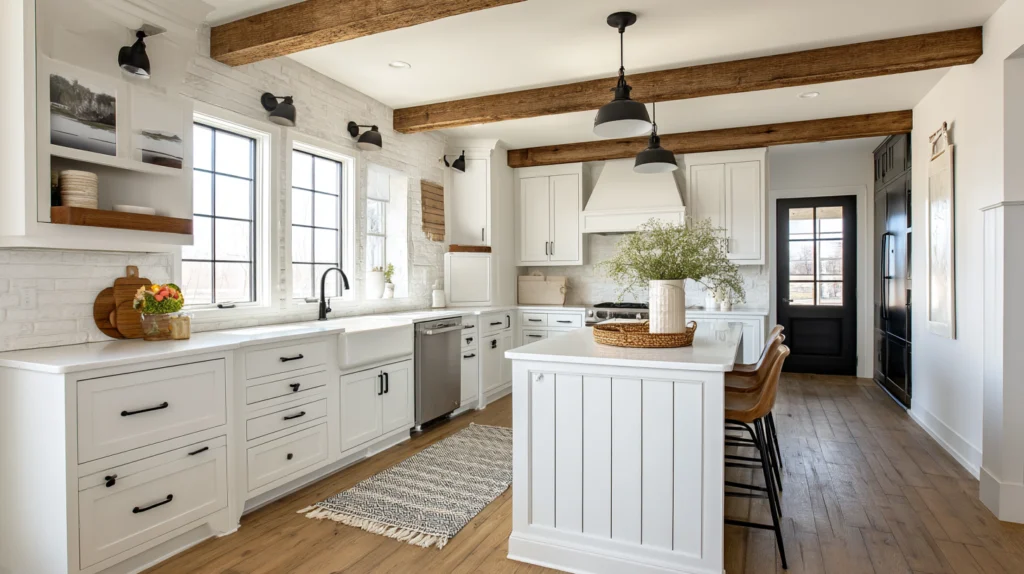
2025 Kitchen Cabinet Finish & Color Trends to Consider
Popular Cabinet Colors for 2025
Design trends for refinishing kitchen cabinets show:
- Earthy greens (sage, olive) and deep nature‑inspired hues.
- Matte black, charcoal and deep navy for dramatic, modern kitchens.
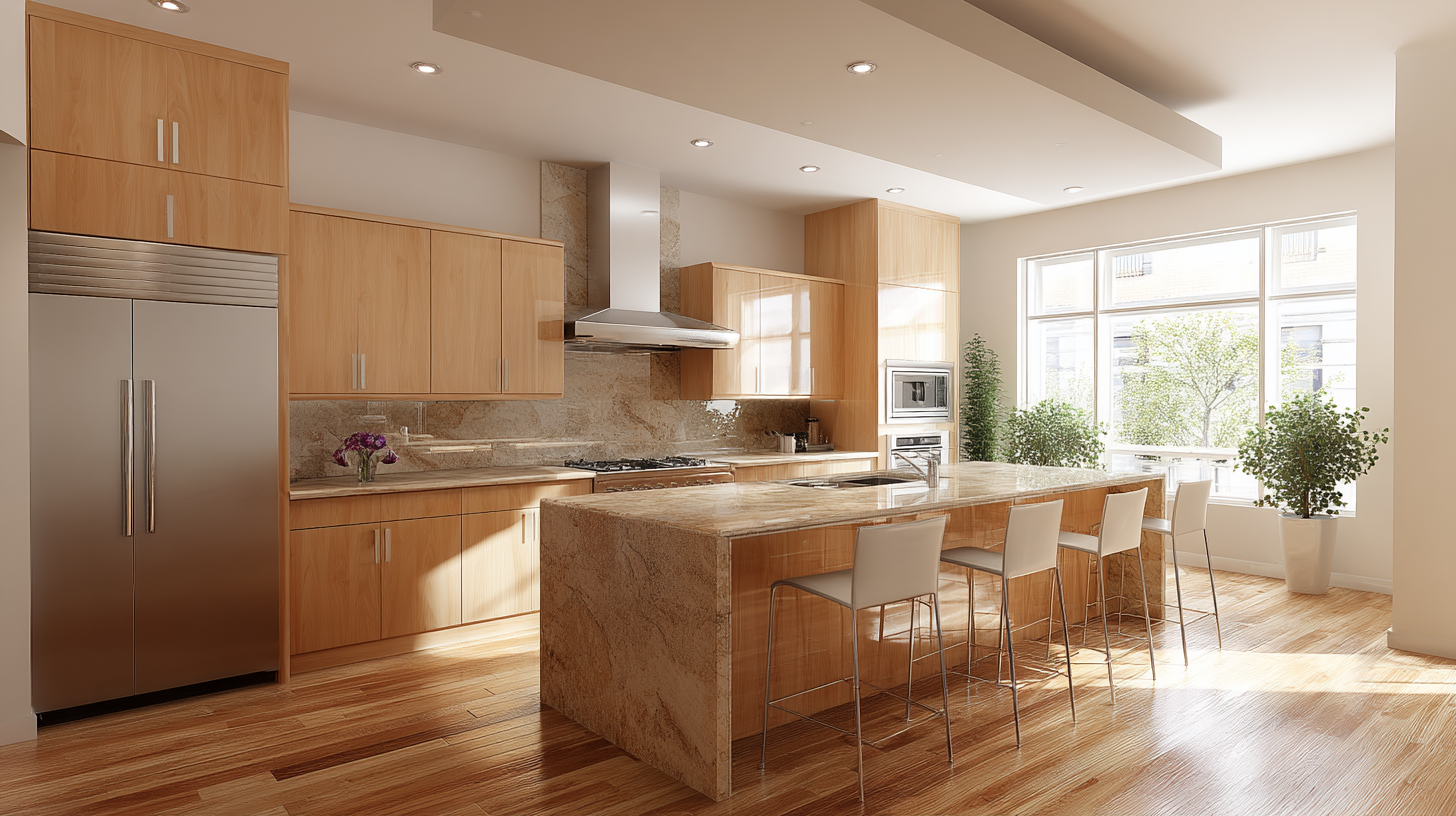
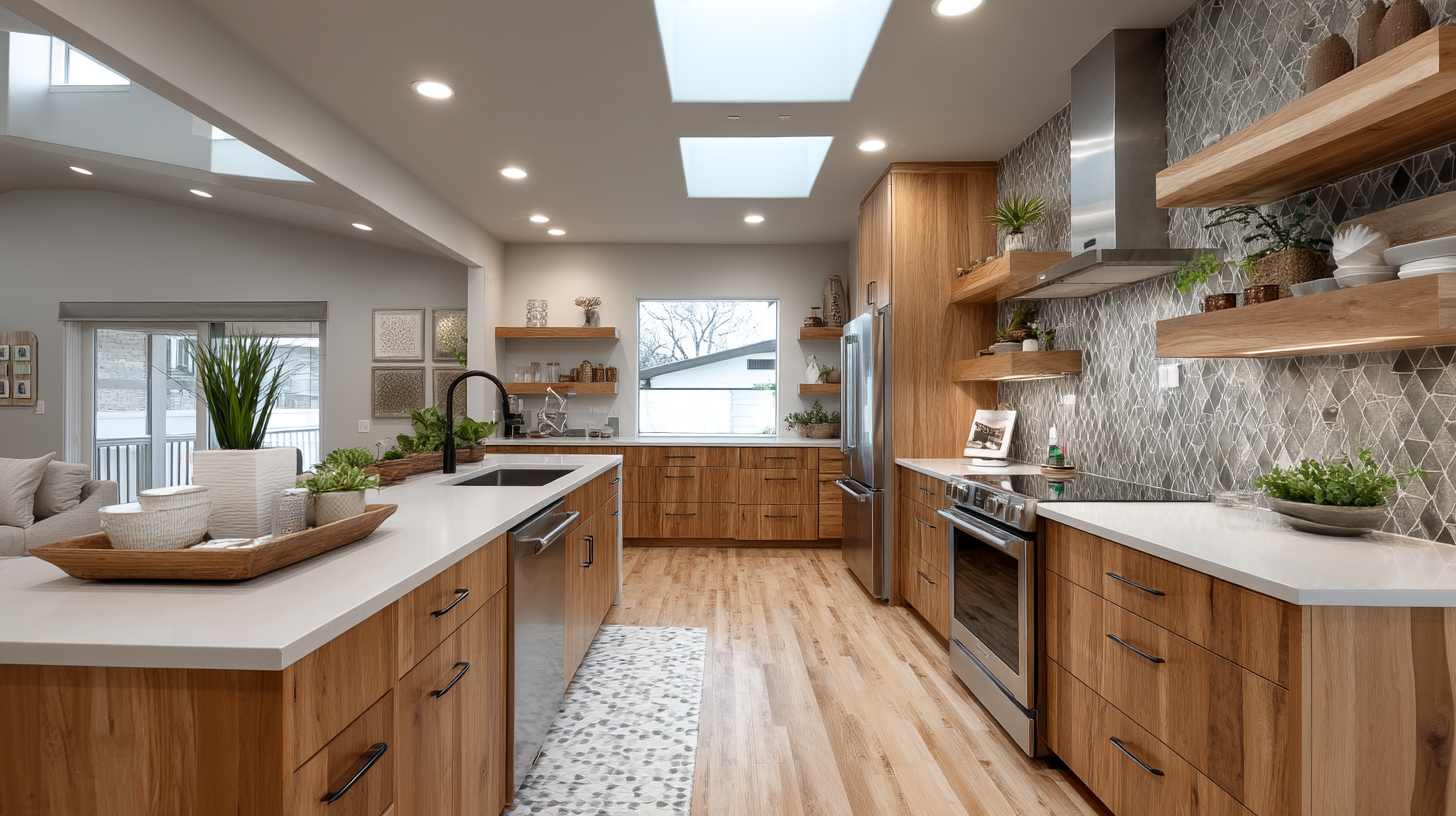
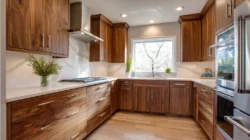
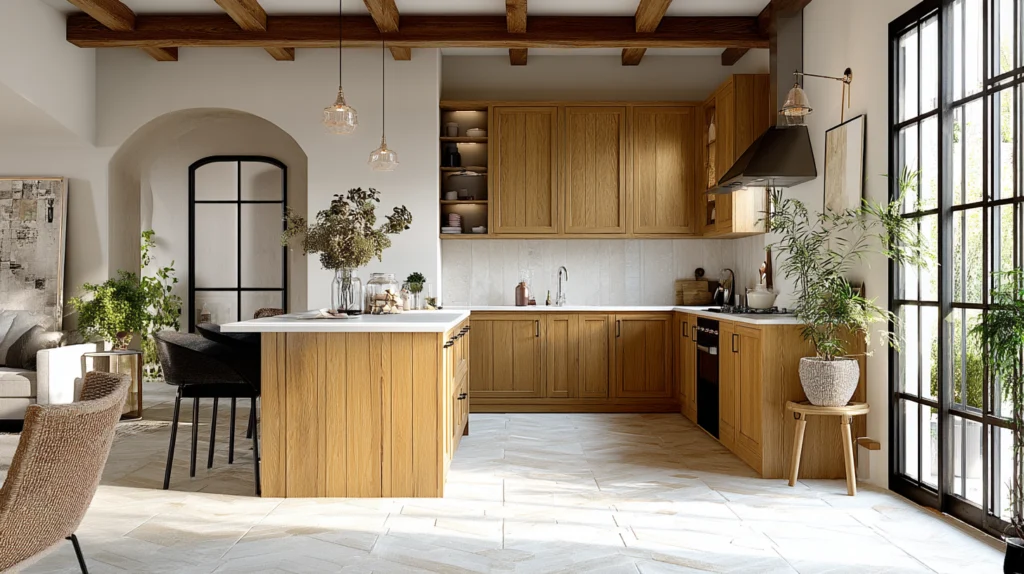
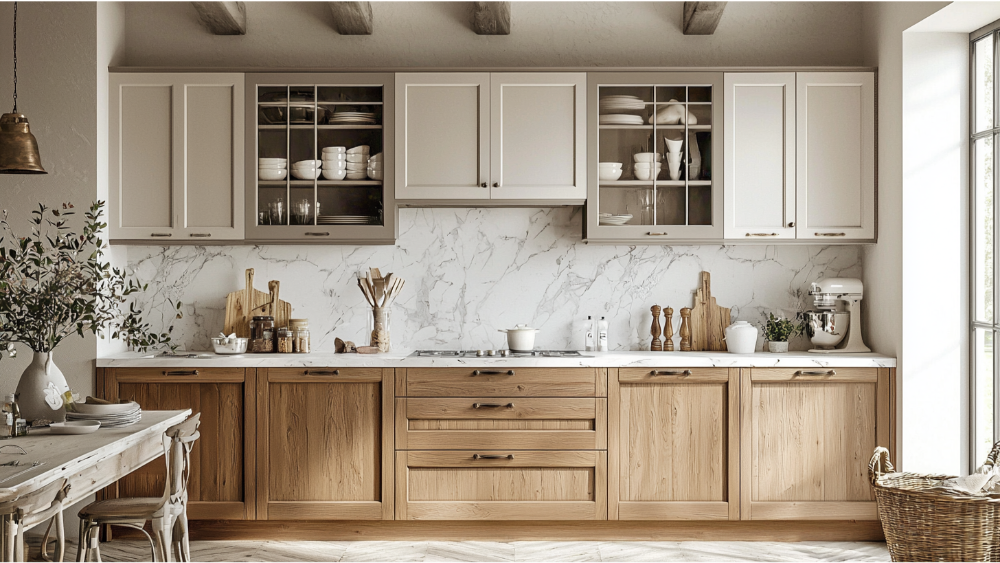
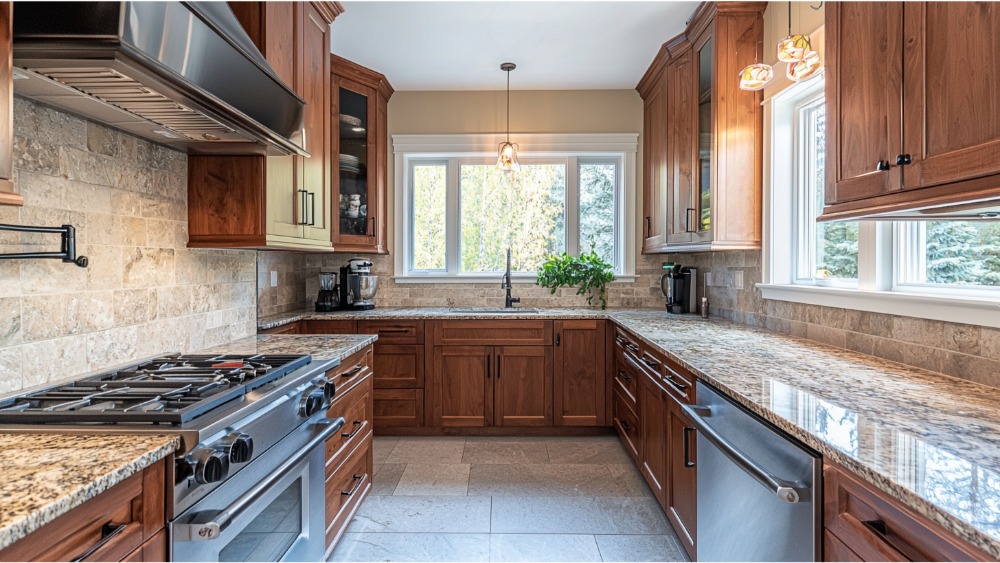
- Natural wood finishes with visible grain for warmth and texture.
- Creamy neutral tones like taupe and greige for timeless appeal. When you refinish your kitchen cabinets in the Roseville/Sacramento region, these trends help you update style while preserving value.
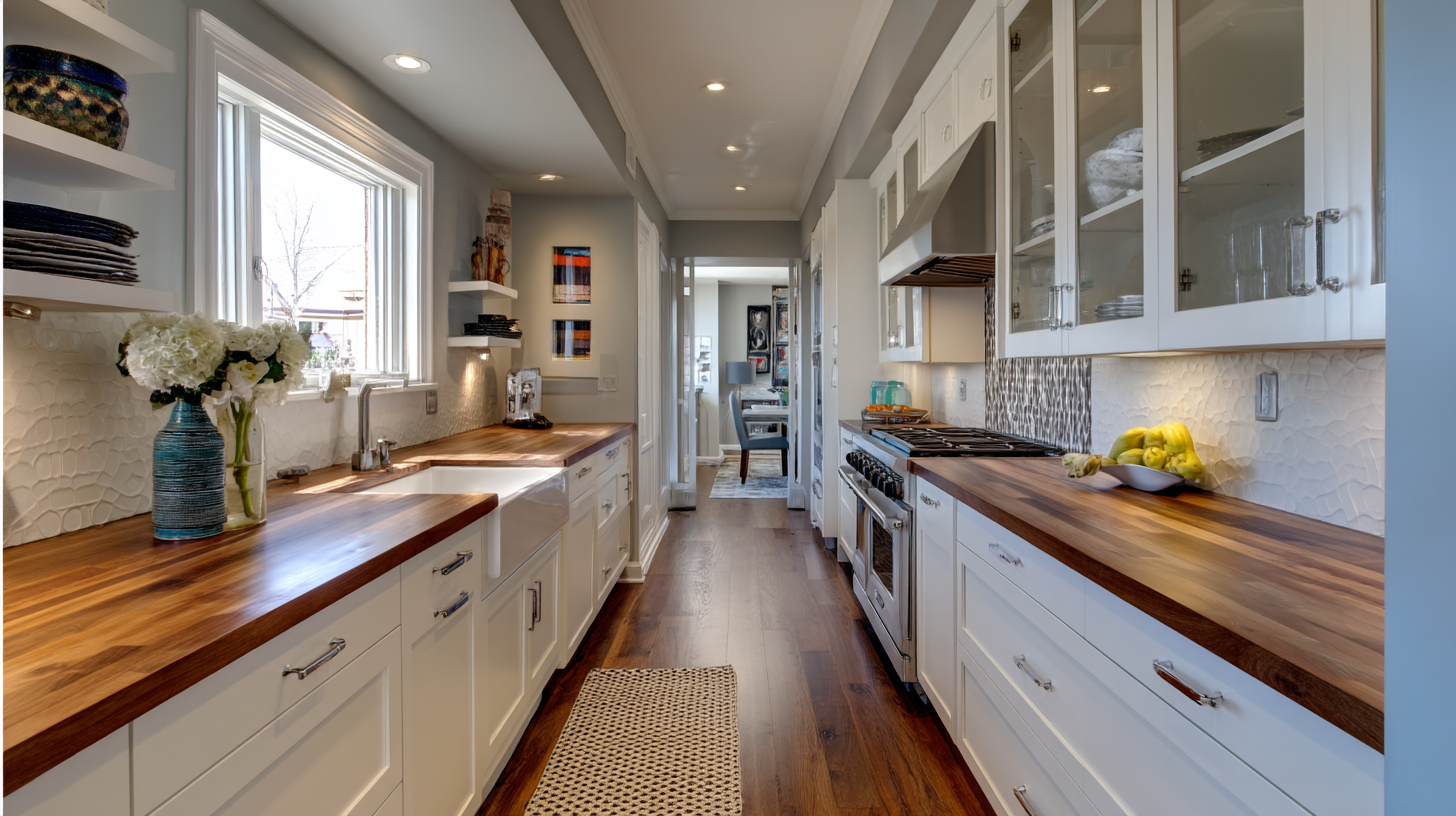
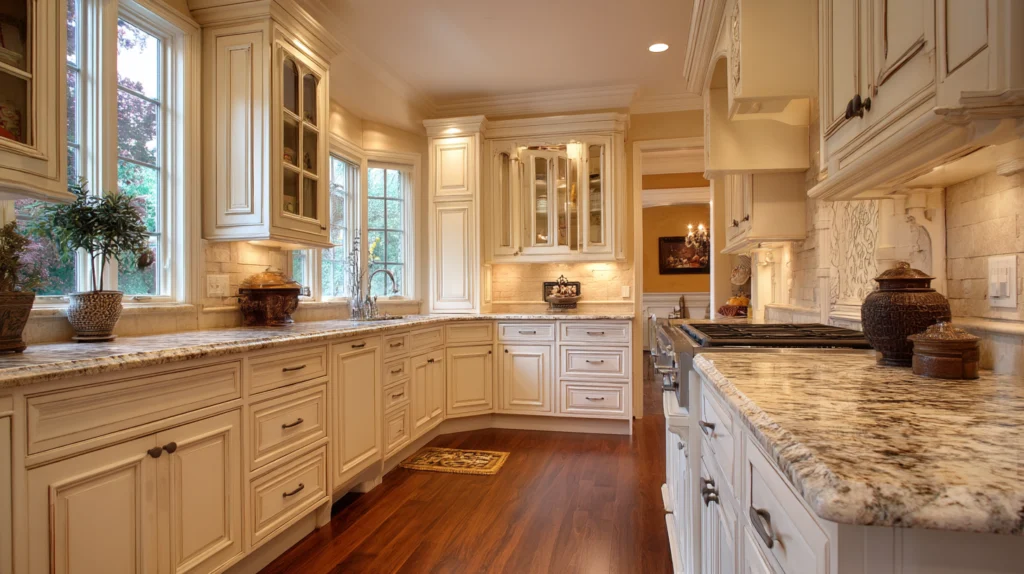
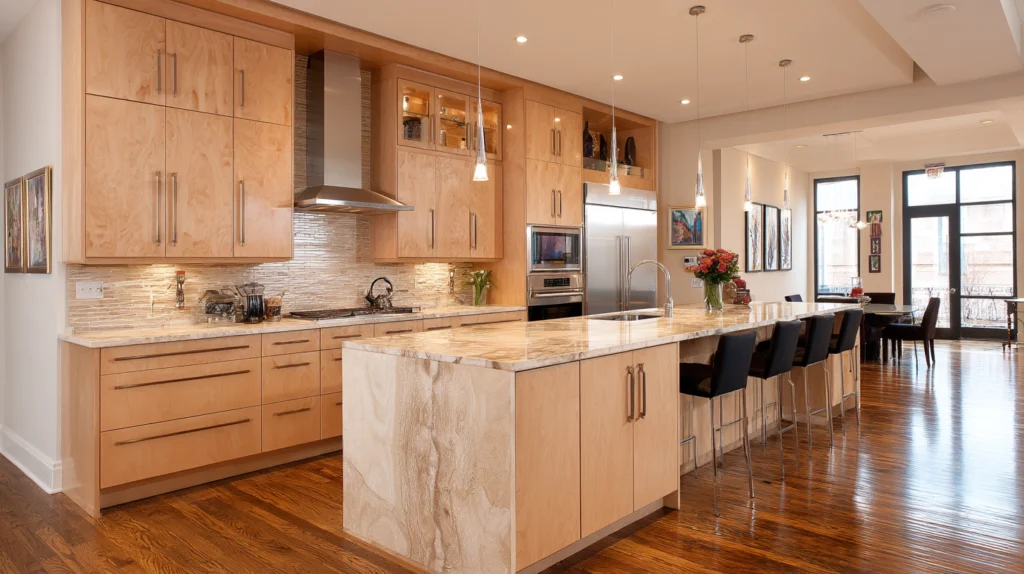
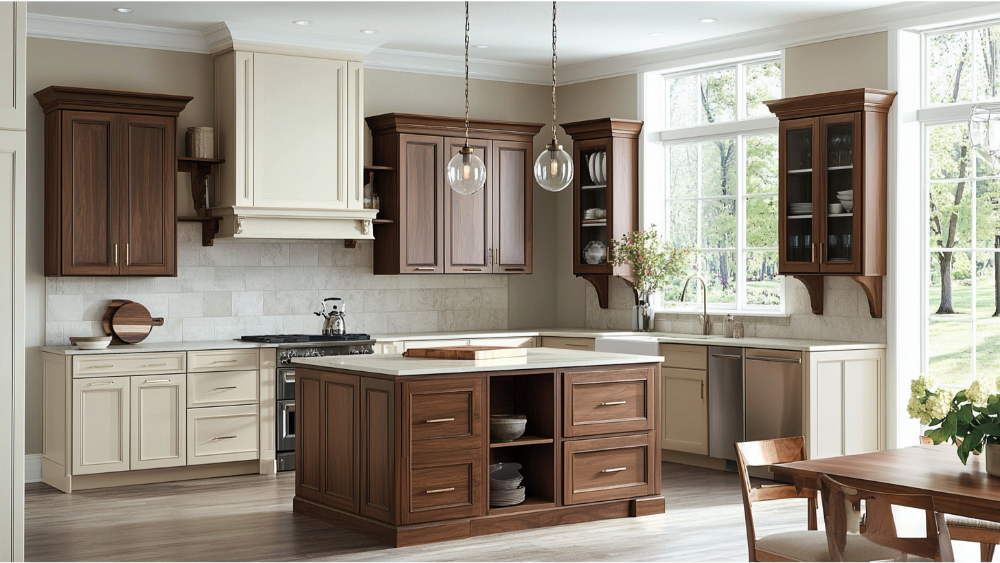
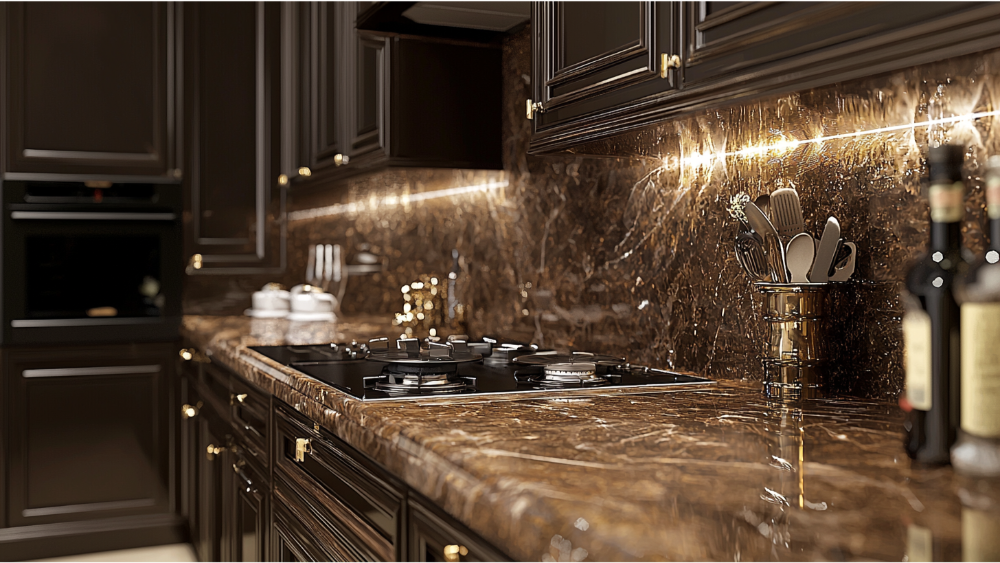
Stain vs Paint: Which Fits Your Style?
- Stain: Offers the natural look of wood cabinets, letting grain show, perfect for a warm, classic or transitional kitchen.
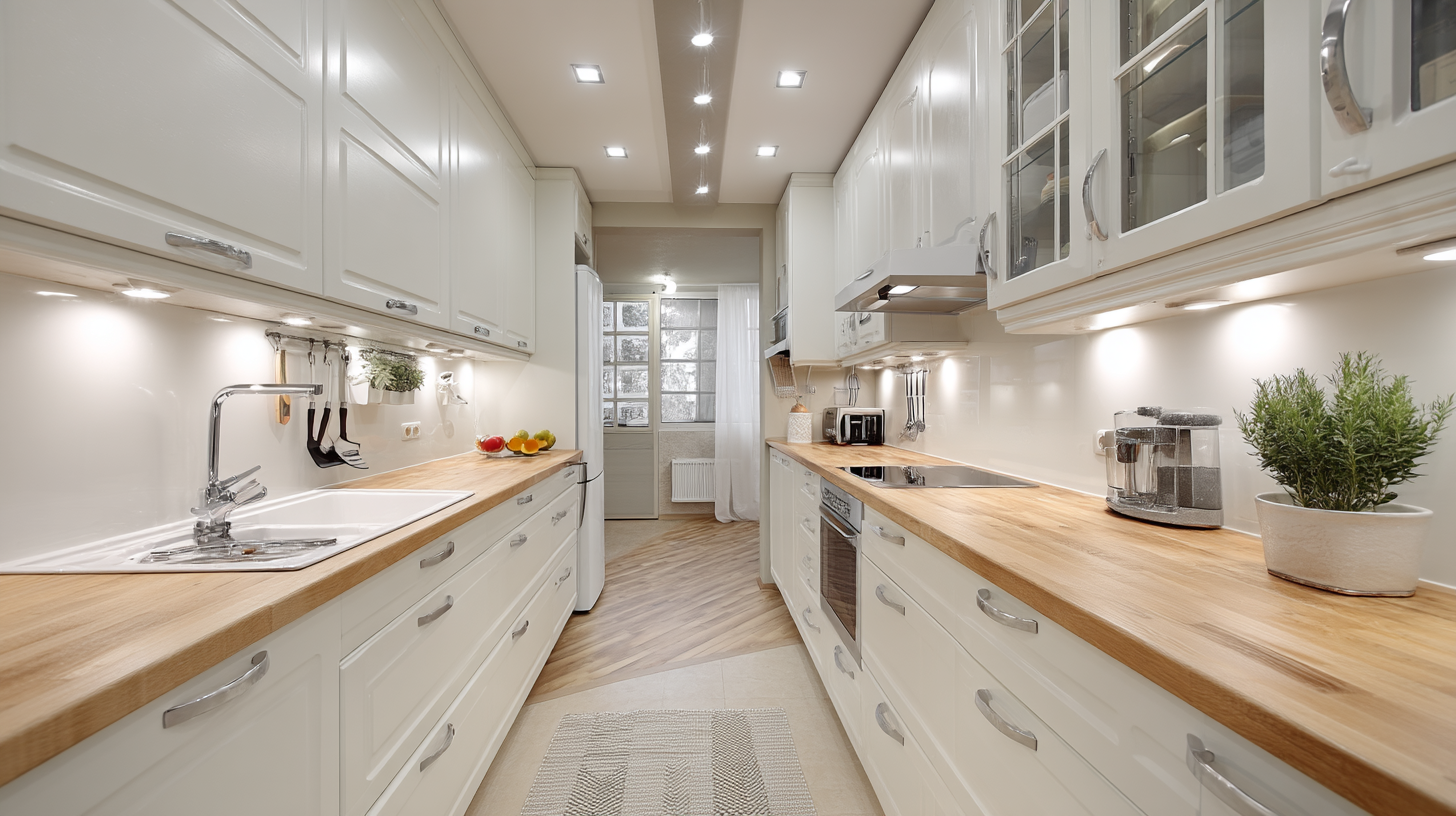
- Paint: Offers solid, uniform color on cabinet doors, drawer fronts and visible surfaces; great for contemporary or clean design.
- Glaze: Adds depth and accentuates details like crown molding or shaker style door panels; ideal if you want texture or contrast. Whether you’re refinishing wood cabinets or painting the boxes and doors, we guide you through selecting finishes that match your style and last.
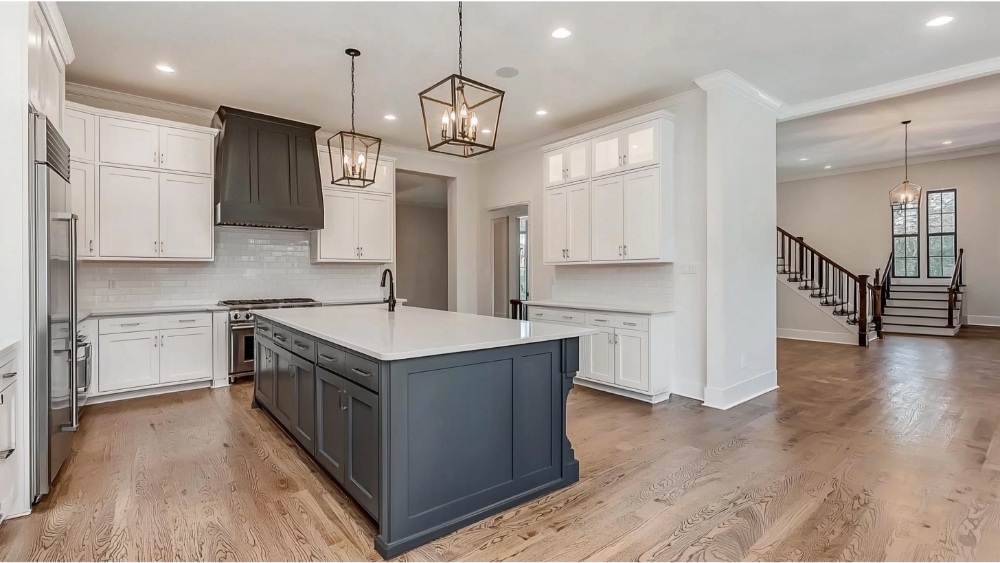
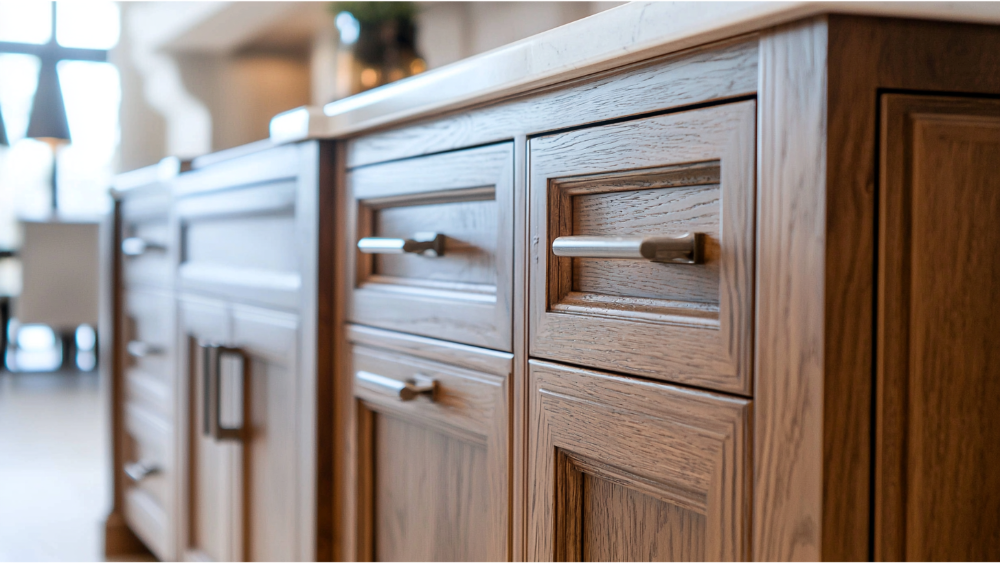
Adding Value with Modern Hardware and Accents
Updating hardware, hinges, knobs, pulls, can elevate the appearance of refinished kitchen cabinets. Pairing the new finish with modern hardware creates cohesion and modern style. Crown molding or custom trim accents on cabinet boxes add a luxury look without full replacement. These smaller upgrades contribute to both style and resale value.
Is DIY Cabinet Refinishing Worth It — Or Should You Hire a Pro?
Pros and Cons of DIY Refinishing
DIY might look appealing for refinishing cabinets, but there’s more to it than meets the eye. Pros: Lower upfront cost, full control over materials and design. Cons: Time‑consuming, risk of mistakes such as uneven coating, chipped paint, poor adhesion, improper sanding, or issues with existing finish and hardware. If you’re refinishing cabinet boxes, doors and drawers yourself you’ll invest lots of time, tools and risk the quality. Watching videos online can help, but the process requires careful attention to detail.
Mistakes Homeowners Commonly Make
Common DIY pitfalls:
- Skipping proper sanding and cleaning, leaving grease or the old finish under the new coating.
- Using low‑quality paint or stain or skipping a proper top‑coat.
- Improper drying times allowing tacky surfaces or dust to stick.
- Not removing remaining dust particles or wiping with a tack cloth before coating.
- Overlooking hardware alignment, hinge placement or doors that don’t close properly after refinishing. Hiring a professional ensures these details are handled.
Why Professional Refinishing Offers Better, Longer‑Lasting Results
Our team at America’s Advantage Remodeling uses commercial‑grade coatings, proven process, high quality materials, and precision work to refinish your kitchen cabinets so they look fantastic and last. We have experience refinishing wood cabinets, door panels, drawer fronts, cabinet boxes, crown molding detail and ensure minimal disruption and mess in your home.
How Long Does Cabinet Refinishing Take?
Typical Timeline for a Mid‑Sized Kitchen
For a standard kitchen in the Roseville/Sacramento area, refinishing kitchen cabinets typically takes 3 to 5 business days, depending on size, scope and finish selection.
Factors That Can Speed Up or Delay the Process
- Extent of sanding and repairs needed on cabinet boxes or doors/drawers.
- The finish type: multi‑coat paint or glaze can require more dry time.
- Environmental conditions like humidity, temperature and ventilation, which affect drying.
- Custom details like new doors, drawer fronts or additional crown molding and trim.
- Accessibility and prepping of the kitchen space, clearing cabinets, protecting floors, counters, appliances and walls.
Tips to Minimize Disruption in Your Home
- Clear out contents of cabinets and drawers ahead of time.
- Arrange a temporary kitchen setup if you’re working while refinishing occurs.
- Choose a time when you can handle limited kitchen access for a few days.
- Trust a professional team that keeps workspaces clean and contained. Our approach maximizes value, minimizes mess and helps you return to a functional kitchen quickly.
Will Refinishing Your Cabinets Add Value to Your Home?
Return on Investment (ROI) for Refinishing vs Replacement
Refinishing kitchen cabinets is one of the highest return home improvement investments. Because the cabinet boxes remain and you’re refreshing visible surfaces and hardware, cost stays lower while visual impact is high. Many homeowners recover a significant percentage of cost when selling.
Appeal to Buyers: Updated Look Without a Full Remodel
When buyers walk into a kitchen with freshly refinished cabinets, modern finishes, clean paint or stain, updated hardware, they see a well‑maintained home. A high‑quality new finish on existing cabinets is often as appealing as new full‑replacement cabinets, but at far less disruption.
Cost‑Effective Upgrade Before Selling
If you’re planning to sell your home in the Roseville/Sacramento area, refinishing kitchen cabinets offers major style upgrade at a smart budget. It helps you market the kitchen as updated, improved and move‑in ready without requiring full cabinet replacement.
Cabinet Refinishing FAQs (2025 Edition)
How much does it cost to refinish kitchen cabinets in Roseville or Sacramento?
In the local area, refinishing kitchen cabinets usually ranges from approximately $2,000 to $5,000 depending on kitchen size, cabinet condition, finish type and whether you’ll replace doors/drawer fronts and hardware.
What’s the difference between refinishing and repainting my old cabinets?
Repainting often means painting over the existing finish without full sanding or prep. Refinishing includes proper prep: sanding, cleaning, removing the existing finish down to bare wood if needed, applying new stain or paint and a protective top‑coat.
Can I refinish laminate cabinets?
Laminate cabinets can be refinished sometimes, but they require specialized primers and coatings and may not achieve the same depth or durability as wood cabinets. We inspect the surfaces and advise whether refinishing or replacement is the best approach.
How long does refinishing last?
With professional materials and proper care, refinished kitchen cabinets can last 10 to 15 years or more before significant wear appears.
What finishes are most durable in high‑use kitchens?
Durable finishes include catalyzed conversion varnish and 2‑component polyurethane top‑coats, especially useful on cabinet doors, drawer fronts and visible surfaces in busy kitchens.
Is cabinet refinishing messy?
When done properly by a professional team the mess is minimal. We protect your countertops, floors, appliances, walls and take care of dust containment, cleanup and removal of remaining dust particles so your house stays clean and functional.
Why Choose America’s Advantage Remodeling for Your Cabinet Refinishing Project?
Trusted Craftsmanship & Transparent Pricing
Our company has built its reputation on honesty, precision and quality. We don’t cut corners, we deliver expert results and we price your project transparently so you know what you’re getting.
Design Guidance from Local Remodeling Experts
Serving the Roseville and Sacramento area, we understand local style, architecture and trends. Our team guides you through refinishing cabinet boxes, doors, drawers, hardware, paint or stain choices so your kitchen meets your needs and vision.
We Keep the Process Clean, On-Time, and On-Budget
We treat your house like it’s our own. We protect your floors, appliances, install drop cloths, contain dust, maintain access to your kitchen as much as possible, finish on schedule and keep your budget in check. We also ensure the site is clean and organized at the end of each day, so you can use your computer or watch videos without worry.
Cabinet Refinishing FAQs (2025 Edition)
How much does it cost to refinish kitchen cabinets in Roseville or Sacramento?
In the local area, refinishing kitchen cabinets usually ranges from approximately $2,000 to $5,000 depending on kitchen size, cabinet condition, finish type and whether you’ll replace doors/drawer fronts and hardware.
What’s the difference between refinishing and repainting my old cabinets?
Repainting often means painting over the existing finish without full sanding or prep. Refinishing includes proper prep: sanding, cleaning, removing the existing finish down to bare wood if needed, applying new stain or paint and a protective top‑coat.
Can I refinish laminate cabinets?
Laminate cabinets can be refinished sometimes, but they require specialized primers and coatings and may not achieve the same depth or durability as wood cabinets. We inspect the surfaces and advise whether refinishing or replacement is the best approach.
How long does refinishing last?
With professional materials and proper care, refinished kitchen cabinets can last 10 to 15 years or more before significant wear appears.
What finishes are most durable in high‑use kitchens?
Durable finishes include catalyzed conversion varnish and 2‑component polyurethane top‑coats, especially useful on cabinet doors, drawer fronts and visible surfaces in busy kitchens.
Is cabinet refinishing messy?
When done properly by a professional team the mess is minimal. We protect your countertops, floors, appliances, walls and take care of dust containment, cleanup and removal of remaining dust particles so your house stays clean and functional.
Final Thoughts: Is Cabinet Refinishing Right for Your Kitchen in 2025?
If your kitchen cabinets are structurally sound and you’re just unhappy with the finish, color or style, refinishing is an outstanding choice for a fast, cost‑effective upgrade with big visual impact in the Heart of Sacramento region. It’s fast, affordable and when executed by professionals like us it leads to dramatic results. Ready to breathe new life into your kitchen cabinets? Contact America’s Advantage Remodeling today for a free in‑home consultation and let’s transform your kitchen with a fresh finish, modern style and lasting value.