Kitchen Cabinet Refacing vs Replacement Cost
What’s More Cost-Effective in 2026?
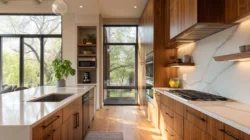
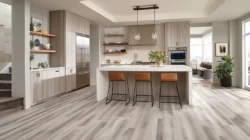
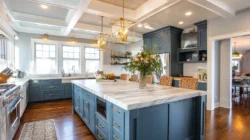
When homeowners start planning a kitchen upgrade, one of the most common and important decisions they face is kitchen cabinet refacing vs replacement cost. Cabinets play a major role in both kitchen functionality and overall kitchen’s appearance, and the path you choose can significantly affect your total project cost. Some homeowners want a full remodel with brand new cabinets, while others are looking for a cost effective solution that refreshes the space without overspending. Understanding cabinet refacing, cabinet replacement, and how each option impacts budget, timeline, and long-term value is essential before moving forward.
This guide breaks down cabinet refacing vs replacement in detail, explaining costs, benefits, and ideal use cases so you can choose the option that best fits your goals, your existing layout, and your budget.
Understanding the Basics: What’s the Difference?
Understanding Cabinet Refacing
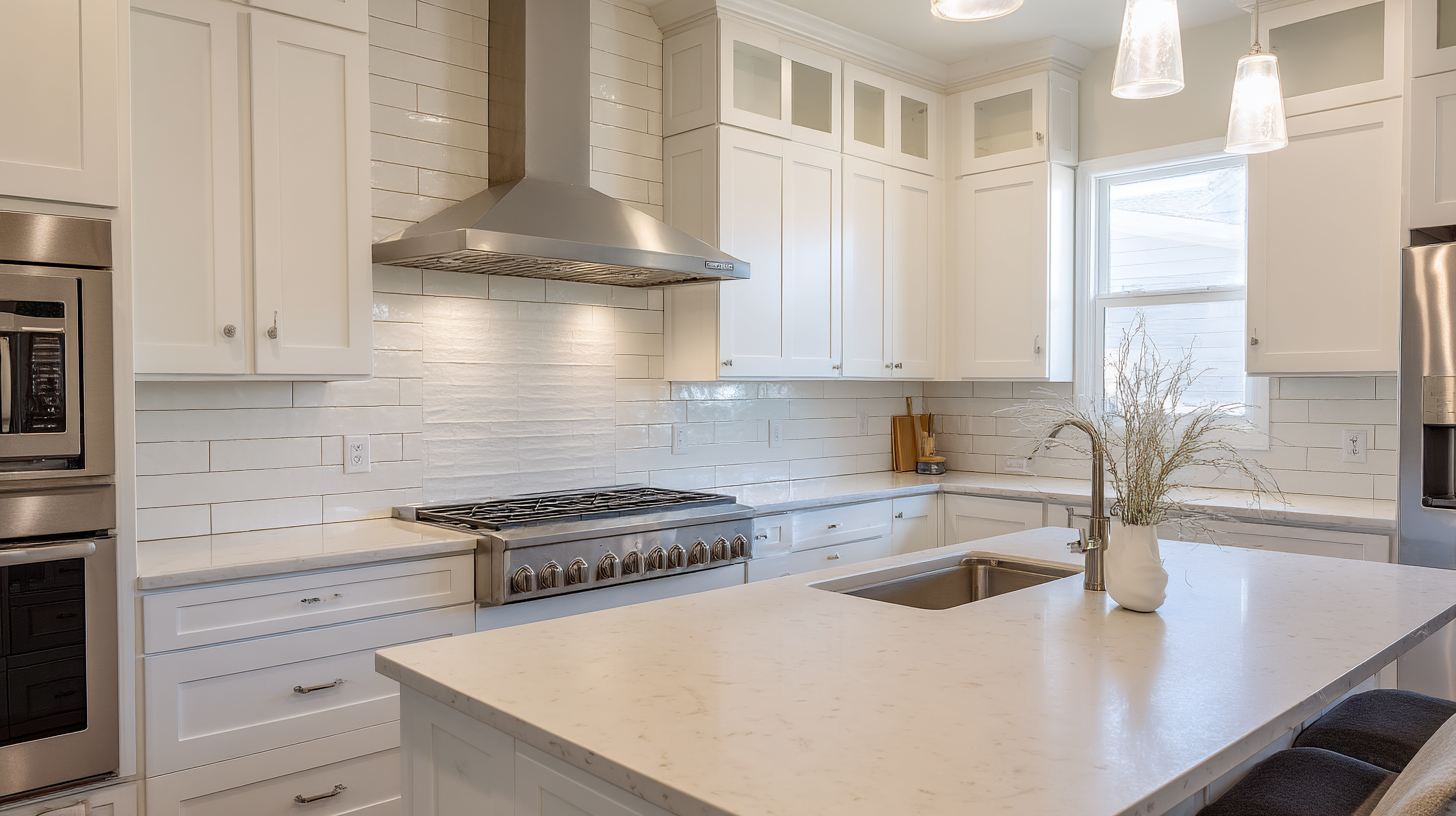
Understanding cabinet refacing starts with knowing what stays and what changes. Cabinet refacing is a kitchen upgrade that focuses on updating the visible surfaces of your cabinets while keeping the existing cabinet boxes intact. Instead of tearing everything out, refacing cabinets involves replacing cabinet doors, drawer fronts, and applying a new surface finish, such as wood veneer or laminate, to the existing cabinet boxes. Hardware is often updated as well, including hinges, pulls, and internal hardware.
In most refacing kitchen cabinets projects, the existing cabinet boxes must be structurally sound and in good shape. If the boxes intact condition is confirmed, refacing cabinets can deliver a dramatic kitchen makeover without the disruption of a full remodel. Many homeowners are surprised that refacing cabinets involves replacing doors and drawer fronts while preserving the core structure of the cabinets.
What Is Cabinet Replacement?
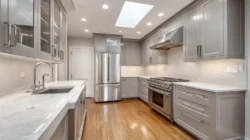
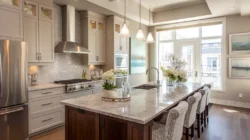
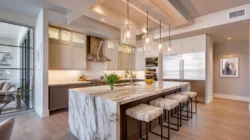
Cabinet replacement is a more extensive approach. With cabinet replacement, the existing cabinet boxes are removed entirely and replaced with new cabinets. This may involve stock, semi custom, or custom built cabinets depending on budget and design goals. Full cabinet replacement allows for changes to the kitchen layout, additional storage features, and modern storage solutions such as pull out shelves, spice racks, floating shelves, and custom drawer boxes.
Replacing cabinets is often part of a complete cabinet replacement or even a full remodel. It provides the opportunity to install custom cabinet boxes, integrate crown molding, and redesign the kitchen functionality from the ground up. However, full replacement also brings higher labor costs, longer installation process timelines, and higher average prices.
2026 Cabinet Refacing Costs: What to Expect
Average Prices and Cost Ranges
In 2026, cabinet refacing cost remains one of the most budget friendly ways to update kitchen cabinets. For an average sized kitchen, the refacing cost typically ranges from $4,000 to $9,500, depending on materials, door style, and the number of cabinets. Homes with more cabinets or higher end finishes will be closer to the upper end of that range.
Refacing cost is often calculated per linear foot, but homeowners should focus on the total project cost rather than just unit pricing. Compared to replacing cabinets, refacing offers significant cost savings and is widely considered a cost effective way to refresh old cabinets.
What Impacts the Refacing Cost?
Several factors influence the final cabinet refacing project price:
The number of kitchen cabinets and the size of the kitchen.
The condition of the existing cabinet boxes and whether they are structurally sound.
Material selection, such as laminate versus wood veneer or solid wood.
Door style choices, including shaker, slab, or custom designs.
Upgrades like soft close hinges, new drawer boxes, and internal hardware.
Labor costs based on the installation process and regional pricing.
Because refacing kitchen cabinets works with the existing cabinet structure, homeowners often save money compared to full replacement while still achieving a high-end look, and some may even consider refinishing existing cabinets instead of replacing them as another budget-conscious option.
Cabinet Replacement Costs in 2026
Average Costs by Cabinet Type
Cabinet replacement comes with a wider cost range. For new cabinets, average prices vary based on cabinet type:
Stock cabinets typically range from $100 to $300 per linear foot.
Semi custom cabinets range from $300 to $600 per linear foot.
Custom built cabinets can range from $500 to over $1,200 per linear foot.
For a full cabinet replacement in an average sized kitchen, homeowners can expect a total project cost between $15,000 and $35,000. A complete cabinet replacement with custom designs, natural wood finishes, and advanced storage features can exceed $50,000.
When Full Replacement Makes Sense
Full replacement is often the right choice when existing cabinet boxes are damaged, warped, or no longer in good shape. Crooked doors, water damage, or failing drawer boxes may indicate that refacing is not viable. Replacing your cabinets is also ideal when homeowners want to change the kitchen layout, add modern storage solutions, or invest in long-term durability, especially when you’re evaluating the cost to replace cabinets and countertops together as part of a larger remodel.
Choosing cabinet replacement allows for complete control over cabinet doors and drawer configuration, internal hardware, and kitchen functionality, but it comes at a higher cost difference compared to refacing.
Cost Comparison: Refacing vs Replacement
Side-by-Side Cost Comparison
When evaluating kitchen cabinet refacing vs replacement cost, the differences are clear:
Cabinet refacing typically costs $4,000 to $9,500.
Full cabinet replacement often costs $15,000 to $35,000 or more.
Refacing projects are usually completed in days, not weeks.
Replacement projects require demolition, installation, and finishing.
This cost comparison highlights why refacing vs replacement is such a common discussion among homeowners with a tight budget.
Cost Effective vs Long-Term Investment
Refacing cabinets is a cost effective solution when existing cabinet boxes intact condition is confirmed. It delivers strong visual impact and improves the kitchen’s appearance without the price of new cabinets. Full replacement, while more expensive, offers long-term value through improved storage features, custom cabinet boxes, and layout changes.
Which Option Is Right for You?
When to Choose Cabinet Refacing
Homeowners often choose cabinet refacing when:
The existing cabinet boxes are in good shape.
The existing layout works well for daily use.
They want to save money while upgrading their kitchen.
They prefer partial upgrades instead of a full remodel.
They want a budget friendly and affordable option.
Refacing cabinets is ideal for homeowners who want new doors, updated drawer fronts, and a refreshed look without replacing everything. Choosing cabinet refacing can transform old cabinets into a modern kitchen upgrade that also incorporates the latest kitchen cabinet trends for 2025.
When to Choose Cabinet Replacement
You may want to choose cabinet replacement when:
The cabinets are not structurally sound.
You want to change the kitchen layout.
You need more advanced storage solutions.
You are planning a full remodel or major kitchen remodel.
You want custom built cabinets with unique custom designs.
Replacing cabinets allows for complete freedom in design and functionality, but it requires a larger investment and longer installation process.
Long-Term Value, ROI, and Ongoing Maintenance
Refacing and Home Value
Kitchen cabinet refacing improves resale appeal by modernizing the kitchen’s appearance. While it may not deliver the same ROI as full replacement, it is a cost effective way to increase perceived value. Refacing projects typically return a strong percentage of the refacing cost, especially when paired with updated appliances or countertops.
Ongoing maintenance for refaced cabinets is similar to new cabinets, especially when solid wood or wood veneer materials are used.
Replacement and Long-Term Durability
Full replacement offers long-term durability and flexibility. New cabinets with modern internal hardware, soft close hinges, and upgraded drawer boxes improve daily use and reduce maintenance concerns, especially when paired with kitchen remodel must haves for 2025 like advanced storage and lighting. For homeowners planning to stay long-term, replacing cabinets can be a smart investment in kitchen functionality.
America’s Advantage Remodeling Approach to Cabinets
Helping Homeowners Make the Right Choice
Every cabinet refacing project and cabinet replacement project begins with an honest assessment. The condition of the existing cabinet boxes, the homeowner’s goals, and the budget all play a role. Not every kitchen needs complete cabinet replacement, and not every kitchen is a candidate for refacing.
Our approach focuses on providing a cost effective way to achieve the desired result, whether that means refacing cabinets or installing new cabinets, backed by over two decades of remodeling experience at America’s Advantage Remodeling and a full suite of home remodeling services in Sacramento, CA.
High-End Results Without Overspending
Refacing kitchen cabinets can deliver results that rival new cabinets when done correctly. By upgrading cabinet doors, drawer fronts, and finishes, including thoughtfully chosen kitchen cabinet hardware ideas or even painting kitchen cabinets the right way, homeowners achieve a polished look that feels like a full remodel, without the cost difference.
Real-Life Example: Refacing vs Full Replacement
A Practical Cost Difference Scenario
In a typical refacing project for an average sized kitchen, homeowners replaced just the cabinet doors, updated drawer fronts, and applied wood veneer to the existing cabinet boxes. The cabinets remained boxes intact, and the total project cost stayed under $8,000. A complete cabinet replacement quote for the same kitchen exceeded $22,000, similar to projects featured in our kitchen and home remodeling gallery.
The homeowner chose cabinet refacing to save money while still achieving a modern kitchen makeover. The existing cabinet doors were removed, new doors installed, and the kitchen was updated in less than a week.
Frequently Asked Questions
Is cabinet refacing worth it?
Yes, when the existing cabinet boxes are structurally sound, cabinet refacing is a cost effective solution that delivers excellent visual results.
How long does a refacing project last?
A quality refacing project can last 15 to 20 years with proper care and ongoing maintenance.
Can I reface old cabinets?
Old cabinets can be refaced if the boxes are intact and in good shape. Severely damaged cabinets may require replacing cabinets instead.
Does replacing cabinets improve kitchen functionality?
Yes, replacing cabinets allows for new storage solutions, better kitchen functionality, and improved layout options, especially when working with a dedicated kitchen cabinet store near Sacramento that can customize designs to your space.
How do I decide between refacing vs replacement?
Consider your budget, the condition of the existing cabinet, and whether you want to change the kitchen layout. A professional evaluation can help determine the most cost effective way forward.
Final Thoughts: Making the Smart Choice
Deciding between kitchen cabinet refacing vs replacement cost comes down to understanding your priorities. Refacing cabinets offers a budget friendly, affordable option that delivers strong visual impact and cost savings. Full replacement provides flexibility, customization, and long-term durability at a higher price point.
Both approaches have value. The key is choosing the option that aligns with your goals, your existing layout, and your budget so your kitchen upgrade delivers lasting satisfaction.