Wood Floors in the Kitchen: A Complete Guide to Durable, Beautiful Flooring
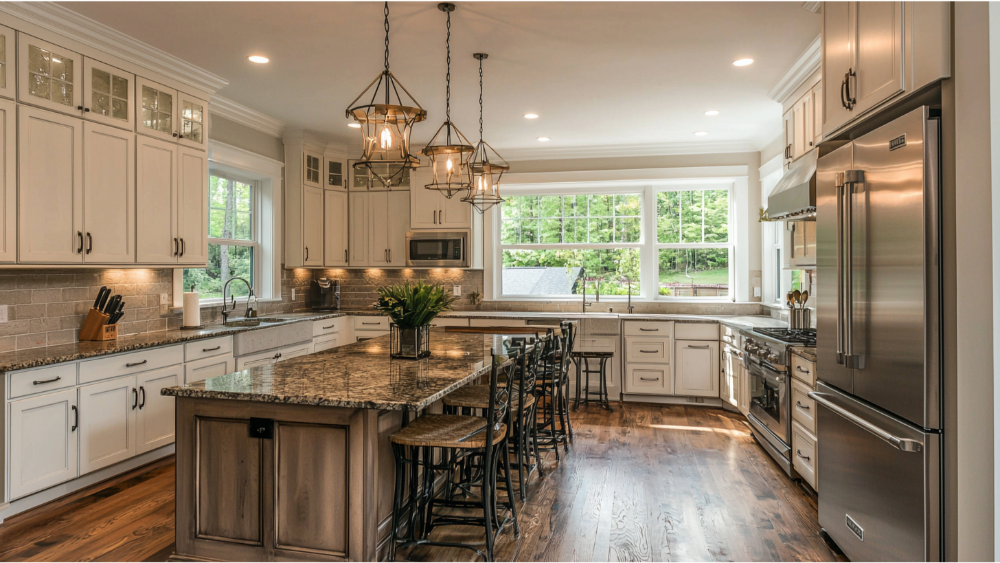
When it comes to wood floors in the kitchen, homeowners often hesitate. The combination of constant foot traffic, spills, and moisture makes kitchens one of the most challenging rooms for any wood surface. Yet many homeowners still love wood floors because of their natural beauty, visual warmth, and the timeless appeal they bring to a home. In this guide, we’ll explore every aspect of installing hardwood floors, engineered wood flooring, solid wood flooring, and wood‑look alternatives like ceramic tile that fit within a kitchen space. We’ll show how engineered hardwood flooring and solid hardwood each perform under real conditions and how to maintain them properly so your kitchen wood floors last for decades.
Why Choose Wood Flooring for Kitchens?
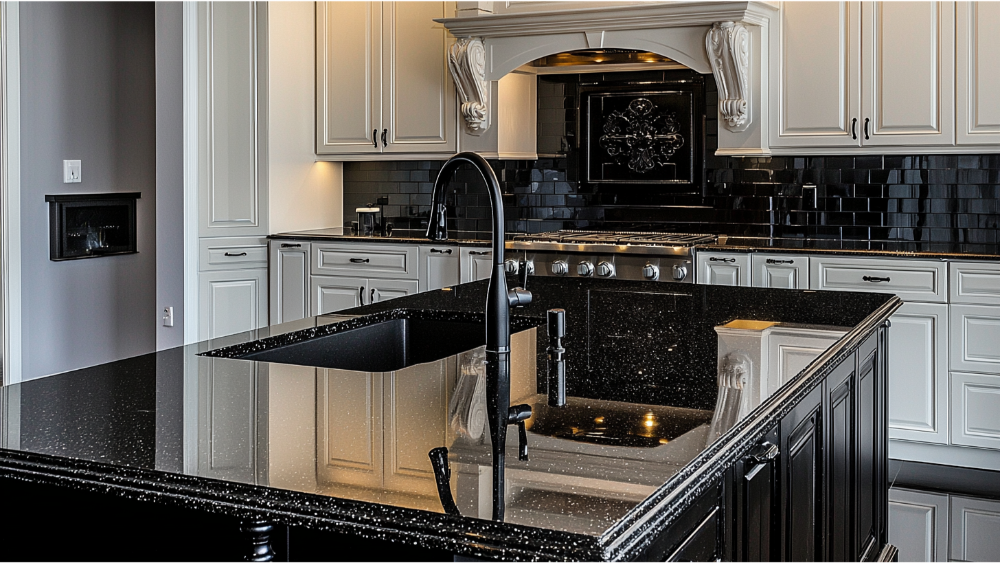
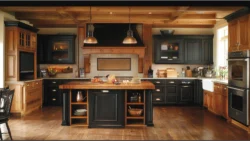
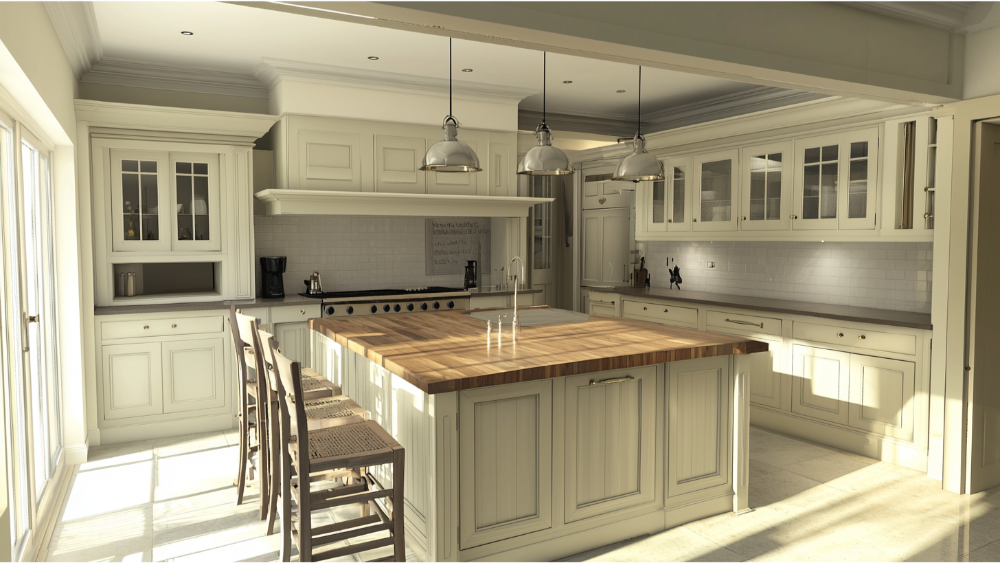
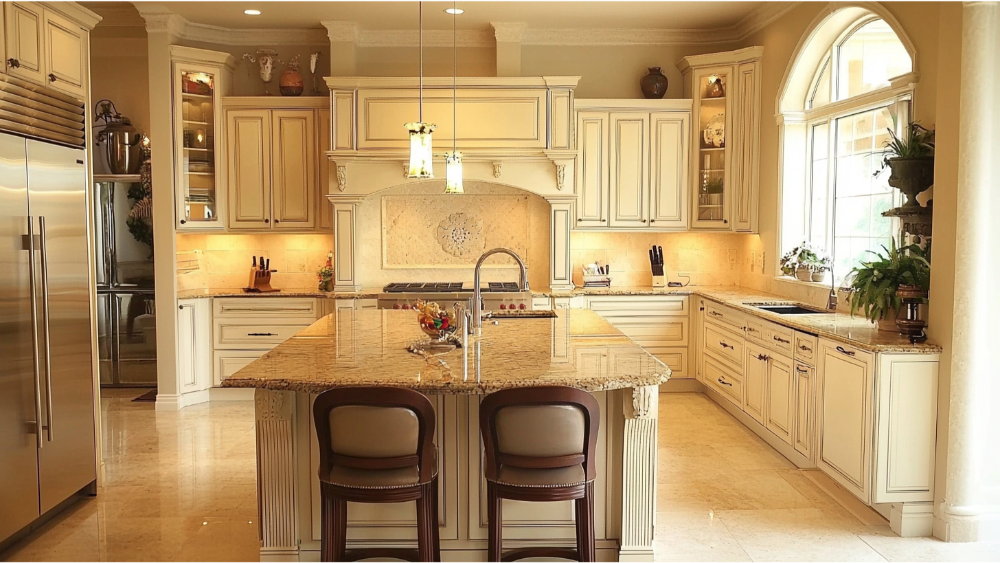
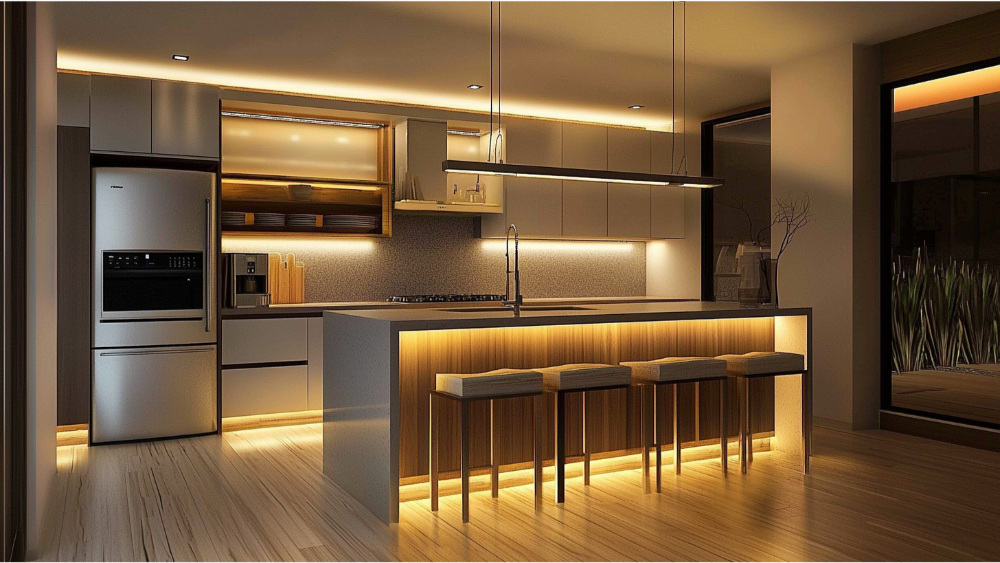
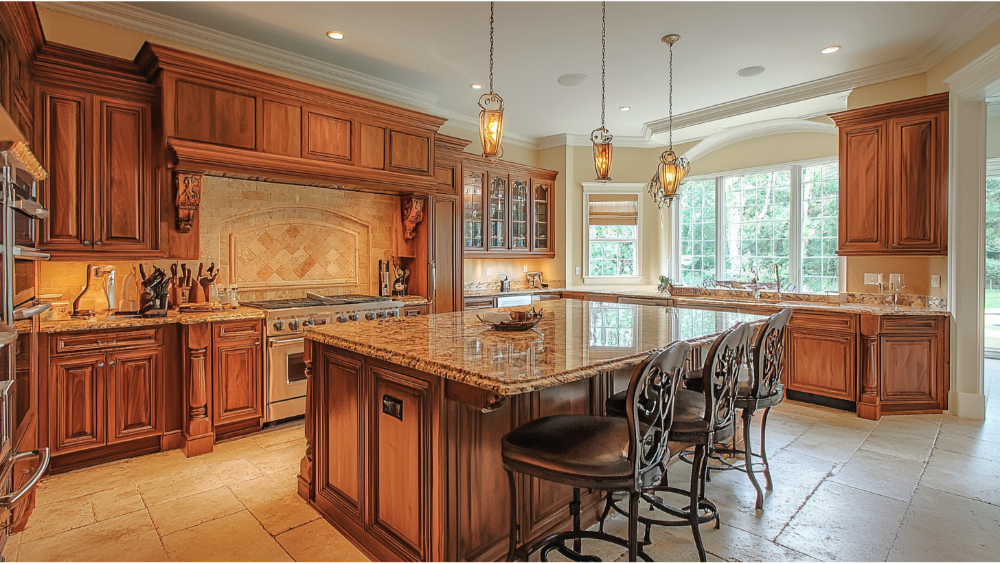
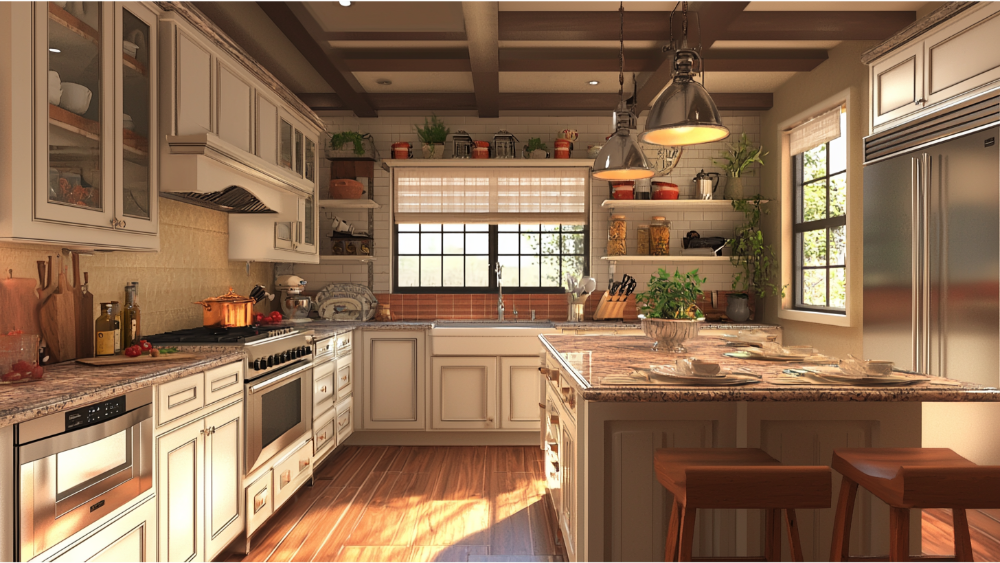
Wood flooring offers benefits that materials like tile or ceramic tile can’t always match. The aesthetic appeal and timeless appeal of wood bring warmth underfoot. When your kitchen connects seamlessly with living spaces, using same hardwood throughout creates a continuous look without visual breaks. For an open concept kitchen design, that unity in solid wood or engineered wood helps tie together cabinetry, countertops, and floor.
Even when a home uses stone or tile elsewhere, mixing in wood floors in the kitchen (or at least wood‑look areas) can add character and a softer surface underfoot. The presence of wood flooring signals quality and permanence, often adding resale value. Many homeowners prefer installed hardwood floors to alternatives because they sense that real wood tells a story, evolves with age, and can be refinished or re stained to refresh its look.
However, choosing wood type, species, finish, and installation method matters enormously. The wrong choices can lead to water damage, warping, stains, or failure under daily wear. Let’s dive deeper.
Wood vs Engineered Wood: Which Suits Kitchens Best?
Solid Wood Flooring (Solid Hardwood)
Solid wood flooring consists of a single piece of wood from top to bottom. It can be sanded and refinished multiple times, which means its long‑term potential is high. In a kitchen, solid hardwood provides unmatched depth, warmth, and character as it ages. However, in areas with fluctuating moisture levels, it is more vulnerable to buckling, expansion, and contraction. If installed on concrete or a slab, it can fail unless moisture mitigation is perfect.
Engineered Wood Flooring / Engineered Hardwood
Because of those moisture challenges, engineered wood and engineered hardwood flooring are often preferred in kitchen zones. Engineered wood has multiple layers, with the top layer made of real wood (oak, maple, cherry, etc.) and the core layers built for stability. That cross‑layer structure resists warping, cupping, and movement due to humidity changes better than solid wood. Many installers use engineered hardwood for kitchen areas for exactly that reason. Engineered hardwood is quite stable and holds finishes well; you still get real wood on the surface with better resilience.
In effect, engineered wood gives you much of the aesthetic appeal of solid wood but with improved durability under typical kitchen conditions. The trade‑off is that engineered surfaces may only allow one or two refinishes (depending on veneer thickness), while solid wood allows more refinishing cycles.
Pros & Cons of Wood Floors in Kitchen Environments
Pros
- Visual Warmth & Natural Beauty
Wood surfaces offer visual warmth that tile or stone often lack. The grain, texture, and color variations give a homey, rich feeling. - Design Continuity
When your living room, dining area, and kitchen share the same flooring, the eye flows naturally. There’s no abrupt transition line. - Refinishing Potential
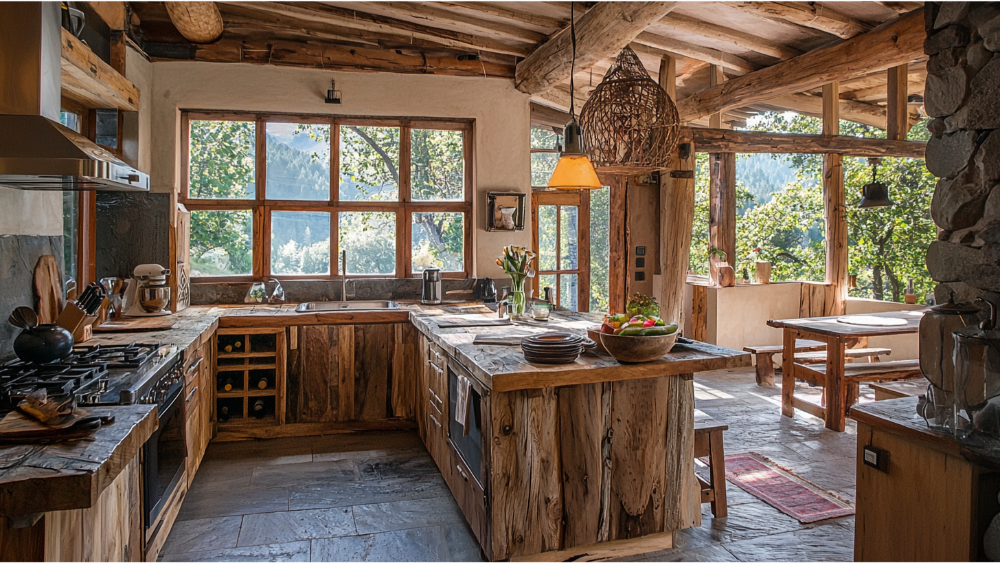
With solid hardwood and certain thicker engineered hardwood products, you can sand, re stain, or apply a fresh coat finish to renew the surface over time. - Timeless Appeal
Wood is a classic choice that rarely goes out of style. It pairs with many kitchen styles, from modern to rustic to traditional. - Added Value
Well‑installed wood floors often add resale appeal. Buyers frequently favor homes with high quality flooring, and hardwood makes an impression.
Cons
- Moisture and Water Damage
The kitchen has many risk points: kitchen sink, dishwasher, cooking, steam, spills. Water damage can cause swelling, board separation, cupping, or staining. - Scratches, Dents & Daily Wear
Pots, pans, chairs, dropped utensils, all may cause scratches and dents. Over time, high traffic areas develop wear patterns. - Maintenance Burden
Wood needs regular maintenance, sweeping, careful cleaning, and occasional recoat. Neglect can degrade the surface. - Cost & Replacement
In cases of severe moisture problems, you might need to replace sections. That can be costly and disruptive. - Limitations on Refinishing
Some engineered hardwood surfaces have shallow veneers, limiting how many times you can refinished them.
To make wood a viable kitchen option, the decisions around species, finish, installation, and upkeep must all be correct.
Choosing the Right Wood Species and Finish for Kitchen Floors
Best Wood Species (Wood Type) for Kitchen Flooring
- Red oak is a classic choice for its balance of hardness, grain, and workability.
- White oak is stronger, more water tolerant, and slightly denser.
- Maple gives a cleaner, modern look but hides grain less well.
- Cherry is beautiful and warm but a bit softer, less ideal where heavy use is expected.
Harder woods better resist dents and wear. Softer woods like pine or fir are generally not recommended in kitchen zones unless damage tolerance is acceptable.
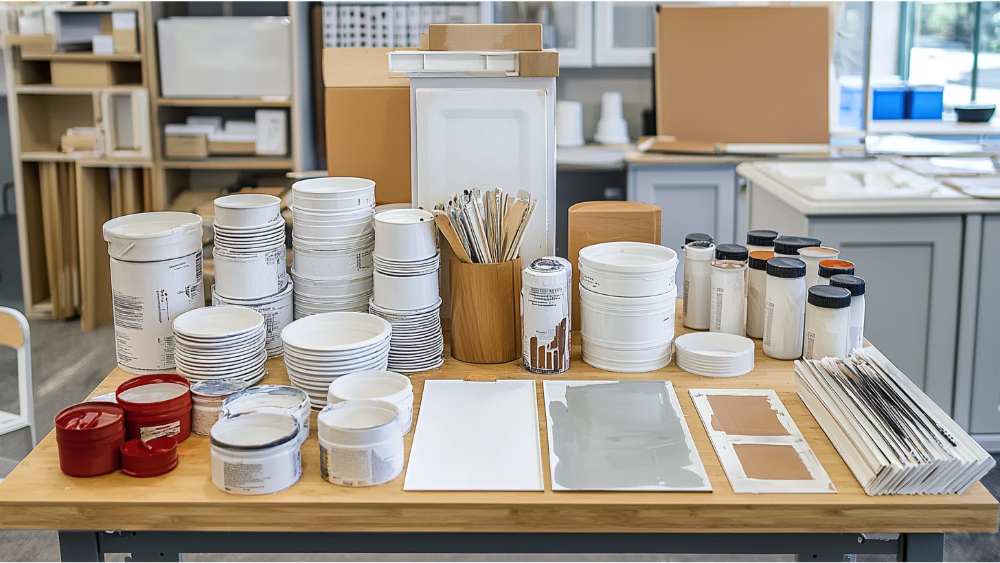
Finish, Texture & Edge Types
- Satin finish gives a gentle sheen without reflecting glare and often hides small scratches better than full gloss.
- Matte or low sheen finishes are increasingly popular for kitchen wood floors.
- Consider beveled edges or square edges depending on your style. Beveled edges can help mask unevenness, while square edges give a more seamless appearance.
- Wire‑brushed or textured surfaces help to mask scratches, scuffs, and slight wear over time.
Selecting the right finish and texture makes a huge difference in how your floors age and how forgiving they are to everyday life.
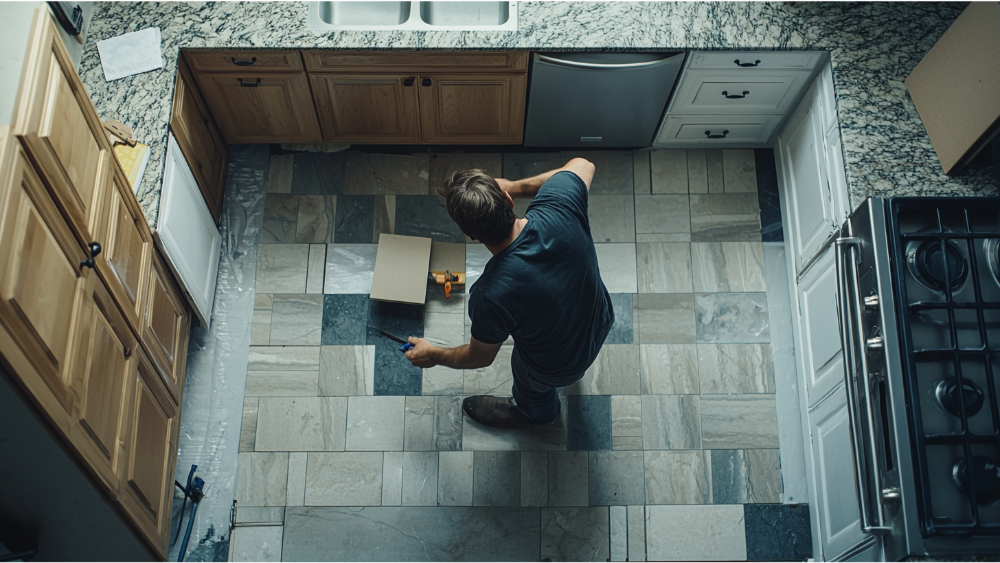
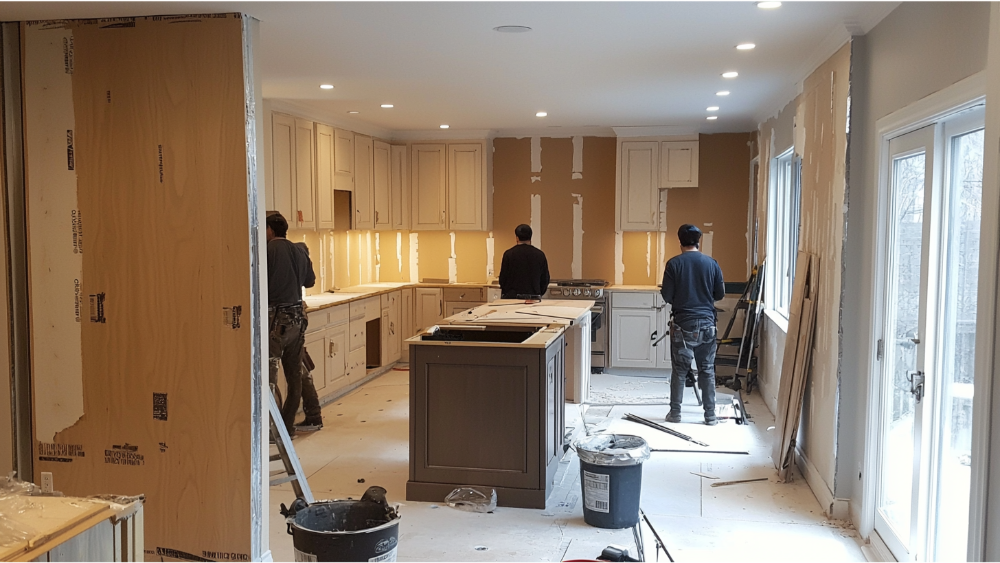
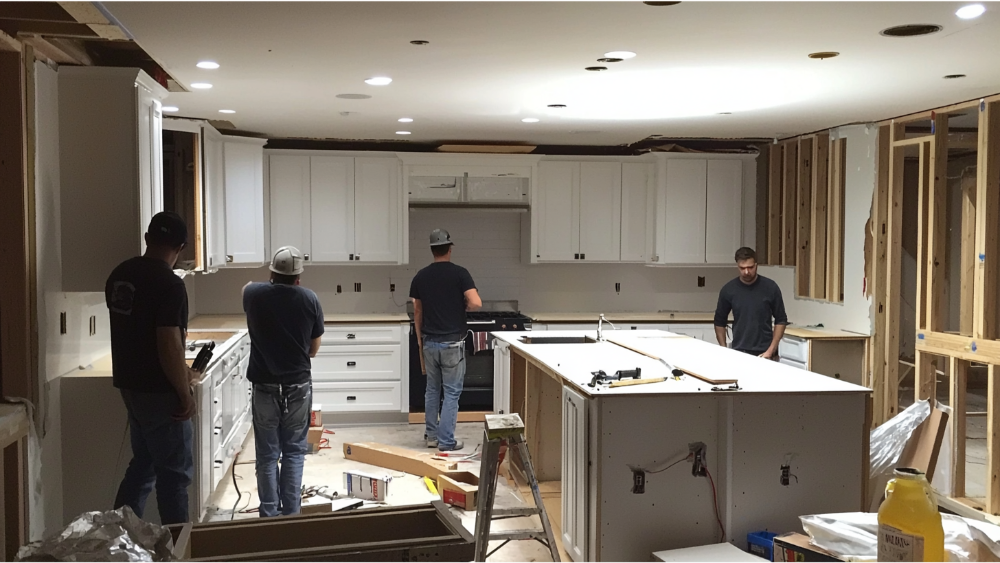
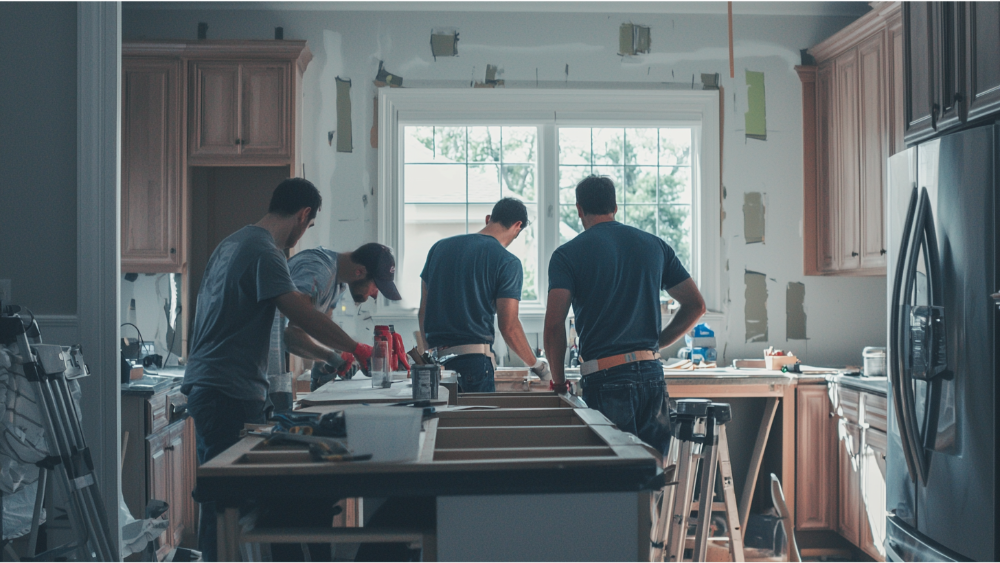
Installation Best Practices for Kitchen Wood Floors
Subfloor Prep & Acclimation
Before any planks are laid, your wood must acclimate to the room’s humidity and temperature. Moisture content testing is essential. The subfloor must be level, clean, and dry before installation. Skipping these steps is a recipe for problems down the road.
Moisture Barriers & Underlayments
Over concrete slabs or areas with moisture risk, a proper vapor barrier or moisture mitigation system is critical. This protects the installed hardwood floors from moisture coming up from below. Use underlayments rated for kitchen use. The barrier must extend into all transitions and edges.
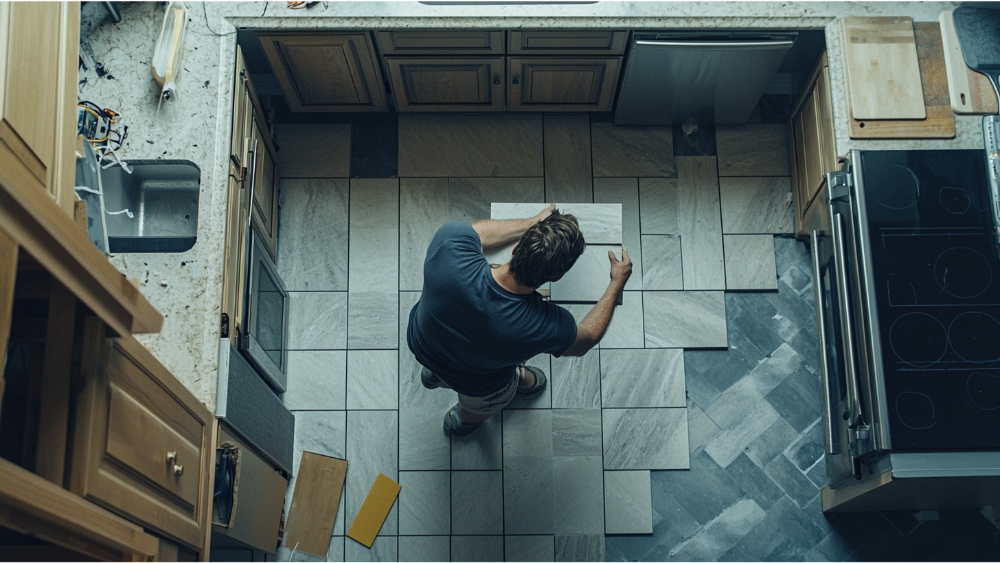
Precise Transitions & Flow
Since kitchens often abut tile, stone, or other surfaces, you’ll need smooth transition strips, reducers, or threshold pieces. At edges near cabinets, the installation must hide cut lines and maintain aesthetic flow. Using same hardwood or matching tones helps those transitions look intentional.
Expansion Gaps & Movement
Wood naturally expands and contracts with humidity changes. Leave expansion gaps around perimeter walls and at fixed objects. Proper spacing prevents buckling or gaps later.
How to Maintain Wood Floors in the Kitchen
Daily & Weekly Maintenance
- Sweep or vacuum daily to remove dirt and grit that scratch surfaces.
- Use a damp mop sparingly. Avoid soaking the floor.
- Use pH-neutral wood cleaners; never acidic or oil‑based cleaners.
- Wipe up spills immediately, especially near the dishwasher or kitchen sink.
Preventive Measures
- Place rugs or mats near sinks, dishwashers, and entry points to catch moisture and debris.
- Use felt pads on the bottoms of chairs and moving furniture to avoid dragging damage.
- Move furniture parts regularly to avoid uneven fading or indentations.
- Control indoor humidity between 35 % and 55 % if possible to minimize wood movement.
Recoats, Refinishing & Repairs
Over time, your wood floor will show signs of wear, especially in high traffic areas. You can apply a fresh coat finish or re stain to refresh color and sheen. If wear is deep, a refinish (sanding and applying new topcoat) may be needed for solid hardwood or thick veneer engineered wood. Patch repairs are possible if a board is damaged, but always hire a pro for seamless color and alignment.
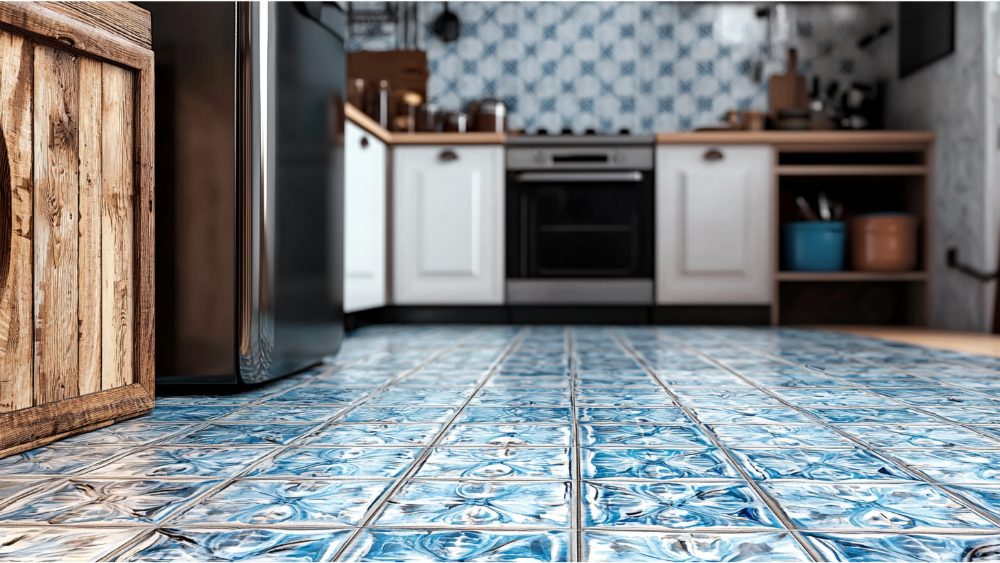
Wood Flooring Alternatives & Hybrid Options
Because kitchens present special moisture and wear challenges, some homeowners opt for alternatives or hybrids:
- Luxury Vinyl Plank (LVP) with wood visuals gives total water resistance while mimicking wood look.
- Wood-look tile or ceramic tile blends the durability of tile with the grain aesthetics of wood.
- Some designs combine wood floors in less exposed regions and tile near dishwashers, sinks, or backsplashes.
These hybrid solutions balance beauty and practicality. In many renovation projects, America’s Advantage Remodeling offers both wood and wood‑look options and helps clients choose what fits their lifestyle.
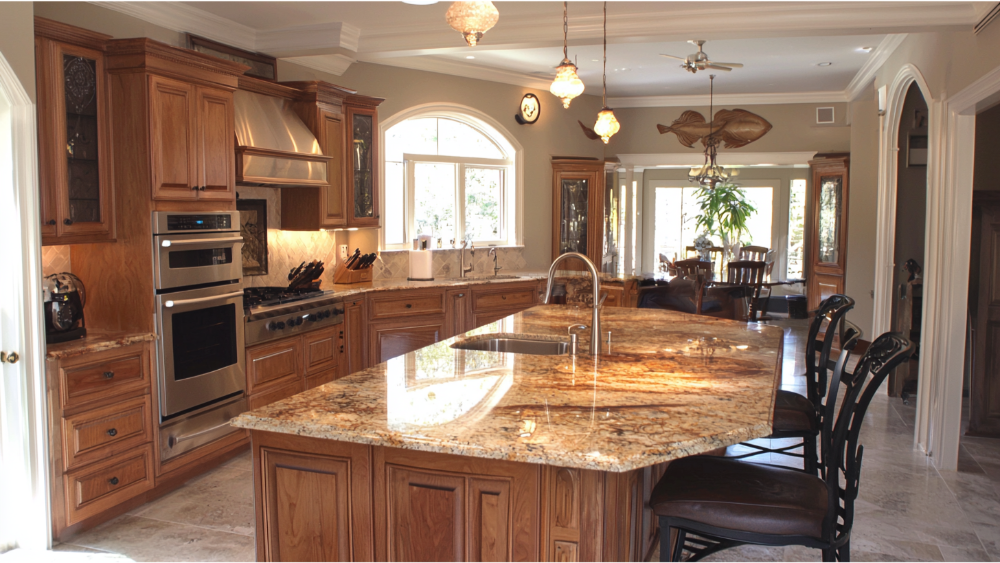
When Do Kitchen Wood Floors Make Sense?
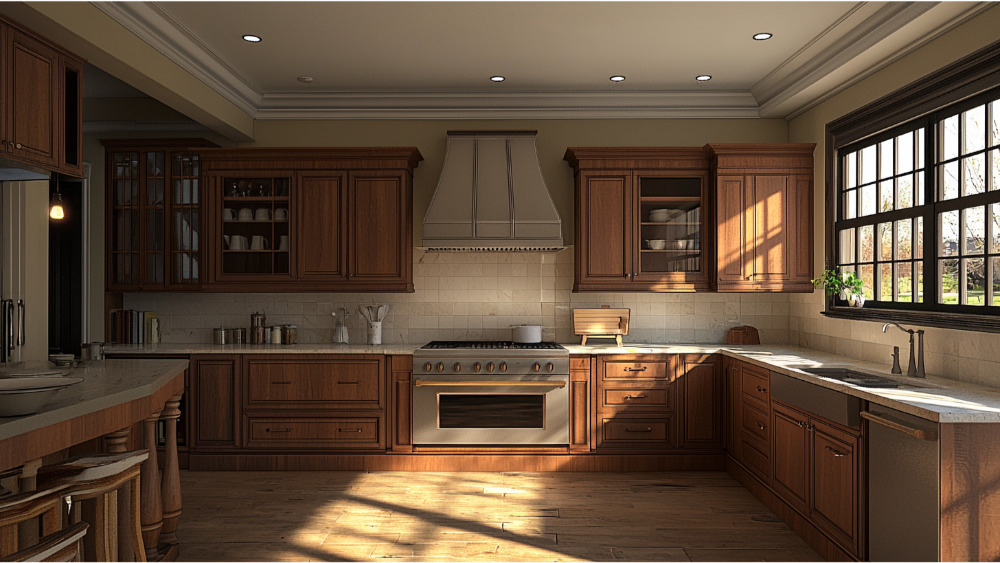
Ideal Scenarios for Wood Floors in the Kitchen
- Homes with moderate traffic and good moisture control
- Open plan layouts where continuity matters
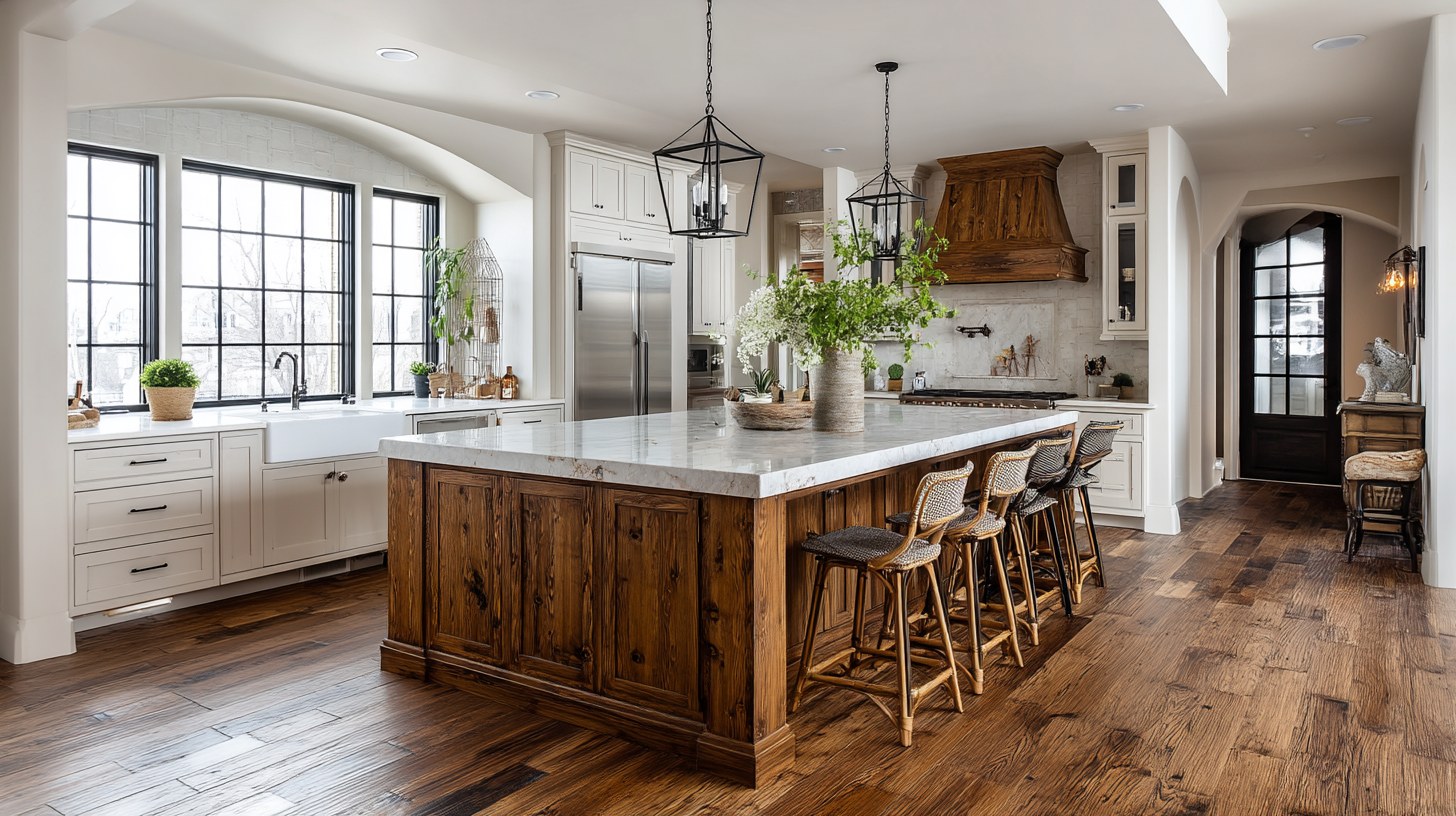
- Kitchens with island and flow to living spaces
- Homeowners who want timeless, high‑end finishes
- Clients willing to commit to proper care and maintenance
When to Avoid Wood in Kitchens
- Kitchens prone to flooding or severe humidity swings
- Heavy usage homes with kids, pets, or frequent spills
- Basement level kitchens or slab foundations without excellent moisture control
- Owners who prefer low maintenance above all else
In such cases, a well‑matched tile or LVP may be smarter.
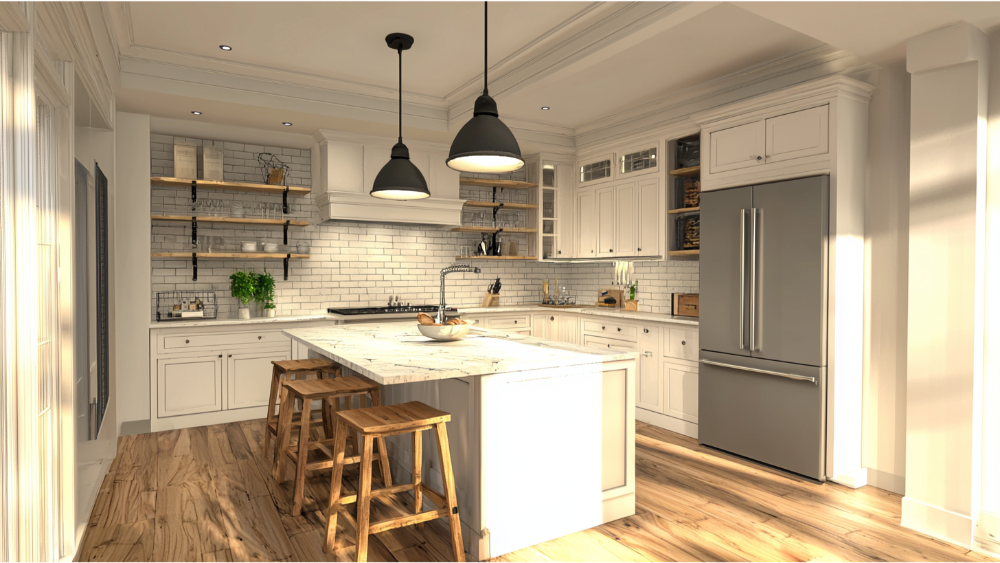
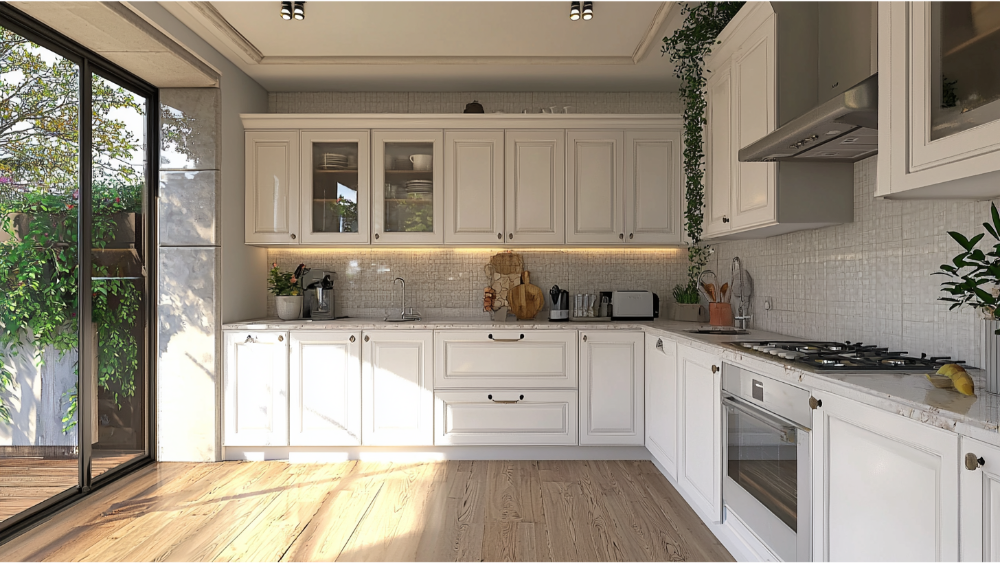
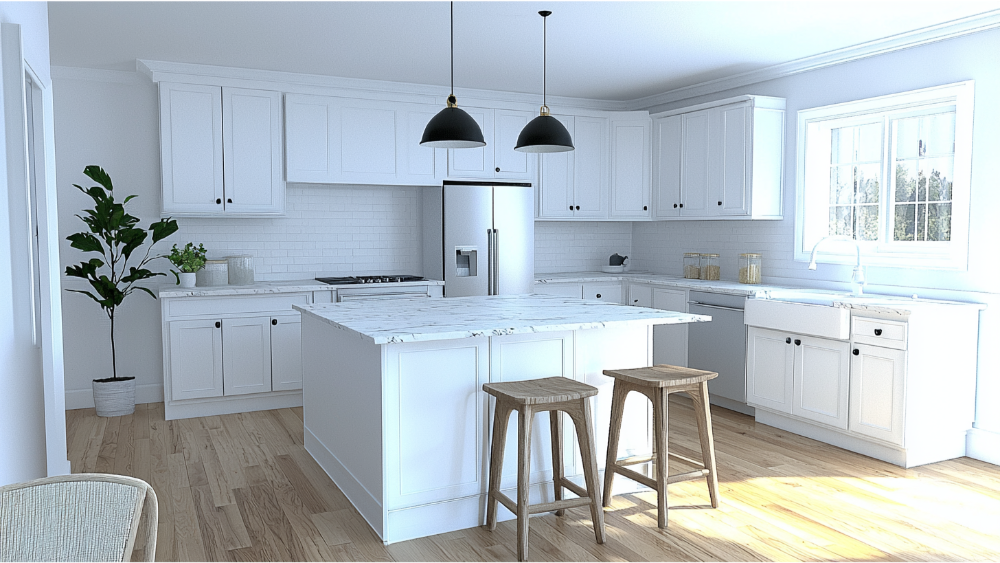
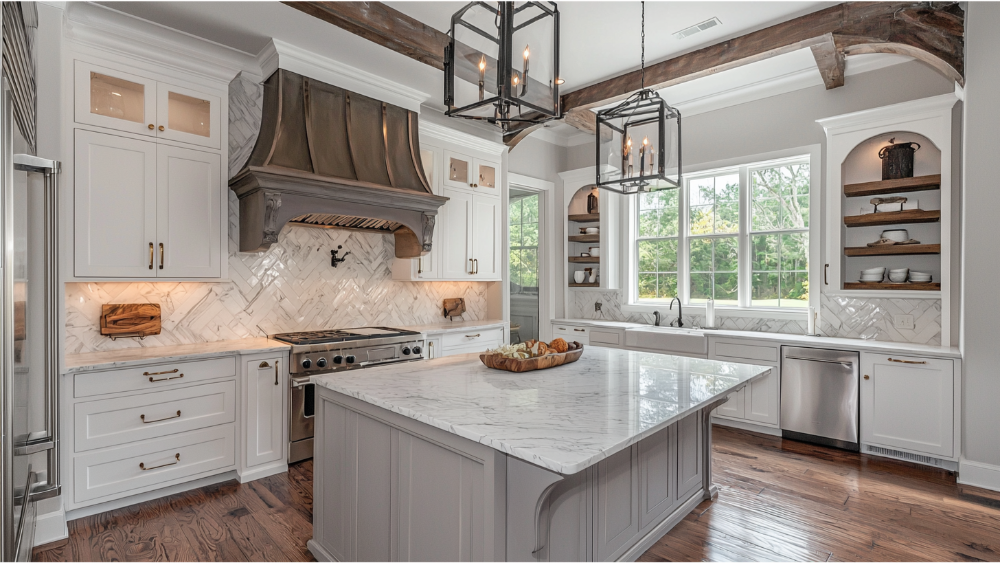
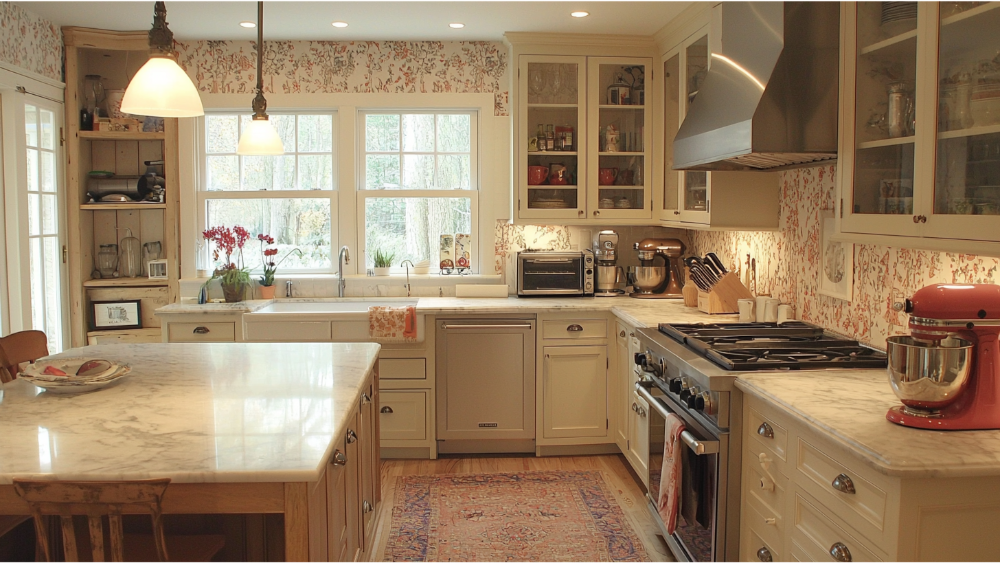
Design Trends & Styling Tips for Kitchen Wood Floors in 2025
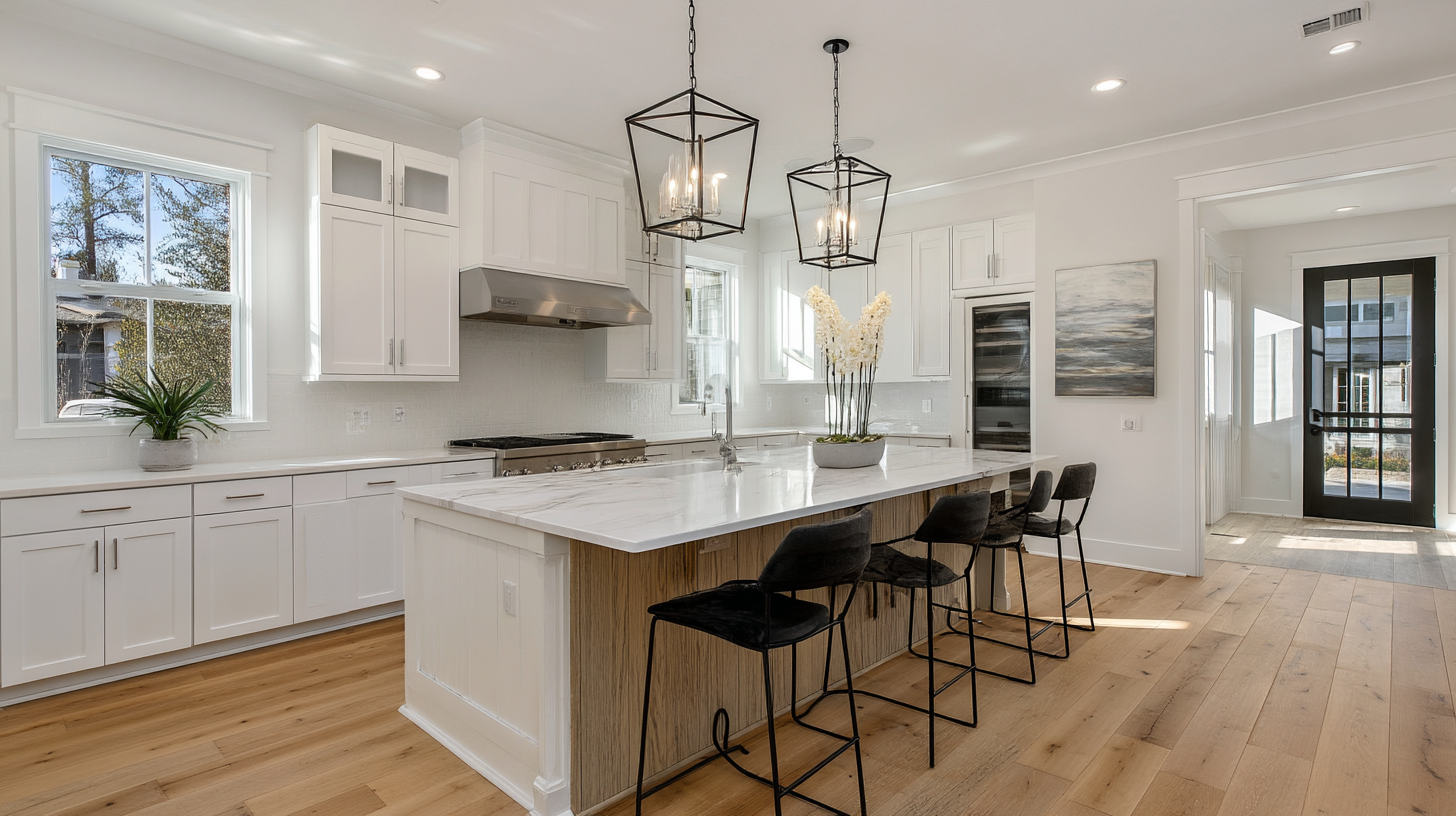
- Wide planks are increasingly popular, creating a more spacious, modern feel
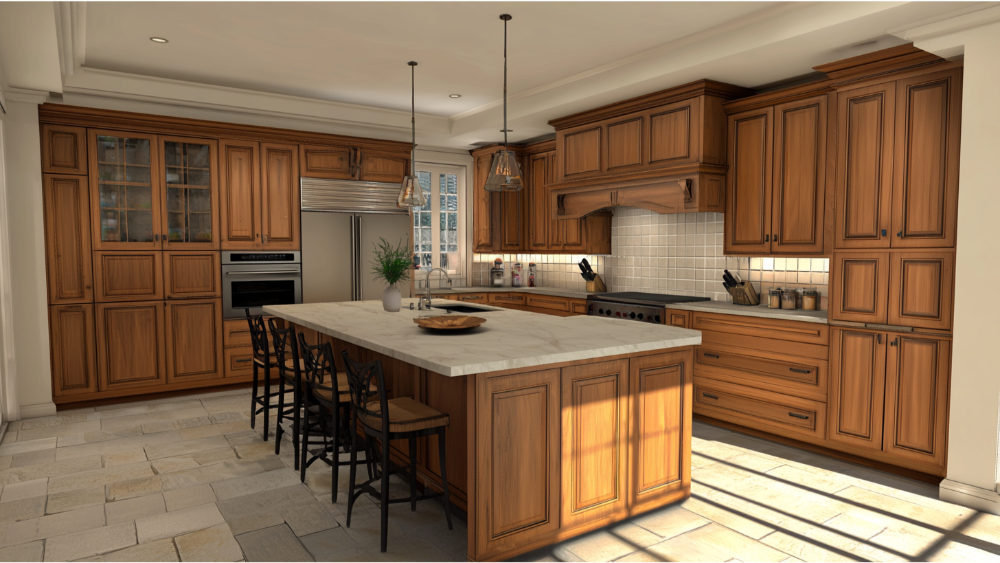
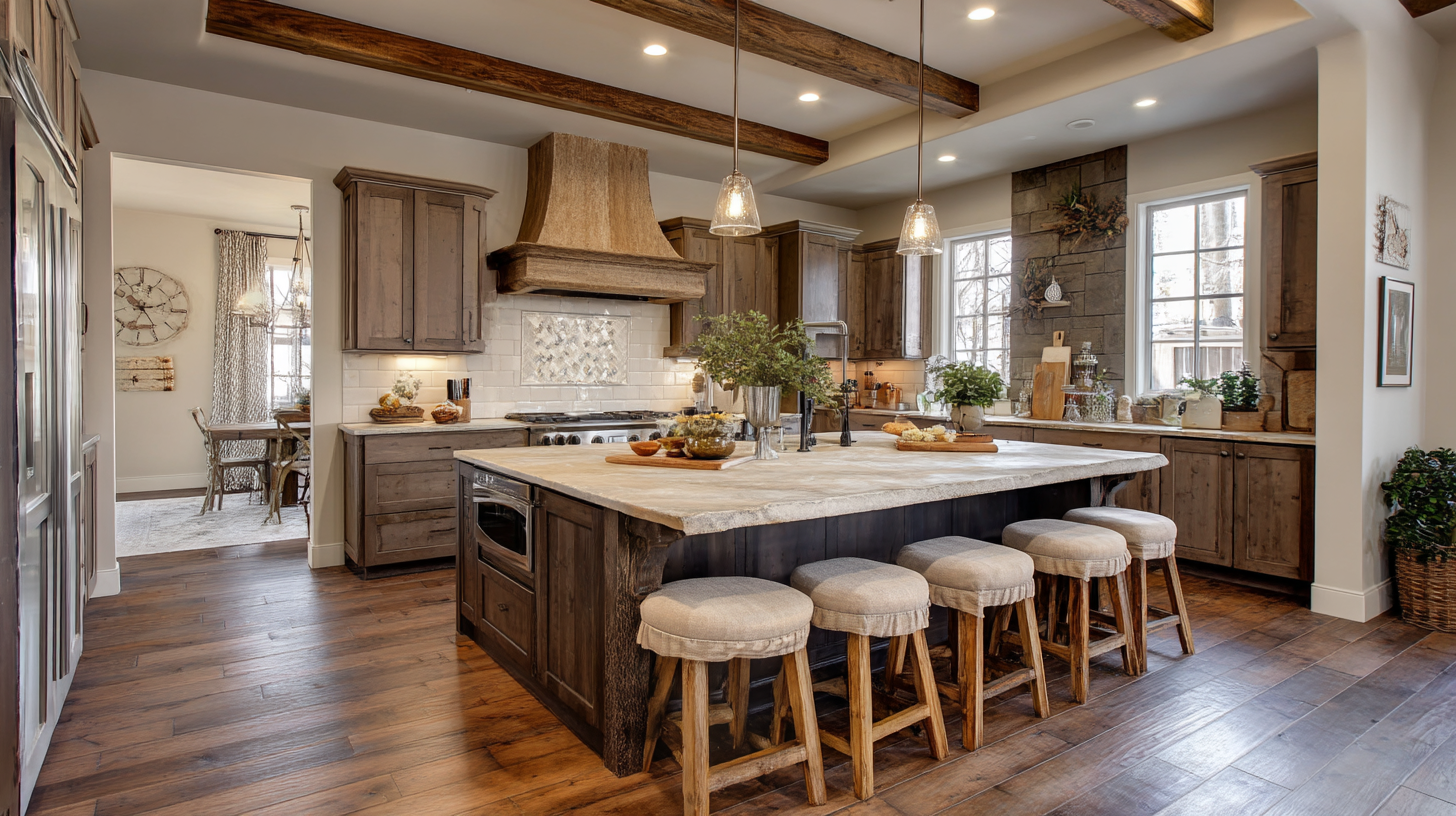
- Warm oak and honey tones provide neutrality and complement cabinetry
- Mixed widths or patterns add subtle interest without dominating
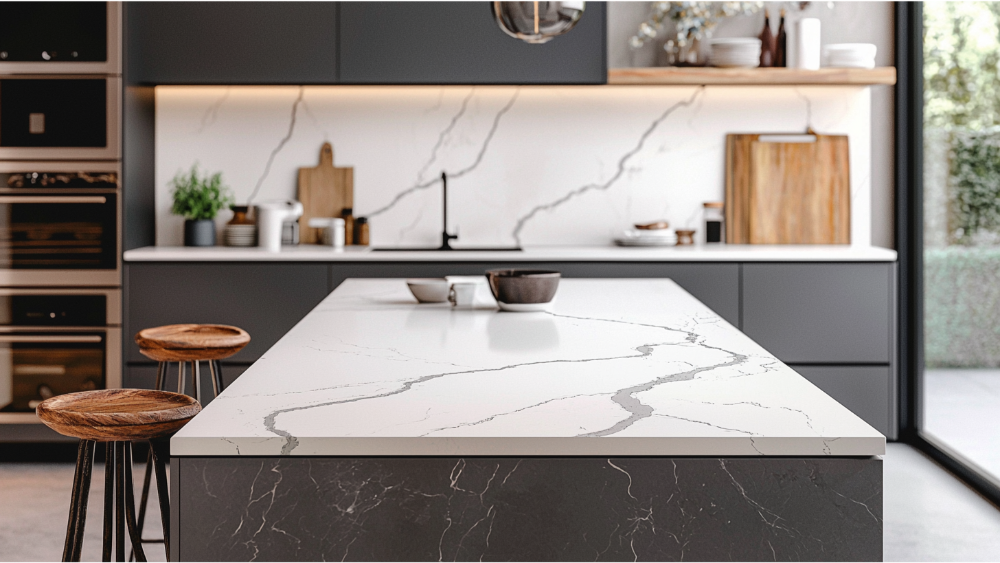
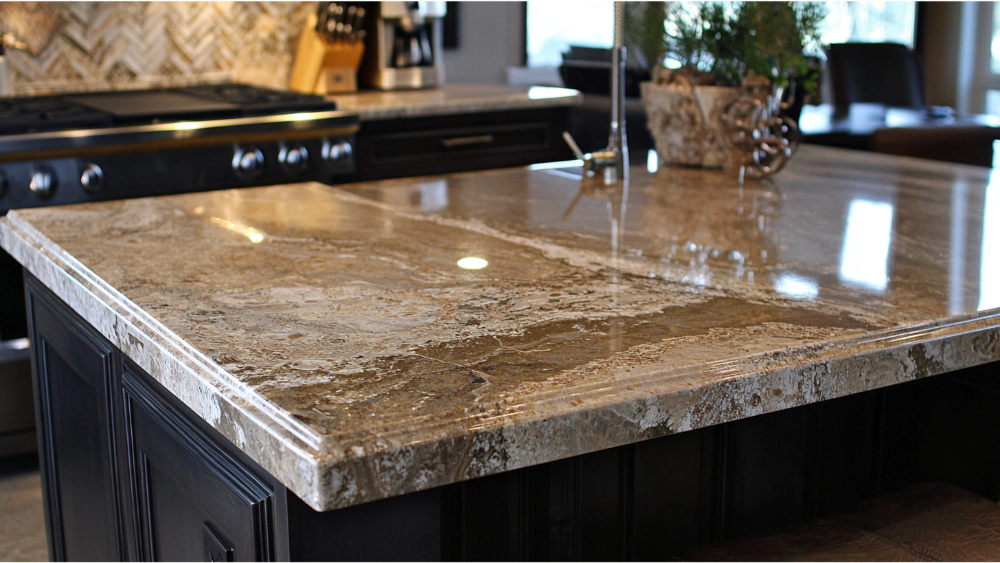
- Pairing wood floors with contrasting tile backsplashes or stone islands offers texture interplay
- Using different textures in wood (wire‑brushed, hand-scraped) helps hide wear and adds depth
Cost, Longevity & Value
A hardwood floor in a kitchen costs more upfront relative to tile, especially when engineered flooring or moisture mitigation is involved. But if properly installed and maintained, wood floors can last for decades, making stains, scratches, or replacing entire floors rare events. The ability to refinish instead of replace gives wood a lifecycle advantage. In many cases the long-term value far outweighs the extra cost.
Frequently Asked Wood Floors in the Kitchen Questions
Are wood floors in the kitchen risky?
While there are risks such as water leaks and daily wear, these risks are manageable. With proper installation by experienced professionals who understand wood species, acclimation, moisture barriers, and maintenance, wood floors can perform beautifully in kitchens for many years.
What factors ensure successful installation of wood floors in the kitchen?
Success depends on choosing the right wood species, proper acclimation of the wood to the environment, installing effective moisture barriers, and following recommended maintenance protocols. Hiring a trusted and knowledgeable installation team is also crucial.
How can I minimize the risk of damage to wood floors in the kitchen?
To minimize damage, promptly clean up spills, especially near the kitchen sink and dishwasher, maintain proper humidity levels, use rugs or mats in high-traffic or moisture-prone areas, and regularly perform cleaning and maintenance as advised by flooring professionals.
Can wood floors withstand everyday kitchen activities?
Yes, when properly installed and cared for, wood floors can handle everyday kitchen activities including foot traffic, dropped utensils, and occasional spills without compromising their beauty or durability.
Is engineered wood flooring better than solid hardwood for kitchens?
Engineered wood flooring tends to offer better resistance to moisture and humidity changes, making it a popular choice for kitchens. However, solid hardwood can also perform well if installed and maintained correctly.
How important is professional installation for wood floors in the kitchen?
Professional installation is very important. Experienced installers ensure proper acclimation, moisture barrier application, and precise installation techniques that reduce the risk of warping, buckling, or other damage.
Final Thoughts: Are Kitchen Wood Floors Worth It?
When considering wood floors in the kitchen, the decision hinges on balancing beauty, durability, and maintenance. Engineered wood flooring gives better resistance in real-world conditions. Solid hardwood has a proven track record, especially when correctly installed and maintained. But the key is embracing the commitment: proper cleaning, attention to moisture control, and periodic refinishing.
If you’re ready to bring that natural warmth, visual continuity, and timeless appeal to your kitchen, America’s Advantage Remodeling can guide you through every choice, from wood species, texture, finish, layout, transition, to ongoing care. Let us help you turn your kitchen into a durable, stunning space where your wood flooring serves you for years rather than becomes a compromise.
Contact us today for a free kitchen flooring consultation and find out whether wood floors, engineered wood, or wood-look alternatives make sense for your specific kitchen, home, and lifestyle.