
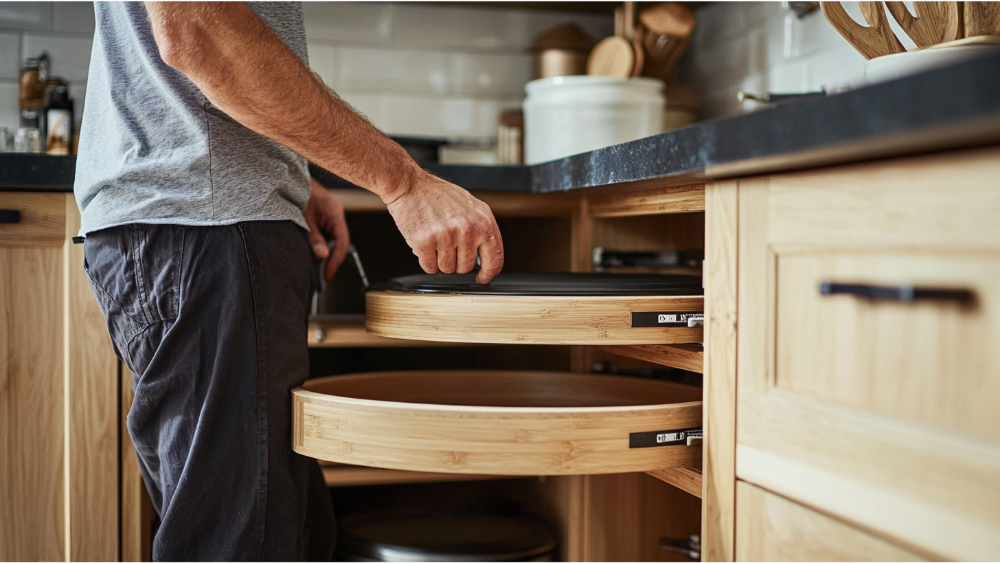
A lazy Susan is a convenient and functional addition to any kitchen, but over time, it can become misaligned or stop spinning smoothly. Repairing a lazy Susan might seem daunting, but with the right tools and a little guidance, it’s a straightforward process. This guide will walk you through the steps to restore your lazy Susan to perfect working condition.
9 Common Problems with Lazy Susans and How to Repair Them
1 | Uneven or Wobbly Plastic Shelves
Over time, the plastic shelves of a lazy Susan may become uneven or wobbly, causing items to tip or slide. To fix this, start by checking if the shelves are properly secured to the center shaft. Tighten any locking screws holding the shelves in place, ensuring they’re level. If the plastic shelves have cracks or significant wear, consider replacing them with new ones. Always distribute the weight of items evenly to prevent future wobbling. If the issue persists, inspect the cabinet bottom for damage, as it could impact stability.
2 | Misaligned Upper Shelf
The upper shelf of a lazy Susan can sometimes become misaligned, making it difficult to spin smoothly. To address this issue, inspect the attachment point where the upper shelf connects to the center shaft. Loosen the locking screws slightly, realign the shelf, and then securely tighten the screws again. Ensure the shelf is parallel to the lower shelf to maintain proper function. Regularly check for misalignment, especially after heavy use.
3 | Loose Locking Screws
Locking screws that secure the shelves and mechanism can loosen over time, resulting in instability. Use a screwdriver or appropriate tool to check each screw securing the shelves and the center shaft. Tighten any screws that have become loose to restore stability. For stubborn screws, applying a thread locker solution can prevent them from loosening in the future. Regular maintenance of the screws will keep the lazy Susan functioning smoothly.
4 | Jammed or Stuck Center Shaft
The center shaft can sometimes jam or stick, making it impossible to rotate the shelves. First, check if any debris or items are obstructing the spinning mechanism. If the shaft itself is sticking, clean it thoroughly and apply a small amount of lubricant. Tighten or adjust the locking screws around the shaft to ensure proper alignment. If the shaft continues to malfunction, replacing it might be necessary. In cases where the issue involves damage to the cabinet bottom, it’s best to seek professional assistance for repairs.
5 | Difficulty Adjusting the Rod or Adjusting Mechanism
An adjusting rod is often used to modify the height or tension of a lazy Susan. Over time, the rod may become stiff or unresponsive. Apply lubricant to the rod and gently work it back and forth to loosen any resistance. If the rod remains unadjustable, inspect it for damage and replace it if necessary. Make sure to follow the manufacturer’s instructions for height adjustments to avoid further issues.
6 | Squeaky Bottom Shelf
A squeaky bottom shelf in a lazy Susan cabinet can be caused by friction between the shelf and the rotating mechanism. To fix this, first, remove the items from the shelf to access the mechanism. Clean any dust or debris from the bottom shelf and surrounding areas. Apply a small amount of lubricant, such as silicone spray, to the rotating mechanism and test the shelf by spinning it several times. Regular maintenance of the bottom shelf can help prevent squeaking and ensure smooth rotation.
7 | Issues in a Lazy Susan Corner Cabinet
Lazy Susan corner cabinets are a popular solution for maximizing storage in tight spaces, but they can sometimes develop operational issues. If the shelves are not spinning freely or feel unstable, check the alignment of the rotating mechanism. Tighten any screws or bolts securing the lazy Susan mechanism to the corner cabinet. Examine the cabinet bottom itself for signs of damage or warping, which can affect the functionality of the lazy Susan. When performing lazy Susan repairs for corner cabinets, always ensure that the mechanism is securely attached and properly aligned for optimal performance.
8 | Broken or Cracked Spinning Mechanism
A broken or cracked spinning mechanism can severely affect the functionality of a lazy Susan. To fix this, first, remove the lazy Susan from the cabinet and inspect the rotating base. If you notice any visible cracks or damage, the mechanism may need to be replaced. Purchase a compatible replacement part from a hardware store or the manufacturer. Follow the manufacturer’s instructions to install the new mechanism securely. If the damage extends to the cabinet bottom, it may be necessary to seek professional help for a long-term solution.
9 | Rust or Corrosion
Rust or corrosion on the metal parts of a lazy Susan can lead to stiffness and improper functioning. Start by cleaning the affected areas with a rust remover or a mixture of vinegar and baking soda. Once the rust is removed, dry the parts thoroughly and apply a protective coating, such as a rust-resistant spray or paint, to prevent further corrosion. Regular cleaning and ensuring the lazy Susan stays dry can help avoid this problem entirely. If rust has compromised the cabinet bottom, you should seek professional advice to address the issue effectively.
Tools Needed for Fixing a Lazy Susan
Screwdriver
A reliable screwdriver is essential for tightening or loosening set screws that secure the shelves, center shaft, or top bracket. Choose a screwdriver with the appropriate head type (Phillips or flathead) to ensure it works fine for your lazy Susan model. It is particularly helpful when adjusting alignment or replacing parts.
Lubricant
Use a silicone spray or similar lubricant to reduce friction in the rotating mechanism and loosen stiff rods or moving parts. This is especially useful for addressing squeaky shelves or a jammed center shaft. Apply sparingly to avoid over-lubrication, which could attract debris.
Thread Locker Solution
A thread locker can be applied to the set screws to prevent them from loosening over time. This tool is especially handy for prolonged stability when the lazy Susan is heavily loaded with items like canned goods. Be cautious to use only a tiny amount to avoid making future adjustments difficult.
Replacement Parts
Replacement components, such as a metal sleeve or top bracket, are sometimes necessary for addressing significant wear or damage. Always purchase compatible parts from the manufacturer or trusted suppliers. Following the manufacturer’s guidelines for installation ensures the new parts work fine with the overall mechanism.
Adjustable Wrench
An adjustable wrench is great for tightening bolts or repairing the metal sleeve on the central mechanism. This tool is particularly effective when dealing with a lazy Susan corner cabinet, where secure stability is crucial. Ensure the hardware is snug but not over-tightened to prevent damage.
Rust Remover or Cleaning Supplies
To address corrosion or general debris buildup, use rust remover or a mixture of vinegar and baking soda paired with soft cleaning cloths. Clean all metal parts, including the metal sleeve and spinning mechanism, before reassembling the lazy Susan. Proper cleaning helps maintain long-term durability and smooth rotation.
Drill (Optional)
A drill can be useful for replacing damaged components, especially when dealing with stubborn screws or installing a new top bracket. Select a drill bit that matches the screws’ size to avoid stripping them during removal or installation. Only use a drill when manual tools are insufficient.
Frequently Asked How To Repair A Lazy Susan Questions

Why is My Lazy Susan Dragging?
A dragging Lazy Susan is often caused by improper alignment of the rotating mechanism or shelves. Overloading the shelves with heavy items can also create excessive strain, leading to uneven movement.
Dust, debris, or grime buildup in the tracks or along the rotating mechanism may further contribute to the problem. To resolve this, clean the tracks thoroughly and check for misaligned parts or loose screws. Regular maintenance and avoiding overloading can help prevent dragging and ensure smooth operation.
Can You Use WD-40 to Lubricate Bearings?
WD-40 can be used as a temporary solution to loosen and clean bearings, especially if they are stuck or making noise due to debris and grime buildup. However, it is not recommended as a long-term lubricant because WD-40 is primarily a water displacement spray and does not provide adequate lubrication for prolonged use.
For proper maintenance, use a high-quality bearing grease or oil specifically designed for bearings to ensure smooth operation and durability. Applying WD-40 might also attract dirt and dust, which can worsen the bearing’s performance over time. Always clean the bearings thoroughly before applying the appropriate lubricant to maintain their functionality.
What is the Best Lubricant for Bearings?
The best lubricant for bearings is a high-quality bearing grease or oil specifically designed for this purpose. Silicone-based or lithium-based greases are excellent choices as they provide long-lasting lubrication and resist high temperatures. These lubricants reduce friction effectively, ensuring smooth rotation and preventing wear over time.
Always clean the bearings thoroughly before applying the lubricant to avoid trapping dirt or debris, which can impair performance. Regular application of the appropriate lubricant helps extend the lifespan of the bearings and enhances the overall functionality of the lazy Susan.
Conclusion

Repairing and maintaining a lazy Susan doesn’t have to be a daunting task. With the right tools, regular cleaning, and proper lubrication, you can ensure it operates smoothly and lasts for years to come. Addressing issues like rust, misalignment, or worn-out components promptly can prevent further damage and restore full functionality. By following the guidelines and tips provided, you’ll not only fix common problems but also enhance the durability and efficiency of your lazy Susan. A little effort in upkeep goes a long way in keeping this handy storage solution in optimal condition.
CONTACT US
Our Services
Areas We Serve
Certificate