Why Painting Your Kitchen Cabinets Might Be the Best Upgrade You Can Make
When you want to give your kitchen a fresh look without the full cost and disruption of a remodel, learning how to paint kitchen cabinets offers a powerful solution. Whether your existing wood cabinets show wear, outdated color, or just lack the “wow” factor, professional techniques to paint kitchen cabinets make a huge difference. For Sacramento homeowners who want smart value, durable finish and modern aesthetics, painting kitchen cabinets is often a top choice.
Painting kitchen cabinets lets you breathe new life into your space, refresh the look of your kitchen and update your style with very little effort compared with full cabinet replacement. You keep the cabinet boxes in place, you reuse the layout you already know and you get a modern color upgrade. That being said, a successful paint job on kitchen cabinets requires more than just brushing on a new color, it requires preparation, the right materials and an awareness of design and function. Let’s dive into how to paint kitchen cabinets the right way so your painted kitchen cabinets look fantastic and last for years.
What to Know Before You Start Painting Kitchen Cabinets
Is Your Material Ready, What Type of Cabinets Are You Working With?
Understanding the type of cabinet you have is key when you paint your kitchen cabinets. If you have wood cabinets, solid wood or medium‑density fiberboard (MDF) are excellent for a durable finish. On the other hand, if you have laminate, thermofoil or melamine surfaces, you may face more challenges in achieving a long‑lasting result. Some surfaces won’t support the paint adhesion needed, and skipping that prep or material check can lead to peeling or chipping.
When you consider painting kitchen cabinets you should ask: Are the cabinet boxes in good structural shape? Are the kitchen cabinet doors and drawer fronts free from warping or heavy damage? Are the drawer boxes intact and functional? If the cabinets are sound, then painting is a smart upgrade. If the boxes or doors are damaged or the old finish is peeling, replacement or refacing might be smarter.
Tools & Materials You’ll Need
To achieve a professional finish when you paint kitchen cabinets you’ll need to gather the right supplies. Among the essentials: a high‑quality bonding primer, the best paint for kitchen cabinets (look for cabinet‑grade latex paints or oil based paint enamel finishes), painter’s tape, drop cloths, sandpaper or sanding block (120‑ to 220‑grit), a tack cloth to wipe up sanding dust, an angled brush for detailed areas and tight spots, and foam or microfiber rollers for flat surfaces. A local Sacramento paint store can help you select the right primer and top coat for your project.
Using proper tools and materials is key. Cheap brushes can leave visible strokes, improper paint may not cure well, and inadequate prep will compromise paint adhesion and the overall finish.
Common Mistakes Homeowners Make (And How to Avoid Them)
When homeowners attempt to paint kitchen cabinets without preparation the result often falls short. Some of the most common mistakes: skipping degreasing, using the wrong primer, painting over the old finish without sanding, rushing the process, or using low‑quality paint.
For example, grease and grime on kitchen cabinet doors and drawer fronts will interfere with paint adhesion. If you fail to remove that first, your paint might peel prematurely. Light sanding or scuffing the existing finish is also critical; it gives the primer something to grip. You should sand surfaces lightly, focusing on flat areas and tight spots, to create the ideal texture for paint adhesion. Using a primer coat is not optional when you’re moving from a darker color to a lighter one or painting over bare wood or MDF. When you paint your kitchen cabinets the right way you avoid these mistakes and deliver a smooth, durable finish.
Step‑by‑Step Guide: How to Paint Kitchen Cabinets Like a Pro
Step 1 – Prepare Your Kitchen Space
Start by removing all kitchen cabinet doors, drawer fronts, hardware, hinges and labeling each piece so you know where everything goes. Protect your floors, countertops and walls with drop cloths and painter’s tape around trim, walls and appliances. The cabinet boxes stay in place, but you’ll want to mask off anything nearby. Set up a work area for doors, drawers and parts. This preparation is vital; the better your workspace and masking the smoother your project will go.
Step 2 – Clean and Degrease Thoroughly
Kitchen cabinets live in a high‑traffic environment and accumulate grease, fingerprints and food splatter. Before you explain how to paint kitchen cabinets you must clean everything first. Use a degreaser or a damp sponge with warm water and a bit of cleaner to wipe all surfaces. For tough buildup you may need a stronger product. Removing all grease and grime ensures the primer coat will adhere properly. Then wipe each surface with a lightly damp cloth, let everything dry completely.
Step 3 – Sand and Scuff Surfaces
Once your surfaces are clean and dry you must sand or scuff them lightly. This step prepares the surface for excellent paint adhesion. Use a sanding block or sandpaper (150‑220 grit) and gently sand all surfaces including cabinet boxes, kitchen cabinet doors and drawer fronts. You don’t need to sand to bare wood unless the old finish is in very poor shape; you’re simply creating a texture for the primer to grip. After sanding wipe the dust away with a tack cloth. Sanding is one of the most important steps in painting kitchen cabinets correctly.
Step 4 – Apply the Primer Coat
A high quality primer is the foundation of a successful paint job. Especially when you’re switching from a darker color to a lighter color, or painting over bare wood or MDF, the primer coat ensures excellent adhesion and helps prevent stains or knots from showing through. Use a bonding primer suitable for cabinet materials. Apply the primer on the cabinet boxes, kitchen cabinet doors and drawer fronts with a brush in detailed areas and tight spots and a roller on flat surfaces. Let the primer dry completely. Once dry you might lightly sand again for optimal smoothness before applying paint.
Step 5 – Paint Cabinets with a Durable Finish
Now it’s time to paint. Using a premium latex paint or oil based paint designed for cabinets, begin with the kitchen cabinet doors. Use an angled brush for detailed areas and tight spots and a roller for flat areas. Apply the first coat evenly, maintain consistent direction of strokes and avoid overloading. Let the first coat dry completely. Then apply the second coat, which often delivers full coverage and uniform color. In some cases you may apply three coats, especially if the original finish was dark and your new color is much lighter. Between coats, lightly sand to remove any other imperfections and wipe with a tack cloth. Keep in mind that while your surfaces may feel dry to the touch after a few hours, the paint needs time to fully cure for a truly durable finish.
Step 6 – Apply the Top Coat and Finish
For extra durability and a smooth finish, apply a top coat after the final paint coat is completely dry. The top coat protects against wear and tear, especially in high-use areas like kitchen cabinet doors and drawer boxes. Use a quality top coat recommended for kitchen cabinetry and apply with care to avoid drips or pooling in tight spots.
Step 7 – Reinstall Doors, Hardware, and Enjoy the Transformation
After the final coat and top coat are completely dry you can begin reinstalling kitchen cabinet doors, drawer fronts, hinges and drawer pulls or new hardware if you’re upgrading. Let the painted kitchen cabinet surfaces fully cure before heavy use; this ensures your finish lasts. Once everything is back in place take a moment to admire how your painted cabinets transformed the look and feel of your Sacramento kitchen.
Pro Tips for a Flawless, Long‑Lasting Finish
When you paint kitchen cabinets and want the results to look and perform like new, keep these pro tips in mind.
• Use high quality primer and paint from a trusted Sacramento paint store, these products often offer better flow, leveling and durability.
• Avoid painting in high humidity or extreme temperature conditions, curing will be slower and finish may suffer.
• After the first coat of paint you may lightly sand with fine‑grit sandpaper or a sanding sponge to remove any minor imperfections, then wipe with a tack cloth before applying the second coat.
• Choose a semi gloss or satin sheen, it offers durability, is easy to clean and still hides minor imperfections.
• Keep in mind paint adhesion depends on prep; the more time you invest in cleaning, sanding and priming, the better your results.
• If you’re replacing hardware like drawer pulls or knobs, now’s the time to upgrade, new hardware accentuates the updated finish and complements your painted kitchen cabinets.
2025 Cabinet Color Trends & Design Inspiration
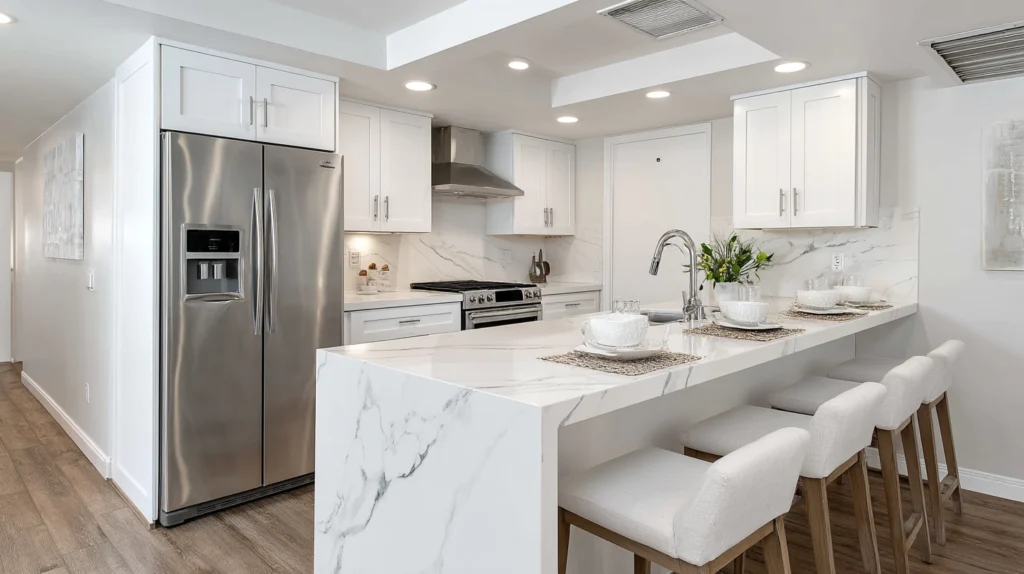
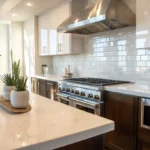
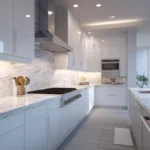
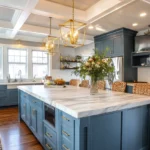
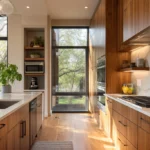
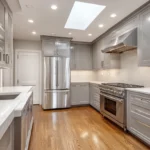
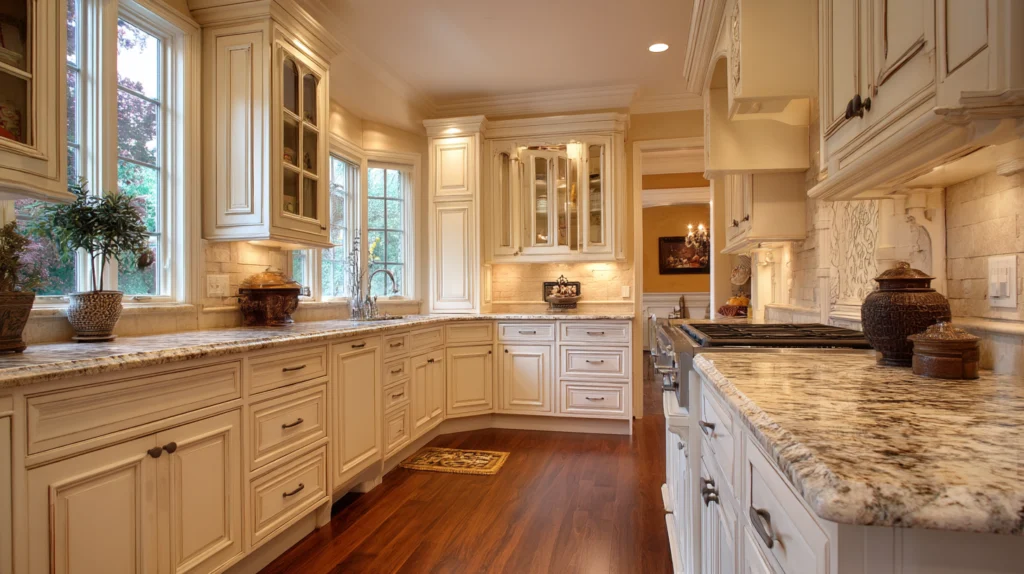
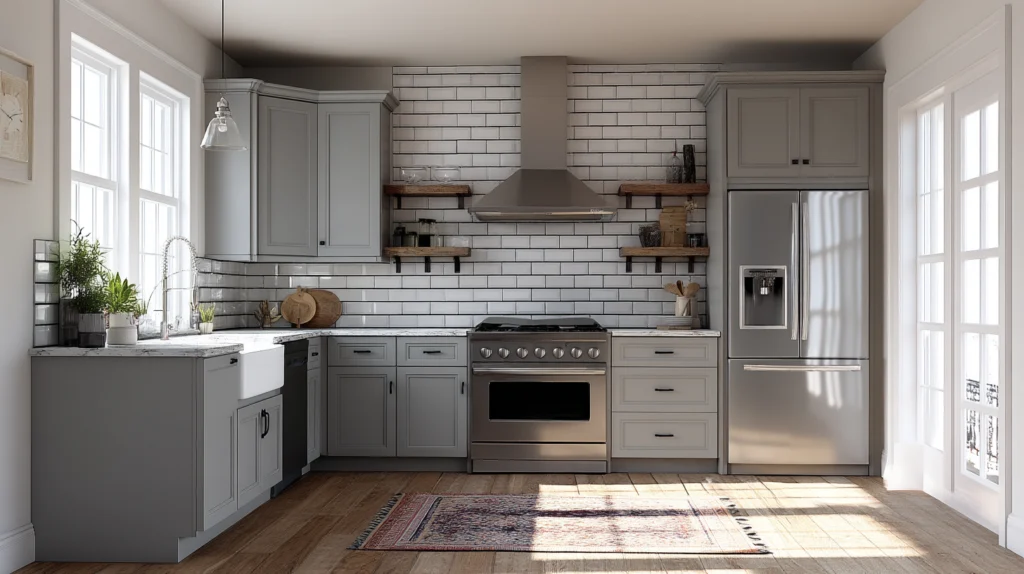
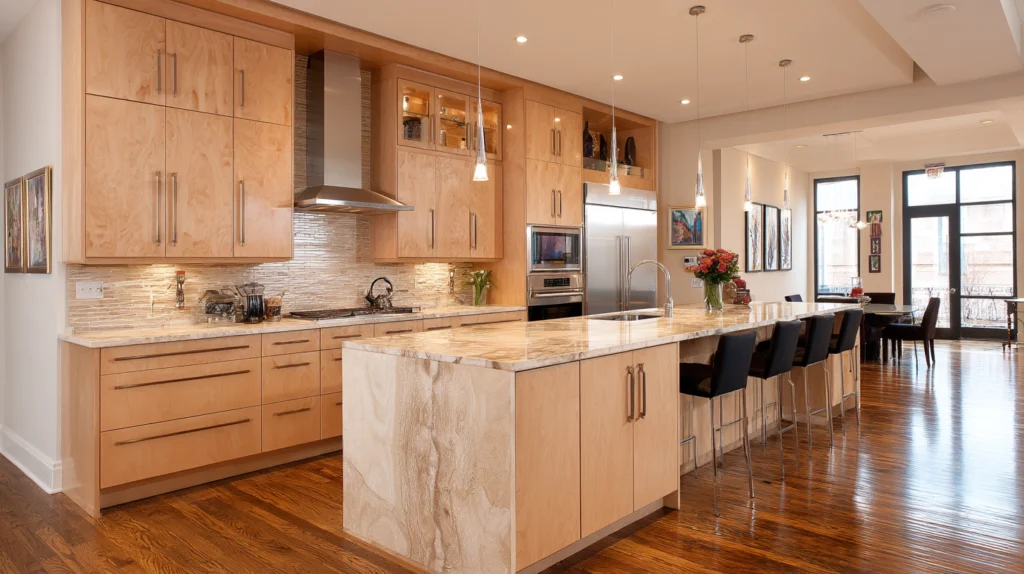
As you plan to paint kitchen cabinets your color choice matters. In Sacramento homes, we’re seeing a shift toward warm neutrals, muted greens such as sage or olive, soft creams, pale butter yellow and rich navy accents. These tones pair beautifully with California’s natural light, wood flooring and transitional home styles.
When you choose a color for your painted cabinets consider your countertop, backsplash and flooring. Matching style across the kitchen ensures the final result is cohesive. If you’re unsure of the right tone, a professional consultation can help you select a palette that complements your space.
When to Call in the Pros Instead
Painting kitchen cabinets is a major project. If your cabinets have structural damage, warped doors, persistent peeling or if you simply don’t have time or comfort with the work, it may make sense to call professionals. When you engage a local Sacramento pro you get meticulous prep, spray or specialized application, guaranteed adhesion and faster timeline. If you’re seeking a premium finish on wood cabinets, replacing large numbers of doors, upgrading hardware and minimizing disruption, a professional project may be the right fit.
FAQs: Painting Kitchen Cabinets
How long does a cabinet painting project take from start to finish?
A typical project to paint kitchen cabinets, from door removal, cleaning, sanding, priming, painting and reinstalling, takes 4‑7 days depending on kitchen size, number of doors, drying conditions and number of coats.
How much does it cost to paint kitchen cabinets professionally?
Professional costs vary based on size, material and condition, but many Sacramento homeowners spend between several thousand dollars for high‑quality finish. Compared with full cabinet replacement painting is very cost effective.
Can I paint over laminate or thermofoil cabinets?
You can attempt painting kitchen cabinets made of laminate or thermofoil but these surfaces are non‑porous and present adhesion challenges. In many cases refinishing or replacing those materials is better for long‑term finish.
Should I remove cabinet doors or paint them in place?
It’s best practice to remove kitchen cabinet doors and drawer fronts. That lets you paint flat surfaces and detailed areas cleanly, avoids drips and ensures better coverage.
What kind of paint is best for kitchen cabinets?
Look for high‑quality cabinet‑grade latex paints or oil based paint enamel paints designed for kitchen use. These paint products offer durability, smooth finish and better performance in high traffic areas.
How long does cabinet paint take to cure?
While the paint may feel dry to the touch within hours, full curing may take several days up to a week. During this time you should minimize heavy use of the painted kitchen surfaces.
What’s the difference between cabinet painting and cabinet refacing?
Painting cabinet boxes keeps the existing structure and changes color. Refacing involves replacing kitchen cabinet doors, drawer fronts and sometimes hardware while keeping the boxes. Both cost less than full replacement, and painting offers a fresh finish at lower investment.
Final Thoughts: Give Your Sacramento Kitchen a New Life with Professionally Painted Cabinets
If you’re ready to transform your kitchen without replacing every piece of cabinetry, painting kitchen cabinets is a smart, high‑impact upgrade. With proper prep, the right materials, attention to detail and design sensibility, your painted kitchen cabinets will look beautiful and resist wear for years. Whether you choose a warm neutral tone or a trending sage green, your refreshed cabinets will breathe new life into the space.
Let our Sacramento team help you with that professional finish, expert color advice and durability you can rely on. Your kitchen has the potential to look and perform like new, simply by painting the cabinet boxes, kitchen cabinet doors and drawer fronts with care. Start your project the smart way, invest in prep, choose quality paint and enjoy the transformation.
CONTACT US
Our Services
Areas We Serve
Certificate