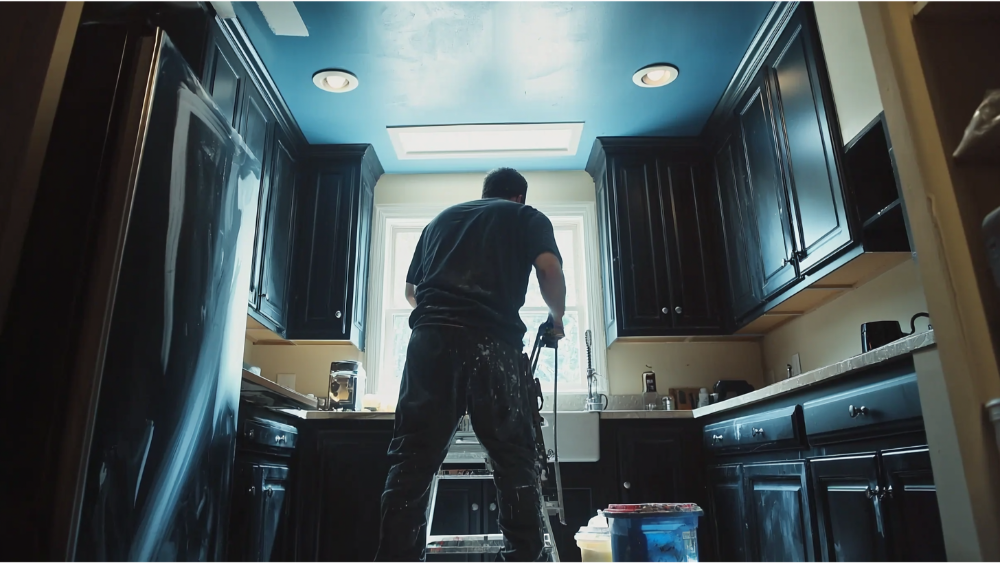
Painting kitchen cabinets can be a cost-effective way to breathe new life into your kitchen without the need for a full renovation. With the right preparation and technique, you can achieve a professional-looking finish. This guide will walk you through each step of the process to ensure your cabinets turn out beautifully.
Materials Needed and Why
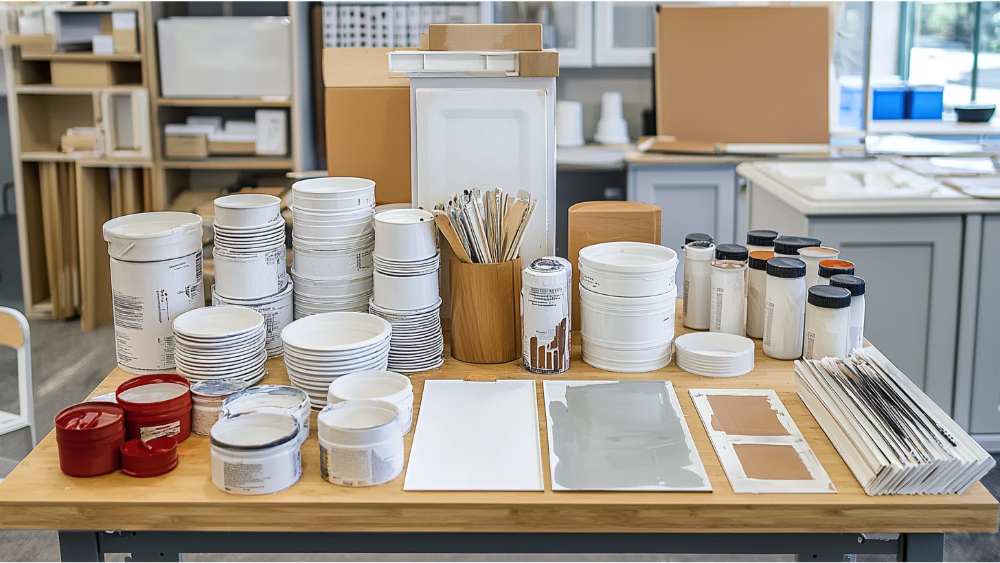
Sandpaper (120-grit and 220-grit)
Sanding is a crucial step in preparing your cabinets for painting, as it helps to smooth out imperfections and creates a surface that the paint can easily adhere to. Start with 120-grit sandpaper to remove any existing finish and follow up with 220-grit sandpaper to achieve a finer, smooth texture ready for priming.
Screwdriver
Use a screwdriver to remove all cabinet doors and hardware, making it easier to paint each surface evenly and thoroughly.
Painter’s Tape
Use painter’s tape to protect areas around the cabinets that you don’t want to paint, such as walls, countertops, and hinges. Carefully apply the tape to create clean, sharp lines, ensuring a professional-looking finish once the paint is applied.
Drop Cloths or Plastic Sheeting
Place drop cloths or plastic sheeting on the floor and over any surfaces you want to protect from paint splatters. This will help to keep your work area clean and minimize any potential cleanup after the painting process.
Cleaning Supplies
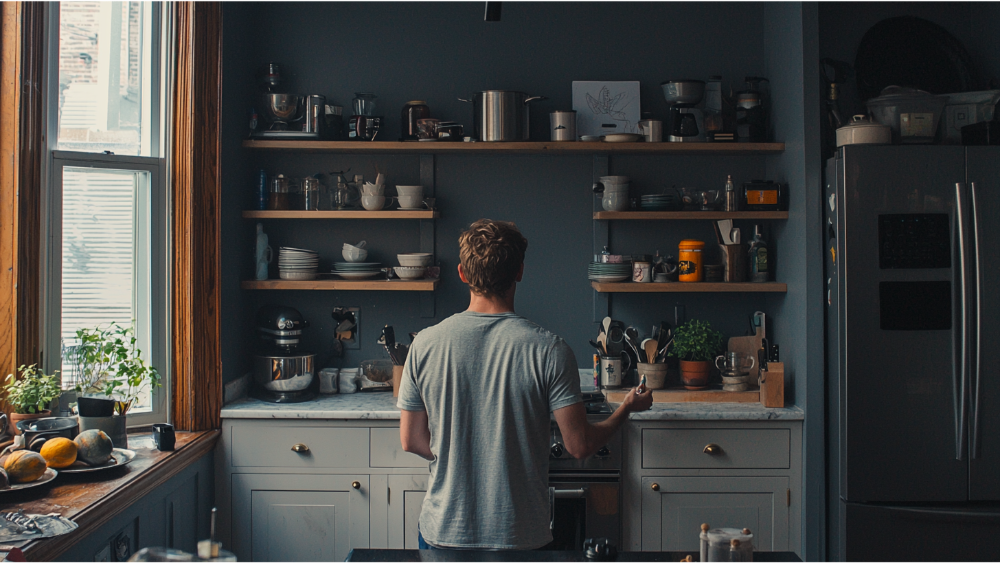
Thoroughly clean the cabinets using a mild detergent or a dedicated grease remover to eliminate any dirt, grease, or residue that could affect paint adhesion. Ensuring a clean surface is essential to achieving a smooth, long-lasting finish.
Paint Brushes
Select high-quality paint brushes that are suitable for the type of paint you’re using, ensuring they will provide smooth and even coverage. Opt for angled brushes for detailing around edges and flat brushes for larger surfaces to achieve a flawless finish.
Roller and Tray
Rollers provide efficient coverage for larger cabinet surfaces, reducing streaks and ensuring a smooth, even coat of paint. Use a tray to load the roller evenly with paint, minimizing drips and achieving a consistent application.
Primer
Primer is essential for ensuring the longevity and durability of your paint job, as it helps the paint adhere better to the cabinet surfaces and provides a uniform base for the topcoat. Choose a primer that is compatible with the type of paint you intend to use, whether it be oil-based or water-based, to achieve the best results.
Paint
Choose a high-quality paint that is specifically designed for cabinetry to ensure a durable, long-lasting finish. Whether you select a latex or oil-based paint, ensure it complements your primer and provides the color and finish you desire for your kitchen cabinets.
Wood Filler
Wood filler is used to patch up any holes, dents, or scratches on your cabinets before painting, providing a smooth and even surface. Be sure to choose a filler that can be sanded and is compatible with your chosen paint for seamless and durable repair.
Caulking Gun and Caulk
A caulking gun and caulk are essential for sealing gaps and seams around your cabinets, preventing moisture from seeping in and ensuring a smooth finish. Apply caulk along edges and joints before painting to enhance durability and aesthetics, using a caulking gun for precise application.
Dust Mask and Safety Glasses
Wear a dust mask and safety glasses while sanding and painting to protect yourself from inhaling dust particles and harmful fumes. Safety gear is crucial to maintain your health and well-being throughout the painting process.
Stirrers and Paint Can Opener
Stirrers are necessary to thoroughly mix your paint, ensuring even color and consistency before application. A paint can opener makes it easy to access the paint without damaging the lid, allowing for a mess-free opening and closing throughout your project.
Tack Cloth
A tack cloth is a sticky, woven fabric used for removing fine dust and lint from surfaces after sanding. This ensures the cabinets are perfectly clean and ready for priming and painting, preventing imperfections in the final coat.
Adhesion Promoter (optional)
An adhesion promoter enhances the bond between the cabinet surface and the primer, especially useful for slick or glossy surfaces. While optional, it can significantly improve paint adherence and durability, ensuring a longer-lasting finish.
Paint Sprayer (optional)
A paint sprayer can offer a smooth, professional finish with minimal brush marks and significantly speeds up the painting process. It is especially useful for covering large surfaces and intricate cabinet details efficiently, though it requires proper masking and ventilation.
Step-by-Step Guide to Painting Kitchen Cabinets
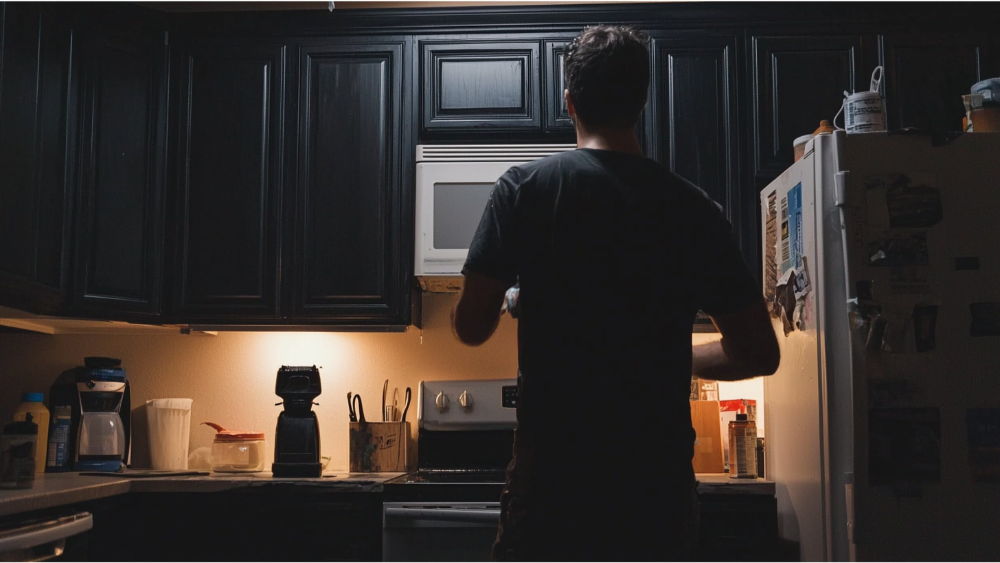
Step 1: Remove Cabinet Doors and Hardware
Start by carefully removing the cabinet doors from the existing cabinets using a screwdriver, taking care to keep track of all screws and hardware for reassembly. Labeling each door and its corresponding hardware can simplify reinstallation while ensuring each part is returned to its original position. This step allows for easier access to all surfaces of the existing cabinets, ensuring an even and thorough paint job.
Step 2: Clean Cabinet Surfaces
Thoroughly clean all the cabinet doors and cabinet frames using cleaning supplies to remove grease, dirt, and residue. A clean surface will ensure better paint adhesion and a smoother finish. Allow surfaces to dry completely before moving to the next step.
Step 3: Sand the Surfaces
Using 120-grit sandpaper, sand all the cabinet doors and frames to remove the original finish. Follow up with 220-grit sandpaper for a smoother finish. This preparation step is crucial to ensure that the primer and paint adhere properly. Don’t forget to wear a dust mask and safety glasses for protection.
Step 4: Apply Wood Filler
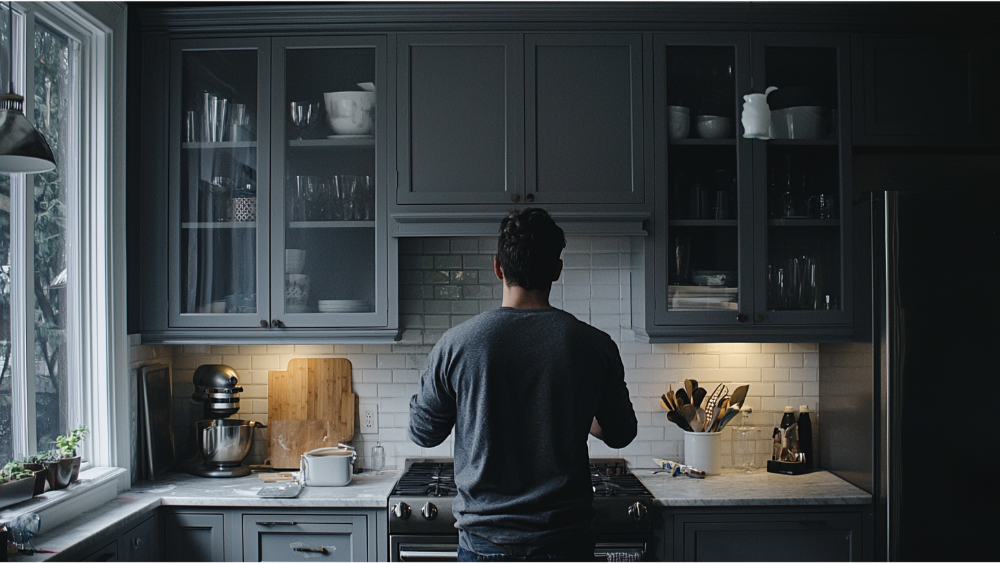
Inspect your cabinets for any holes, scratches, or dents. Use a wood filler to patch these imperfections and sand smooth when dry. Ensuring any blemishes are addressed will provide an even surface for painting cabinets.
Step 5: Tape Off Surrounding Areas
Protect walls, countertops, and any other areas you don’t wish to be painted by applying painter’s tape. Place drop cloths or plastic sheeting on the floor and surrounding surfaces to protect them from paint splatters.
Step 6: Prime the Cabinets
Apply a coat of primer to all the cabinet doors and frames, using the appropriate brush or roller depending on the size of the surface. Be sure to follow the primer’s drying time instructions. Using a primer compatible with your chosen latex paint is essential for a long-lasting, professional-looking finish.
Step 7: Paint the Cabinets
Apply the first coat of paint to the cabinet doors and frames using high-quality paint from your local paint store, ensuring even coverage while following the drying time guidelines. If you have the option, using a spray paint technique can provide a smoother finish, especially for detailed cabinet boxes, minimizing visible brush strokes. Allow the first coat to dry fully before applying a second coat for a rich, even color that stands out. Remember to paint cabinets in a well-ventilated area to ensure safety and optimal drying conditions.
Step 8: Reassemble the Cabinets
Carefully reattach the cabinet doors and hardware once the painted cabinets are completely dry, ensuring a precise fit and alignment. By allowing adequate drying time, you secure a durable finish that will withstand daily kitchen use. This final step brings a professionally polished look to your beautifully revamped kitchen.
Step 9: Final Touches
After reassembling, inspect the cabinets for any touch-ups that might be necessary, such as tiny paint corrections or additional caulking. Clean up any lingering dust or debris, and replace or polish the hardware if needed to enhance the overall look. Finally, consider adding soft-close hinges or liners for an added touch of luxury and functionality to your newly painted cabinets.
Common Mistakes to Avoid
When painting kitchen cabinets, it’s crucial to avoid common pitfalls that can compromise the quality of your finished project. Here are some key mistakes to watch out for:
Painting Without Sanding
Skipping the sanding step might seem like a timesaver, but it can lead to poor paint adhesion and an uneven finish. Sanding removes the old finish and creates a smooth, roughened surface that the primer and paint can adhere to effectively. Ensure that you sand all surfaces thoroughly to achieve the best results.
Skipping the Primer
Neglecting to use primer is another common mistake that can affect the durability and appearance of your cabinets. Primer acts as a bonding agent between the surface and the paint, helping it adhere better while creating an even base for color application. Without it, the paint may peel or chip over time. Always apply a quality primer suitable for your cabinet material before painting.
Not Allowing Enough Time to Dry Between Coats
Patience is key when painting cabinets, particularly when it comes to drying times between coats. Allow each coat of paint to dry completely before applying the next, adhering to the manufacturer’s recommended drying times. This ensures a smooth, durable finish that will withstand daily wear and tear.
Frequently Asked Paint Kitchen Cabinets Questions
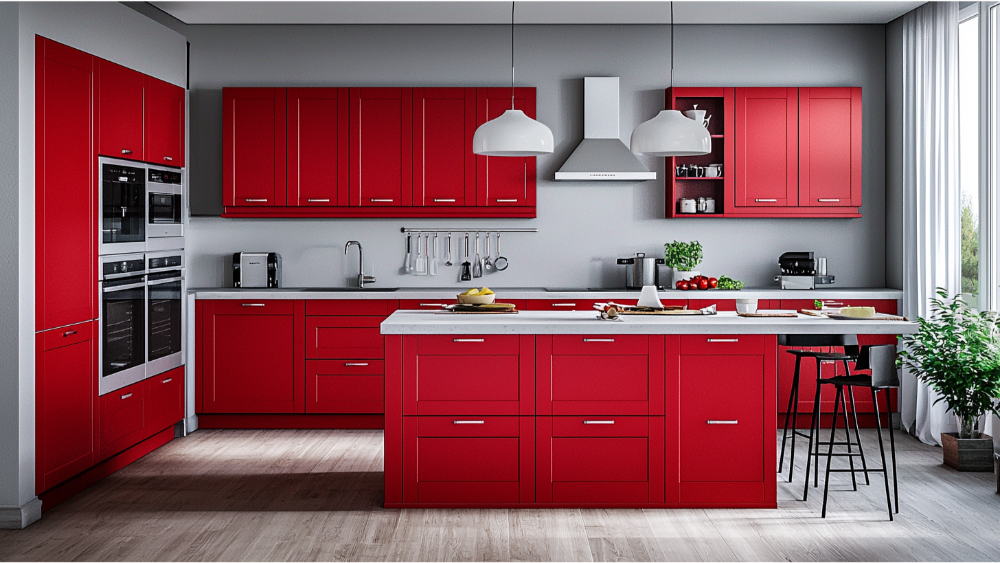
What Do Professional Painters Use to Paint Kitchen Cabinets?
Professional painters often rely on a specific set of tools and products to ensure a high-quality finish on kitchen cabinets. They typically use high-quality, durable latex or acrylic paints that resist chipping and are easy to clean. For detailed surfaces, professionals may utilize a spray gun for an ultra-smooth, factory-like finish, which minimizes brush strokes and provides a consistent coating.
Prior to applying paint, they use a top-notch primer chosen to suit the cabinet material, ensuring proper adhesion and a flawless surface for color application. Additionally, professional painters employ a range of brushes and rollers, depending on the details and scale of the work, along with masking tapes and drop cloths to protect surrounding areas from unwanted drips and splatters. Finally, they always prioritize safety by ensuring the work area is well-ventilated and wearing appropriate protective gear.
Should I Use a Brush or Roller to Paint Kitchen Cabinets?
Choosing between a brush and a roller for painting kitchen cabinets depends on the specific finish you desire and the efficiency you’re aiming for. Brushes are ideal for details and edges, allowing precise control in corners and around intricate moldings. They can effectively cover areas that are not accessible with a roller, especially when working with different surfaces or shapes.
On the other hand, rollers are excellent for larger, flat surfaces and can help achieve smooth, even coats with minimal effort. Using a roller reduces visible brush strokes and can significantly speed up the painting process. For the best results, many professionals recommend using a combination of both: a brush for corners and detailed work, and a small foam roller for larger, flat areas. This method allows you to take advantage of the detailed touch of a brush while achieving a smooth, uniform finish with a roller.
Do I Have to Sand Kitchen Cabinets Before Painting?
Yes, sanding kitchen cabinets before painting is a crucial step that should not be overlooked. Sanding helps to remove the existing finish, creating a smooth, roughened surface that is essential for the primer and paint to adhere effectively. This process ensures that the paint bonds properly with the cabinet material, reducing the likelihood of peeling or chipping over time.
While it may seem like an extra effort, proper sanding contributes significantly to achieving a durable and professional-looking finish. It’s particularly important if the cabinets have a glossy surface, as this requires sanding to allow the new paint to stick. Always use fine-grit sandpaper and work systematically to ensure all surfaces are adequately prepared before proceeding with primer and paint application.
Conclusion
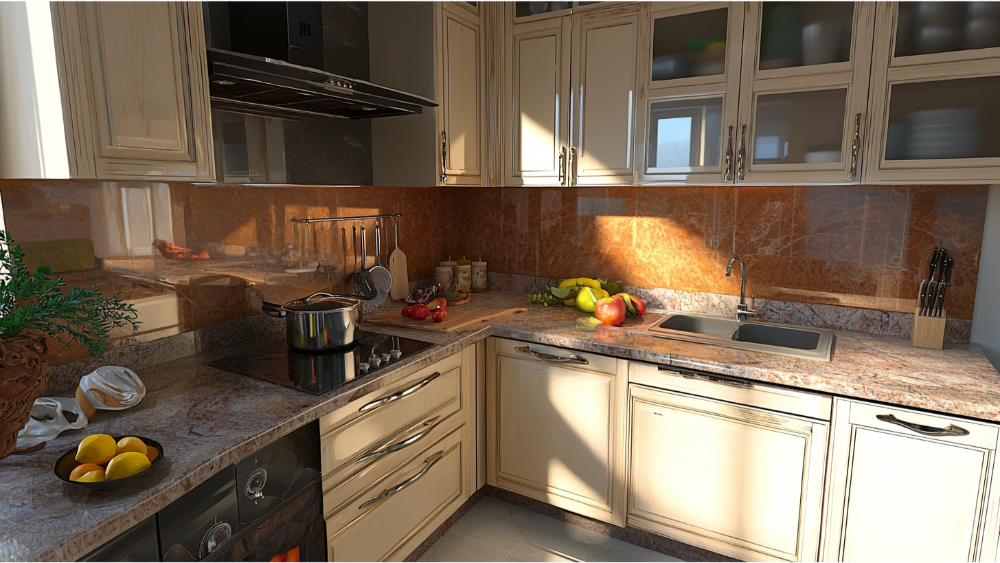
Painting your kitchen cabinets can be a rewarding project that transforms the entire look and feel of your space without the expense of a complete remodel. By following a systematic process and avoiding common pitfalls, you can achieve a high-quality, professional finish. Proper preparation, including sanding and priming, ensures durability and enhances the overall aesthetic, while careful selection of paints and tools makes the task more manageable. Remember, patience and attention to detail are key. With dedication and some elbow grease, the result will reflect your efforts, bringing a refreshed and rejuvenated atmosphere to your kitchen.
CONTACT US
Our Services
Areas We Serve
Certificate

