If you are searching for how to build a kitchen island, you have come to the right place. Kitchen islands are one of the most powerful upgrades you can make to your kitchen space. Many homeowners look at kitchen island ideas online, wondering how big to go, how much it costs, or whether a custom kitchen island is worth it.
In this guide, you will find everything from planning to installation, plus tips to make a DIY kitchen island project work beautifully in your home.
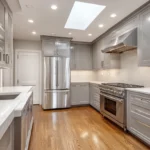
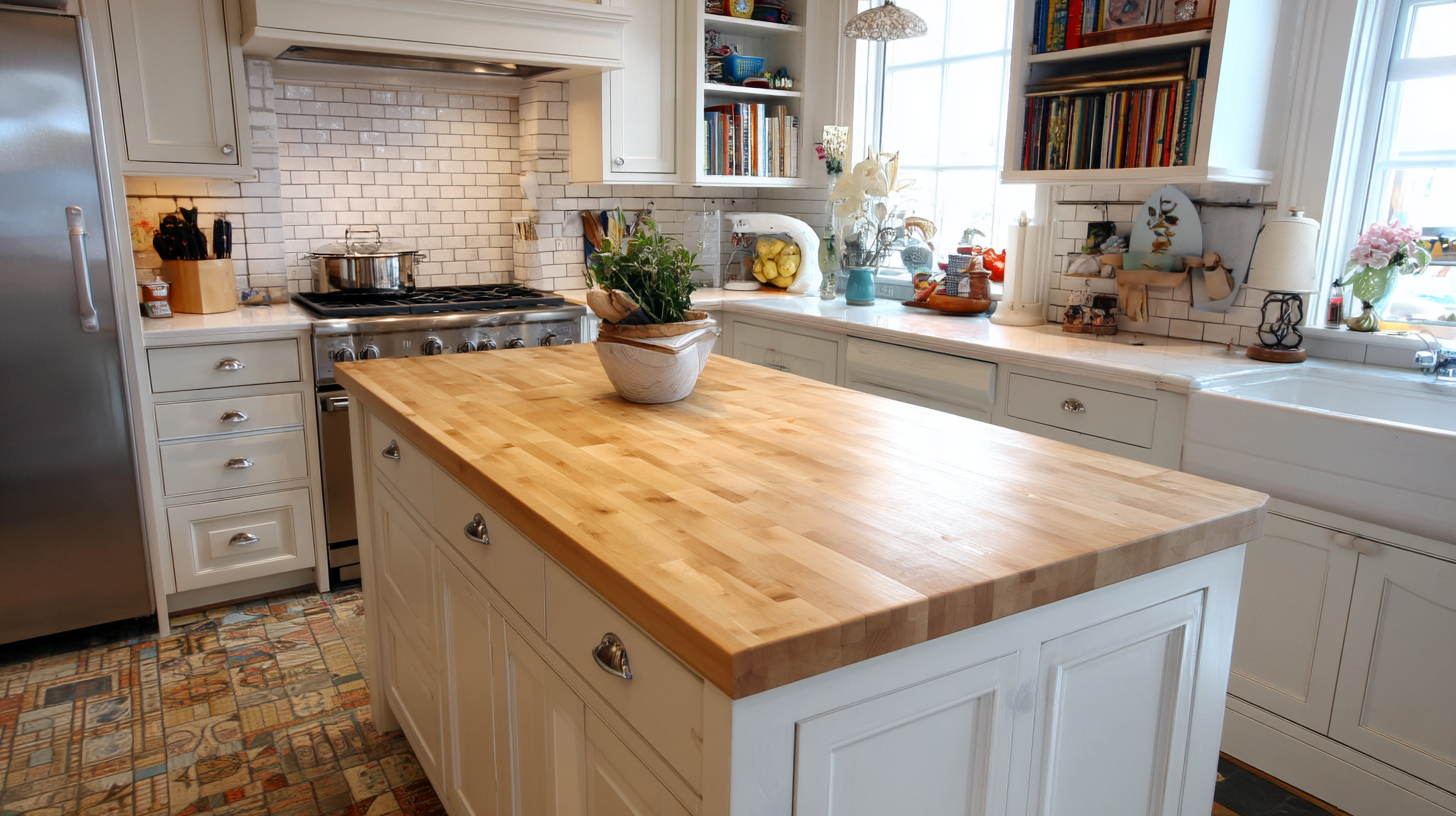
A kitchen island can deliver extra storage space, cooking surfaces for hot pans, seating, and a visual centerpiece, all while integrating with your kitchen cabinets and island cabinets to elevate your overall design. Whether you are remodeling or building new, we will show you how to plan a kitchen island build that fits your kitchen space and family needs.
Why a Kitchen Island Makes Sense
You might ask why you should build a kitchen island. The truth is, a well-designed island gives you storage, extra storage, work surface, and a gathering area. It can centralize your workflow and function as a focal point in your modern kitchen. A new kitchen island can also increase the perceived value of your home. It makes a strong impression on guests and future buyers.
Because many homeowners have limited space, you must plan carefully to avoid clutter or tight walkways. Even in smaller kitchens, a kitchen island can work if you use clever design and proper clearances. Use painter’s tape on the finished floor to outline your island footprint and visualize its length and placement before you commit.
Plan First: Function, Flow, and Layout
Define Your Purpose
Start by deciding what your custom kitchen island should accomplish. Do you want it for prep and cooking, or more for seating and entertaining? Perhaps you need drawers and cupboards for storage of dishes, or a sink or appliance integration. The functional goal drives every other decision.
Study Your Kitchen Space
Measure everything, including your finished floor-to-ceiling heights, walls, windows, doors, and existing cabinets. You need to know how much space you really have. Avoid guesses.
Use painters tape on the floor to outline your proposed island footprint. Walk around that outline to test workflow and allow your family to rest and move comfortably. Think about traffic flow from multiple sides. Also consider how many seats you want at your island table. That will determine how much counter overhang (or slight overhang) you’ll need.
Clearance and Work Zones
You should leave at least 36 to 48 inches of walking space around all sides of the island. This allows doors and drawers to open fully and people to pass on the other side. If your kitchen is small-space constrained, you might get away with 30 inches, but that is not ideal.
Plan your “work triangle” between cooktop, fridge, and sink so that your island does not block movement. Also avoid placing island bases too close to walls or doors.
Sizing & Proportions
Typical Dimensions
- For smaller kitchens, aim for an island around 4 feet by 2 feet in length and width.
- In average-sized kitchens, try 6 feet by 3 feet.
- For spacious kitchens, go 8 feet by 4 feet or larger.
Always respect clearance rules. If you add seating or appliances, you will need to increase size accordingly.
Seating Considerations
If you plan for stools, allow 24 to 30 inches per seat. For overhang, a 12 to 15 inch slight overhang is common. That gives knees room without interfering with base cabinets.
Depth and Height Matching
Most counters are counter height, around 36 inches. You want your island top to match the same height as surrounding cabinets, unless you do a bar-height section, which may be 42 inches. Maintain consistent height for visual harmony.
Depth of the island can be 24 to 36 inches or more, depending on how many functions (sink, cooking, appliances) you include.
Materials, Components & Tools
Island Base & Cabinets
You will start with base cabinets or build a custom framework using 2×4 wood or plywood. The base must be sturdy, level, and square. Use blocking between cabinet units to support your island top and to brace drawers.
Use quality island cabinets or stock base cabinets when possible. That will save you time and ensure reliable fit.
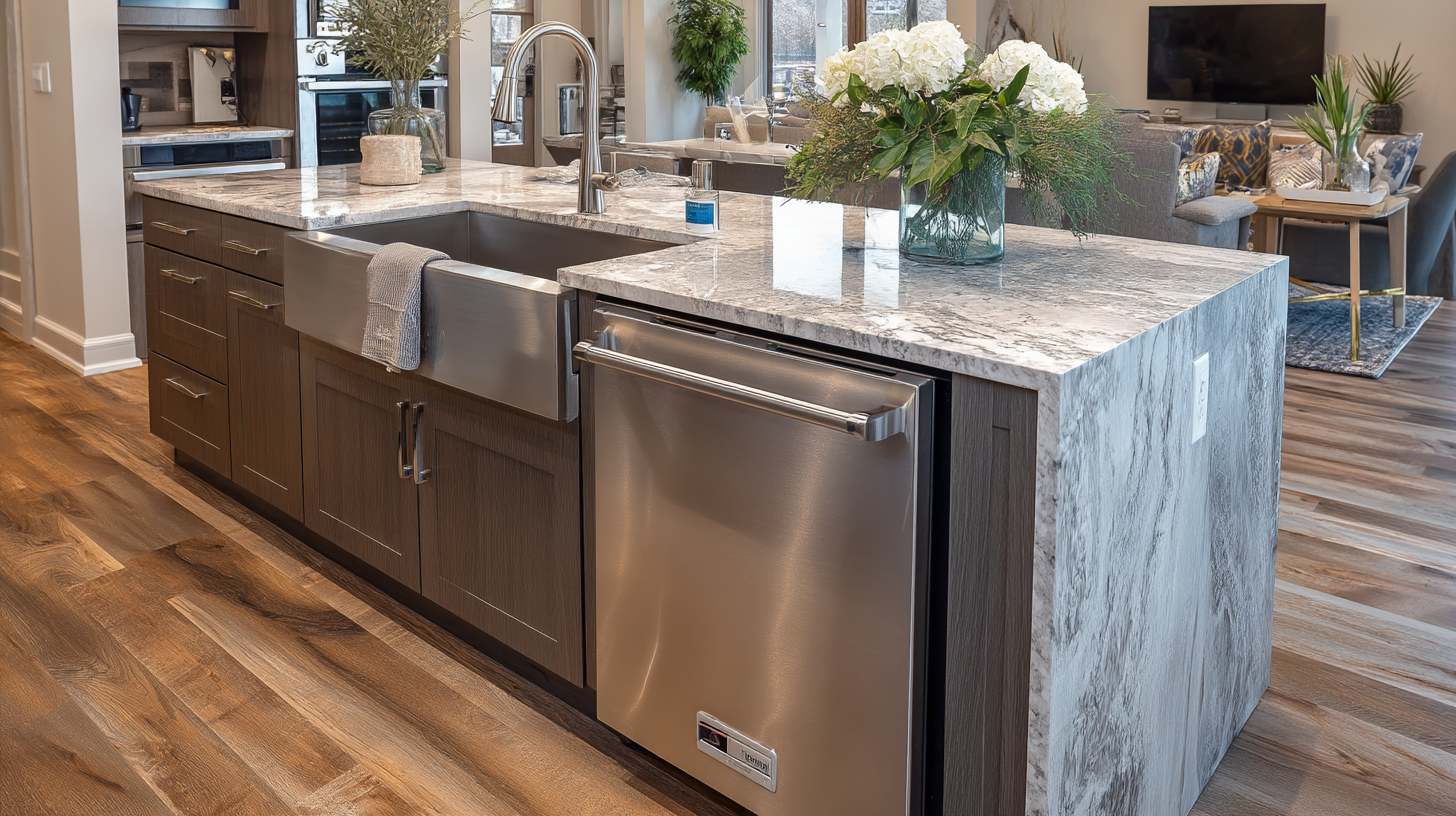
Countertop / Island Top
Choices include butcher block top, quartz, granite, solid surface, and laminate. For a DIY kitchen island, butcher block or solid surface may be more forgiving. If you choose a heavy stone top, ensure proper support underneath.
When you design overhangs, you may need hidden brackets or corbels to support the island top. The edge treatment or edge profile will affect both style and strength.
Trim, Doors, Drawers & Finishing
Use trim, moldings, toe kicks, and decorative panels to tie the island design to your kitchen style. Doors and drawer fronts should match or complement your kitchen cabinets. You can use accent paint for contrast.
Hardware & Accessories
Select quality drawer slides, hinges, and pulls. The hardware must support heavy use and smooth operation. For example, full-extension soft-close slides elevate the experience.
Tools You Will Need
Some typical tools include: tape measure, level, straight edge, drill, circular saw, jigsaw (for cut holes), clamps, screws, construction adhesive, brad nailer, stud finder, and finishing tools. You’ll need plumbing tools and electrical tools if running utilities.
Step-by-Step: Kitchen Island Build
Step 1: Layout & Mark
Using your measurements and painter’s tape, outline your island footprint on the finished floor. Move around it to test workflow. Decide where seating, appliance slots, or sinks will go.
Step 2: Build or Install the Base
If using stock base cabinets, install them first. Secure them to floor or frame using long screws or brackets. Make sure they are level. Use shims on uneven floor. Add blocking between units for structural support and to anchor drawer slides.
If you build from scratch, frame your island base with 2×4 wood or plywood panels. Create a skeleton, then sheath it and install cabinet face frames.
Step 3: Cut Holes & Rough Opening for Utilities
If your island includes a sink or cooktop, cut holes in the island base or top for plumbing and wiring. Route supply lines, drains, wiring, and vents per code. Make sure to leave access for service.
Step 4: Install Electrical or Plumbing
At this point, install electrical wiring and outlets or plumbing rough-in. The island must follow local codes, including GFCI protection and venting for sinks. For cooktops, verify clearance to combustible materials and ventilation.
For safety, most homeowners will hire licensed electricians or plumbers for this work.
Step 5: Install Island Top / Countertop
Dry fit the countertop or butcher block top first. Check alignment and adjust. If you have seams, they should fall over supports. Once fit is confirmed, attach using construction adhesive or screws from below. Seal edges, especially for butcher block or stone.
Install overhang supports, hidden brackets, or corbels if needed.
Step 6: Apply Trim, Finish & Touches
Add decorative trim panels, toe-kick moldings, and side panels. Use caulk to fill seams. Nail and fill holes, then sand. Smooth everything before paint or stain.
Install drawer sliders, doors, hardware, and close gaps. Adjust doors and drawers to operate smoothly.
Step 7: Add Seating & Functional Features
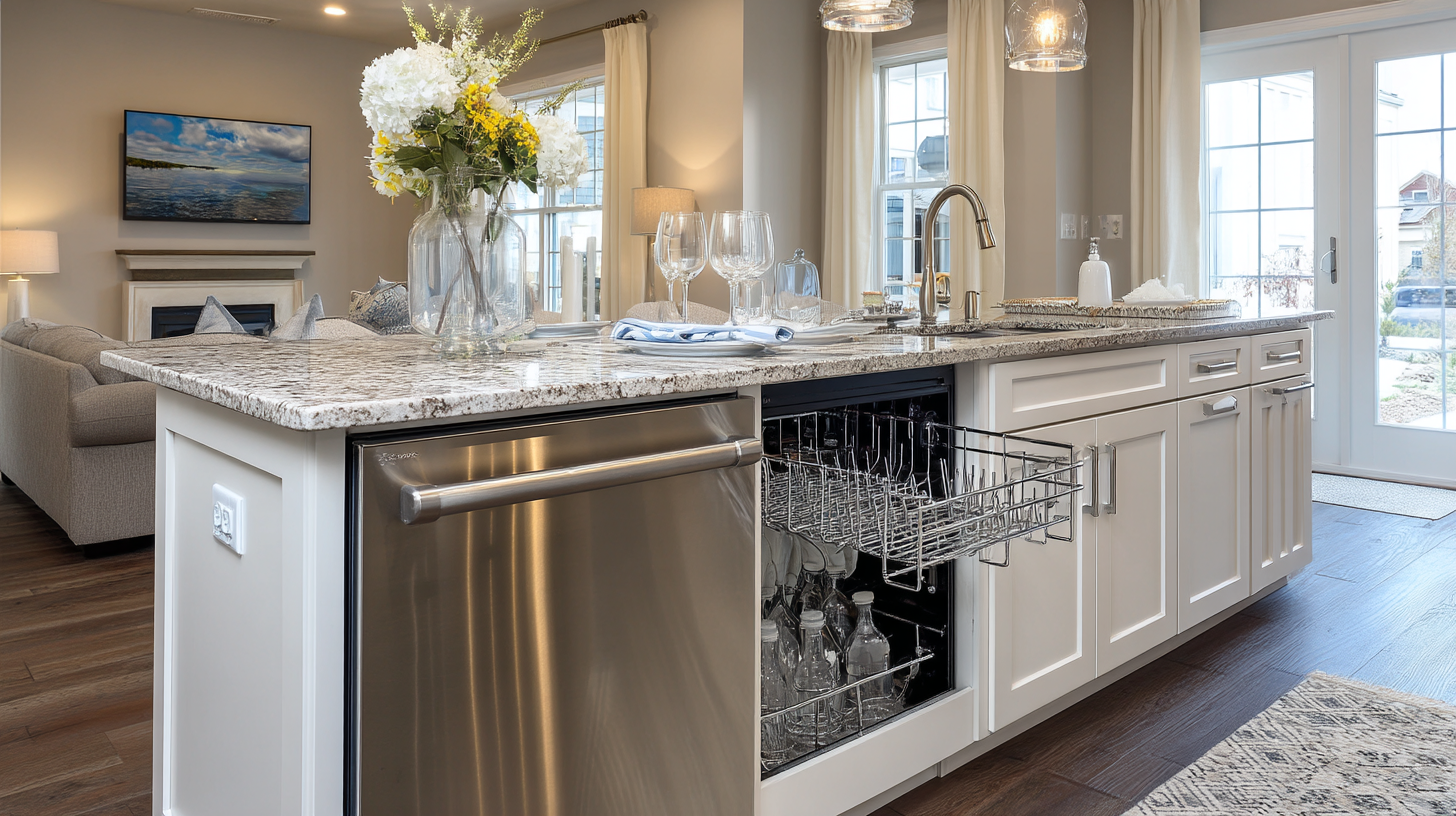
Pull out stools, stools tucked under overhang, or seating bar. Use selective storage features like deep drawers for pots and pans, vertical dividers for trays, or spice drawers. You can add pop-up outlets or charging strips.
Integrating a Sink or Cooktop
Plumbing for Sink
If your island includes a sink, you must run water supply lines, a drain line, and provide a vent. Often, a permit is required. The distance to wall drains is a limiting factor. Consult code.
Electrical & Appliances
Cooking appliances require dedicated circuits. If you want a dishwasher, microwave drawer, or beverage cooler, plan accordingly. Do not overload circuits.
Ventilation & Safety
An island cooktop needs ventilation, either above or downdraft. If above, you must follow ducting and clearance rules. Make sure finish materials can handle heat and installed distance is appropriate.
When to Bring in Professionals
When utilities are involved, it is best to call a licensed plumber or electrician. Mistakes are expensive and dangerous. Let professionals handle rough-in and final connections.
Cost Considerations
DIY vs Professional
A basic DIY kitchen island with no plumbing often runs $750 to $1,500. A professionally installed kitchen island typically costs $3,000 to $6,000. For a fully loaded custom kitchen island with appliances, plumbing, and premium materials, you can spend $10,000 to $20,000 or more.
Factors That Drive Cost
Size, materials, complexity of utilities, finish work, hardware, labor, permits, and design features, all of these can swing cost up or down drastically.
Tips to Save Budget
- Use prefab base cabinets
- Don’t over-spec the countertop
- Choose less expensive top surfaces
- Use minimalist design
- Skip utility integration if not necessary
- Focus on storage and seating for now
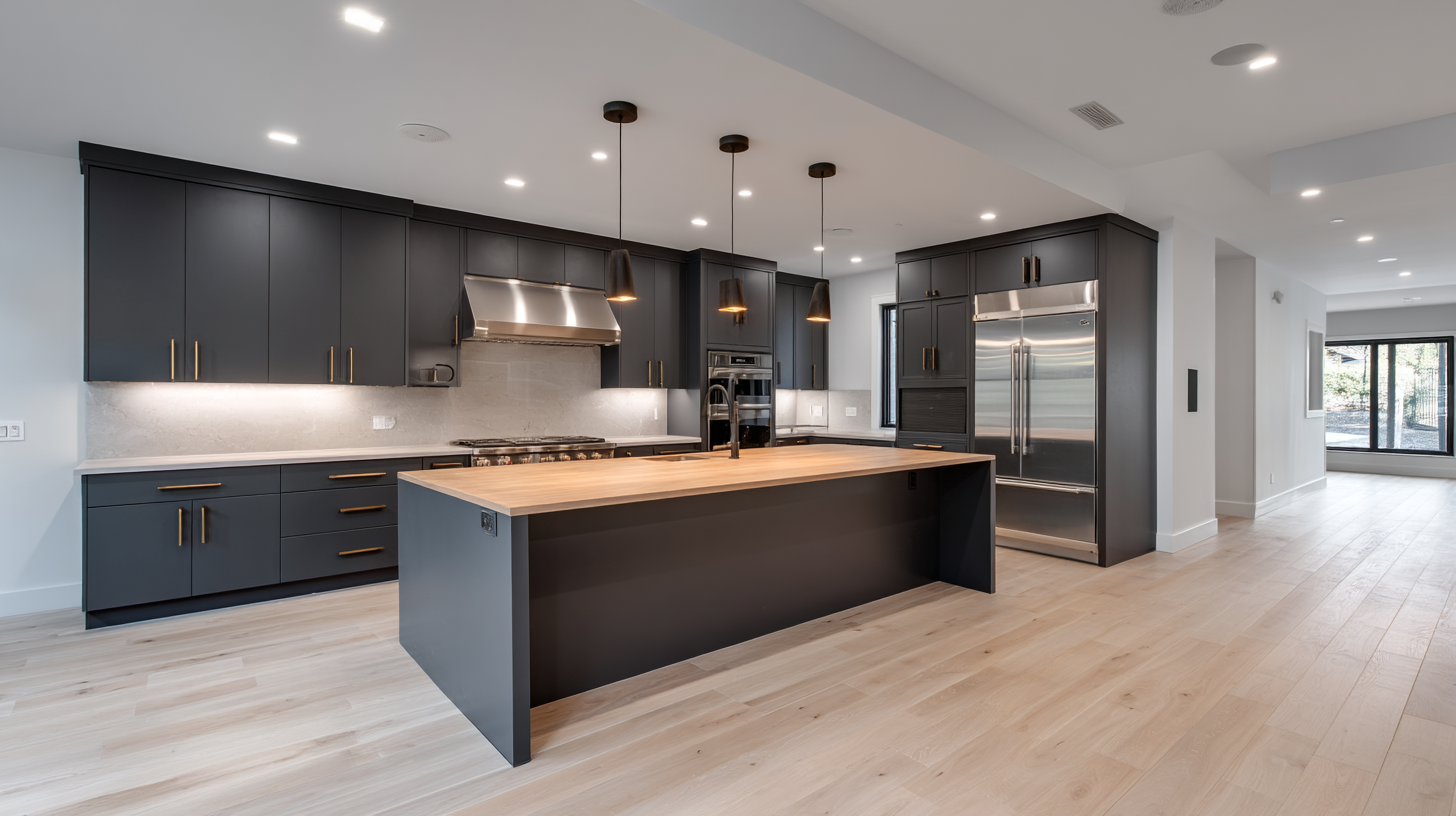
Design Trends & Kitchen Island Ideas in 2025
What’s In
- Waterfall countertops remain a favorite for visual drama
- Contrasting cabinetry, where the island is painted differently than wall cabinets
- Hidden storage and pop-up outlets become more common
- Integrated appliances like wine coolers, microwave drawers, or undercounter fridges are trending
What’s Fading
- Two-level bar sections that interrupt line of sight
- Oversized islands that dominate narrow kitchens
- Overly glossy finishes and too much “matchy” cabinetry
You want a kitchen island that enhances your room, not overpowers it.
Frequently Asked How to Build a Kitchen Island Questions
Can I add a kitchen island to a small space?
Yes, if you manage your clearance and choose a slim footprint. Many clever designs make sense even in tight kitchens.
What is the minimum space required for a kitchen island?
Ideally, you want 36 inches around all sides. Less than that will feel too tight.
Do I need a permit to run plumbing for a sink in the island?
Often, yes. You should check with your local building department or hire a contractor.
Should island cabinets match kitchen cabinets?
They can, but they do not need to. Matching creates flow. Contrasting creates a focal point.
Can you build a kitchen island using stock base cabinets?
Absolutely. That is one of the easiest and most cost-effective approaches.
How far should a countertop overhang extend for seating?
Typically, 12 to 15 inches is sufficient for legroom.
Can I put a cooktop in a kitchen island?
Yes, but you must consider ventilation, clearance, power, and safety. It is more advanced.
Final Thoughts
A kitchen island is not just a feature, it is a statement piece, a workhorse, and a functional upgrade. When you understand how to build a kitchen island properly, you avoid mistakes that diminish value or usability. Whether you go the DIY kitchen island route or hire pros, planning and quality material choices are key.
From island base to island top, from island cabinets to trim, every decision contributes to the final look and performance. Your kitchen island will become the place where your family gathers for meals, rests after busy days, and enjoys time together around the table. If you are ready to transform your kitchen space with a custom kitchen island, we would be happy to partner with you to design and install a solution tailored to your specific needs. Contact us today to get started and bring your kitchen island ideas to life!
CONTACT US
Our Services
Areas We Serve
Certificate