When deciding how to add tile on kitchen floor, success comes down to planning, precision, and following proven techniques. In this guide we’ll walk you through every step of tile installation on a kitchen floor, from layout to sealing, so you end up with a durable floor you can trust for years.
Why Choose Tile Floor for a Kitchen Floor
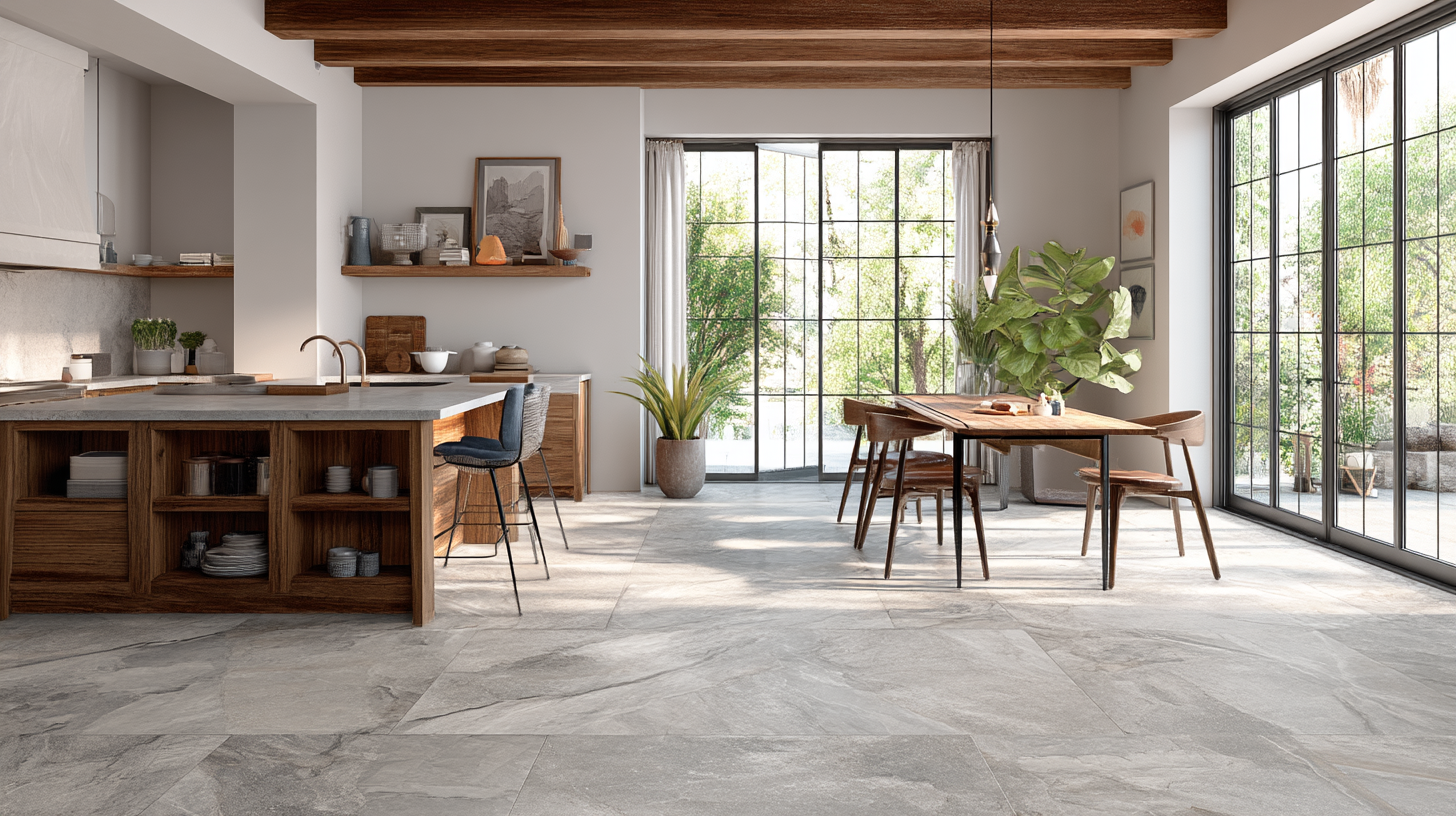
A tile floor in a kitchen delivers unmatched durability and design flexibility. Ceramic, porcelain, or natural stone tiles resist stains, moisture, and the daily wear of foot traffic, dropped pots, and cleaning. When installed correctly, floor tile adds value and beauty. But that high-end result only comes when you understand how to install tile properly.
Many homeowners attempt laying tile themselves, hoping to save money, but misunderstandings about thinset mortar, cement backer board, grout lines, and substrate prep lead to failures. This guide ensures you won’t fall into those pitfalls.
Tools and Materials You’ll Need
Before you begin, assemble the right tools and materials for your entire floor tile installation:
- Tile cutter or wet saw for accurate cuts
- Notched trowel, trowel or notched edge tools for spreading adhesive
- Level, straightedge, rubber mallet, tile spacers
- Buckets, sponge, damp cloth and mixing paddles
- Thinset mortar (polymer-modified) or adhesive
- Cement backer board or cement board or uncoupling membrane
- Grout, sealant, caulk
- Drywall screws or backer board screws
- Measuring tape, chalk line, marking tools
- Subfloor leveling compound or patching materials
You’ll also need to choose your tile (ceramic tiles, porcelain, or natural stone), and determine whether you’ll work with large format tiles or small tiles depending on your square footage and design vision.
Step 1: Plan Your Layout and Mark Chalk Lines
To achieve consistent results, proper layout is critical. First measure your room, cabinets, and appliances. Calculate square footage so you know how much tile and thinset you need (plus 10–15% extra).
Next find the center of your room and snap chalk lines in perpendicular directions, dividing the room into quadrants. The intersection is your starting point for placing the first tile. Dry-lay full tiles along those chalk lines to see if you’ll have tiny strips of tile along opposite walls. If so shift your layout slightly so you don’t end up with very narrow small pieces at one edge.
Always aim to balance the cut tiles along both walls so you don’t force a half tile along one wall only. This planning avoids awkward layout and wasted cuts.
Step 2: Prepare the Subfloor
Even the best tile and thinset mortar won’t perform well on a bad subfloor. The subfloor must be level, stable, clean, and dry. Typical subfloors include concrete, plywood, or existing wood or hardwood surfaces.
If your subfloor is wood or plywood over joists, install cement backer board or cement board over it. Secure it with drywall screws and tape all seams. This adds a rigid, moisture‑resistant tile surface above the wood structure so your floor tile won’t crack or flex from joist movement.
Check for dips or humps using a straightedge and patch low spots or grind high spots until the surface is within acceptable tolerance (e.g. 1/8″ over 10 feet). Clean the surface thoroughly, remove nails, screws, dirt, debris, grease. A clean, solid surface ensures proper bond to thinset mortar.
Step 3: Apply Thinset Mortar

Mix your thinset mortar following the manufacturer’s instructions exactly. Let it slake for the recommended time (often 5–10 minutes), then remix, never add more water after that point. The correct consistency should be creamy and hold ridges.
Using your notched trowel (choose the correct notch size for your tile size), spread a thin layer of mortar on a small section of your tile surface, only as far as you can install tile before the mortar begins to skin over. Hold the trowel at a consistent angle to generate uniform ridges in the mortar.
For large format tiles, also back butter (apply mortar to the back of the tile) so you improve adhesive coverage and reduce voids under the tile. That means you’ll use thinset mortar both on the floor and on the back of tile. This helps ensure maximum contact and strength.
Step 4: Lay Tile and Maintain Tile Joints
Start at your first tile at the intersection of your chalk lines, and work outward. Place full tiles first, align with your layout. Use tile spacers at each edge to maintain consistent tile joints and grout lines. Check that joints are the same width throughout, whether 1/8″, 3/16″, or wider, depending on tile type and style.
Press each tile firmly into the thinset mortar, giving a slight twist or tap with a rubber mallet or block to fully seat it. Periodically lift up a tile to check that the bottom is at least 80% covered with mortar, voids can lead to cracking or hollow spots later. Always maintain alignment to keep your tile edges flush and level with neighboring tiles.
Continue with the next row along your chalk lines, steadily filling quadrant by quadrant. Always keep your layout reference as you go to avoid drift.
Step 5: Cut Tiles to Fit
Where full tile doesn’t fit, you’ll need to cut tiles. Use a wet saw for straight cuts, and tile nippers or a hole saw for curved cuts around pipes or corners. Take precise measurements from adjacent tile and subtract half of the grout lines width so your pieces fit snugly.
When cutting, always maintain the degree angle you need, and if you’re cutting one side, smooth it afterward to eliminate sharp edges. Save broken or scrap pieces in case you have to backtrack later.
Be sure to leave a small expansion gap between the tile edge and fixed elements such as cabinets or walls, this accommodates movement. Later you’ll fill that with caulk, not grout.
Step 6: Let the Tile Set and Cure
Once every tile is in place, give the thinset mortar time to cure, usually 24 hours, but check manufacturer’s instructions. During this time keep traffic off the entire floor. Avoid walking or placing weight on tiles.
You can lightly cover the area with a protective sheet to keep dust off, but don’t press on the tiles themselves. After the cure time is complete, carefully remove all tile spacers.
Step 7: Grout the Tile and Clean Excess Grout

Mix your grout according to the instructions. Use a rubber float to push grout firmly into the grout joints, holding the float at a 45‑degree degree angle and moving diagonally across the tile joints. This helps force grout fully into joints and prevents gaps.
After several minutes, when the grout begins to harden but is still workable, use a damp cloth or sponge to wipe off excess grout (i.e. grout haze) from the face of the tiles. Rinse your sponge frequently in clean water and continue wiping until the tile surface is clean but the grout joints remain full.
Let the grout cure fully according to instructions (often 48–72 hours).
Step 8: Seal and Finish
After the grout is completely dry, apply a good quality sealer to protect it from stains and moisture. If your tile is natural stone or unglazed tile, you may also seal the tile surface itself. Use a suitable sealer that penetrates the grout joints and protects without discoloring the tile.
Next, caulk along the gap where tile meets cabinets, walls, or fixtures, use a flexible caulk, not grout. This helps accommodate minor movement without cracking.
Finally reinstall baseboards or trim pieces over the tile if they were removed. Walk over your new surface carefully and verify that everything is flush and well finished.
Pro Tips and Special Considerations
- If you’re working with large format tiles, substrate flatness becomes even more critical. Even slight deviation can lead to lippage. Use a leveling system or clips to reduce the risk.
- Matching the grout color to your tile and design scheme helps unify the look and hides dirt.
- For small tiles like mosaic or hex, smaller trowel notch and high mortar contact are crucial.
- Tile installation over existing tile is possible only when the original floor is stable, well adhered, and height won’t interfere with cabinets or doors.
- Always verify manufacturer’s instructions for thinset mortar, grout, and tile type to ensure compatibility.
- Leave expansion or control joints at regular intervals, especially in large rooms, and fill with flexible sealant.
- Periodically during laying tile, wipe away excess adhesive from joints to reduce later cleanup.
When to Call a Professional
If your kitchen’s subfloor is damaged, uneven, or compromised, or if you’re working with natural stone, large format tiles, radiant heat, or an intricate layout, it’s wise to call a pro. Experts ensure your installation meets industry standards, maintain full coverage under each tile, and deliver results that last without surprise cracks or failures.
At America’s Advantage Remodeling, our team handles everything from layout planning and substrate repair to tile installation, grouting, and sealing. We guarantee a precise, warranty-backed result.
Maintenance Tips for Your Kitchen Tile Floor
Daily and weekly care keeps your tile floor looking great:
- Sweep or vacuum to remove grit that can scratch grout lines
- Mop using a pH-neutral cleaner, avoid acidic or abrasive cleaners
- Wipe up spills promptly so stains don’t penetrate the grout
- Avoid excess water pooling for extended periods
Annually:
- Inspect grout joints for cracks or damage
- Re-seal grout if water no longer beads on the surface
- Tighten or adjust any transition strips or thresholds
With regular care, your tile floor can stay beautiful and functional for decades.
Frequently Asked How to Add Tile on Kitchen Floor Questions
Can I tile over an existing kitchen floor?
Yes, but only when the existing surface is stable, level, and free of moisture. It must be able to support the additional weight without flexing. Many times you’ll need to add cement backer board anyway.
How long does it take to tile a kitchen floor?
For a typical kitchen, including prep, tile installation, curing, and grout work, expect 3 to 5 days. Larger or more complex rooms may take longer.
What’s the best tile type for kitchen floors?
Porcelain or ceramic tiles rated for floors are ideal, they’re durable, low-porosity, and easy to maintain. Natural stone is beautiful but needs more care and sealing.
Should I seal my kitchen floor tile?
Yes, especially the grout. If you use natural stone or unglazed tile, seal the tile surface too. Sealing protects from stains and makes cleaning easier.
How much does kitchen floor tiling cost?
Costs vary by tile type, room condition, and labor. For better estimates, schedule a free in-home consultation with our team.
Final Thoughts
Knowing exactly how to add tile on kitchen floor turns a complex project into a manageable one. The keys are capturing a strong layout, preparing the subfloor, using the proper thinset mortar, inserting tile spacers, cutting precisely, grouting cleanly, and sealing thoroughly. With care and attention to detail your floor tile installation will last and elevate your kitchen’s look.
If you’d rather let professionals handle the heavy lifting, America’s Advantage Remodeling is ready. We provide flawless tile installation backed by experience, quality materials, and peace of mind. Contact us today for a free in-home consultation and let us bring beautiful, long-lasting tile floors into your home.
CONTACT US
Our Services
Areas We Serve
Certificate