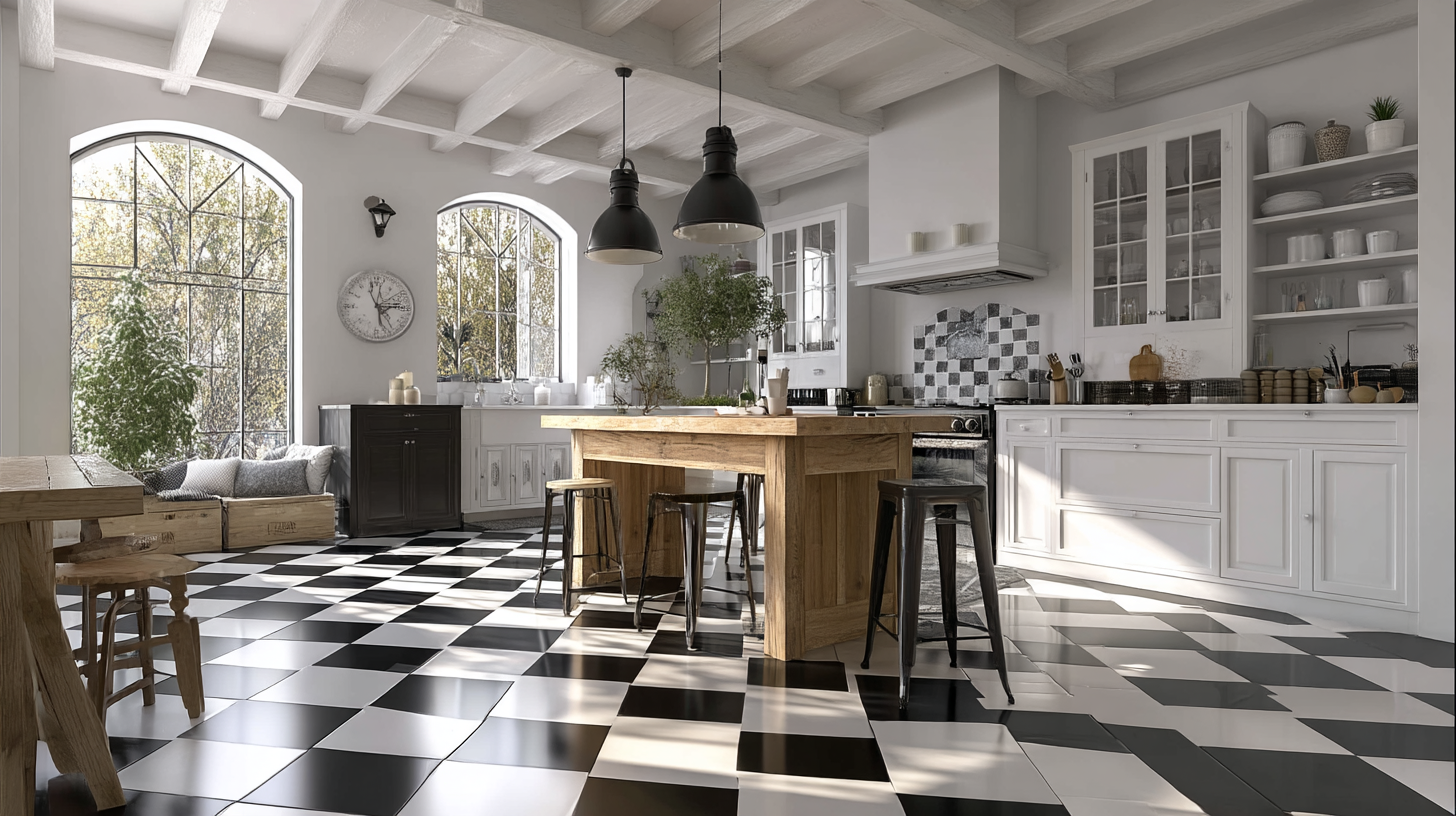
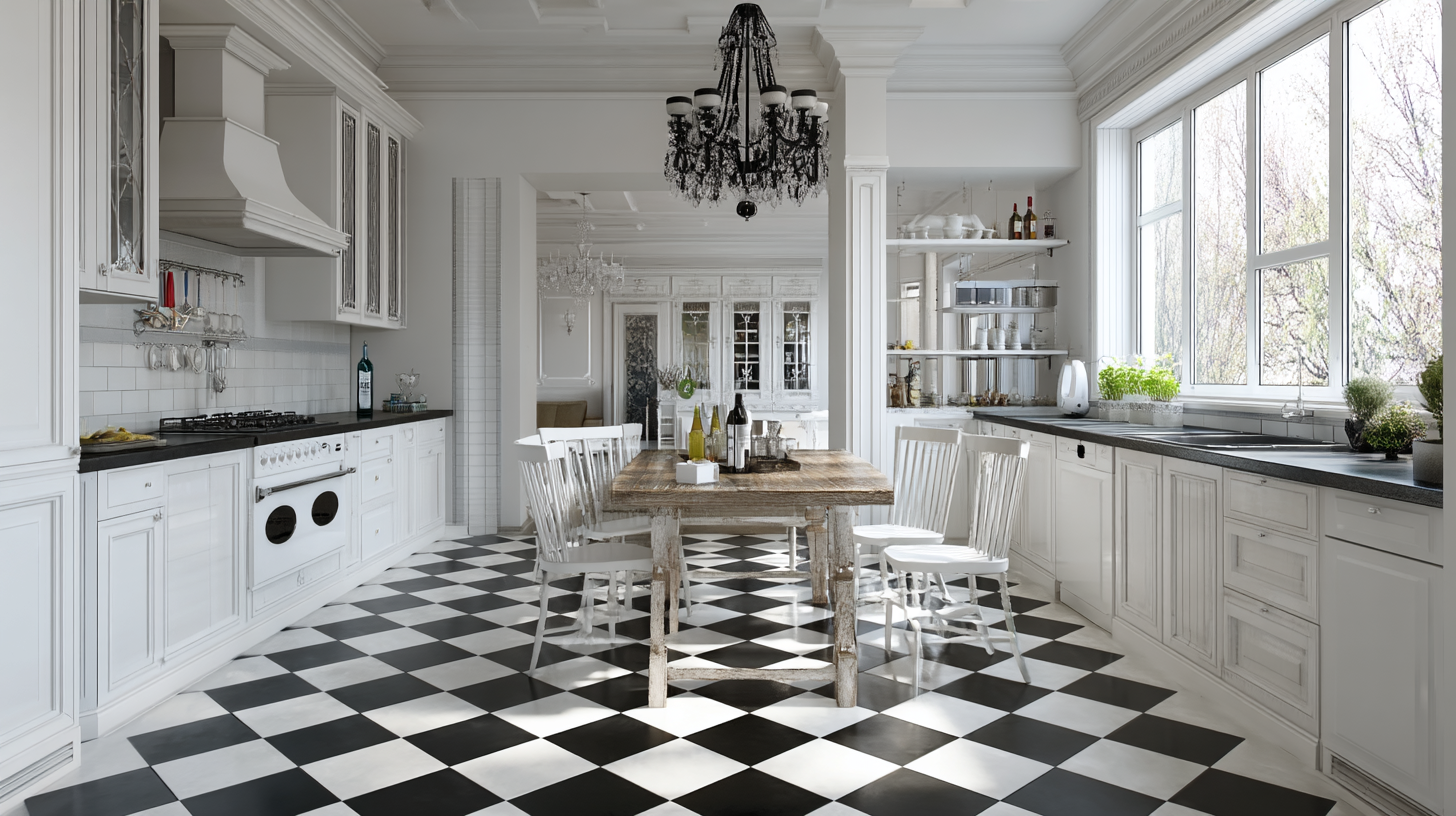
If you love bold contrast and clean lines, a black and white kitchen floor can be the design move that elevates your whole remodel. Pairing a white checkered floor or contrasting black and white tile with white cabinets and warm accents gives you that classic look with modern black appeal. This timeless design is rising in popularity again, blending nostalgia and sophistication to deliver a black and white kitchen that balances drama with durability. In this article, we’ll explore how to choose materials, patterns, styling ideas, and maintenance tips so your remodel becomes a standout success.
Why the Black and White Floor Trend Endures
When homeowners ask for a design that’s both modern and rooted in tradition, black and white immediately comes to mind. The high-contrast classic black and crisp white combination creates a dramatic focal point. This pairing draws the eye and sets the tone for the whole kitchen design. Even with evolving kitchen design trends, this look remains relevant because it lets you layer in natural materials, other colors, and personalized details without losing harmony.
Over the past few decades, black and white flooring has survived trend cycles because it is so versatile. In 2025, the blend of vintage styles and contemporary touches has put black and white checkered floors back into the spotlight. Whether your overall style is modern, contemporary, or leaning toward classic, this floor concept forms a neutral anchor that supports creativity.
Pros and Cons of a White Checkered Floor
Every design choice comes with trade-offs. Know what you’re getting into before committing.
Benefits
- High visual impact: A white checkered floor offers immediate drama and depth, especially when paired with clean cabinetry and minimal clutter.
- Design flexibility: Because it’s essentially a neutral combination of black and white, you can layer in wood, stone, or concrete textures without conflict.
- Timeless appeal: It delivers a timeless design that can evolve with changes in hardware, wall colors, or furnishings.
- Durability (with the right materials): Using quality tile or natural materials ensures that your floor can stand the wear and tear of daily life and remain elegant for years.
Challenges
- Visibility of dirt: Small particles, dust, crumbs, and smudges show up easily, particularly on black tiles.
- Grout maintenance: Light grout often fades or stains over time. If sealing isn’t done properly, the visual crispness can degrade.
- Visual fatigue: In a small or narrow space, a dense checker pattern can feel busy or overwhelming.
- Installation precision: Even slight misalignment becomes obvious with high-contrast floors. Any error in line or spacing stands out.
If your kitchen sees heavy use and you’re not willing to keep up with regular care, this look might be more maintenance than you prefer. But if you embrace design-forward choices and commit to upkeep, it’s a stunning option.
Choosing Your Materials: Tile, Stone, Vinyl & More
Ceramic and Porcelain Tile
The most common choice, porcelain tile is denser, more water-resistant, and less porous than standard white tile or ceramic. It’s ideal for kitchen floors where spills, humidity, and foot traffic are expected. Tiles come in matte or glossy finishes, patterned surfaces for slip resistance, and many sizes to help balance scale in your room.
Natural Materials: Marble, Stone & More
If you want genuine luxury, consider marble or stone tile in black and white tones. These natural materials add texture and authenticity. But be aware: they come with maintenance commitments. You’ll need to seal them regularly and protect them from acids (like citrus or vinegar) to avoid etching. The beauty is unmatched, but the upkeep is real.
Luxury Vinyl and Engineered Options
In cases where budget, speed, or ease is important, luxury vinyl or engineered plank alternatives can imitate the look of black and white tile convincingly. They are easier to install (sometimes stick down) and replace, though they won’t match the longevity of stone or high-grade tile. These similar technologies offer a durable and cost-effective covering option for many homeowners.
Budget Alternatives
For fast refresh projects, peel-and-stick white checkered floor vinyl tiles offer a cost-effective solution. They won’t perform like premium materials, but they can deliver style in a rental or secondary space.
Choosing the Right Layout: Patterns & Scale
Straight Grid vs. Diagonal Layout
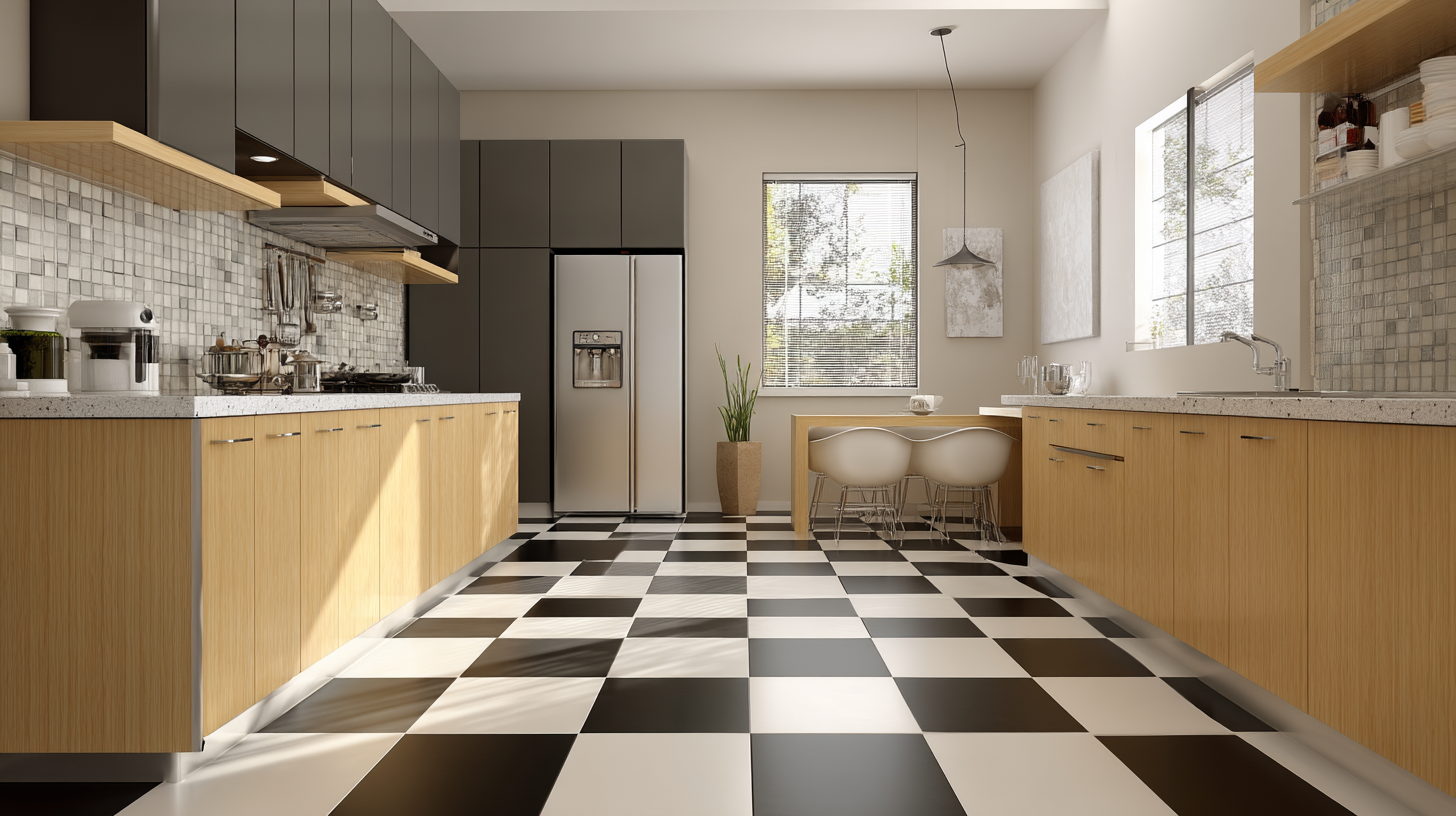
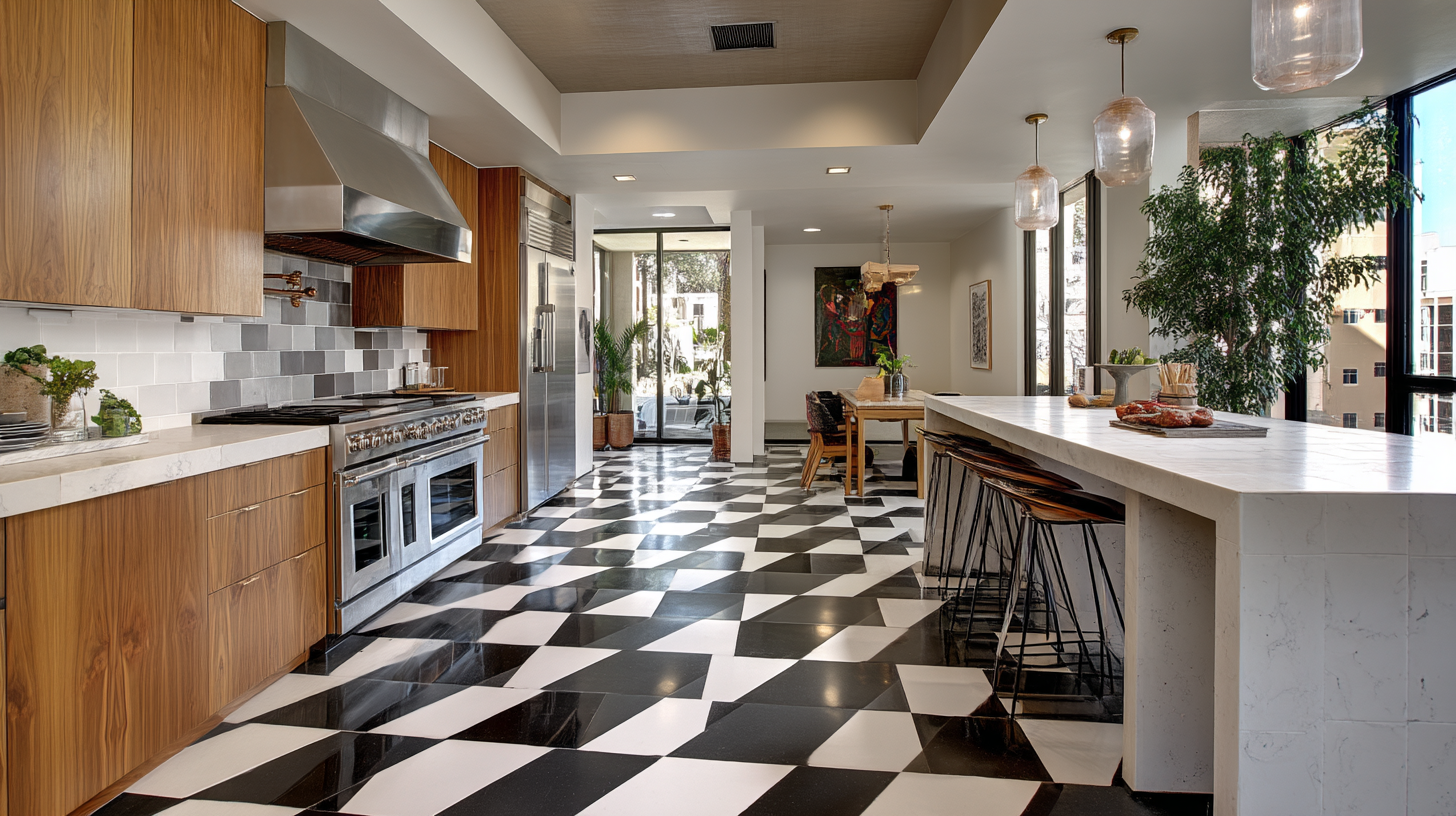
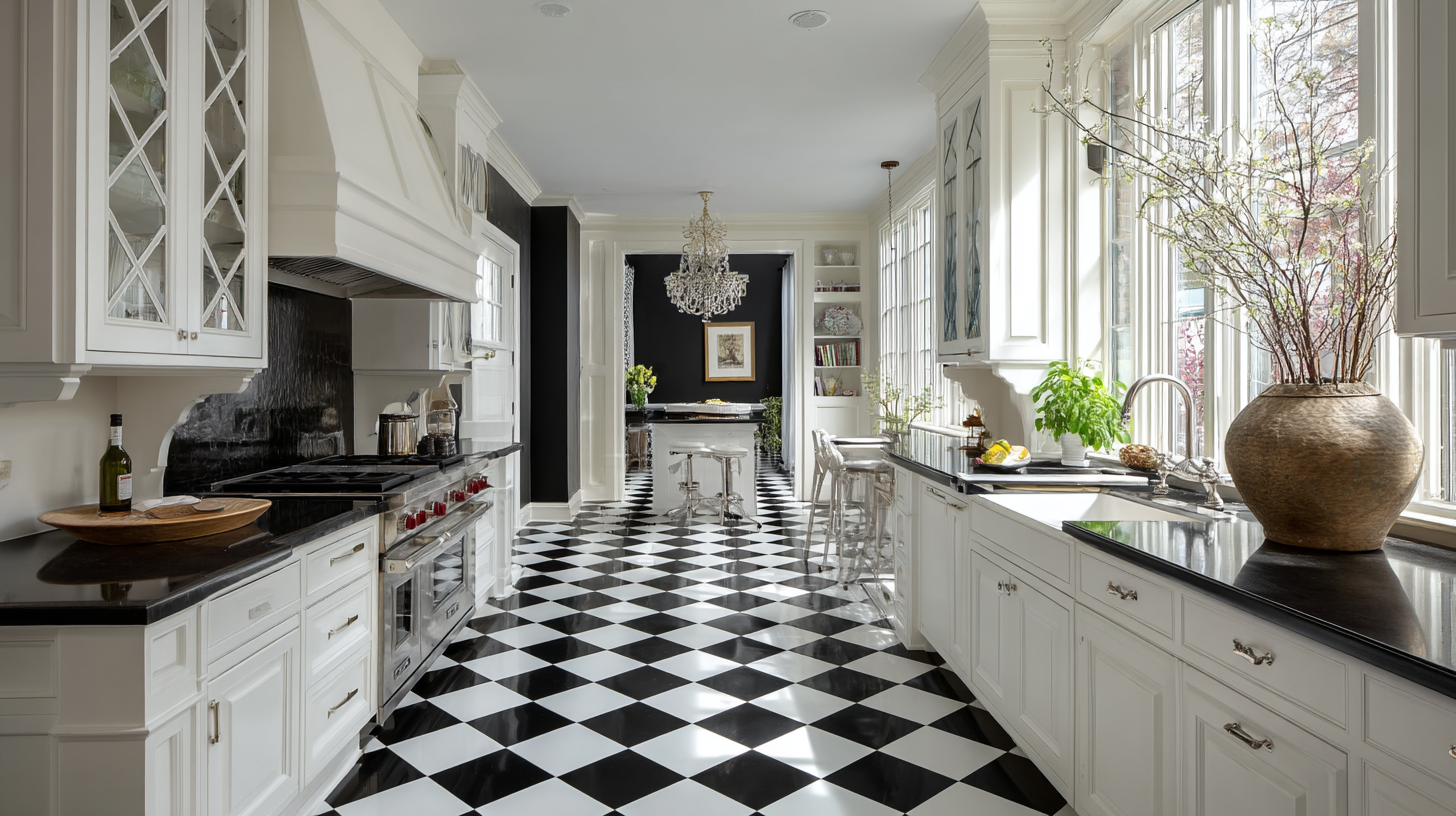
The classic layout is a straight grid, which works beautifully in rectangular rooms or symmetrical kitchens. A diagonal layout (tiling at 45 degrees) introduces a sense of motion and can make the room look larger. The diagonal pattern also helps hide small wall irregularities, which is useful in older homes.
Border and Framing Ideas
Adding a border around the checker pattern can frame the floor like art, particularly in open-plan kitchens connected to dining or living spaces or the foyer. A single row of solid black, white, or complementary tile can contain the pattern and reduce visual chaos near transitions.
Zoning & Partial Patterning
If you love the bold effect but want more visual rest, use the black and white scheme under the island, in a breakfast nook, or within a transition zone while choosing subtler flooring elsewhere. This partial application gives you bold impact while keeping the overall space balanced.
Scale Matters
In large kitchens, a small black square next to a small white square can look busy or tiny. Instead, consider medium to large tiles (such as 12″ × 12″ or even 16″ × 16″) to maintain proportion. In small kitchens, smaller tiles (8″ × 8″ or 10″ × 10″) often look better and keep the pattern more refined.
Styling Around the Floor: Cabinets, Walls & Finishes
Cabinet and Countertop Pairings
White cabinets remain a classic choice when pairing with a black and white floor, they echo the white tile and let the floor stand out. But dark cabinetry (charcoal, navy, or modern black) can also work beautifully, especially when balanced with lighter countertops. For counters, quartz with subtle veining, soft grays, or natural materials like marble or warm woods can enhance the contrast.
Wall Colors and Backsplash
Walls in soft neutrals (off-white, dove gray, or greige) help reduce visual harshness and make the pattern feel more integrated. You can also go bold with a dark accent wall to echo the floor’s black tones without overdoing it. As for backsplash, choose something clean and subtle, solid subway tile, large-format slabs, or minimalist glass, so it doesn’t compete with the strong floor motif. Note that paint shades can dramatically influence the overall kitchen atmosphere, so choose wisely to complement the floor.
Fixtures, Hardware & Accents
This is where you can lean into personal style. Use brass, matte black, or brushed nickel hardware to complement the contrast of the floor. Warm accents like wood stools or light fixtures can soften the stark geometry. Consider a metallic pendant or copper sink to add warmth and character. Don’t forget to swap out dated fixtures for more contemporary options to keep the kitchen feeling fresh and beautiful.
Project Management: From Concept to Completion
Design Phase
Work with your remodeling team to develop digital mockups that show the black and white tile scheme in your actual space. This helps you envision transitions into adjacent rooms, how lighting will affect contrast, and how furnishings will play off the pattern.
Subfloor & Prep Work
Achieving precision requires a level, flat surface. Any slope or unevenness will cause misalignment or lippage (tiles that don’t sit flush). Your remodeling contractor should verify flatness and use leveling compounds where needed before laying tile.
Layout & Execution
Start from the center or a focal point to maintain symmetry. Use tile spacers, chalk lines, and reference points. Regularly check alignment, especially as you expand outward. Frequency of quality control avoids expensive fixes later.
Grout, Sealing & Final Touches
Choose a grout color that complements the floor, light for contrast, or mid-toned to hide dirt. Seal tile (if it’s porous, like some marble) and grout fully after installation. Clean the surface thoroughly and buff it dry to eliminate haze. Finally, protect your investment with felt pads on furniture or appliances.
Cleaning & Long-Term Maintenance
Sweep or vacuum daily to prevent grit from scratching tiles. Mop with a pH-neutral tile cleaner, rinse thoroughly, and dry with microfiber cloths to avoid streaks or residue buildup. Re-seal grout lines every 1–2 years, or earlier if signs of wear appear.
For stubborn grout discoloration, use a grout cleaner that is safe for your tile type. If tiles chip or crack, you can replace them individually if you’ve preserved extra stock. Keep replacement tiles in storage for this purpose.
Real-World Examples & Inspiration
We’ve installed black and white kitchen floors in various homes—from white kitchens in suburban houses to bold, chef-style layouts in urban lofts. In one project, we used polished marble tiles laid diagonally to create a luminous floor under sunlight. In another, we framed a checkerboard field with stone border tiles to separate the kitchen from the dining room. Each project showed how the combination of pattern, materials, and finishes creates a unique style narrative.
Browse Pinterest and other design services for beautiful inspiration and ideas that serve your vision and space.
When to DIY and When to Hire a Professional
A black and white tile project might look approachable, but the contrast magnifies every misstep. DIY can work for small rooms or simple layouts, but only if you have experience in tile installation, precise measuring, and patience.
Hiring a professional gives you:
- Expert layout and alignment
- Quality subfloor preparation
- Proper material selection
- Efficient execution and clean-up
- Long-term warranty and support
Our team at American Advantage Remodeling handles each step, from design to final finish. Let us help transform your kitchen into a standout space with confidence.
Frequently Asked Black and White Kitchen Floor Questions
Are black and white kitchen floors hard to keep clean?
They can show dust and debris, but regular sweeping, careful mopping, and sealed grout keep them looking sharp.
Is checkerboard tile going out of style?
Not at all. This classic look continues to evolve as designers reintroduce it in modern layouts and new materials, so it remains relevant.
What tile size works best in small kitchens?
Smaller tiles (8″ to 10″ square) usually maintain scale in tight space. Larger tiles may make the pattern feel oversized or disjointed.
Can I use vinyl or stick-down alternatives instead of tile?
Yes, for budget-conscious projects or rentals. But remember, they won’t match the durability and character of real tile or stone surfaces.
Will this flooring coordinate with an open-concept house?
Absolutely. Use a border, transition tile, or zoned pattern to help flow transitions between spaces without walls.
How much does professional installation cost?
Prices vary by tile, complexity, subfloor prep, and region. In many areas, a fully installed premium tile floor might range from $10 to $25 per square foot or more.
Final Thoughts
A black and white kitchen anchored by a black and white kitchen floor offers an incredible mix of style, contrast, and longevity. When paired with white cabinets, natural materials, and thoughtful finishes, it becomes a powerful design statement. Whether your preference is modern black, classic black, or a softer contemporary reinterpretation, this pattern is flexible enough to adapt over time.
Don’t let trend fears hold you back, the combination of bold contrast and timeless design withstands shifting fashions. If you’re ready to transform your kitchen with a design that commands attention and endures, we’re here to make it real. Contact American Advantage Remodeling today and let us bring your vision to life.
CONTACT US
Our Services
Areas We Serve
Certificate